
Hye Everyone 😇 Happy Friyay, guys! Hope you are all in great vibes. 🥰
Today, Im gonna share how I combined both my hobbies into something new makeover. Hahahaha!!! Yes!! I’M DECLUTTERING WHILE MAKING DO IT YOURSELF PROJECT DECORATION!! 😆
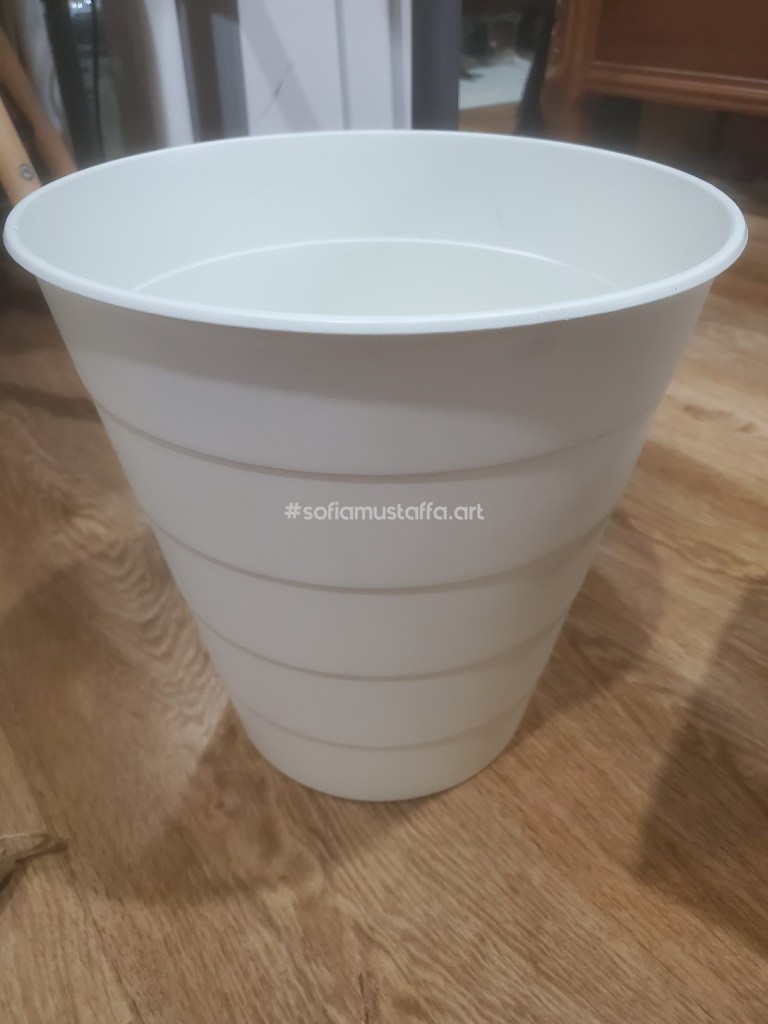
Okay, first thing first, I need to get rid/declutter my previous business items like ribbon, sponge, burlap etc right. So, I was thinking. My dustbin is so dull, and it always flew away whenever there are heavy thrash inside because the dustbin is too light in weight.
So, I decided to make some DIY Project, to decorate my dustbin. Yay!!! 🥰
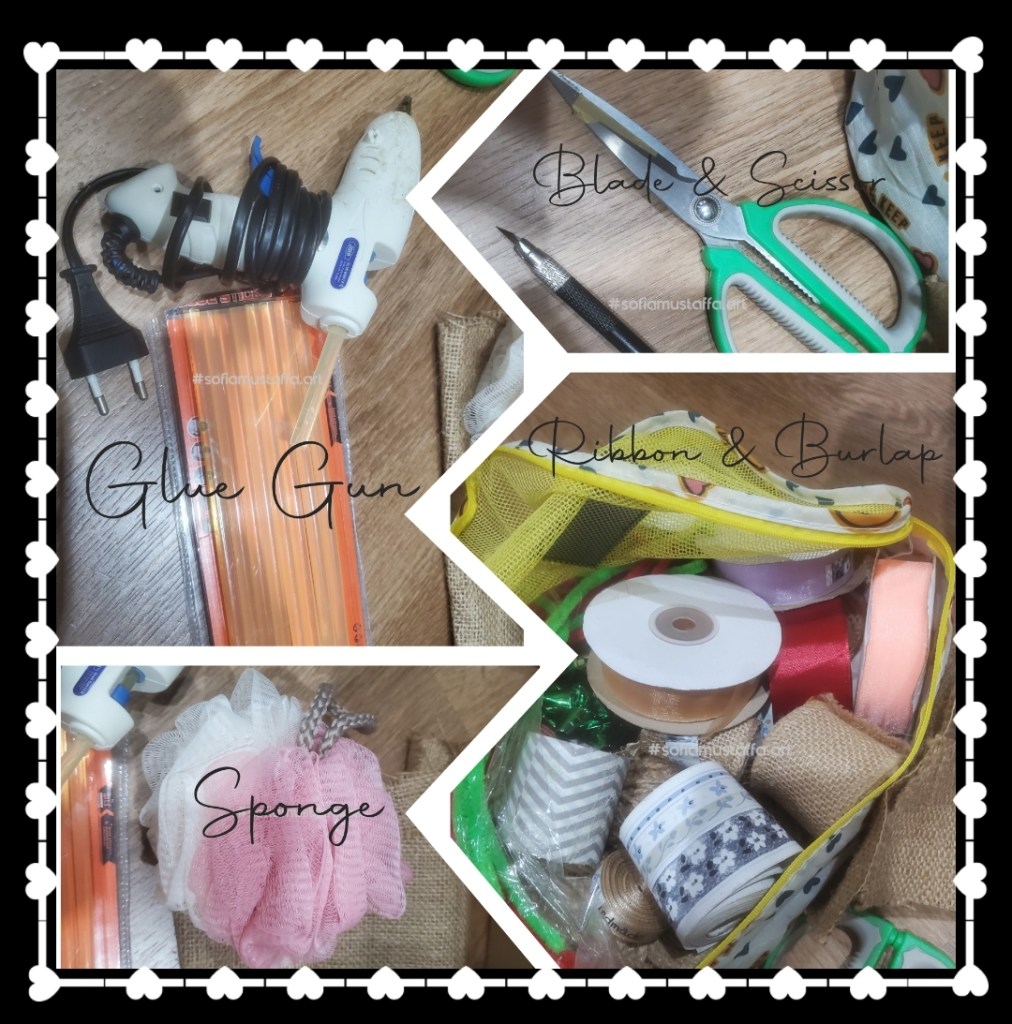
All You Need to Have….
Let’s Do It! 🥰❤🥰
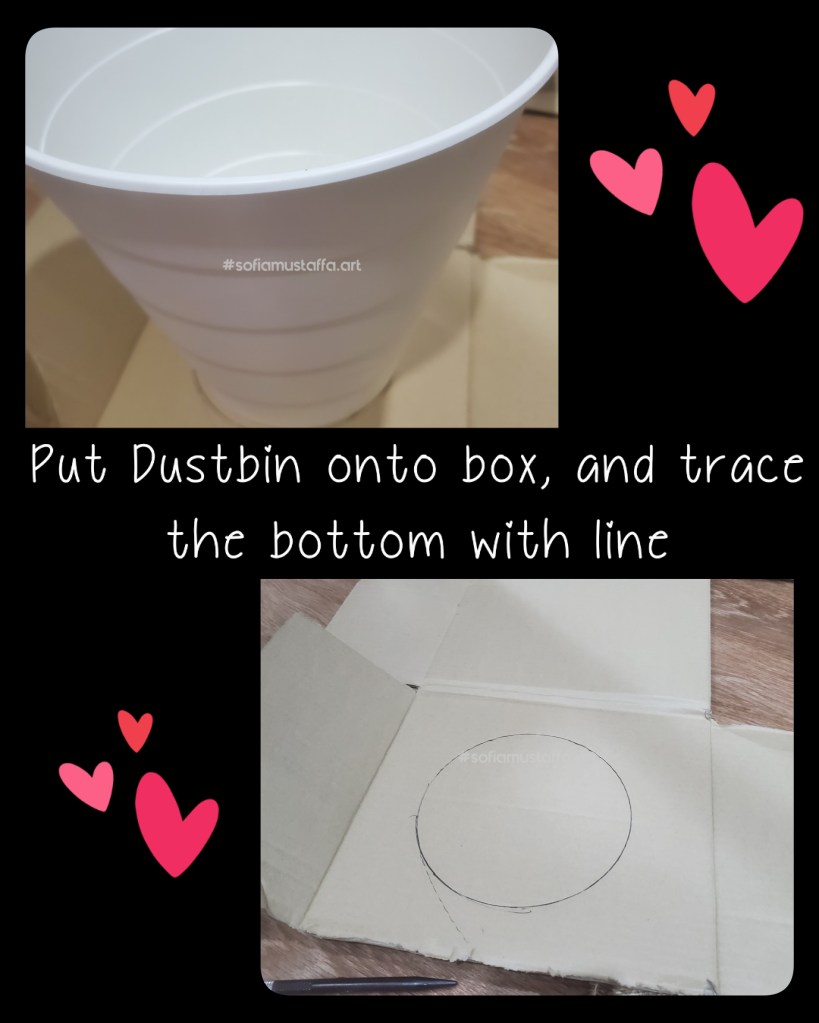
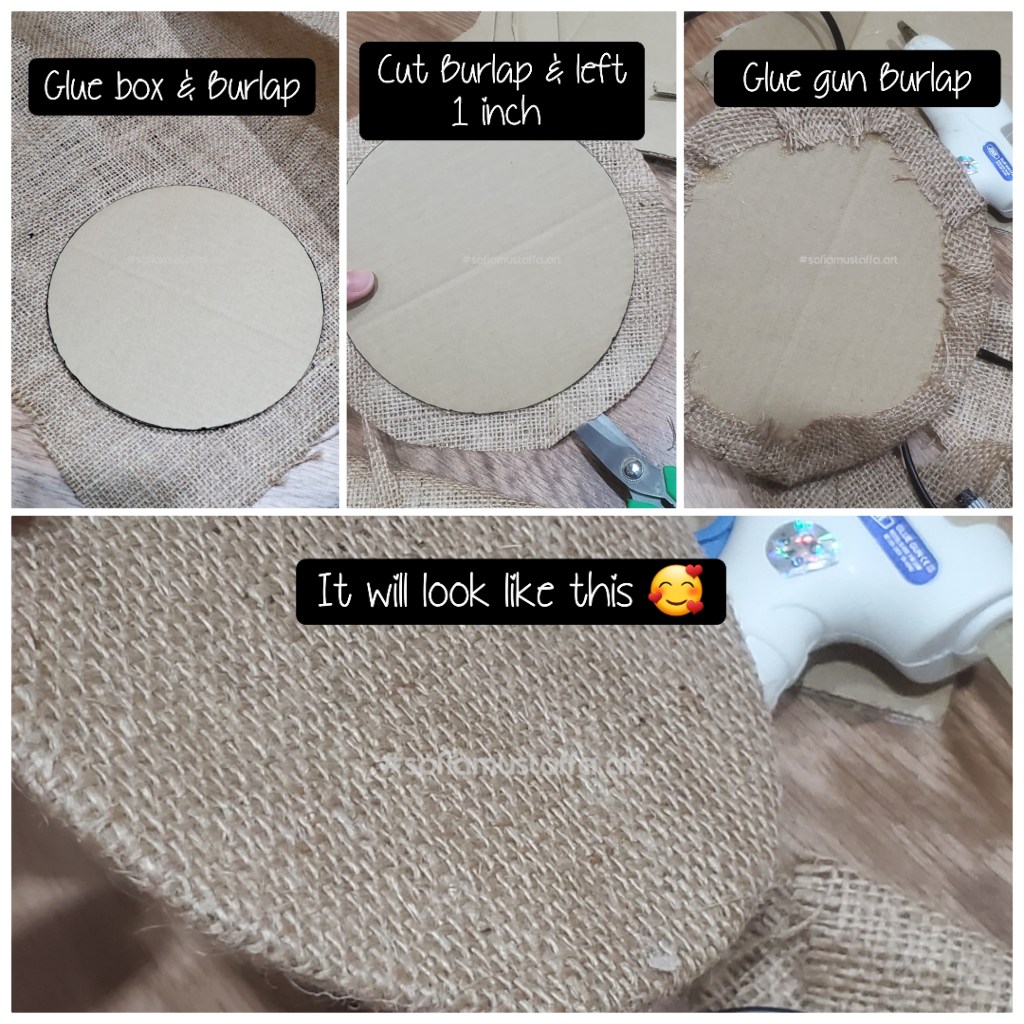
1. First of all, trace the bottom Dustbin onto the empty box like below picture 👇
2. Then, cut the lines. Glue the circle box with Burlap, and keep the Burlap 1 inch around the circle box to glue later.
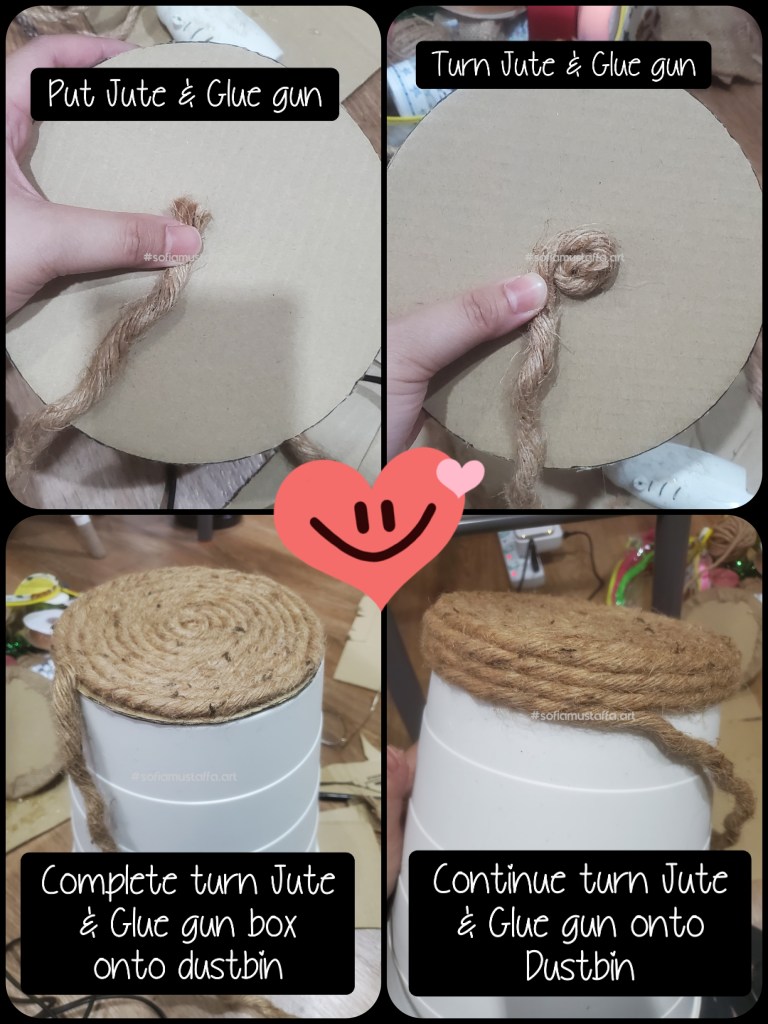
3. Put the Jute rope onto the circle box and glued with glue gun. Then turn circle the jute rope and repeating the process until finished.
4. Glue the circle box onto the bottom of the Dustbin. Then, continue turn circle the jute until finished.
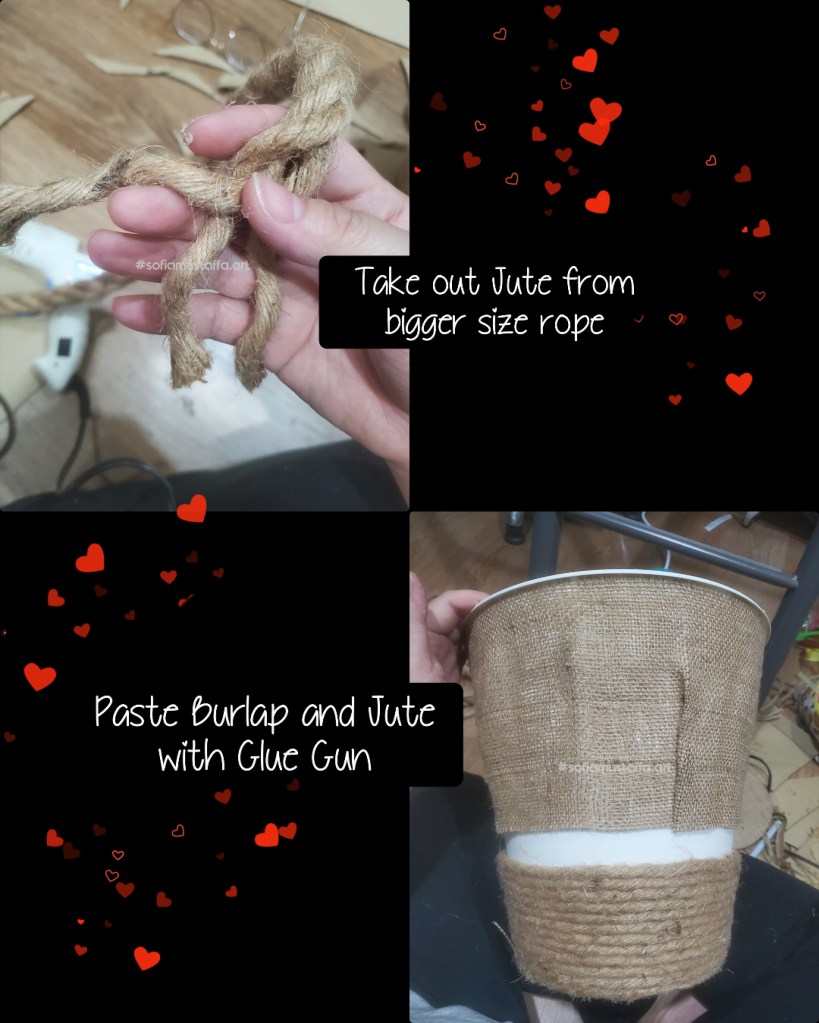
5. When the jute finished, I continue by taking out jute from bigger size. Hahaha..just using whatever I have 😉
6. Then, I glued the Burlap and Jute with Glue Gun. Kinda much I needed for the Glue Gun.
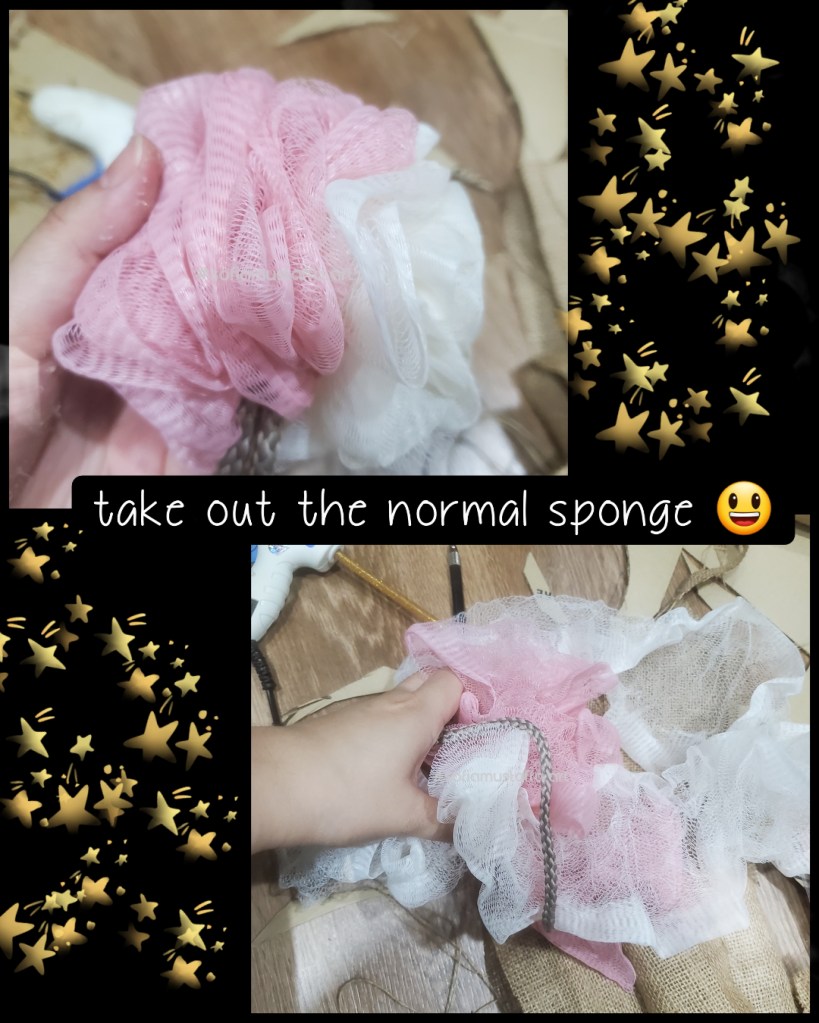
7. Then, I take out and open my new sponge for the ruffle. Haha 😃
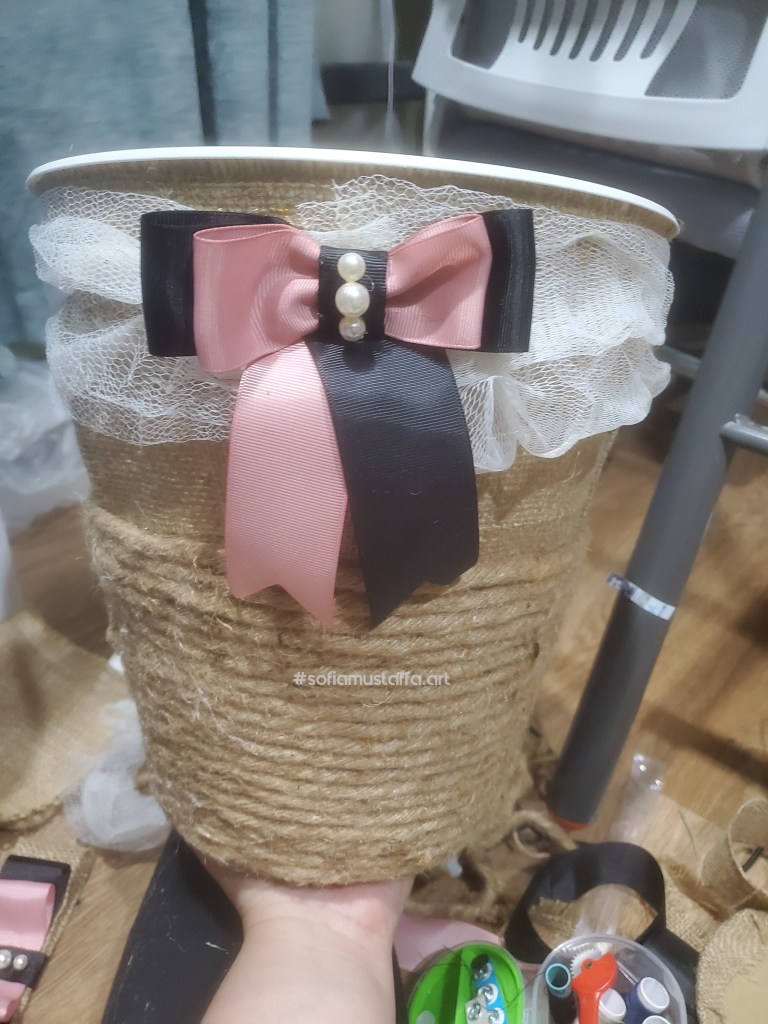
8. For ribbon, I just simply cut n paste with Glue Gun. You can fold nicely, but I like easiest way and look neat 😃😜. Check this out 👇

9. After cut, paste, cut, paste and cut paste, the final product will be…..TaaaaDaaa 👇!! 🥰

Okay, till then…to be continue….adios..
Love, Sofia
