Hello everybody!!! Good Friday morning, everyone 😘
Sorry, was busy with some deployments job. Just want to share with you a simple, easy and unique present wrap that I made for my niece. Haha, yes….you heard it right!! I love something which is easy, beautiful, unique and also cheap. 😂
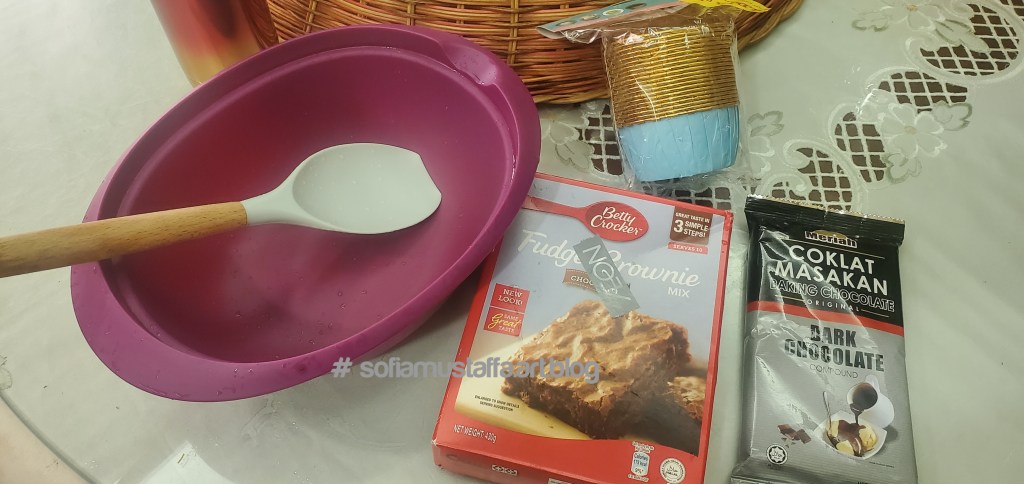
So here u go, what you really need is…
1. Scissor
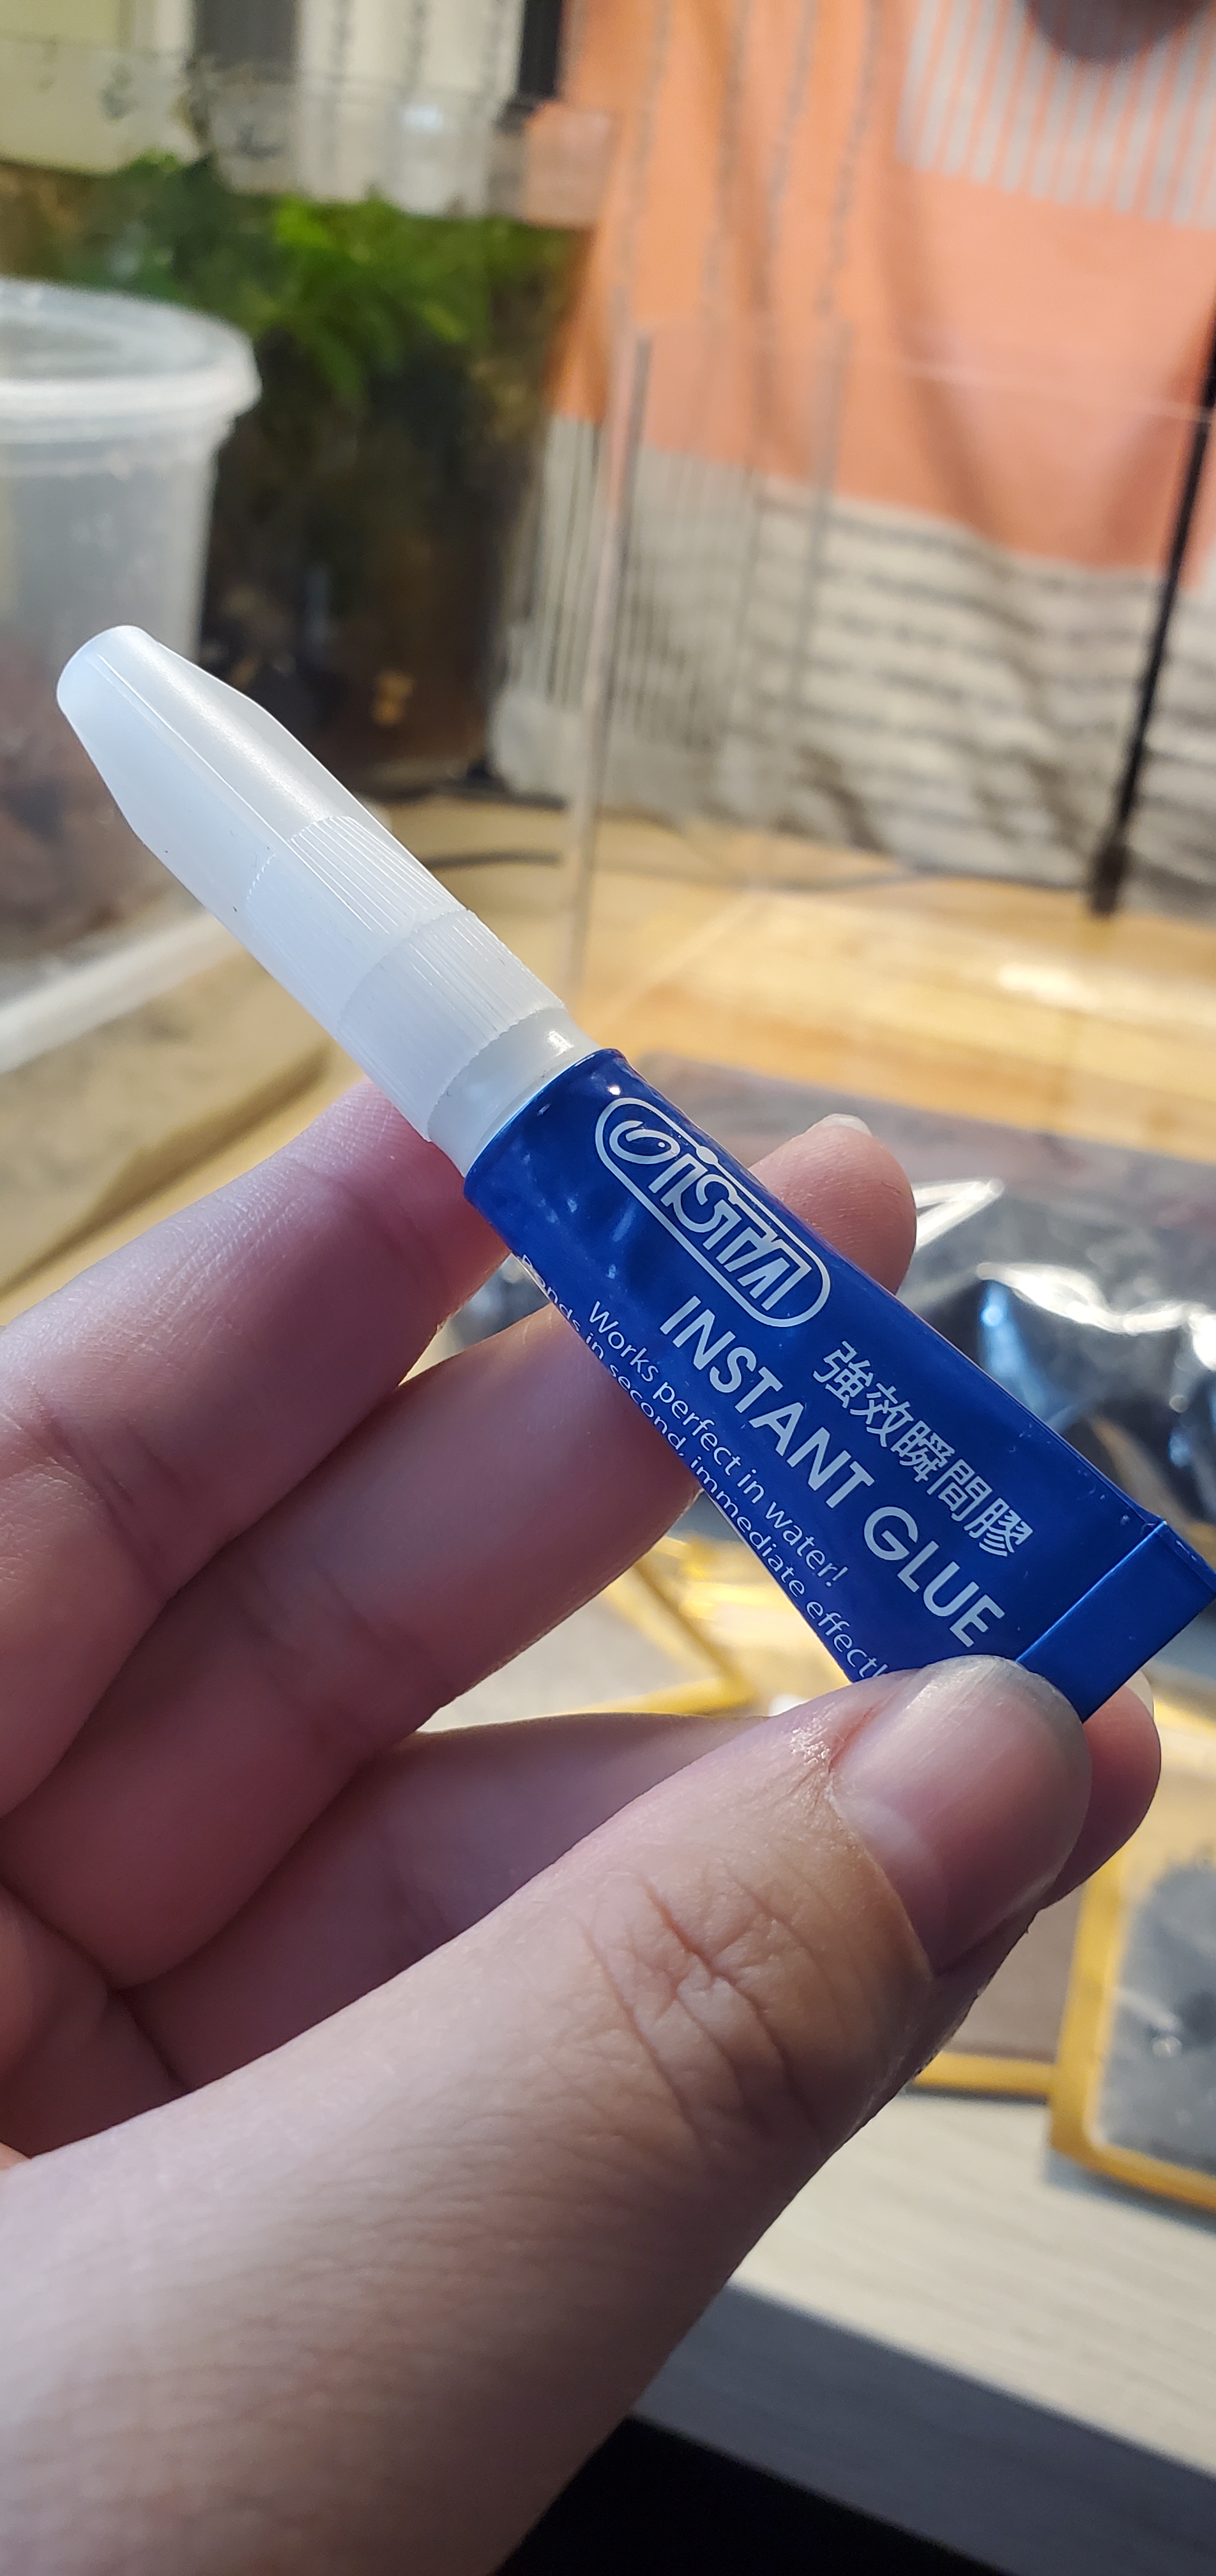
2. Glue
3. 2 plain color of paper
4. Cute ribbon or chocolate cover *optional
How to wrap a present – Cheap, Easy and Unique way (chocolate design)
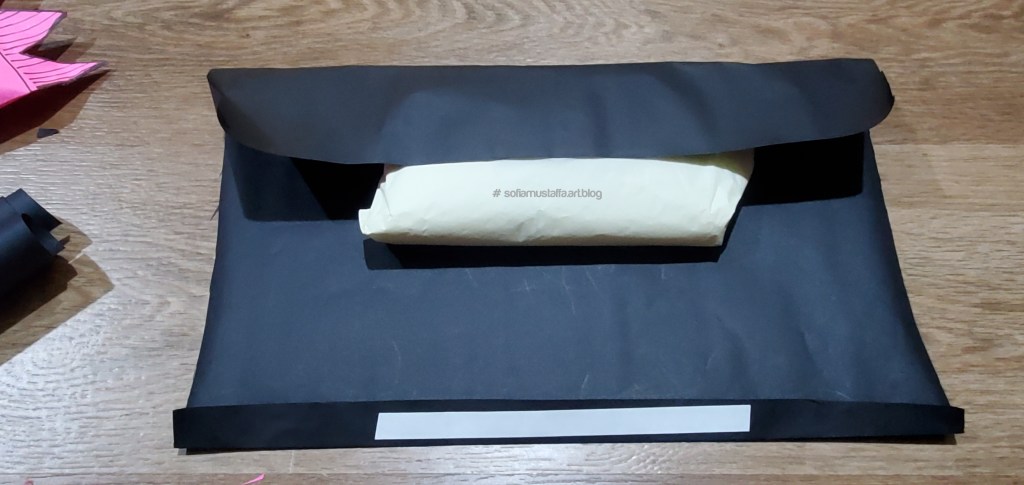
1. Wrap the whole present like this, and put doible sided tape at the end of the paper. Make sure you fold it before put on the double sided tape.
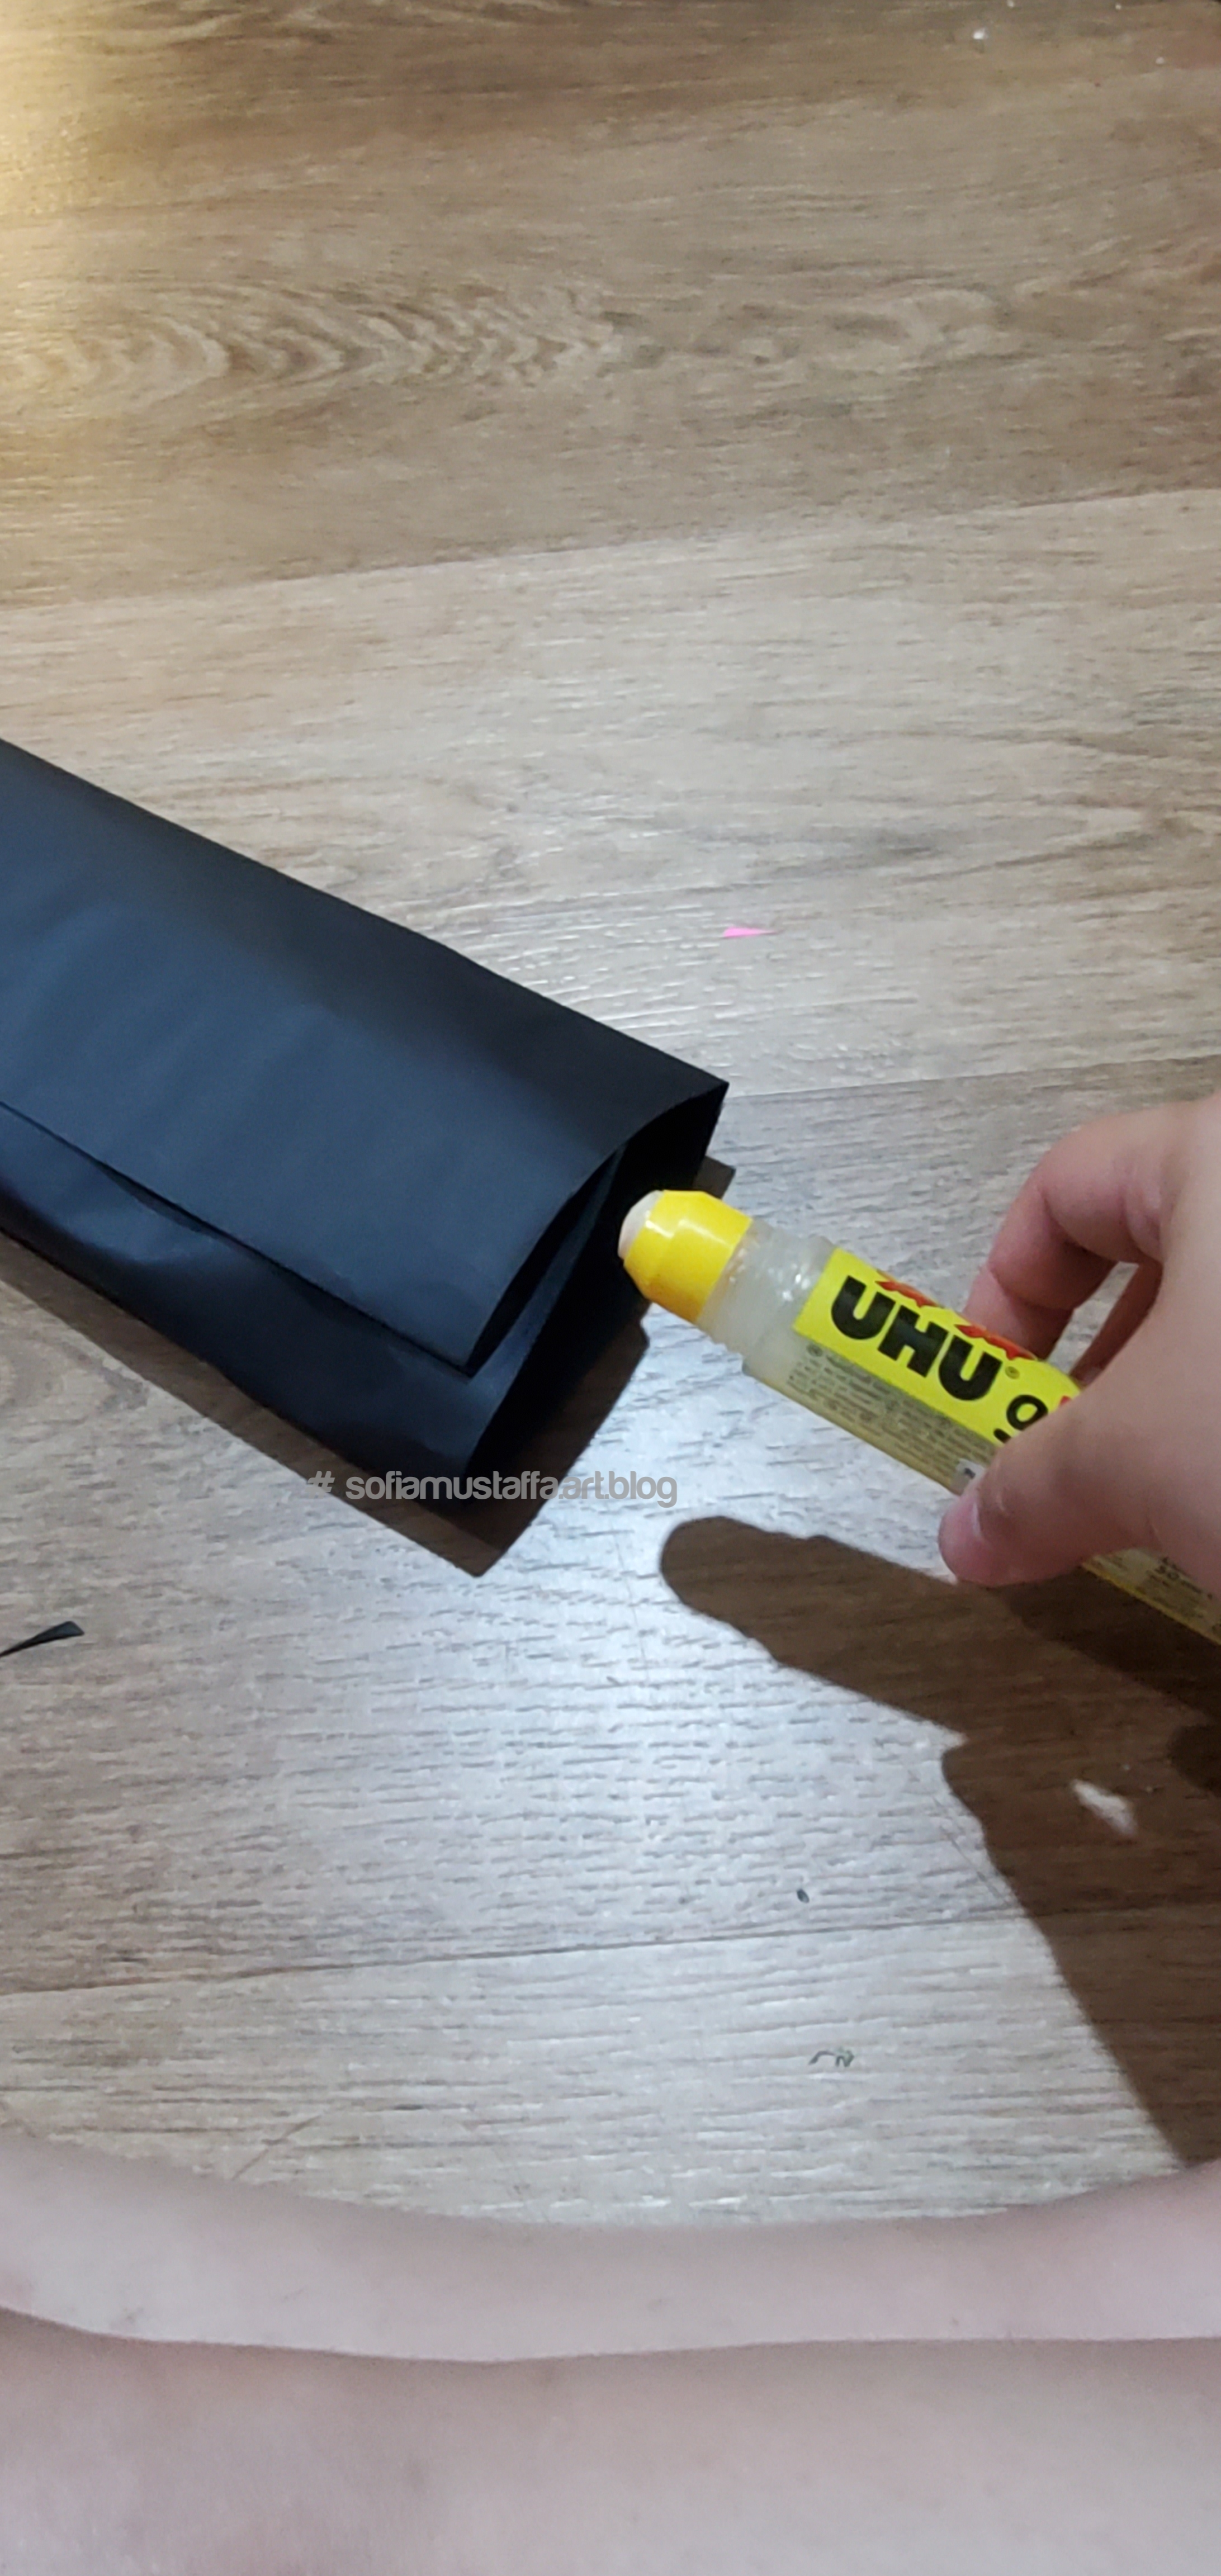
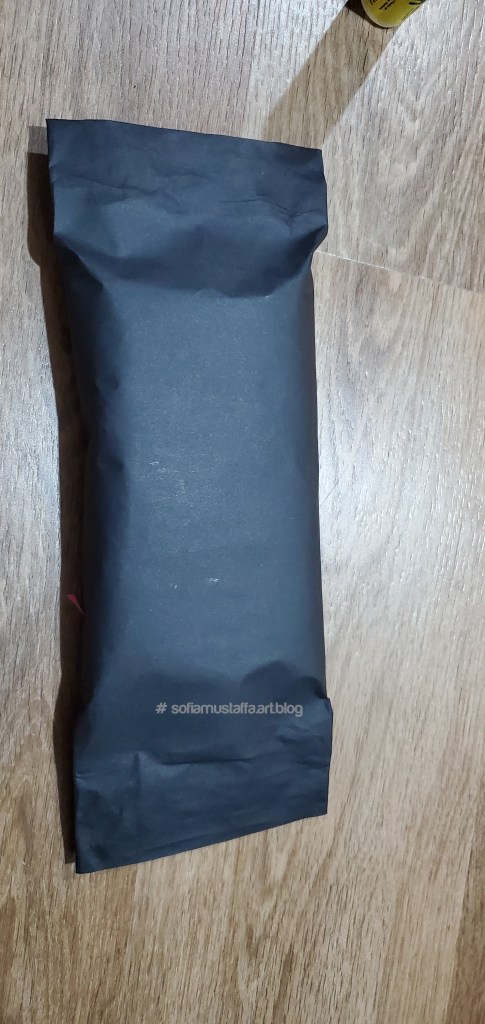
2. Then, at both end of the present, just put in the glue inside, and keep it together like this..
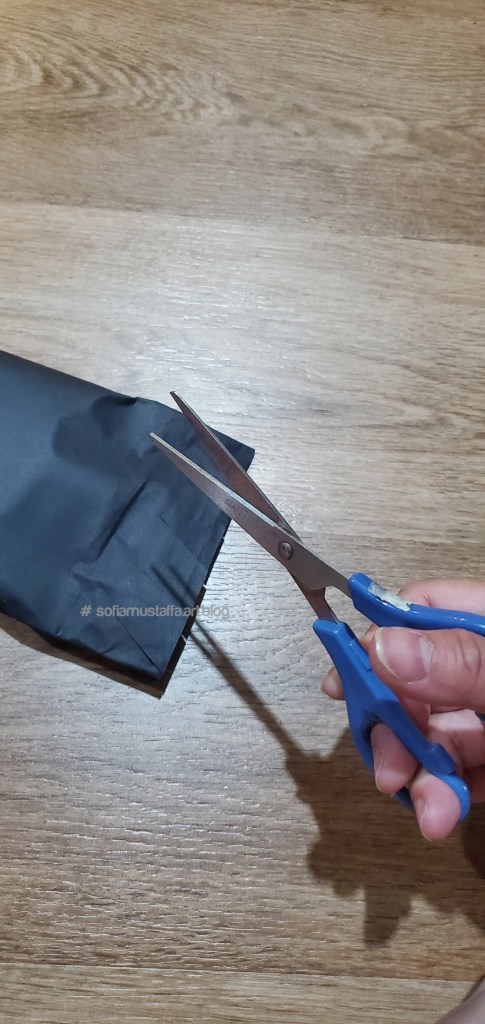
3. Cut the edge of both side, with zig-zag design..
4. Cut off another color of paper square, and simply glue on top of the present like this..


That’s all for now, to be continue if i got any some other time..take care guys!!! 😘
Love, Sofia