My ‘me time’ – fast furious diy basket’s lid πŸ˜‚

Hello!!! HellOoooooOoo…hello!! Everybody! How are you? Today, I got a lil time for myself..so I made some diy items.

My room is super duper dusty lately. I’d bought dust mite vacuum, but unfortunately the parcel was lost during shipping. I bought it again, and hoping it won’t lost again.

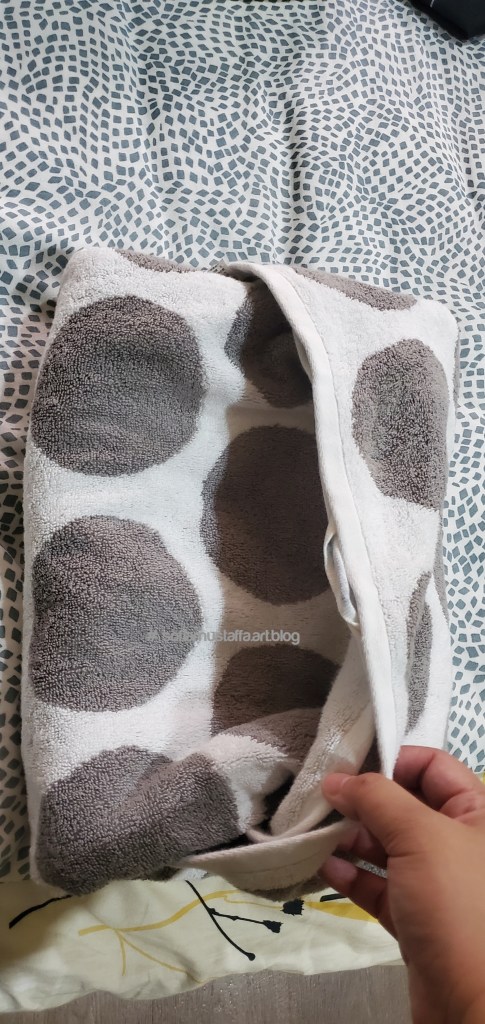
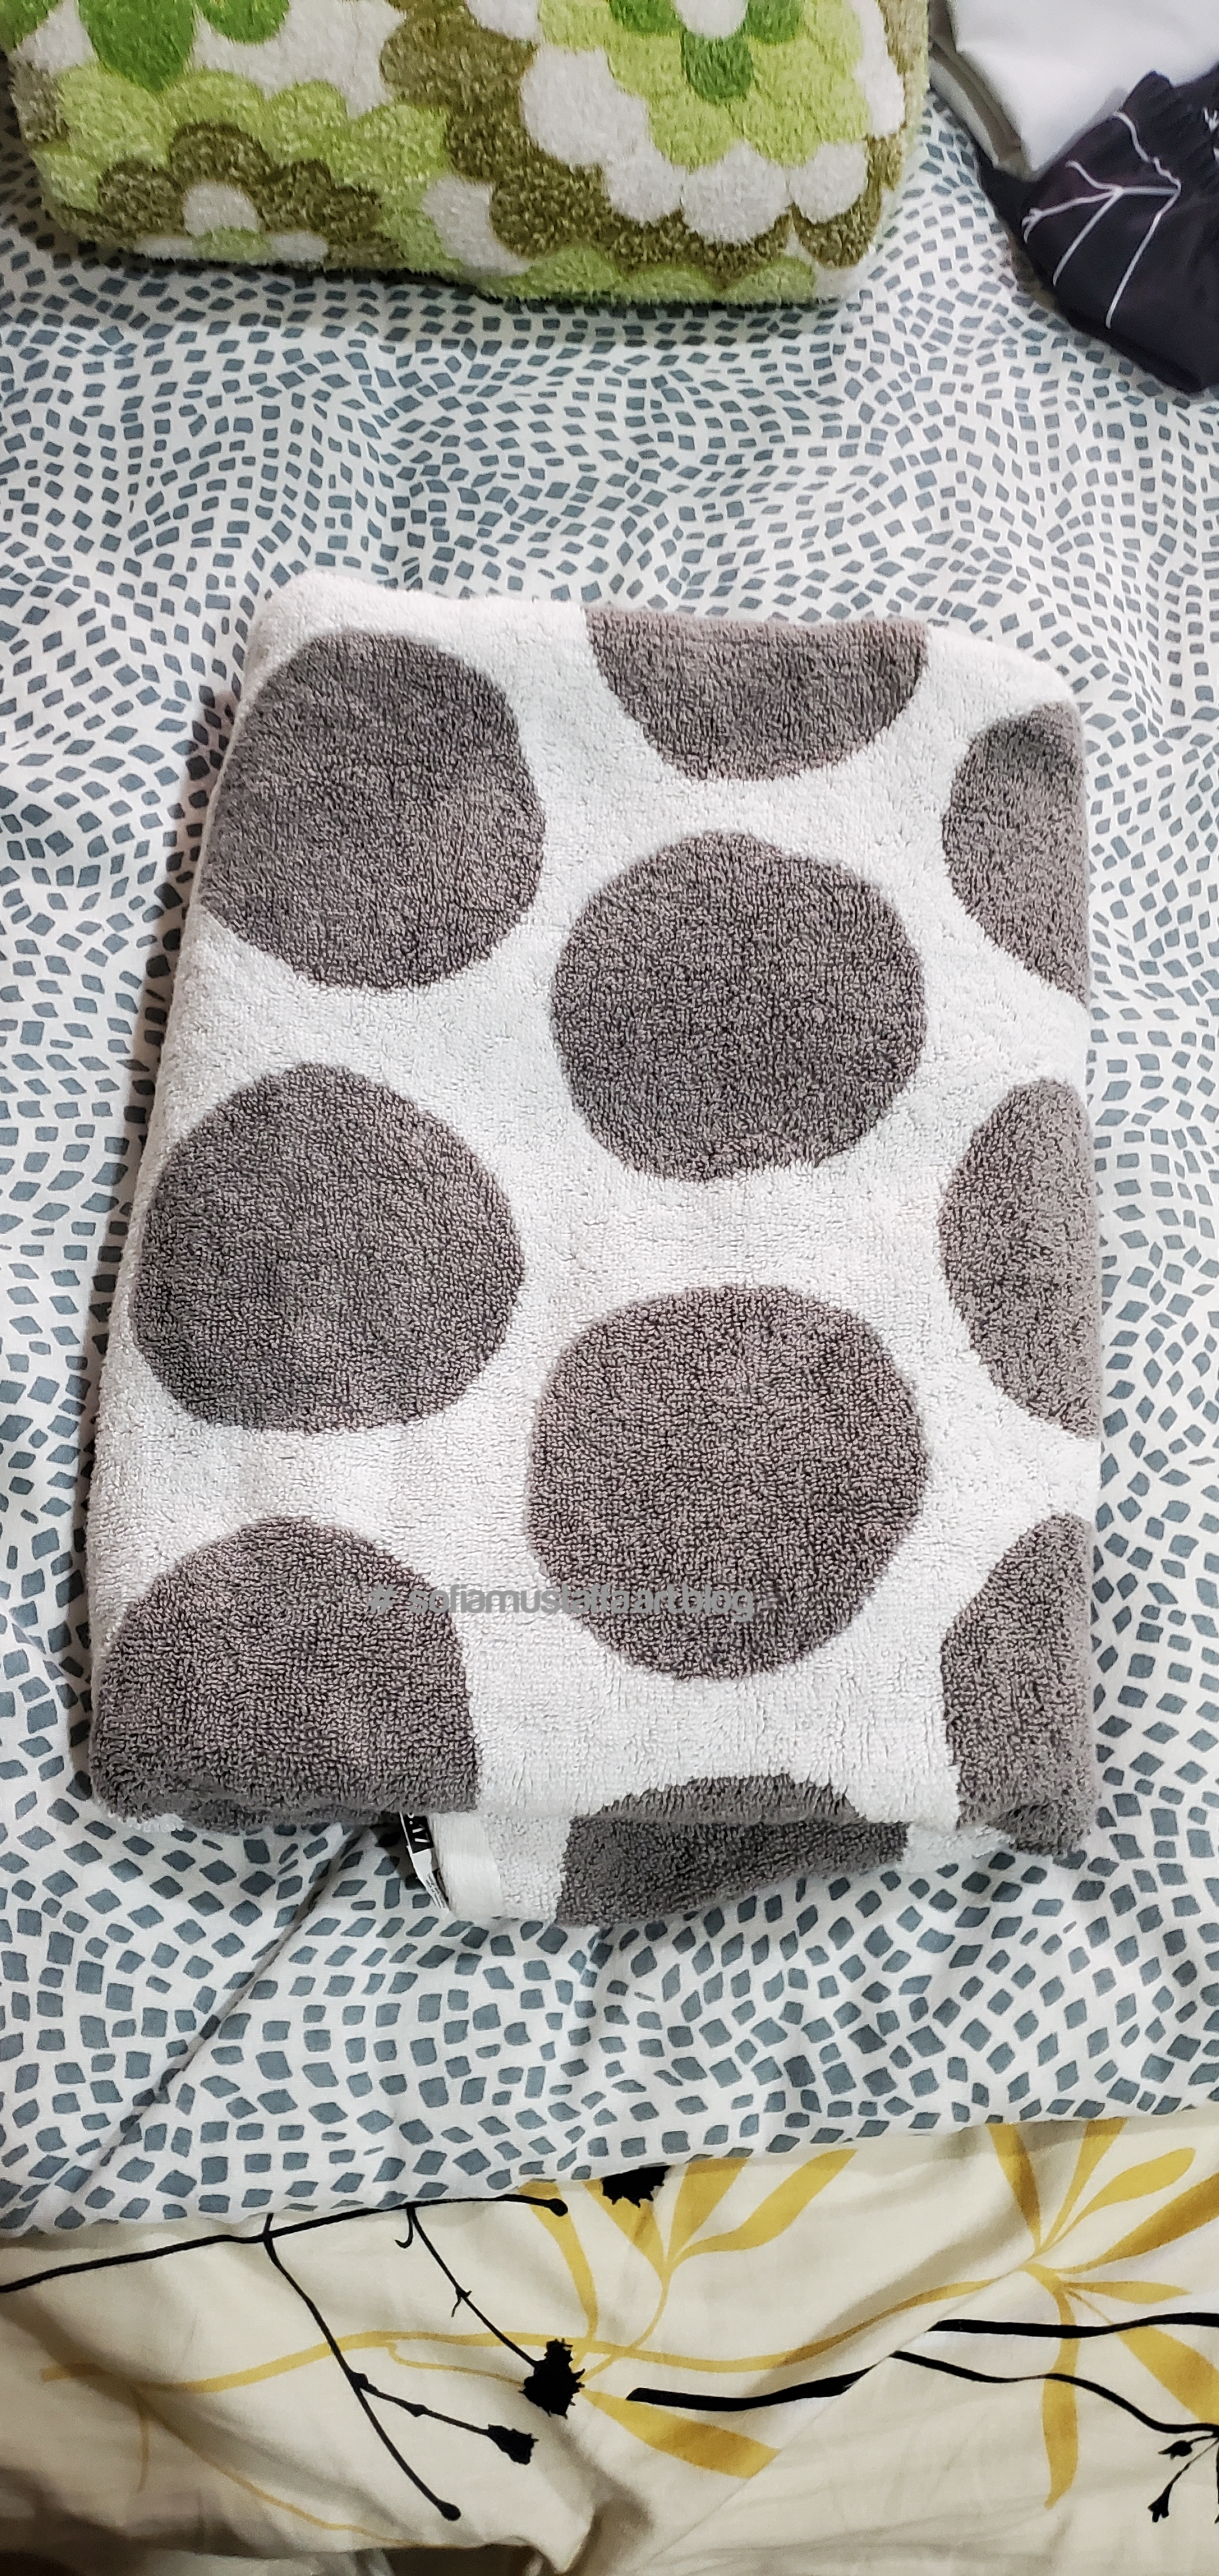
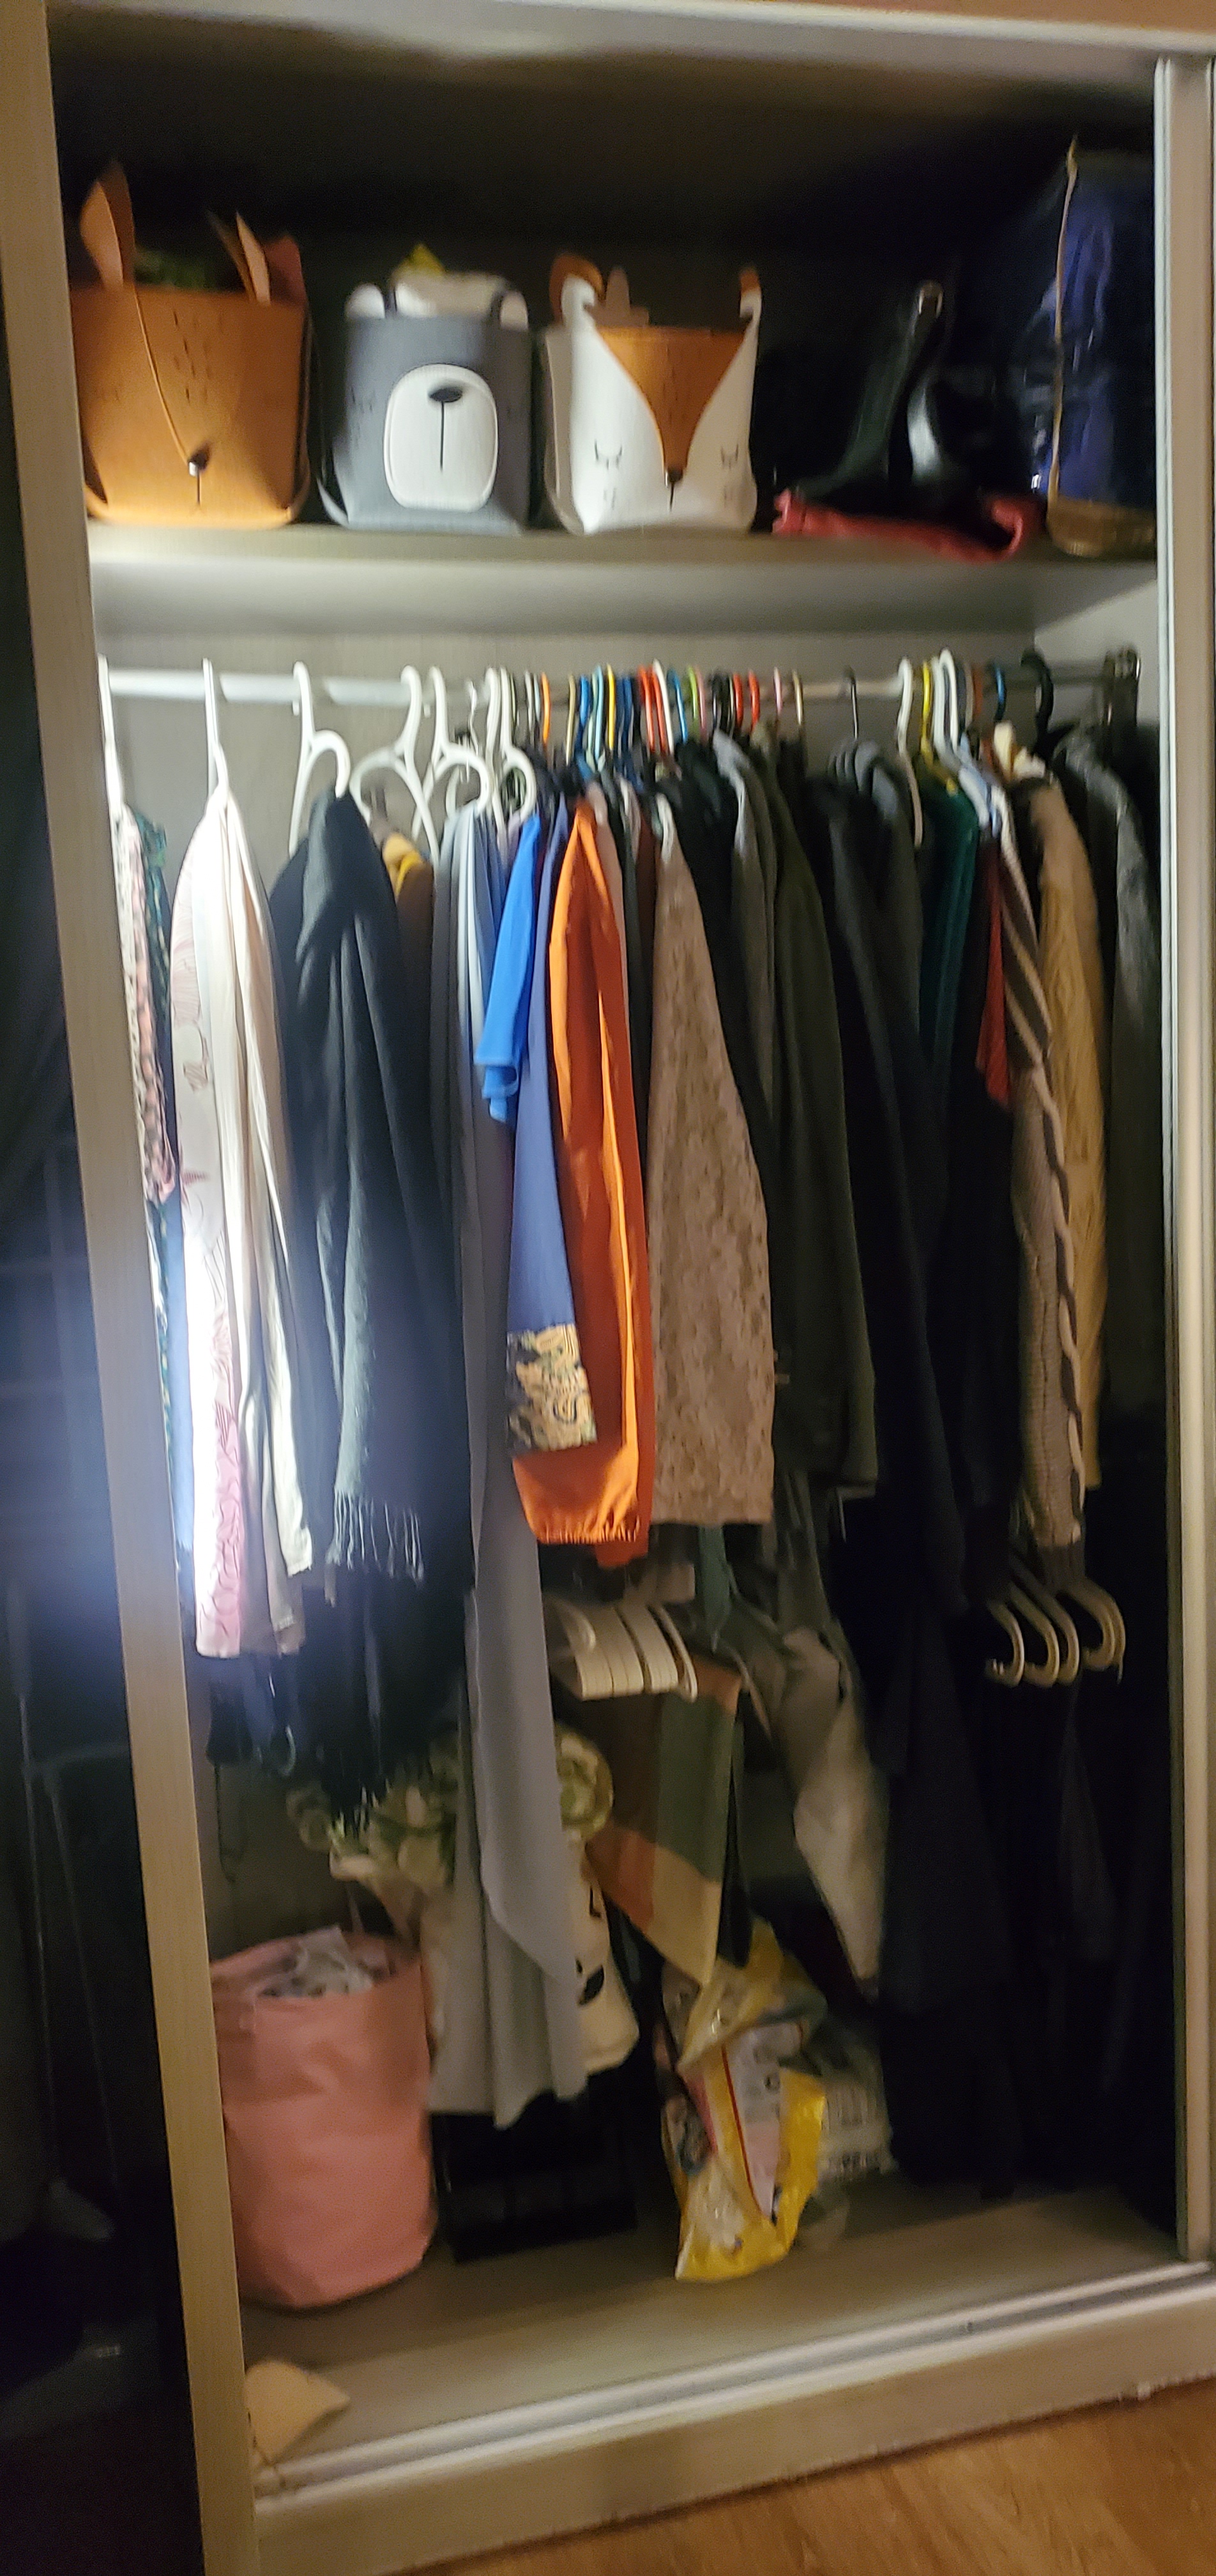
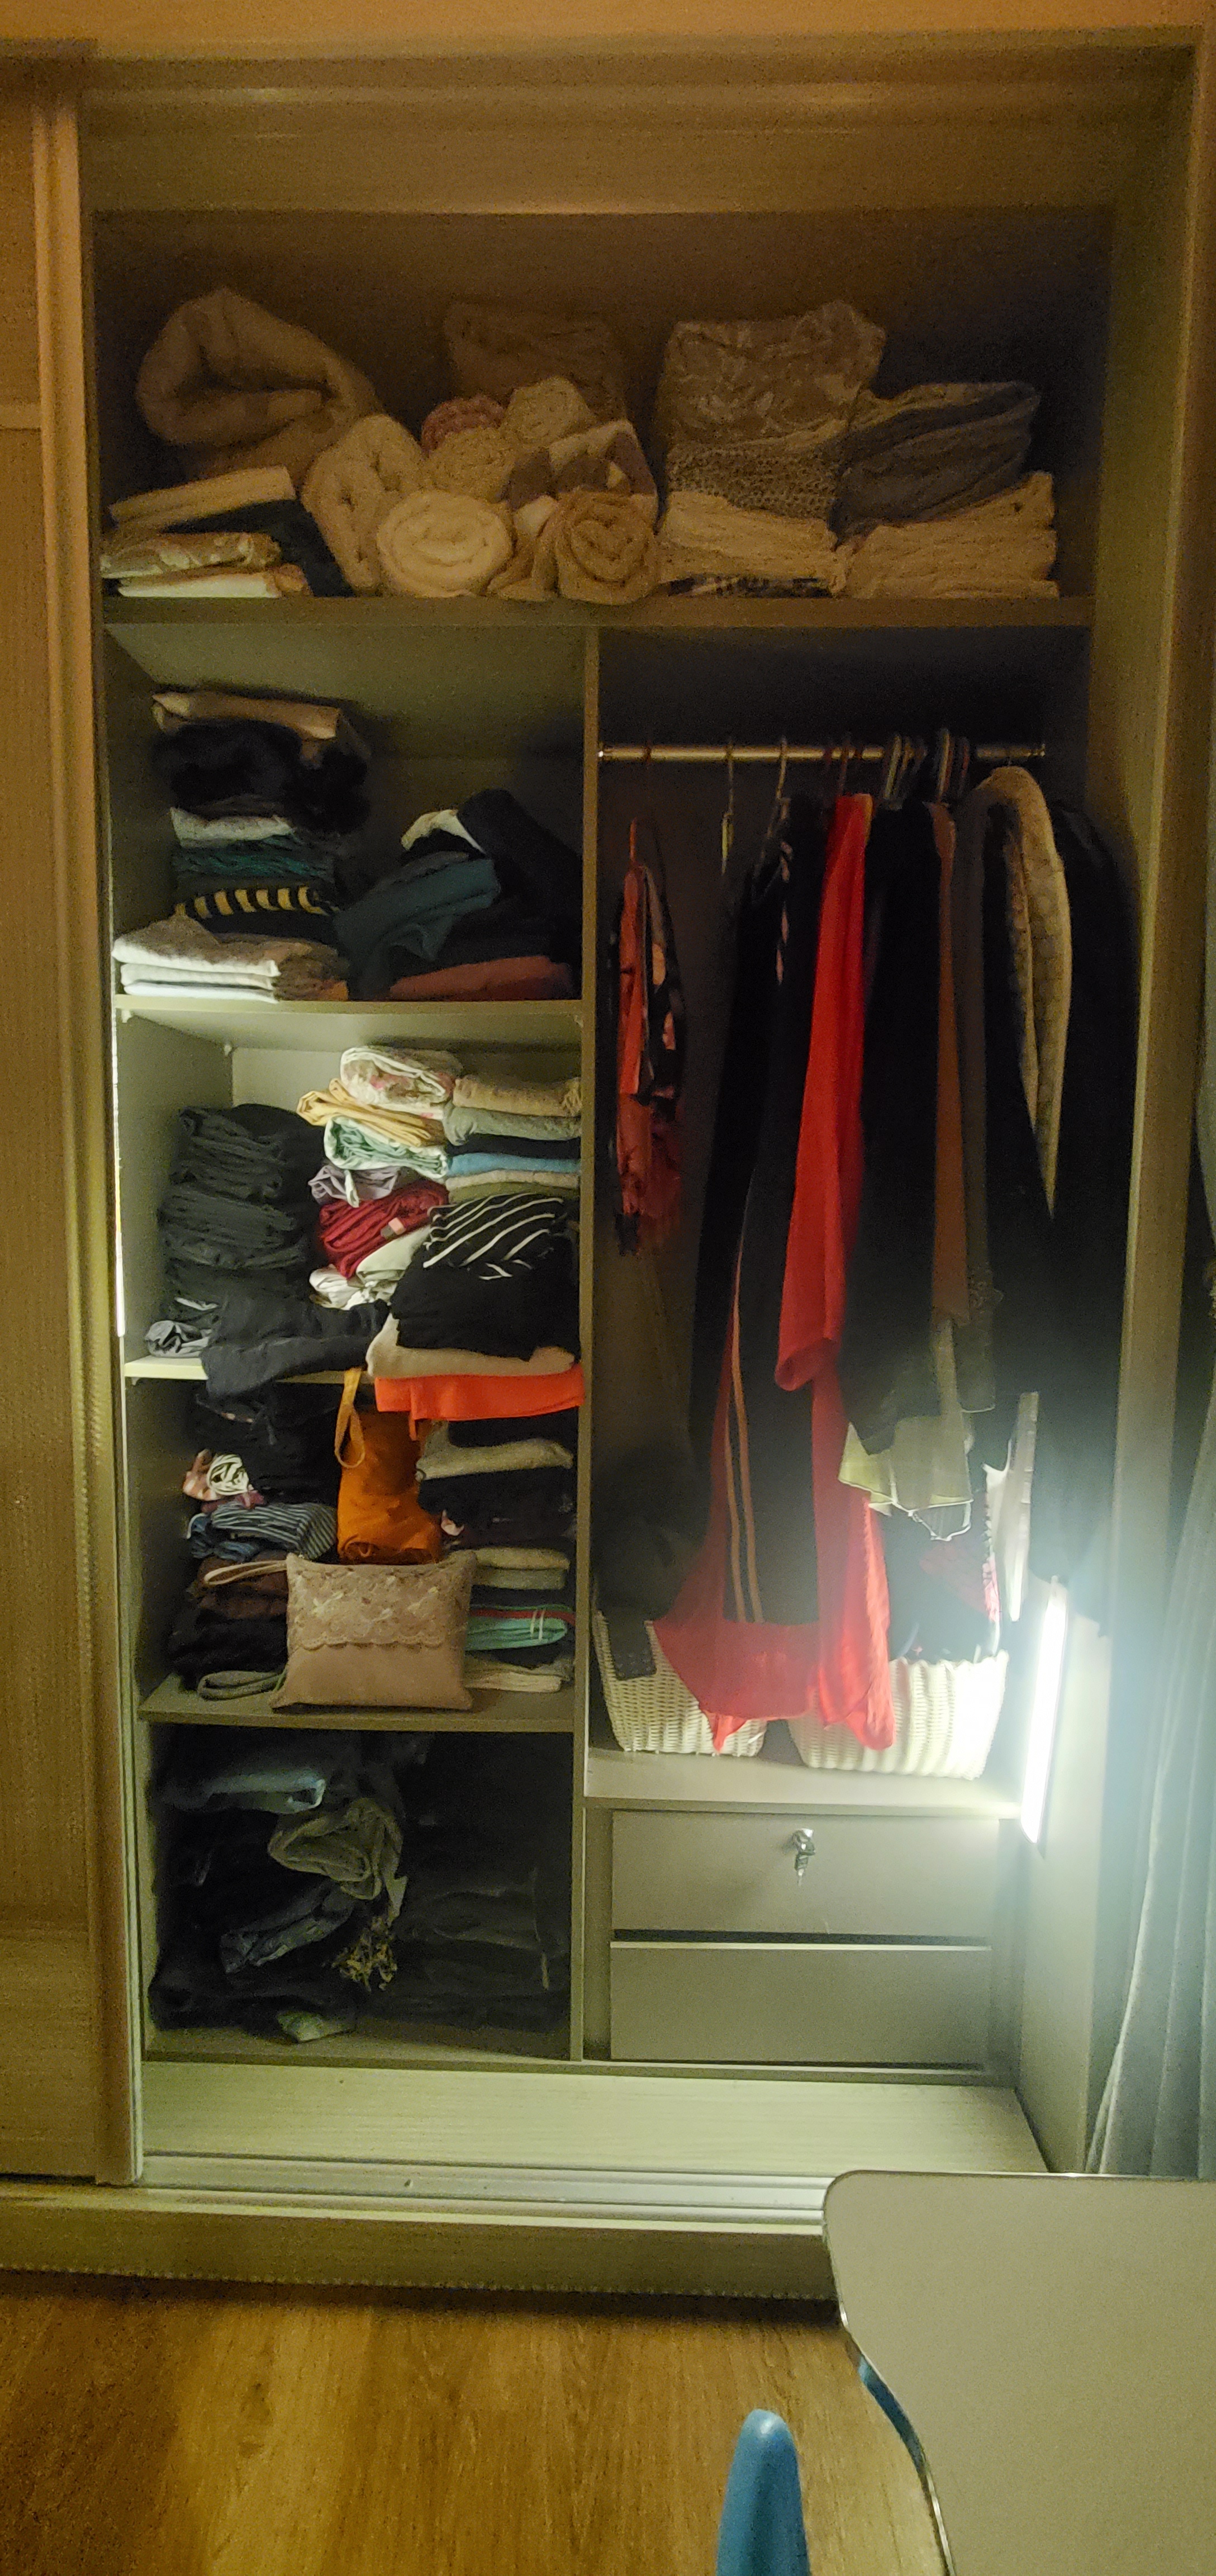
Because of my room sooo dusty, so I was thinking to cover up all my baskets. You really can’t see with your eyes the dust on fabric, but its there πŸ₯²

So I do some research on how to diy it by using recycle things I have now – boxes.

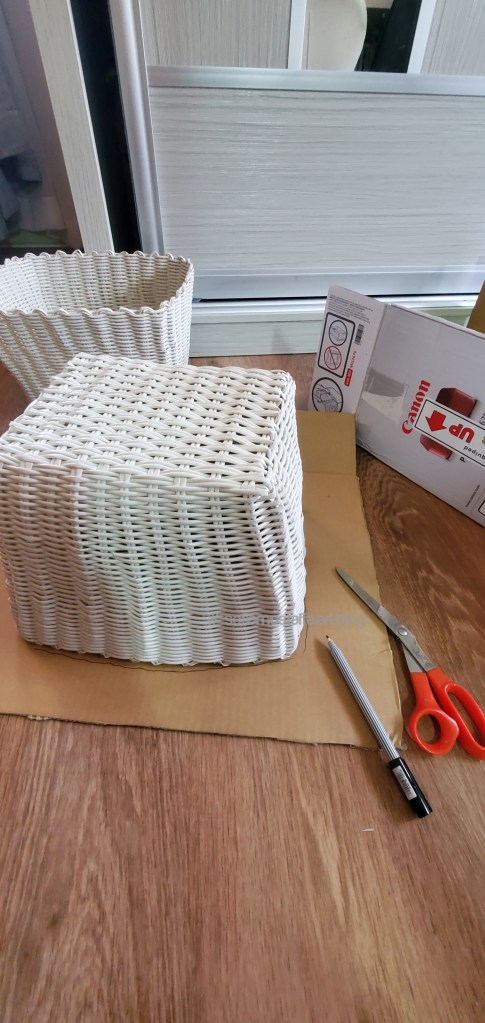
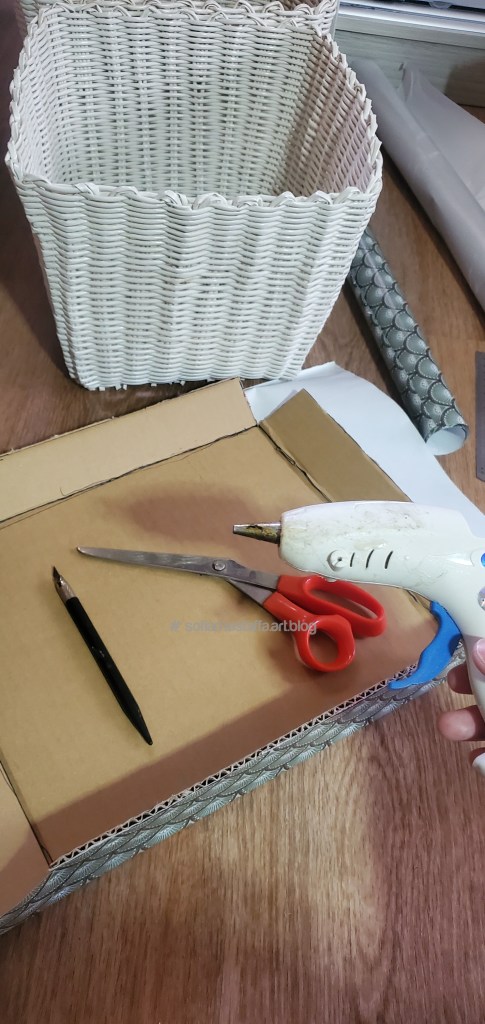
Things you need to make this lid are:

1. Scissor or cutter

2. Glue gun

3. Marker pen.

4. Ruler.

5. Big empty box.

6. Wrapper paper.

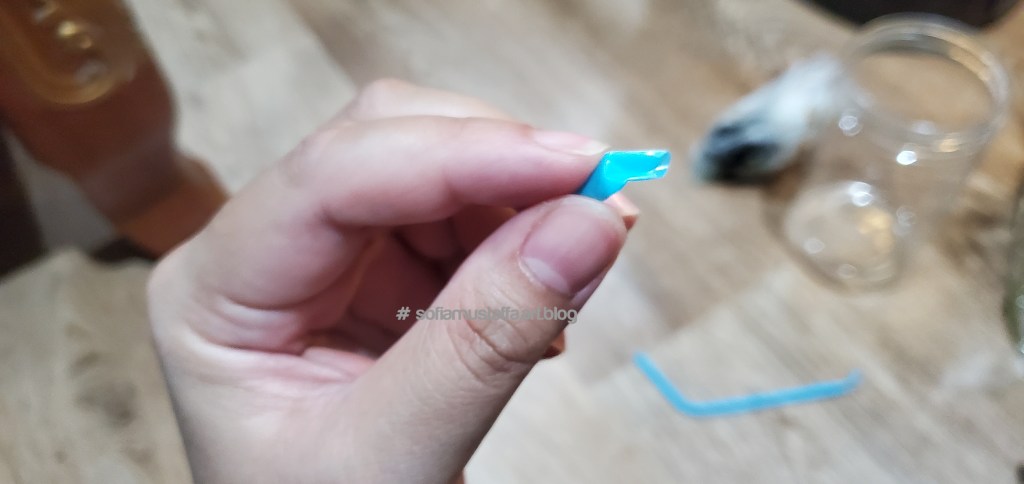
7. 10mm jute – optional

DIY basket’s lid πŸ˜ƒπŸ₯°

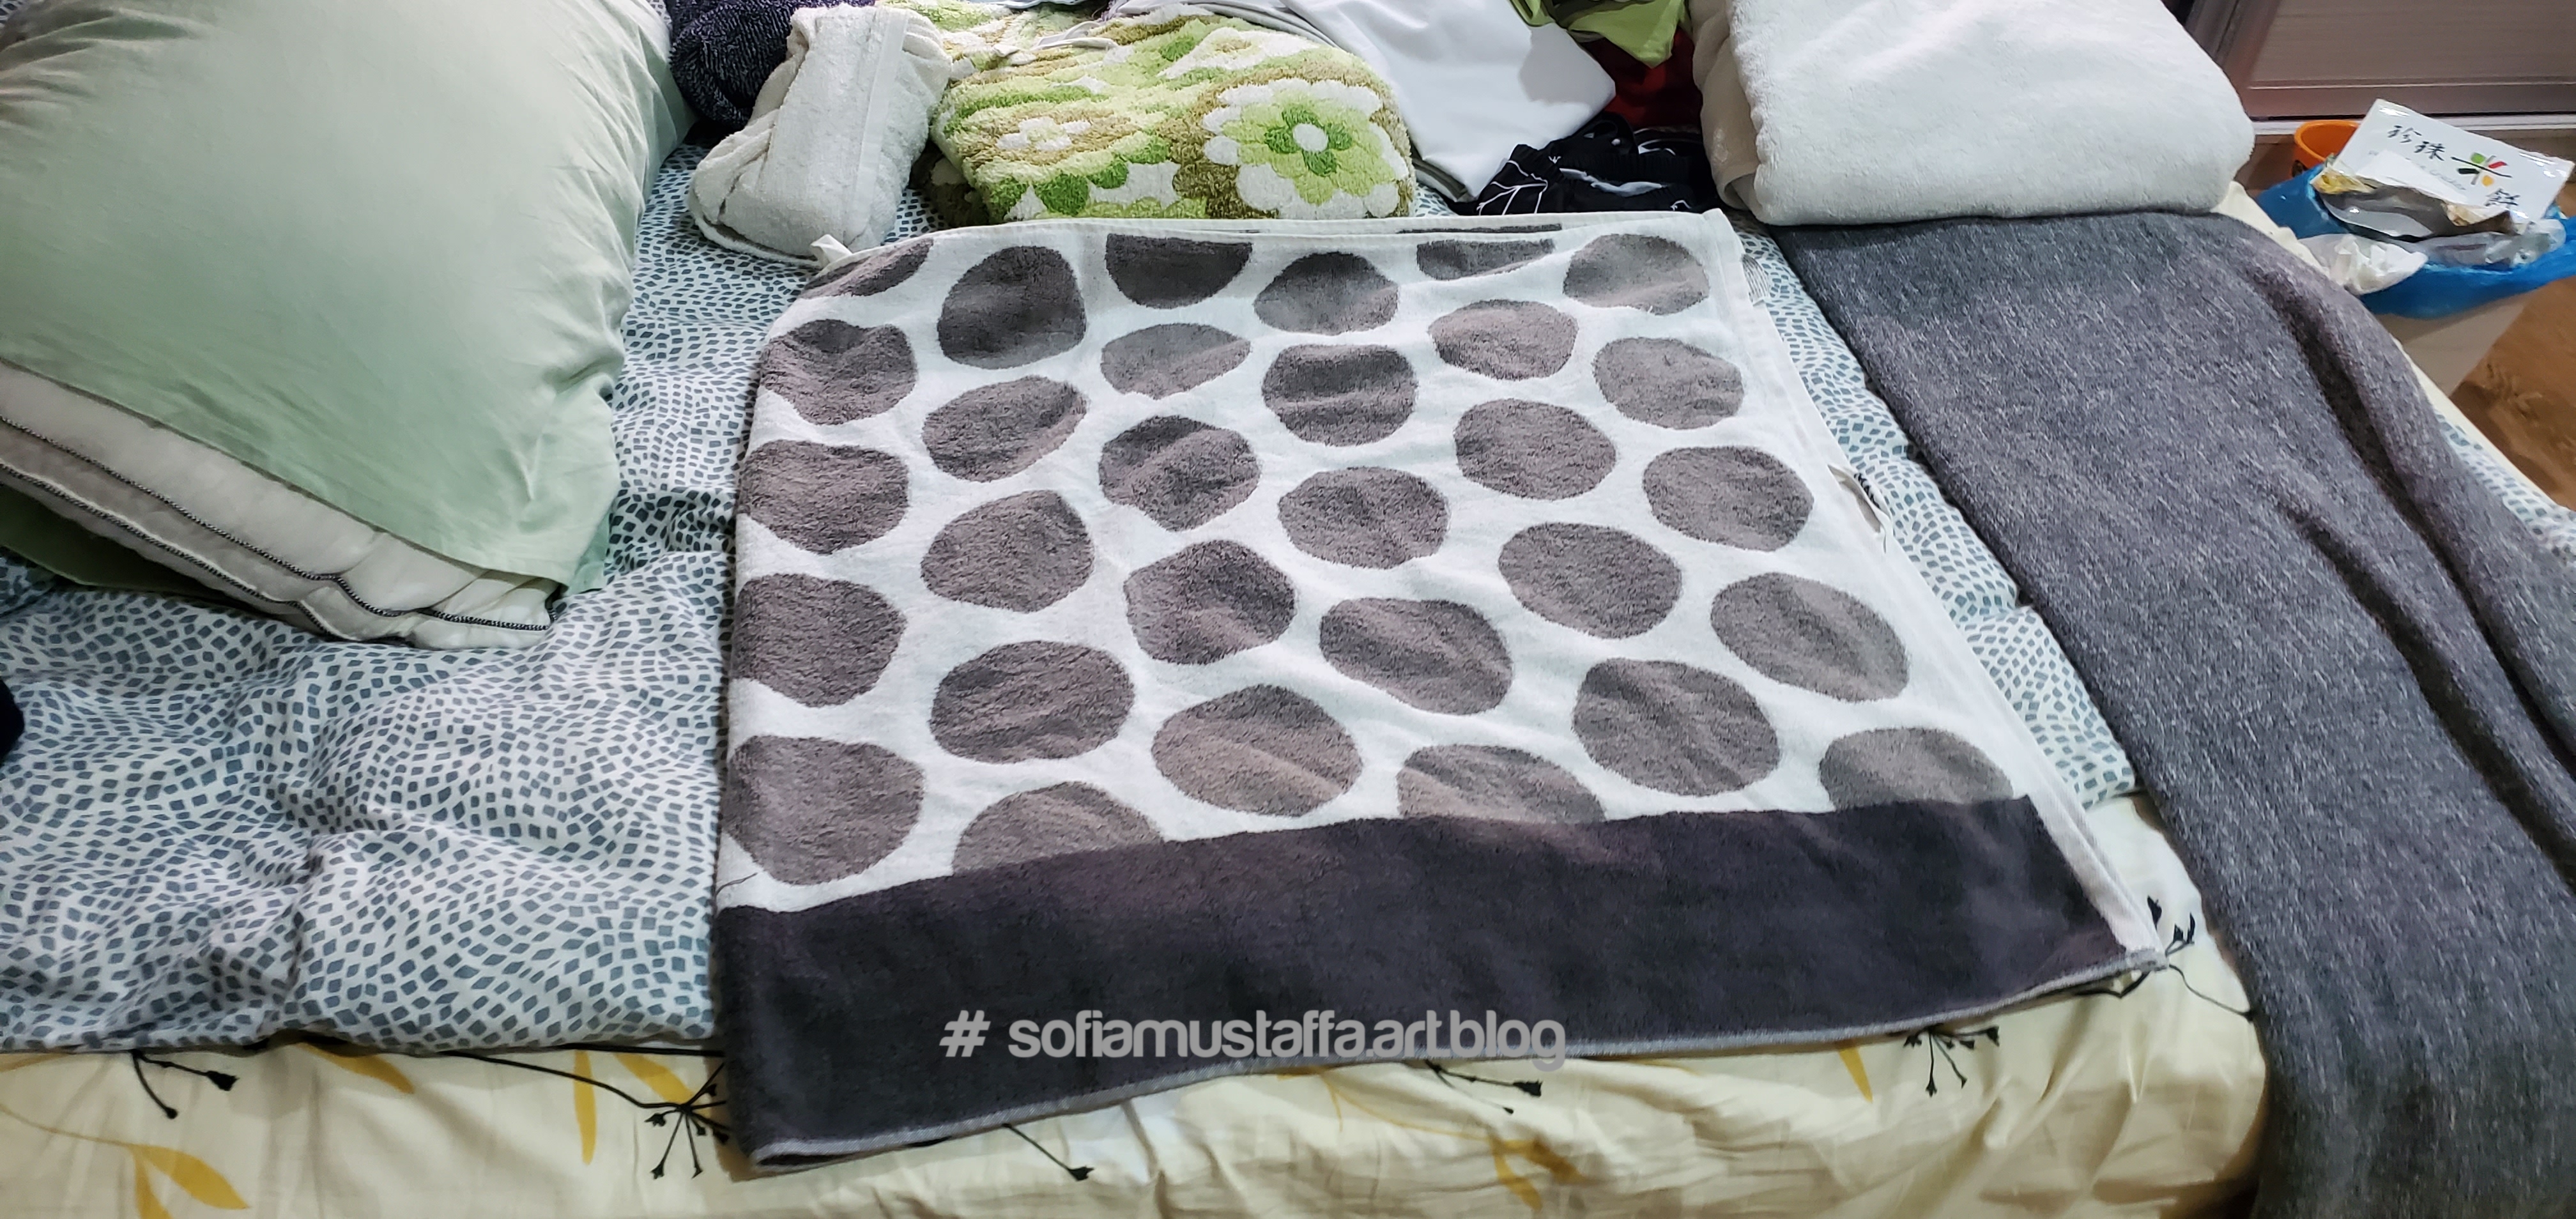
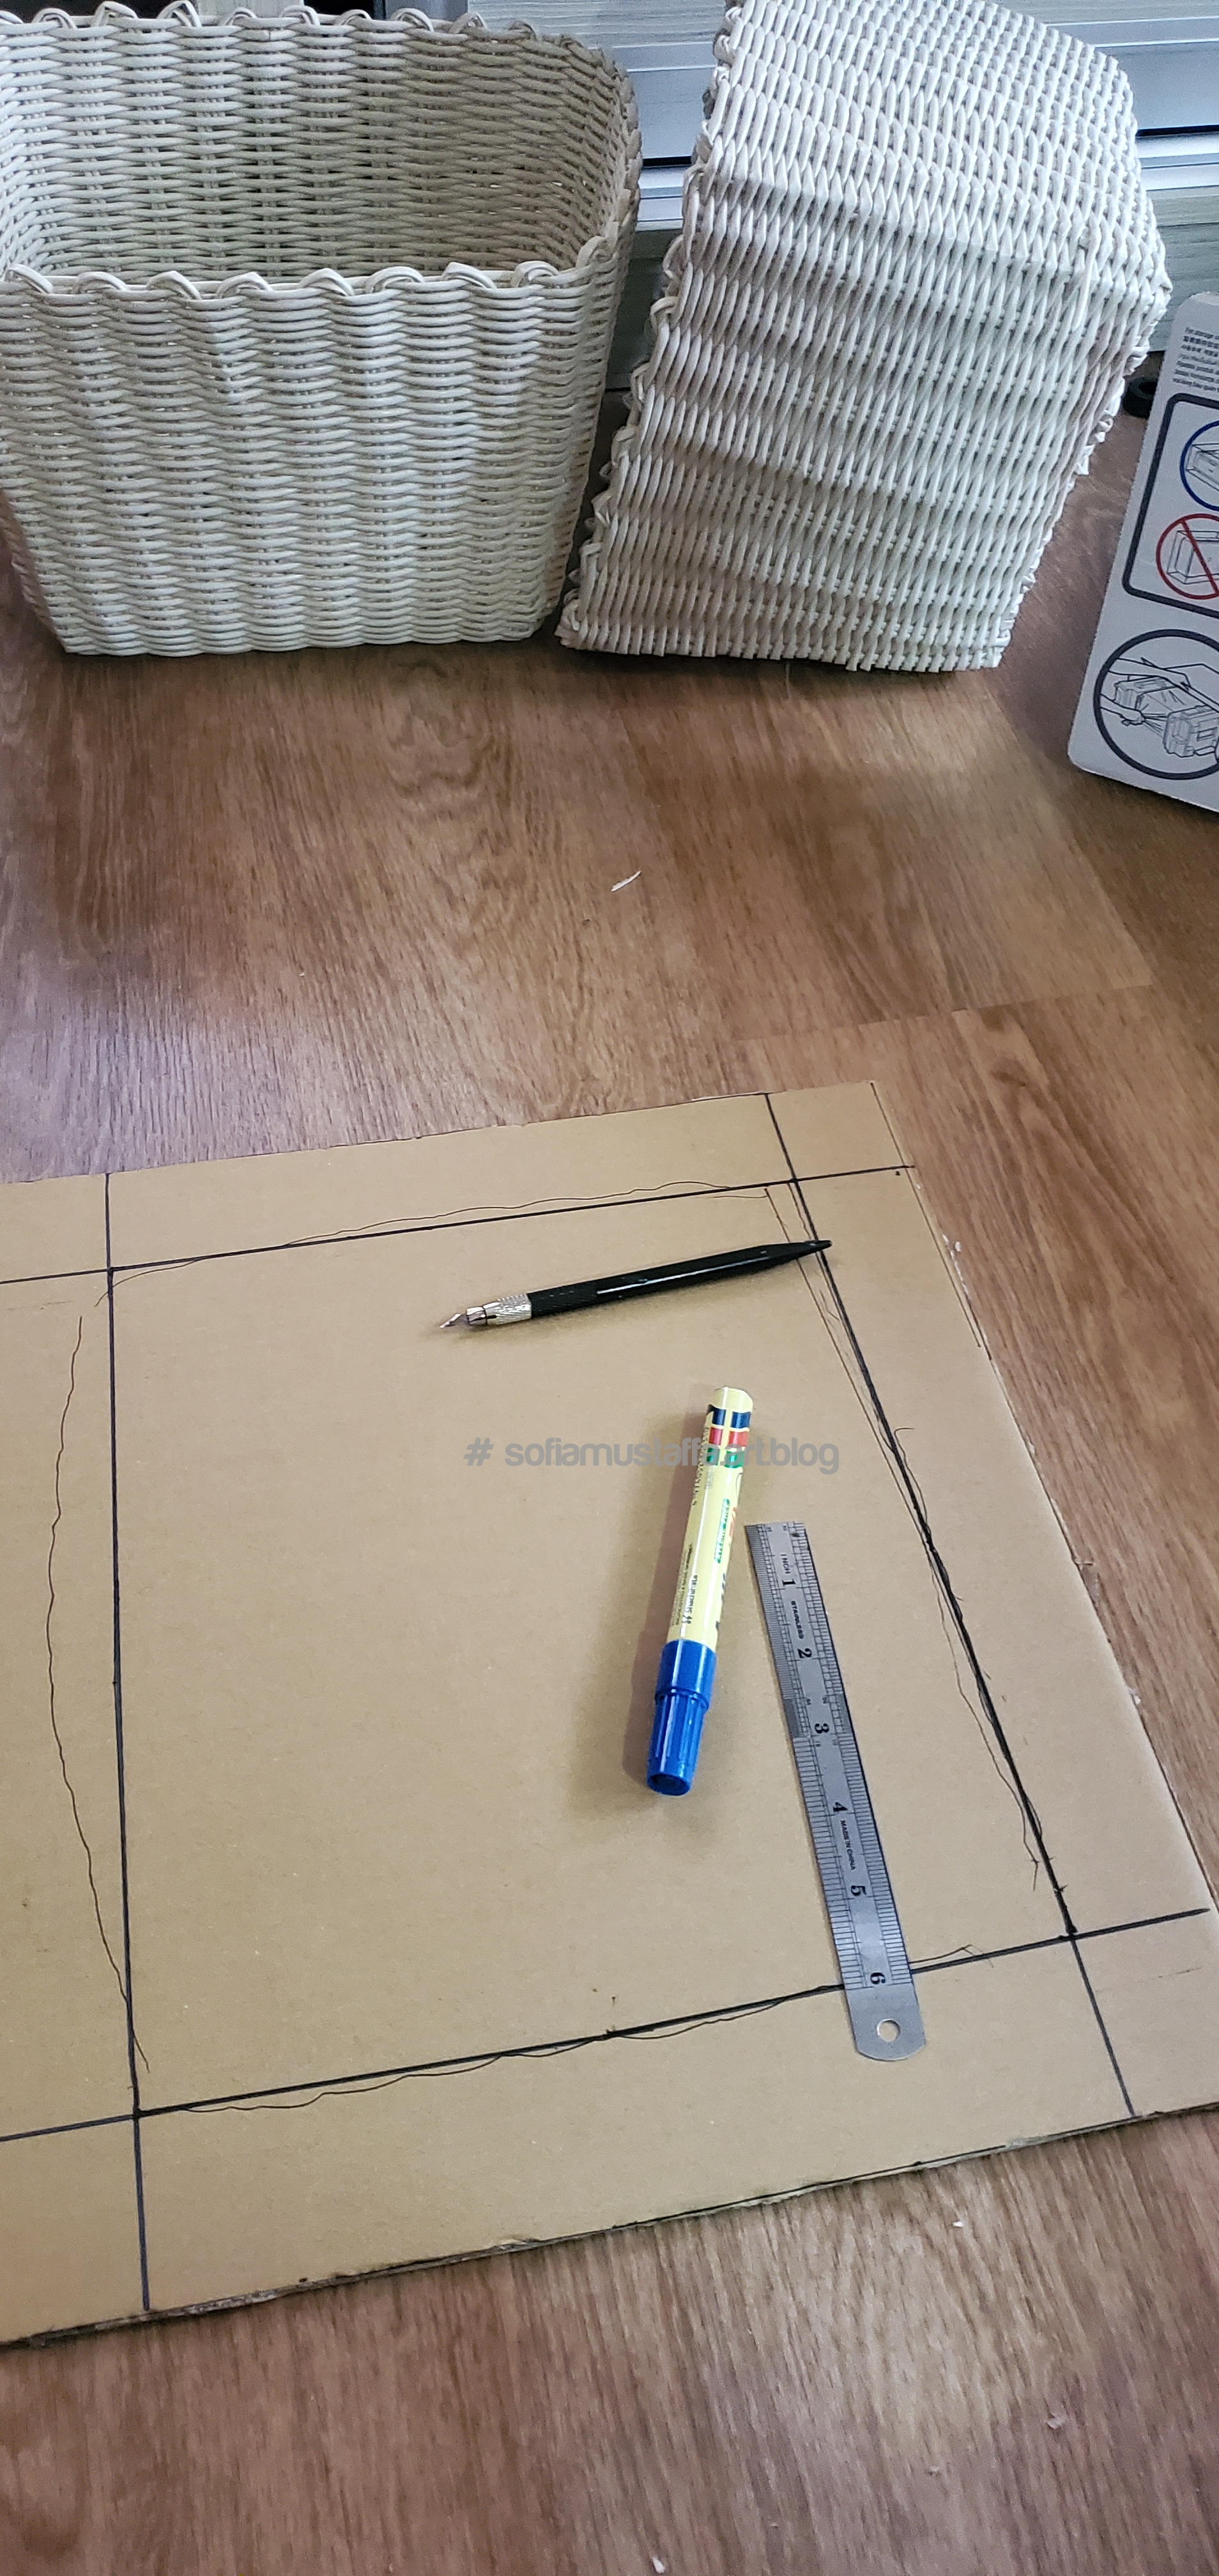
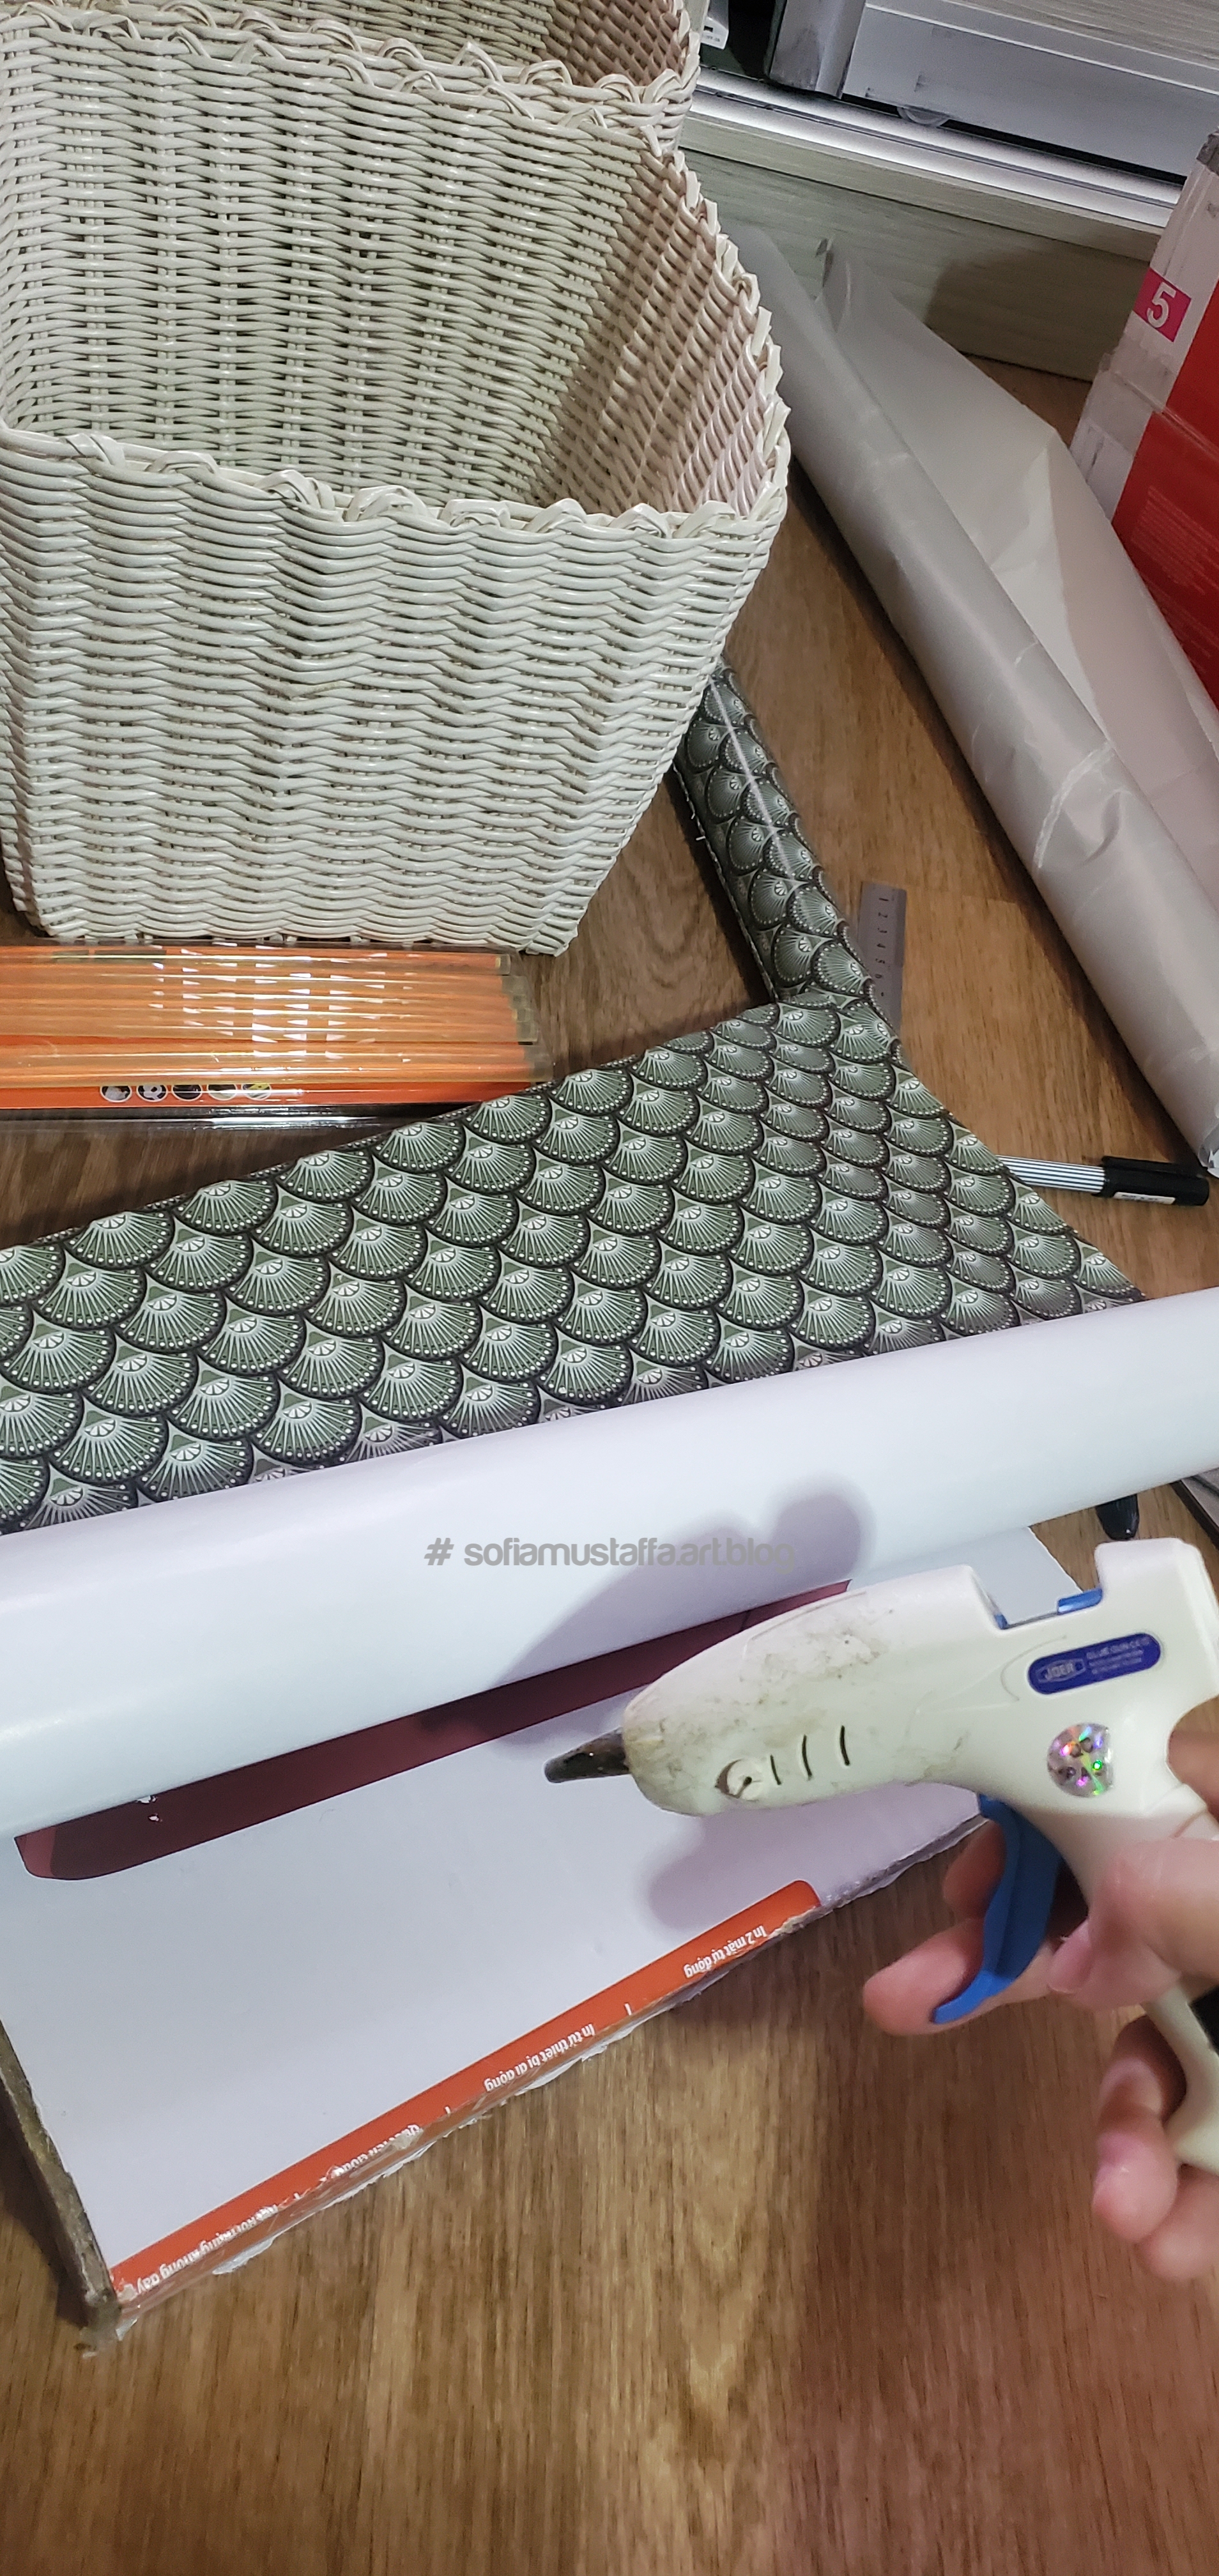
1. Make a measurement of the existing box. Well, u can measure using the ruler, but I prefer easier way. Just put the basket like this on the box, then line it πŸ˜‚

Cut the box, line it with pen.

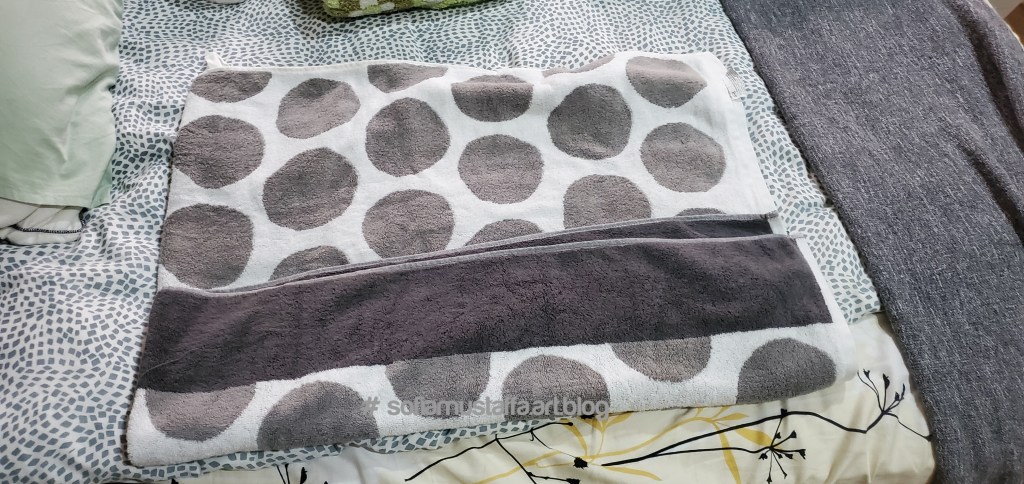
2. Then, u make a straigh line with all points with thicker marker pen.

I make few points on the box, then straight it with ruler and thick marker pen.

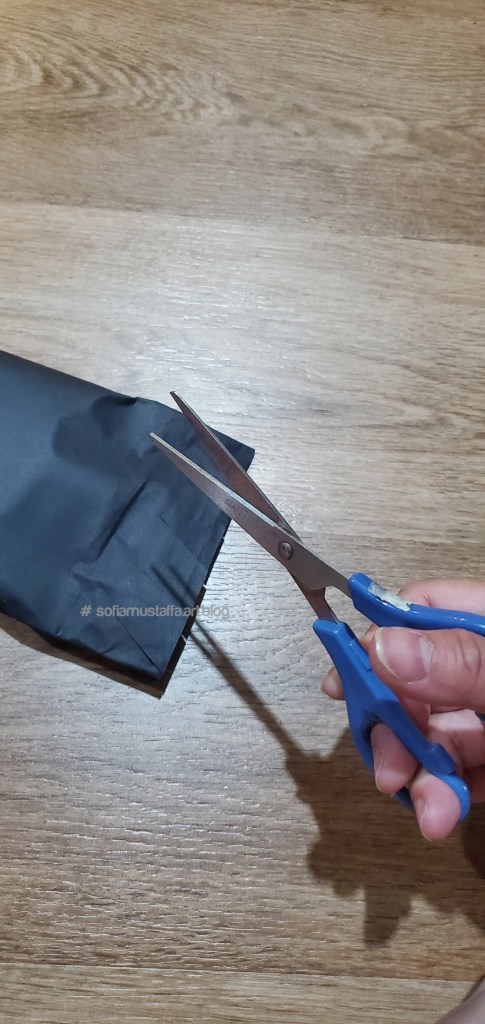
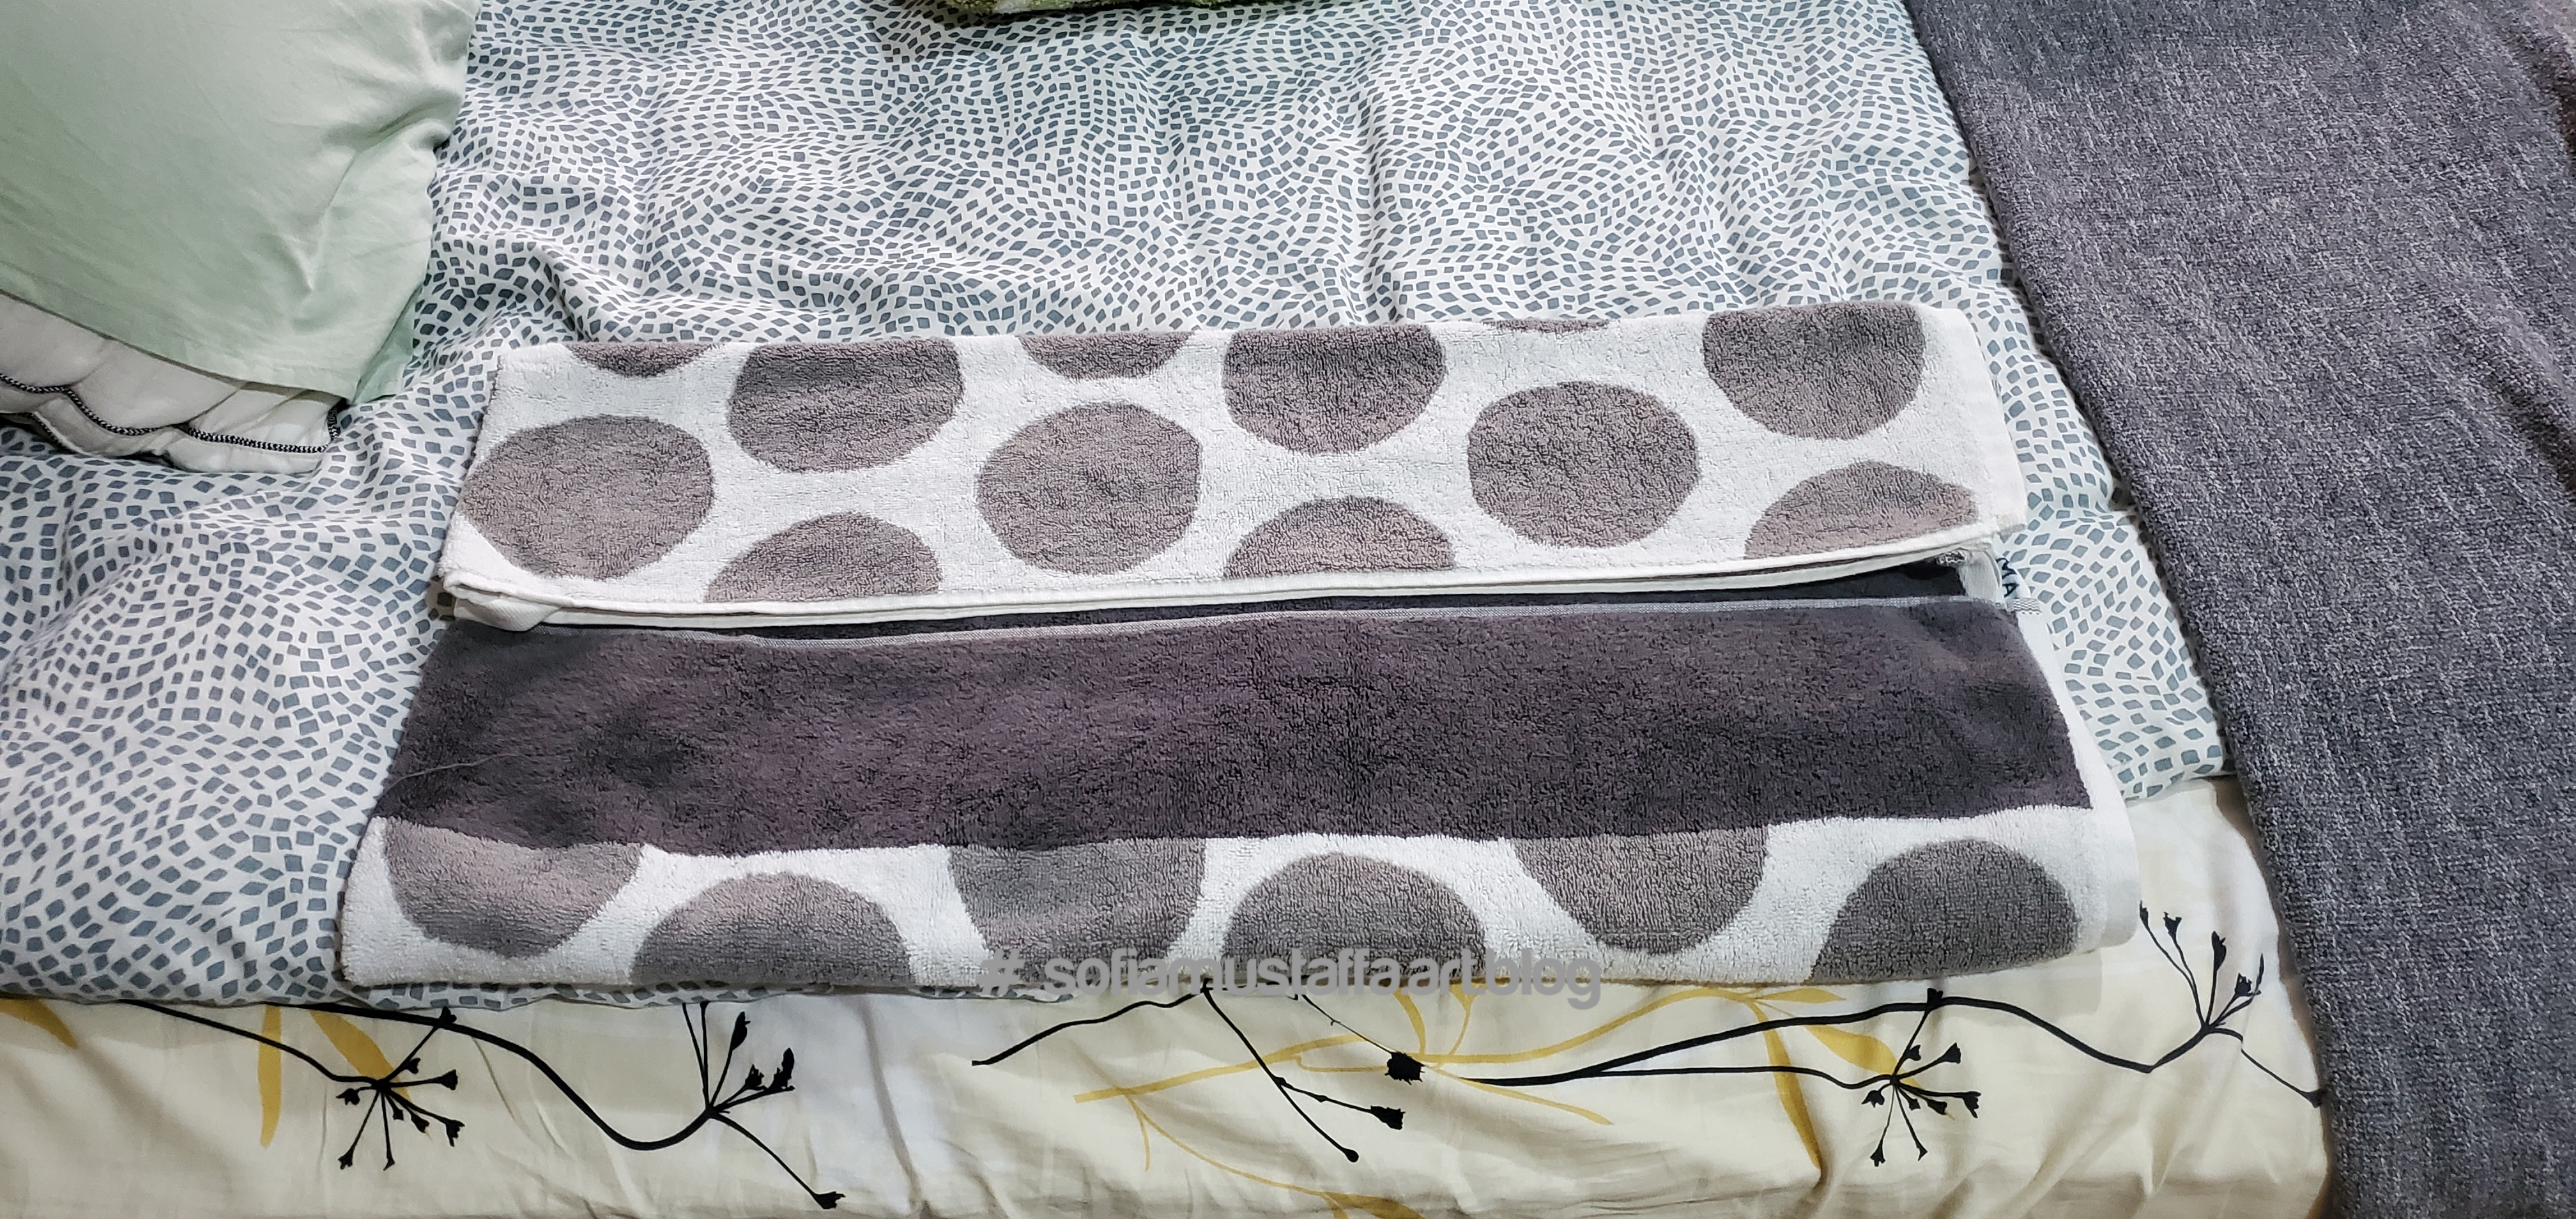
3. Cut all the lines!! I cut it with blade first, then cut it with scissor because the box is soo thick πŸ˜€

Straight cut

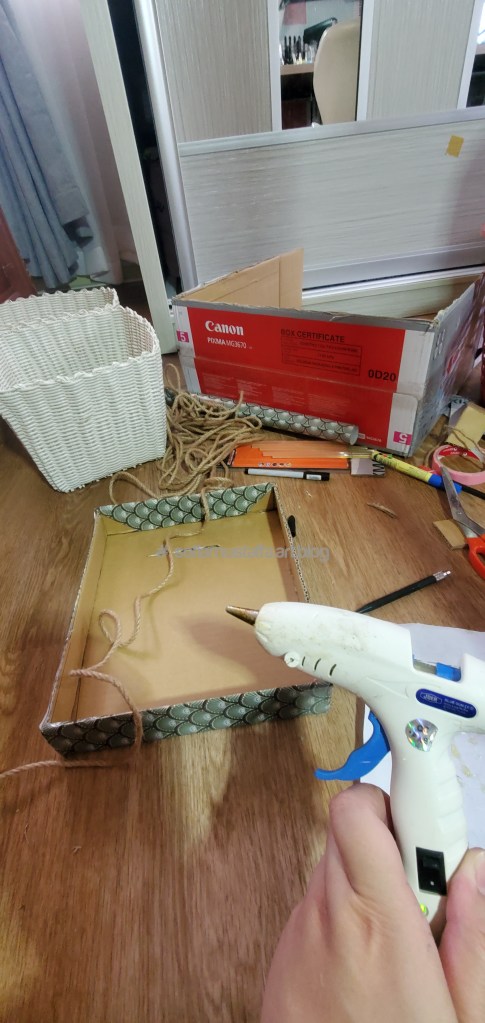
4. After cut all the lines, I glue the lid with glue gun. U need to wait for quite some times before applying the glue, to ensure the glue is smooth, coz we want a smooth surface for the glue. Until, its liquid state, then only u apply it on the box. Or else, it will easily tearoff and not glue properly πŸ™‚

Cut the lines, and glue all the edges, make a rectangle lid.

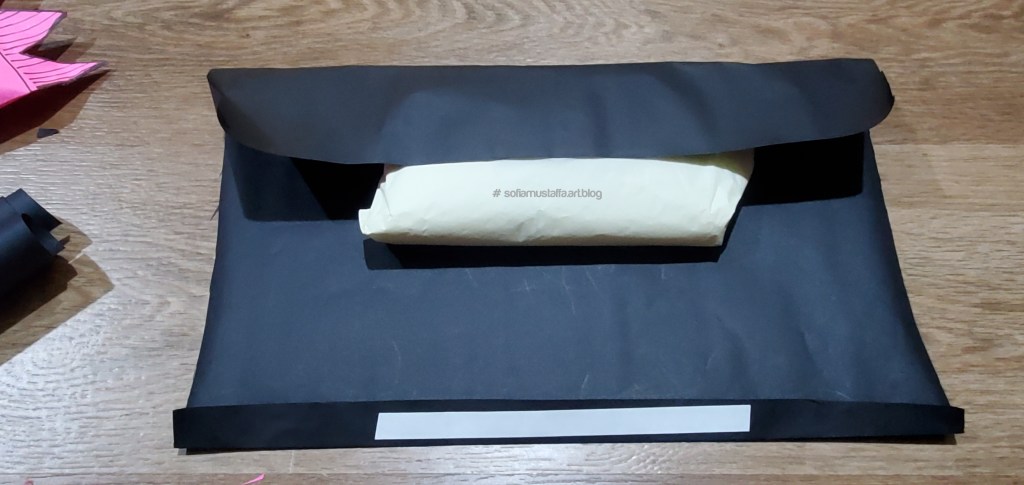
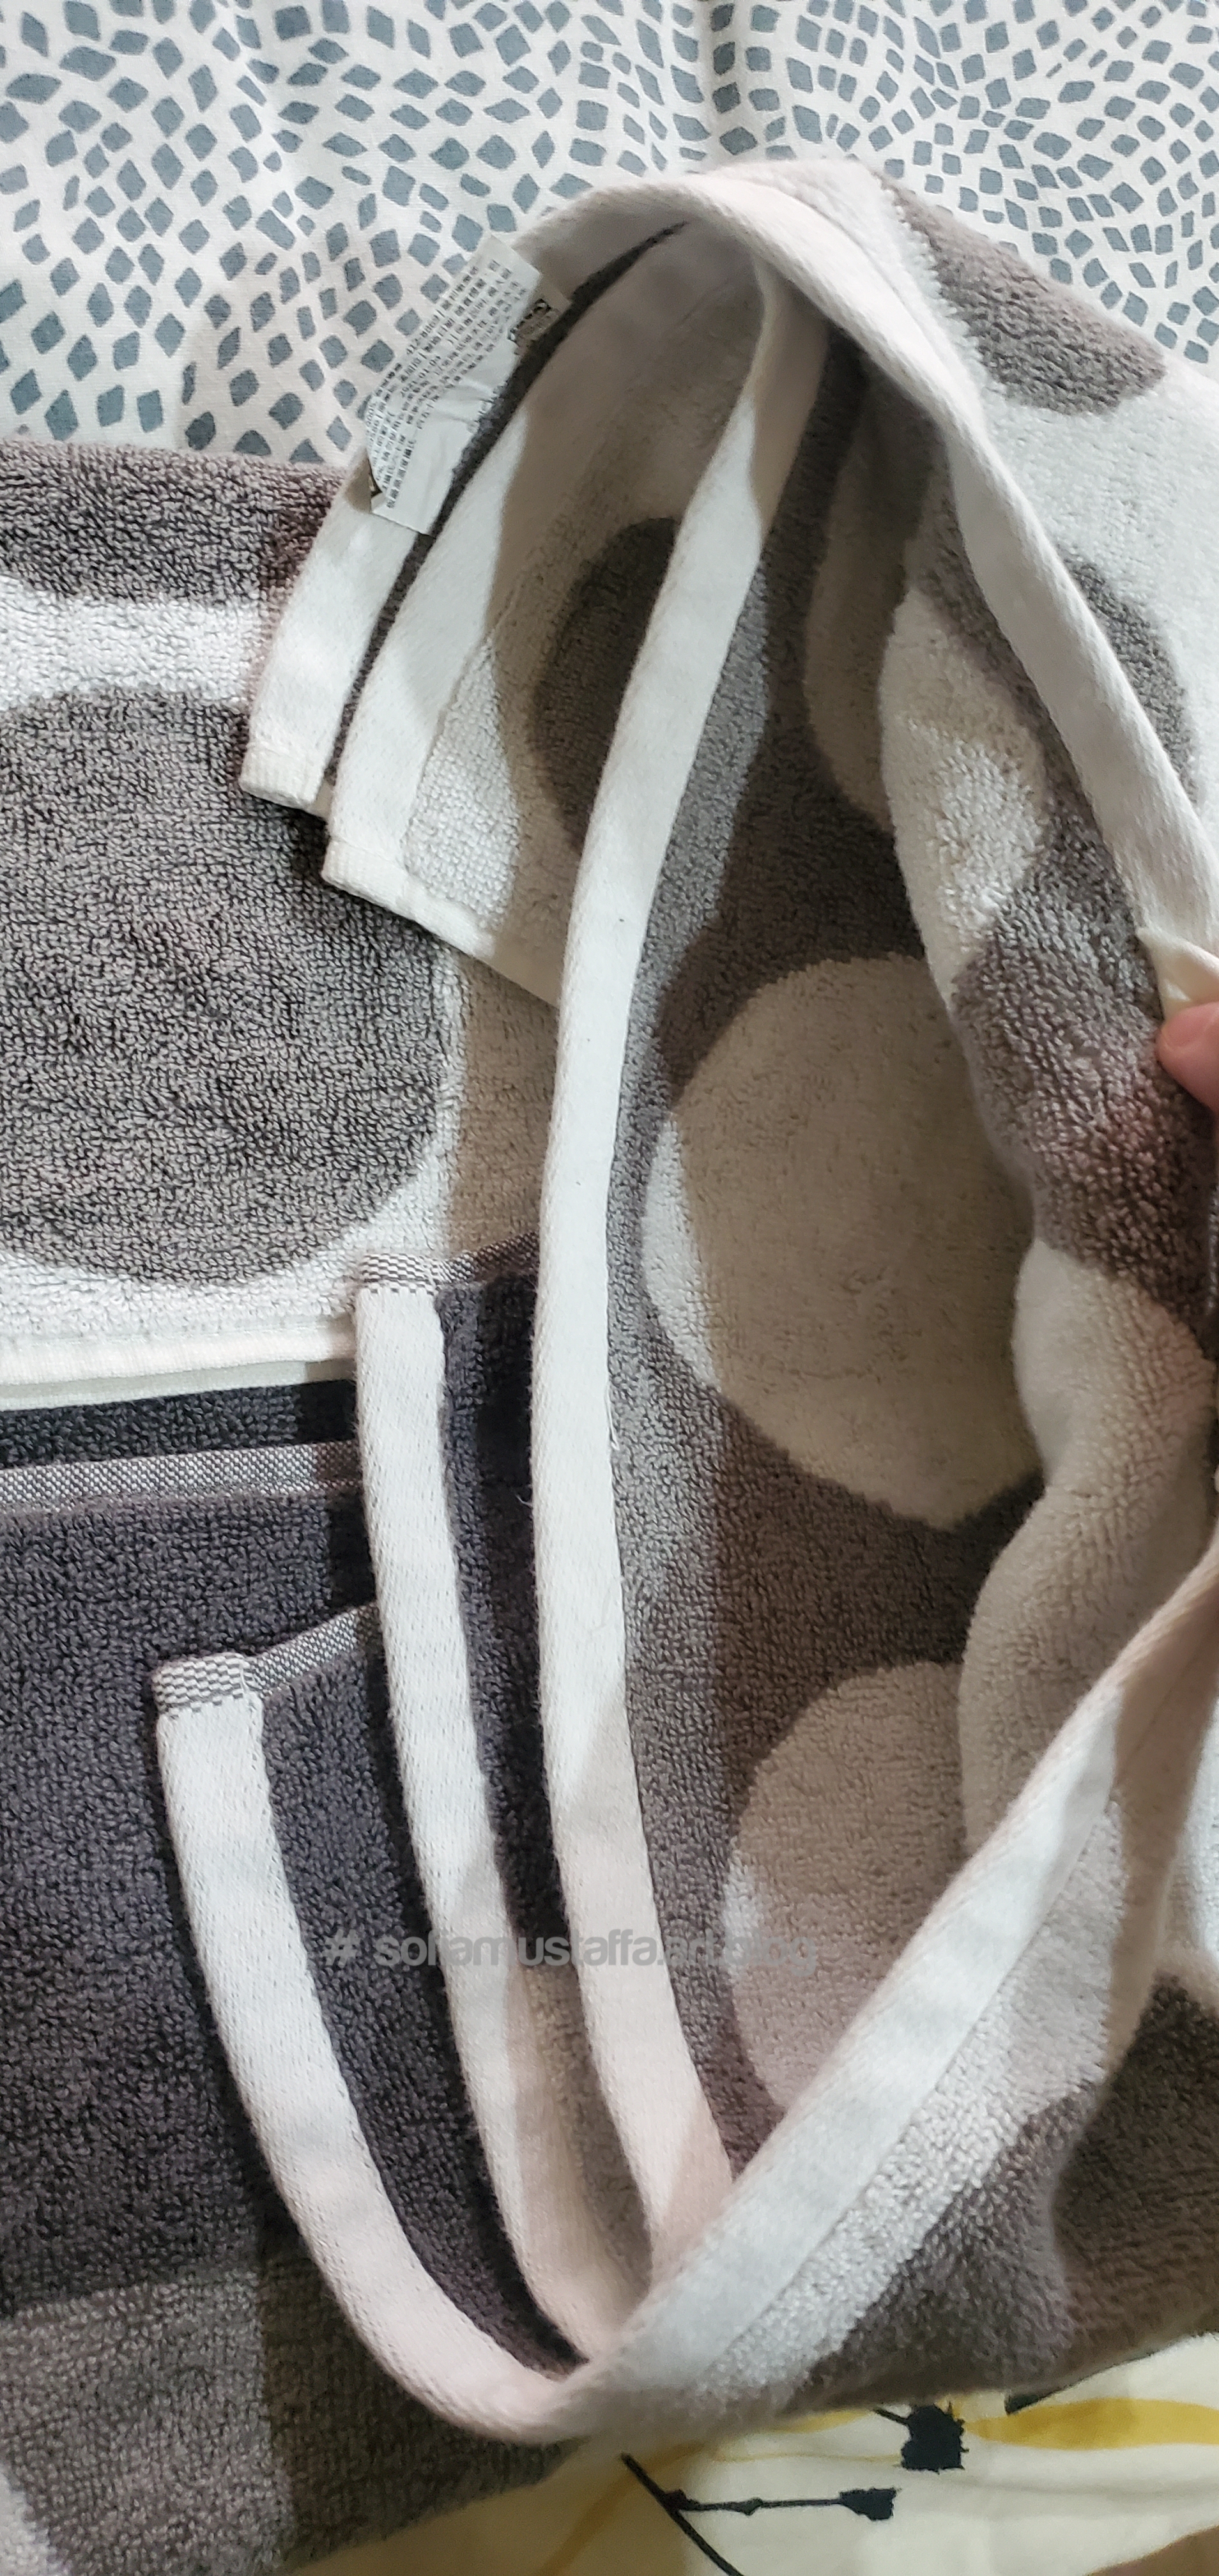
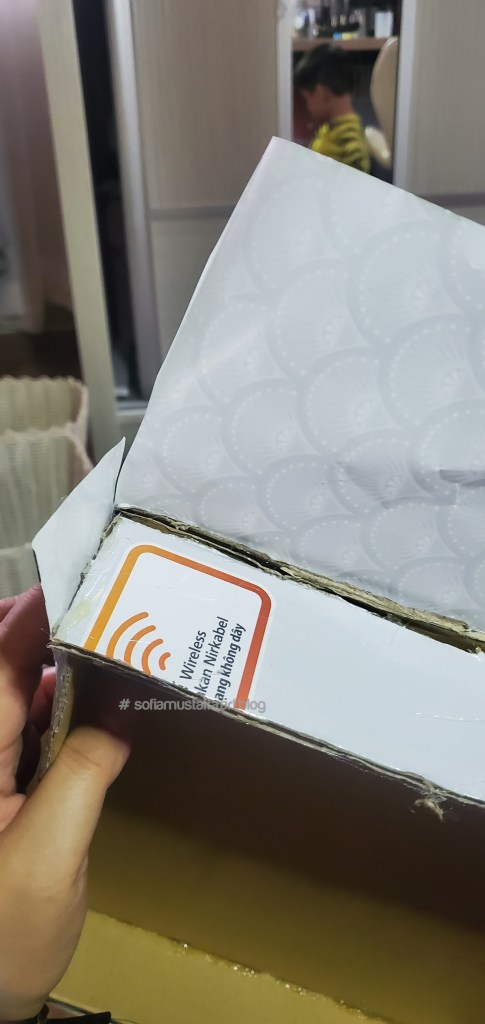
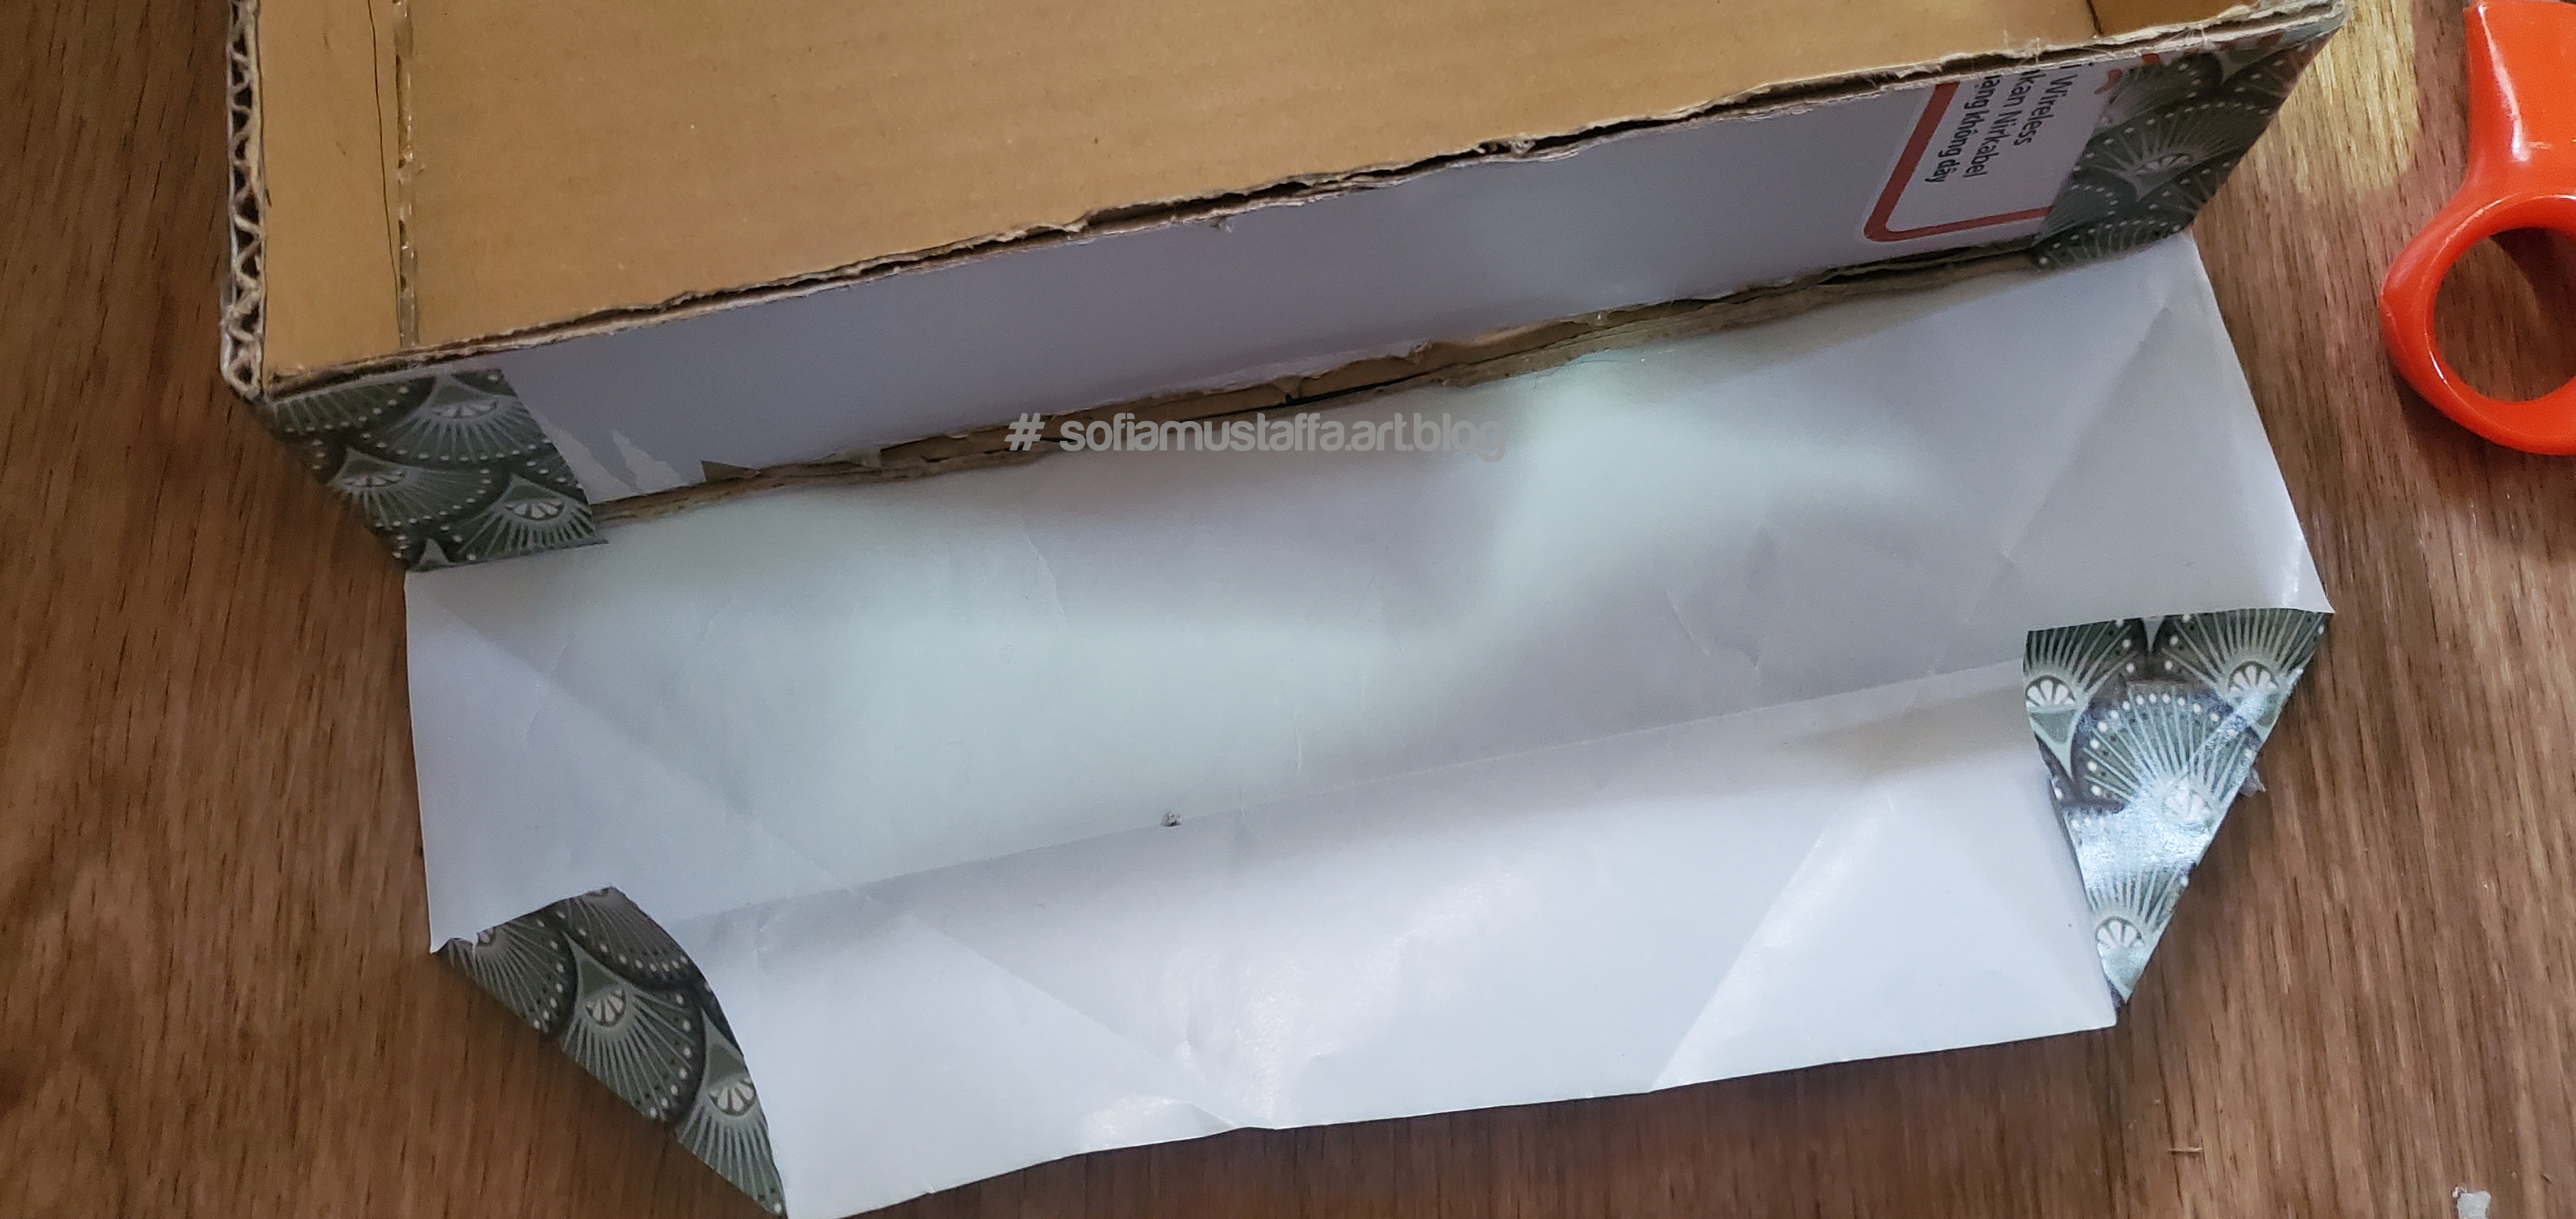
5. Once u can see the lid shape, wrap all way with wrapping paper. I prefer use whatever I have now. U can do ur own creativity to decor your box.

Glue all the wrapping paper using glue gun 😁

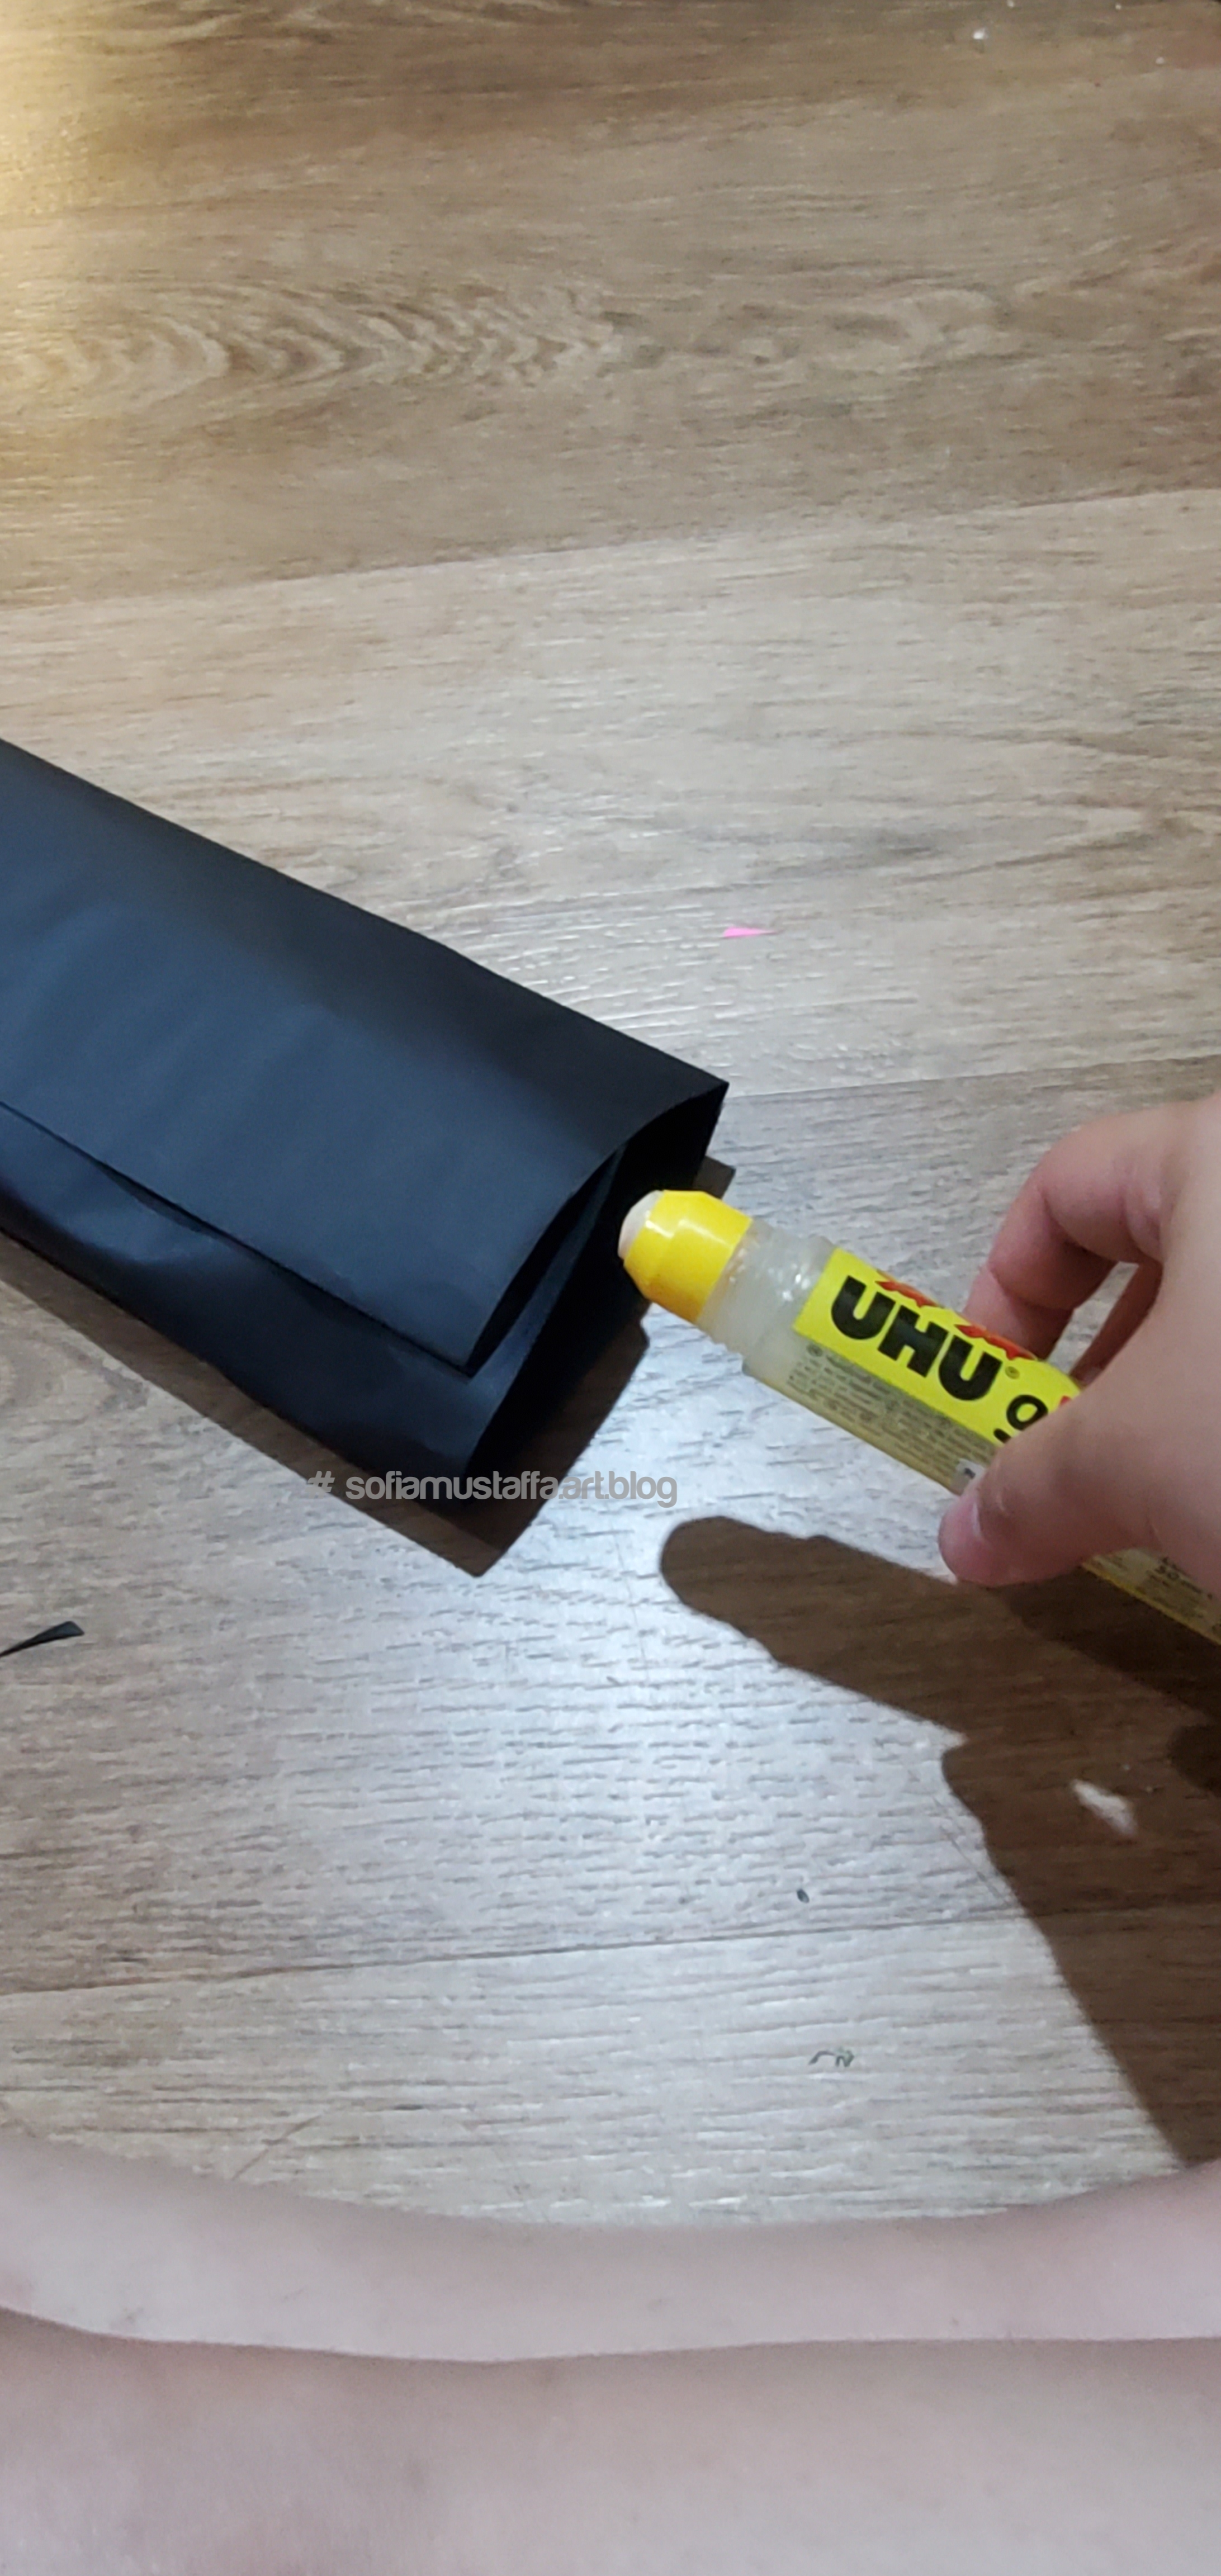
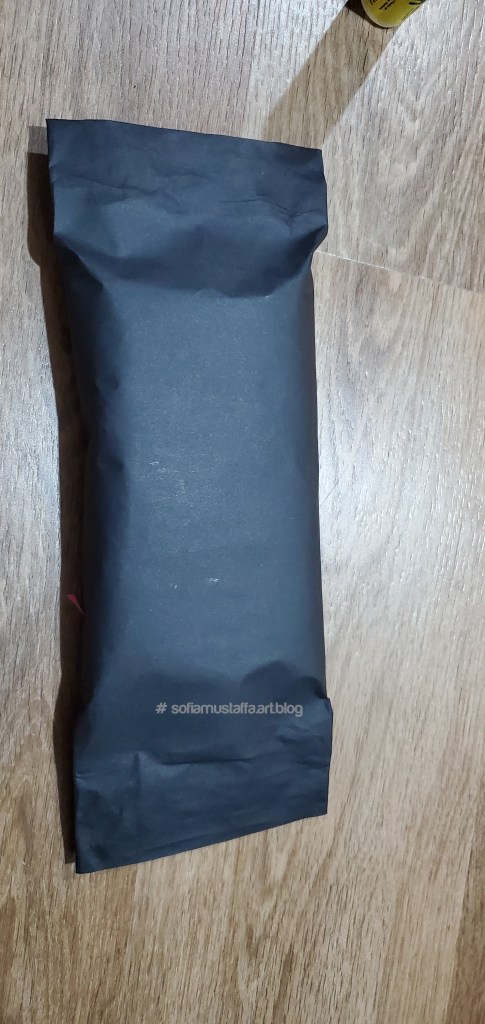
6. I glue it all the way. At the both ends of the box, there are some extra paper. So I fold it and glue nicely.

Cut it then glue
Measure first and make some fold.
Then fold it into 2 like this..
And…fold like this…i glue the end and glue it all the way…hahaha. Im glue here…glue there..glue here..glue there and glue all the way…haha..gluing while singing the song!! πŸ˜‚

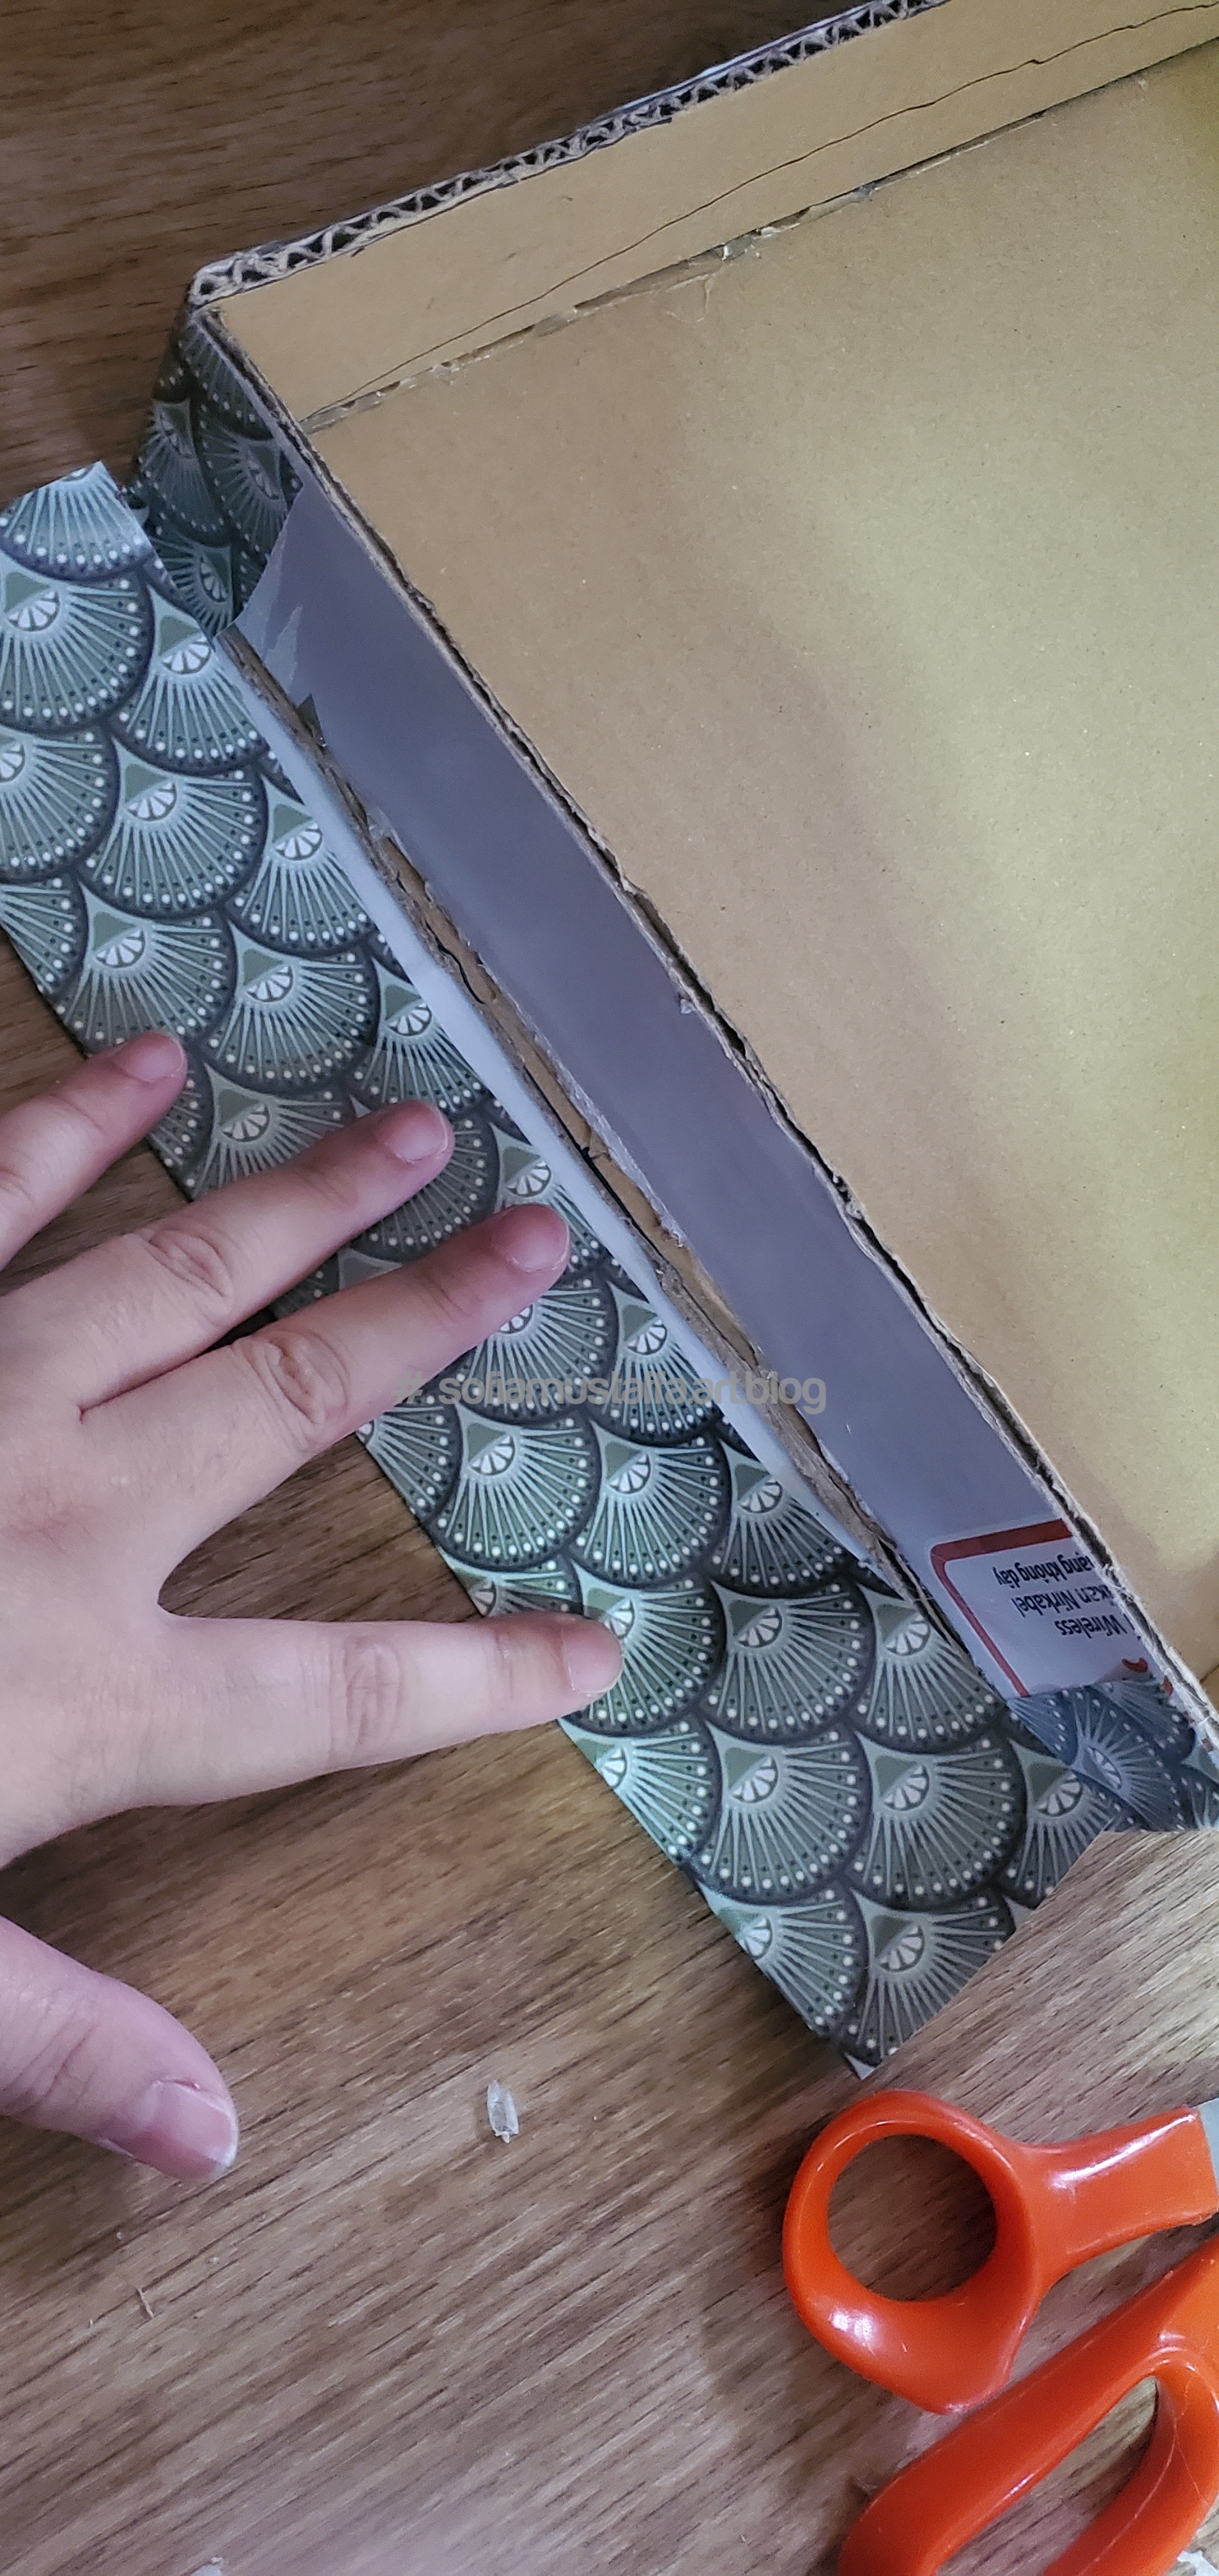
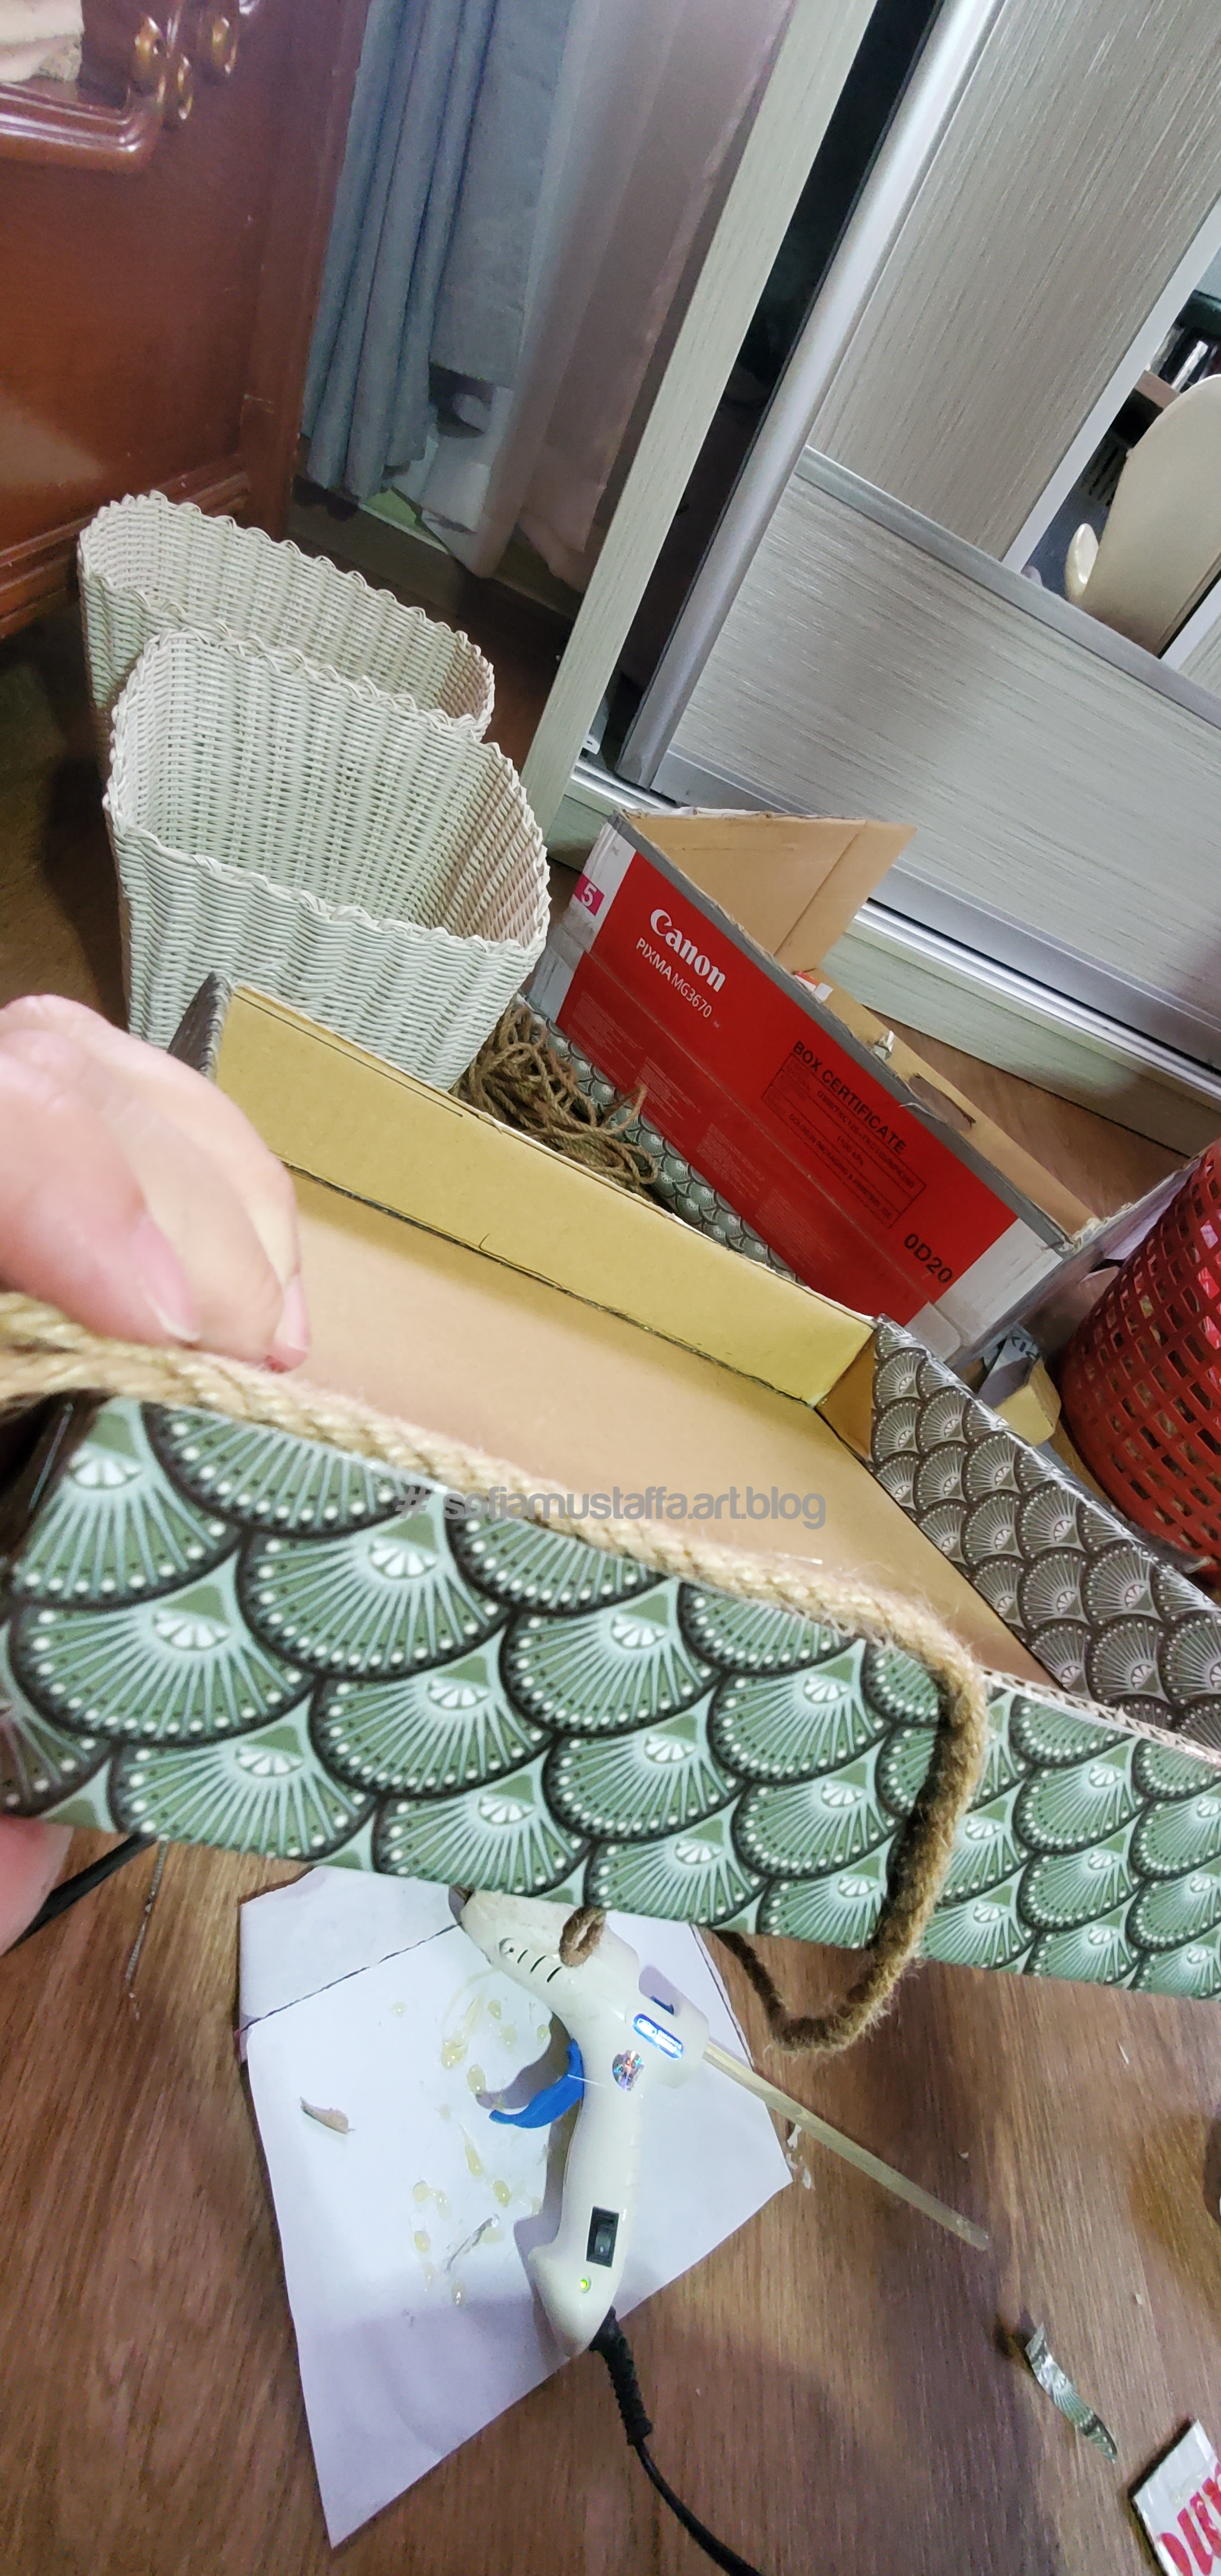
7. Tadaa!!! My box’s lid is DONE!!! Just a finish touch up to make it a smooth finished product, I glued jute rope at the edge of the box.

Glue gun all the wayyy…yeppie!!! πŸ˜†πŸ˜†πŸ₯°
Tadaaa!! Okay, u need a lot of patience when gluing this. U can’t do it fast, because it will smear or glue wont stick longer. U need to do it, slow and steady..then u will have a smooth nicely glued jute rope πŸ₯°

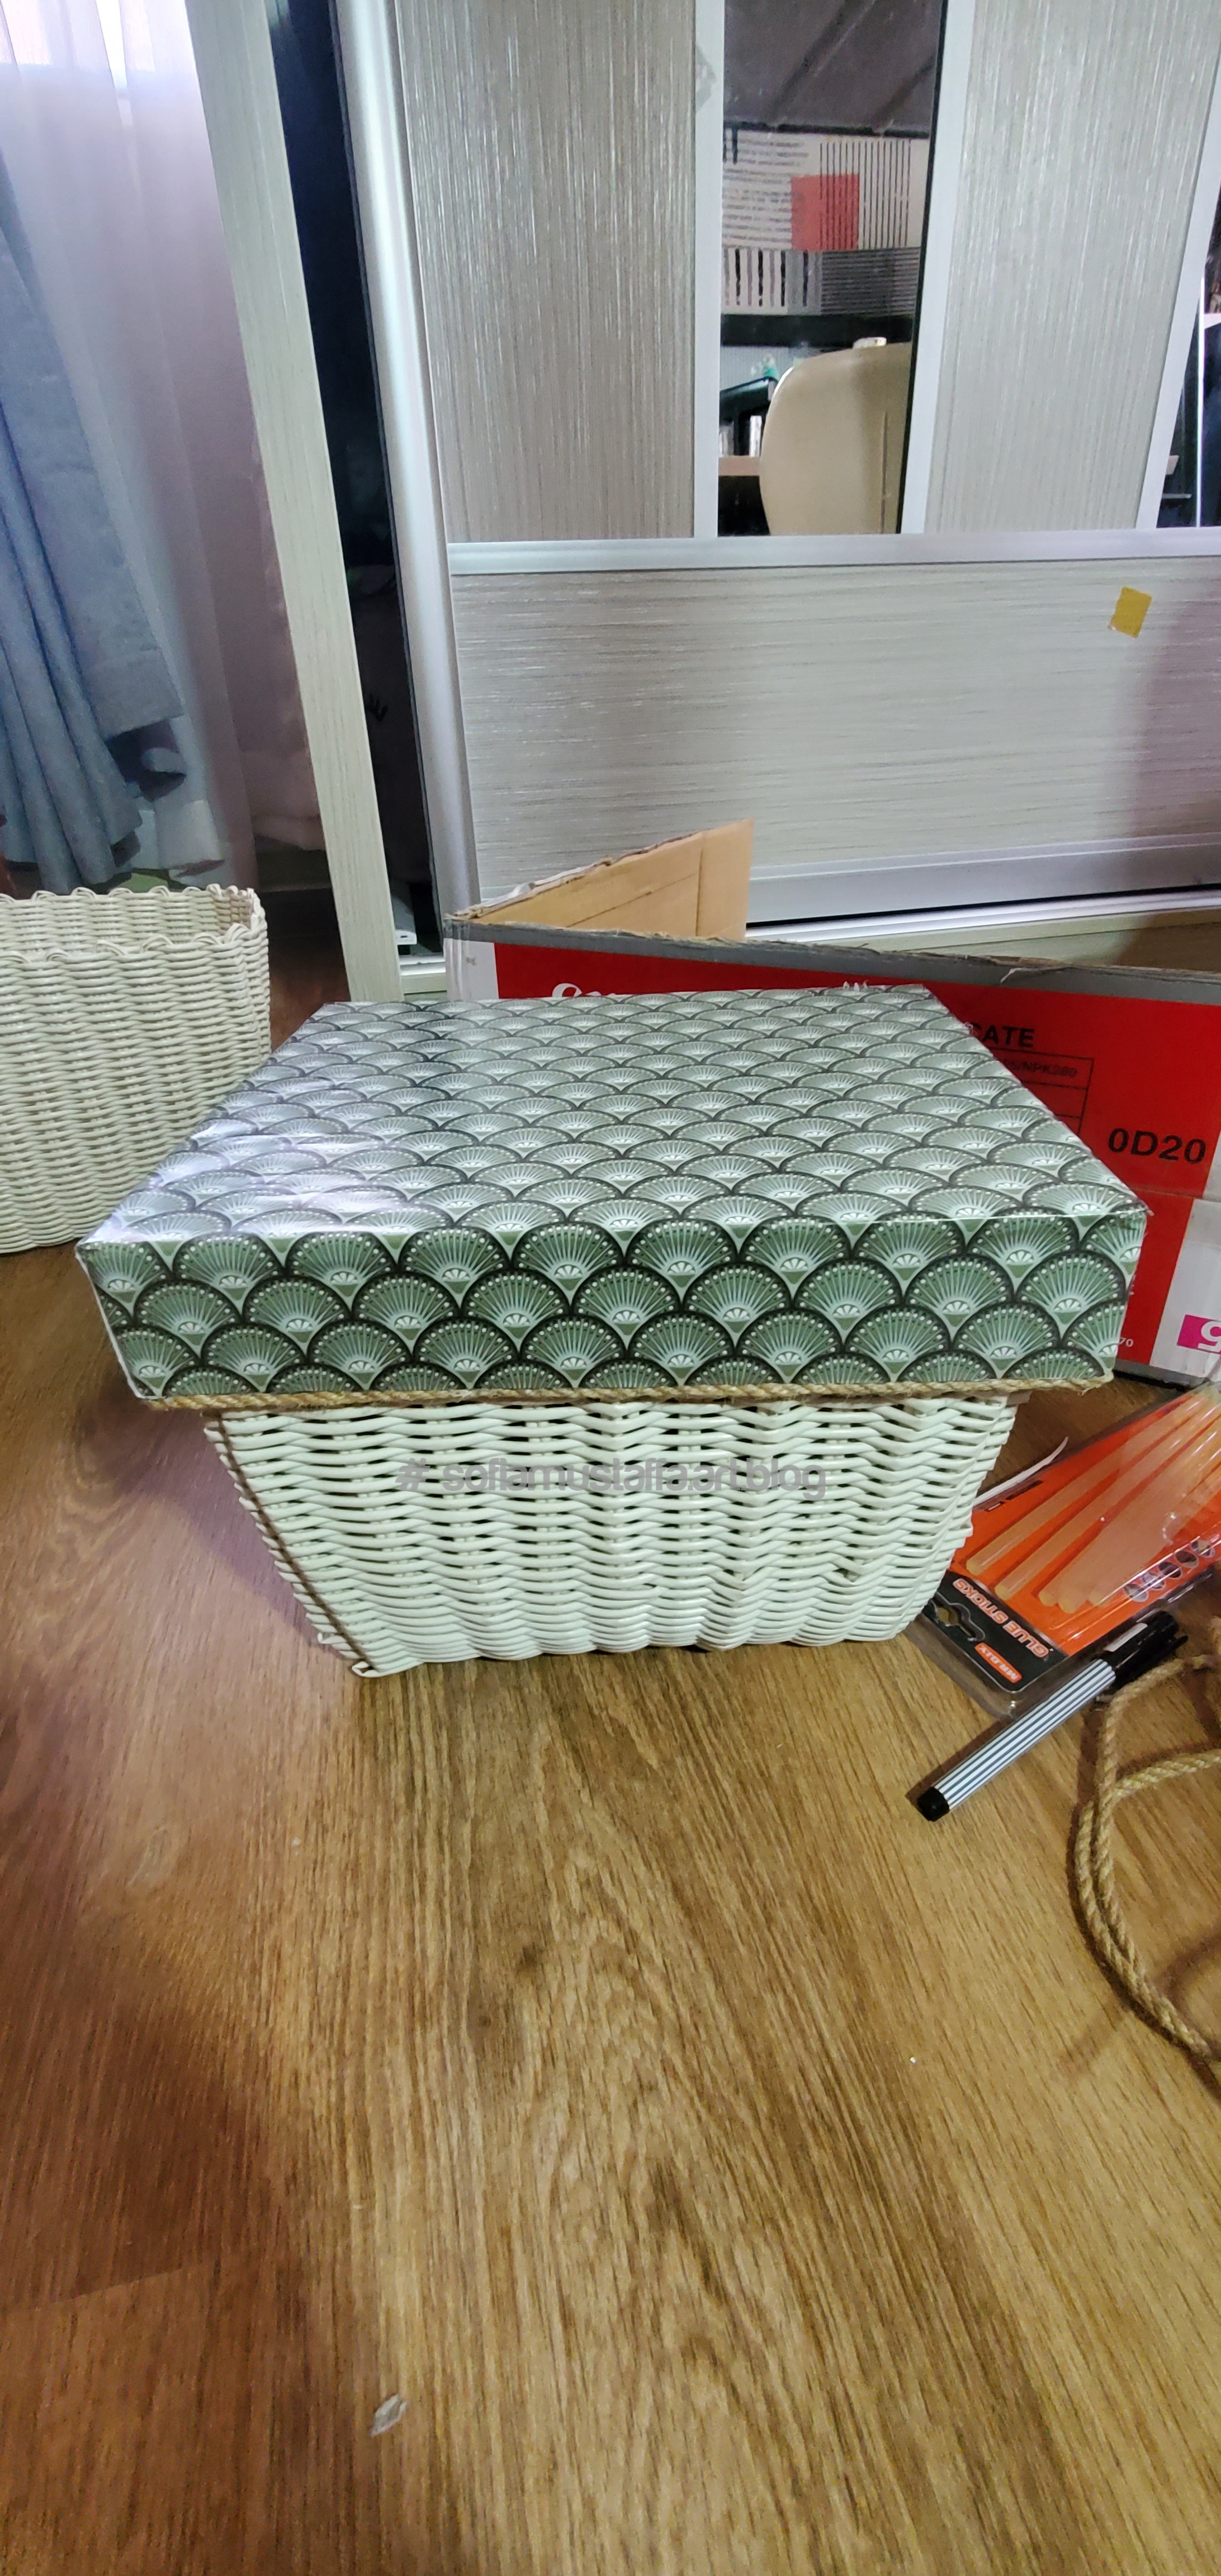
8. ALL DONE!!! 😍 My basket is a flexi material. I can bend it to fit the lid πŸ˜‚πŸ˜‚ Doesn’t fit? Just make it fit right there by force πŸ˜†

Jeng jeng!!! The finished product is here. Now dust can’t easily go into my things in that basket..hahahaha. Problem solved πŸ˜†

Till then…..to be continue…

Love, Sofia

How to wrap a simple, easy, cheap and unique birthday present – chocolate style

Hello everybody!!! Good Friday morning, everyone 😘

Sorry, was busy with some deployments job. Just want to share with you a simple, easy and unique present wrap that I made for my niece. Haha, yes….you heard it right!! I love something which is easy, beautiful, unique and also cheap. πŸ˜‚

So here u go, what you really need is…

1. Scissor

2. Glue

3. 2 plain color of paper

4. Cute ribbon or chocolate cover *optional

How to wrap a present – Cheap, Easy and Unique way (chocolate design)

1. Wrap the whole present like this, and put doible sided tape at the end of the paper. Make sure you fold it before put on the double sided tape.

Fold and put on double sided tape

2. Then, at both end of the present, just put in the glue inside, and keep it together like this..

Put in glue inside both ends
Tadaaa πŸ₯°

3. Cut the edge of both side, with zig-zag design..

Cut it zig-zag, u can refer below picture

4. Cut off another color of paper square, and simply glue on top of the present like this..

Zig-zag cut at end of present. Cut off another color of paper, and simply glue on top of the present..then you done!! πŸ₯°πŸ˜˜
Tadaaa!!! The end product will look something like this. You can put on the cover wrap chocolate paper, or ribbon for decoration ❀

That’s all for now, to be continue if i got any some other time..take care guys!!! 😘

Love, Sofia

How to fold your towel and blanket, neatly

Hey Everyone! Happy Sunday! I wish I’m too late to wish for that. Haha!!

It’s been for over a week, I didn’t post anything here. Because I’m trying to split my page from Minimalist stuff and other stuff. Seems, it’s kind of stuffy here and mix up. I want to declutter my site 😁. So, yeah, feel free to visit my new site – sofiamustaffa.com πŸ₯°

I’m still struggling for my wardrobe, up until today. I should say, it is not fully 100% organize, and I’m still having issue on how to store my towel, blanket, linen sets and also my prayer clothes in a proper and neat way. So, I was googling and found this method, which I found works for the rest of clothes. 1 easy way/method, which works for the rest of clothess..Weeee Yeppie!!~

Check this out, guys!!

How to Fold Towel, Blanket etc….Easily & Neatly πŸ₯°

1. Firstly, spread your towel like this.
2. Then, you fold into two like this.
3. Then, bring the bottom up, and meet at the center..
4. Bring the upper part down, and meet the bottom at center like this. From here, you divide into 3 part.
5. Fold one to another inside this pocket.
6. One end, fold into the other end. A neat fold.
7. Tada!!~ 😍 You will get something like this. Its neat as one side folding inside the other.

Experimenting the fold method for my prayer clothes 😁

1. Folding the other cloth as usual, and I put on top of the other clothes like this.
2. Tried the method, from one end, folding into the other ends. It works perfectly!! Easy and Neat as well.
Tadaaa!!~~

Okay, guys. My blanket and other clothes done for now. Next post, I’m going to explore on hanging clothes item.

Till then, to be continue…

Love, Sofia

Valentine’s Day?! πŸ€”

Hello Everyone..How are you? Hope you doing well. So, what’s ur plan for Valentine’s day?

I don’t have much plan for my Valentine’s..just spending sometime with my Bettas and my dead aquascape. Sigh!

I’ve been looking at my mini-aquarium, and found all my female bettas in this position. Idk what is wrong with them. I guess they were feel bored, so I try to change their home again, back to the original place.

My bettas lining up..πŸ€·β€β™€οΈ
Look at that!! They act so weird..but they seem so close to each other. I guess, Female Felo Betta goes well with other Bettas. Candy Betta (Centre) kinda wild compared to Felo Betta. Well, I shall say my Felo Betta is kinda tame, but very sensitive towards water condition.
I put them back into their original home. The Redish and Blusih guys were in separate container.
My Aquascape gone…after I’m adding more aqua plants. I guess, the light is too little for them. So, I re-do my aquascape, by putting 3 different seeds. πŸ˜ƒ
Bought some snacks for Netflix day….half day gone for netflix and snacks πŸ˜†
A simple dinner…instand noodle, eggs, sausage and chilli flakes. Happy Valentine’s day for myselfπŸ˜ƒ

Till then, see you next time..

Love, Sofia

Making a simple brownies πŸ˜˜

Hi everyone!! It’s been awhile I’m not baking. I had bought these brownies and chocolate bar for quite some time, just that I don’t have time to bake it.

Cooking chocolate, Brownies Mix and Cupcake πŸ˜ƒ
If you bought the ready made mix, it has the instruction at the back. I don’t want to buy any unwanted extra flour. So i bought this. Simple and easy. πŸ˜‚

How to make a simple brownies, but tasty πŸ₯°

1. Firstly, you pour all the mix into 1 BIG bowl like this. As u read the instruction, it need 85ml water, 50ml vegie oil and 1 egg. Just pour everything, then mix with spatula.
2. When u mix, make sure no lump. I don’t like any lump in my cakes/brownies, so I make it smooth possible. Not to use any electric machine, just use spatula and stir it with your hand. Simple and easy to clean πŸ˜ƒ
3. Chunk the chocolate bar. I don’t like sweet brownies, so i bought Dark Chocolate. If you likr sweet brownies, you can use the normal Milk Chocolate according to your taste bud πŸ˜‡
4. First layer, I pour the mix batter. Then I put the chocolate chunk like this on top. After that, I layer again with the mix batter.
5. So, it will looks something like this. Picture before heat it with 180 degree celsius, and about 23 minutes.
6. You will know your brownies are ready when the top is crack like this. The box instruction was to stick fork in it. If it’s not stick to the fork, so it’s ready. I just don’t, coz it will look hideous on my brownies πŸ˜‚ when i feel light, and just nice plus top is crack and dry, I stopped it.
7. Tadaaaa~~ its yummy!! πŸ₯° Top and bottom dry, and moist in between ❀

Okay, that’s all for today

To be continue…

Love, Sofia

Recycling Straw for my bettas’ food feeder….yeah πŸ˜ƒ

Hey everyone! What’s up? Hope you had a great weekend.

Today, I got a new plant for my mini-Aquarium. Yay!!! I bought 4 plants for my little bettas πŸ₯°

Tada!!! Light off πŸ₯°
Tada!!! Light on 😘

So guys, I only kept my girls in the mini-Aquarium. Because the guys didn’t get along with the girls.

I’ve been thinking for quiet sometime, how to make the mini-Aquarium didn’t look so messy with the cutie’s food everywhere. Coz, I’m using the Oxygen pump, and it scattered the food everywhere.

So, I’ve looking at the thrown straw in the dustbin, then I’m thinking…shall I try to use it something similar to the floating pool noddle?

This has been thrown into the dustbin for few days…then suddenly the idea came..πŸ˜‡

Hey!!!!! I can use the straw do make it as floating pool noddle for my bettas!! πŸ˜ƒ

DIY food feeder using straw πŸ˜ƒπŸ˜

1. You will need 2 straws. I’m using the small one, coz my aquarium is really small πŸ˜„
2. Then, you pinch the bottom of the straw like this.
3. At the pinched bottom, you do bent the end into 2 like this.
4. Then, you put the bent bottom end, into the upper one. Something like this..tadaaa!!! πŸ˜ƒ
5. She’s curious about this floating pool…πŸ˜…
Here you go!!! They all know now..”Hey!! Its food!!” Yummy πŸ₯°

Okay guys, that’s all for today.

To be continue…

Love, Sofia

How to make Hanjuku eggs easily

Hey everyone…I’m having dinner just now.

I made Hanjuku eggs, not a perfect, but easy to do. Here are some tips on how to make a homemade Hanjuku Eggs.

How to make an easy Hanjuku Eggs (Hard outside and Soft inside)

1. Boils some water on the stove, make sure the water is fully cover the eggs. I used 4 eggs. Don’t put the eggs first, just boil the water alone with medium-high heat.

2. After the water boiled, slower down the heat to slow-medium heat. Set a timer to 3minutes and put the 4eggs inside the boiled water.

3. After 3 minutes, change the position of the eggs. This is to centre the yellow yolk. Roll over all eggs, and set another 3 minutes.

4. Then, switch off the heat and bath the eggs in ice water. Leave it like 3-5 minutes.

5. Then, crack it with spoon. Don’t hit too hard coz the eggs will break apart. Then, you will have..Hanjuku Eggs!!! πŸ₯°

Here are some pics for you!!

Till then, to be continue..

Love, Sofia

Pssstt…psttt..when A Traveller on Budget starts packing her things…πŸ˜‚

HelloOoooOooooo Everybody!!!!

Ni hao ma?? Its a holiday week!! Whoot whoot!!! πŸ₯³πŸ₯³πŸ₯³

As you know, for Malaysian, we have yearly festival Chinese New Year on upcoming 1st and 2nd February. Then, following our replacement state holiday on 3rd February. So, it’s happened that…we…Malaysian who stayed in Kuala Lumpur going to have 3 days leave..straight from 1-3 February 2022. Whoot!! Whoot!! Wasn’t it awesome?? I love Malaysia coz we have a lot of festival and lots lots of leaaaveesss 😁

Soo, everyone. Since the pandemic still going on, and seems like will never go away, so we were mostly travelling within our states. On this weekend, we going to go “Sekinchan!!!”. So, I’m starting to pack light, coz we just going to stay for a night πŸ˜‚

Just want to share some trick and tips for a light and budget packing. For those who using contact lens, I’m pretty sure you got a lot lot of these right???!! Contact lens casing. When you buy the saline, you will probably get one. I have a lot, so I try to multipurpose the use of it.

I don’t have any allergic to plastic and kinda rough and tough skin, so I can use this way. For those who have a very sensitive skin, it is not advisable to store your skin care like this πŸ˜…

Okay, that’s all for now..tonight I’m going to pack my cloths..and just using my laptop backpack!! Hahaha!! I’m not a lazy traveller..I’m just a minimalist on budget πŸ˜ƒπŸ˜„πŸ˜†πŸ˜…

Till then….see you in next post…

To Be Continue…

Love, Sofia

The empty contact lens casing
Tadaa..Body Gel, Shampoo, Skin Care and Tooth paste πŸ˜„
I kept all inside a small plastic, sealed

My wardrobe cleanup πŸ˜˜

Hi everyone! It’s weekend! Time to enjoy ourself and reward our soul.

I just wanna share some cool items that I bought, helped me in saving my electric consume for my wardrobe. I bought 4 sensor LED magnetic light for my wardrobe. It will turn on when detected movement, and off when no movement. It helps me in finding my things/cloths well, rechargeable and portable LED lights. πŸ₯°

It’s quite long LED light
It comes with magnetic pad, which already have adhesive sticker at the back. I just need to peel it and stick anywhere I want. So easy installation πŸ˜ƒ
At the back of the light has another magnetic pad that already been sticked. I think the magenetic pad is a good item to buy separately and experiment with other stuff, especially for kitchen storage. I will explore it with other things as well, to make room/house more sleek look πŸ₯°
The DC port, and it has option auto-as for auto-on when it sense some movement, auto-off when no movement; and I can turn it on always or off. It has options what I need.
Tadaaa..yess..im bad in installing stuff. I just stick it for a practical practice without thinking its nice to look or not πŸ˜„
How it basically looks like….i still need a lot to declutter…idk how long it will goes..coz its been going for about 3years to declutter my wardrobe. I’m taking it out, slowly and follow my own timeframe πŸ˜‚
How it looks like at the other side πŸ₯°

Okay everyone…idk when I’m gonna install my RGB LED for my whole room. I’m still looking for a better idea on that.

Till then….to be continue….

Love, Sofia

Hey…..psstt…pssttt ☺

Hey everyone…it’s been awhile not updating my blog. Apologize for that, coz busy helping my project manager in some deployment.

So hey, how are you guys? Hope everyone safe from Covid-19. How’s the cases in your country? It’s getting higher here in Malaysia, for the trend of new Covid-19 cases, Omicron. So, we just have to “Kita jaga kita”. Its a slogan been used in Malaysia as translated in english “We took care ourself”. So, everyone, stay safe and don’t forget to wash hands, sanitize accordingly and stay healthy ok? πŸ˜‰

I’d experiment something today. I’d slept so early last night, and woke up so early today. Im feeling so fresh! I think I just want to change slightly of my routine habits, to sleep early and wake up early. I slept at 9.30pm, and woke up at 5.00am. I think it’s a perfect sleeping time for me. So, you got to explore and experiment yourself, which is works for your own body.

I try to change little by little towards minimalist lifestyle. I don’t go for drastic, my body and my mind just can’t accept drastic impact. I need to move slow. Starts by, arranging my wardrobe and now..chanhing my sleeping time. Normally, i will sleep at 11,12 sometimes 1am, wokeup at 6 something in morning and i feel exhausted. I try something new today..sleep at 9.30pm and wake up at 5.00am. It looks okay, lets see for several months if there is any improvement in my living quality.

Just a lil planning, to have some morning walk over the weekend. Let’s start next week or perhaps tomorrow…just to maintain the energy level πŸ˜ƒ

Okay guys, thats all for today. Will post what I’ve done for past few weeks to minimize my wardrobe and keep it minimalized.

Till then…to be continue…

Love, Sofia