Hello everyone!! Happy Awal Muharram to all Muslims out there. 🤗
Yesterday, I installed my new Bar Chair as I’m buying some little things for my 1st home. My tenant for past 7 years has moved out from the house. They said, they had been transferred to their hometown in Kedah. So, last Friday was the last day and they handed over the key to me.
I think it’s not a right time to sell the house yet, so I’m gonna rent it out with higher rental fee due to raises in OPR for the house loan. I did some calculation, to include all hidden charges like taxes, and maintenance, so I’m gonna have positive cash flow and not suffer later.
I will post out the make over for the house in next topic, supposely to go by today to measure the curtain and paint the furniture, but I fell sick and having terrible fever. Maybe in upcoming Saturday, if no plans.
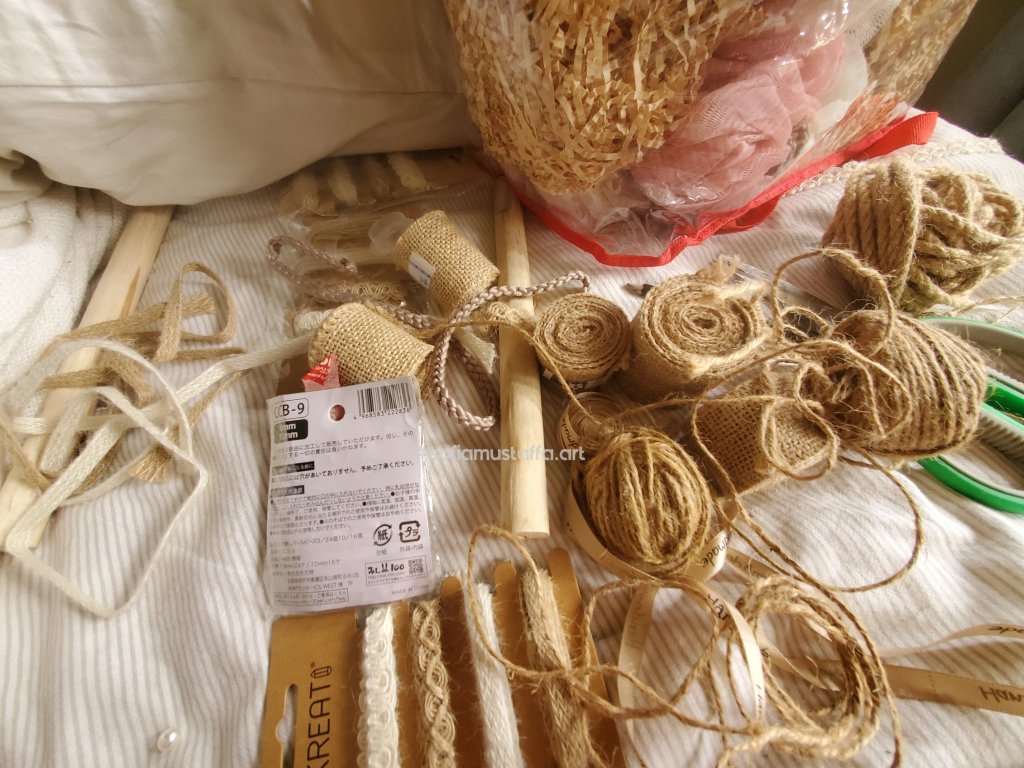
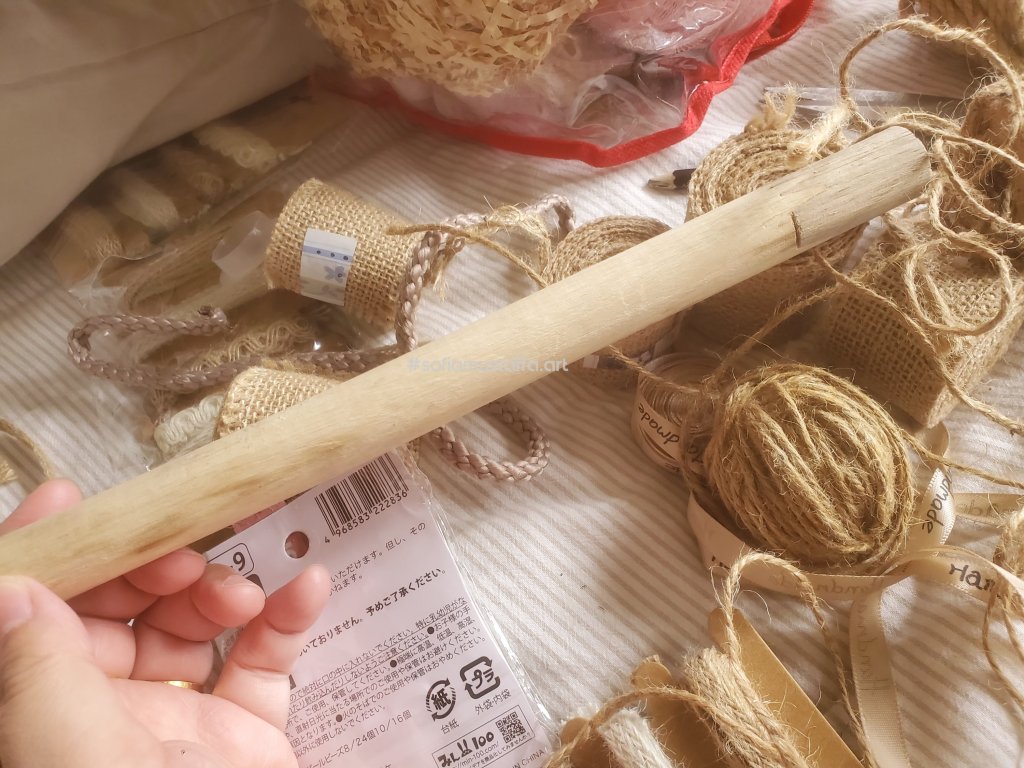
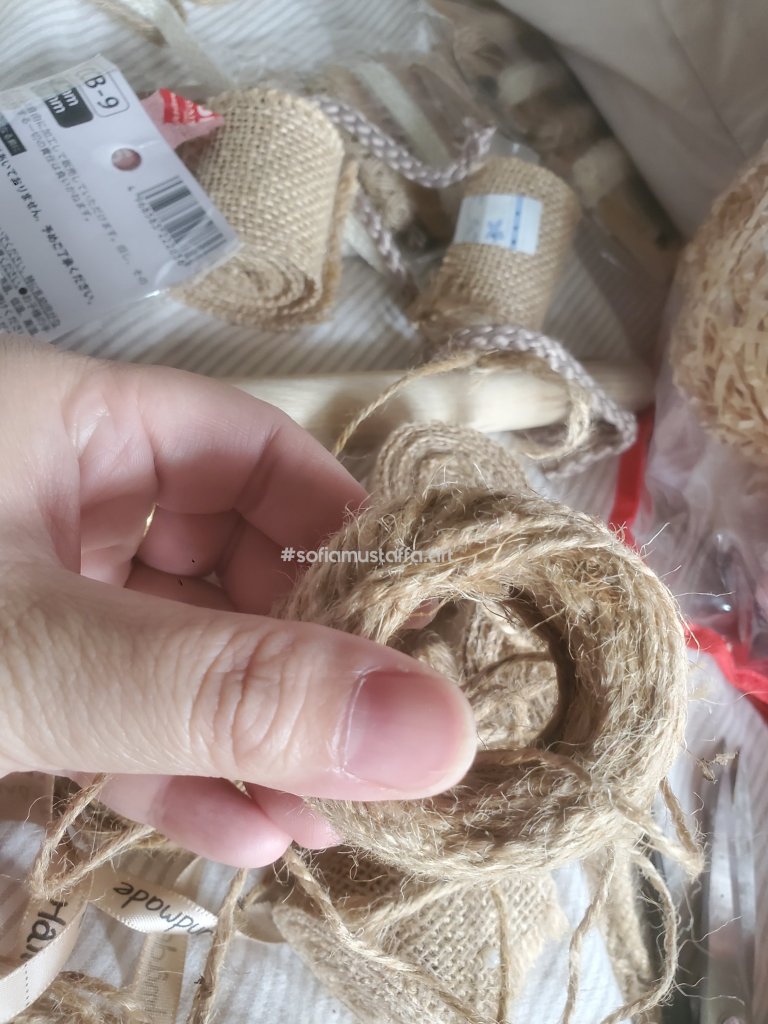
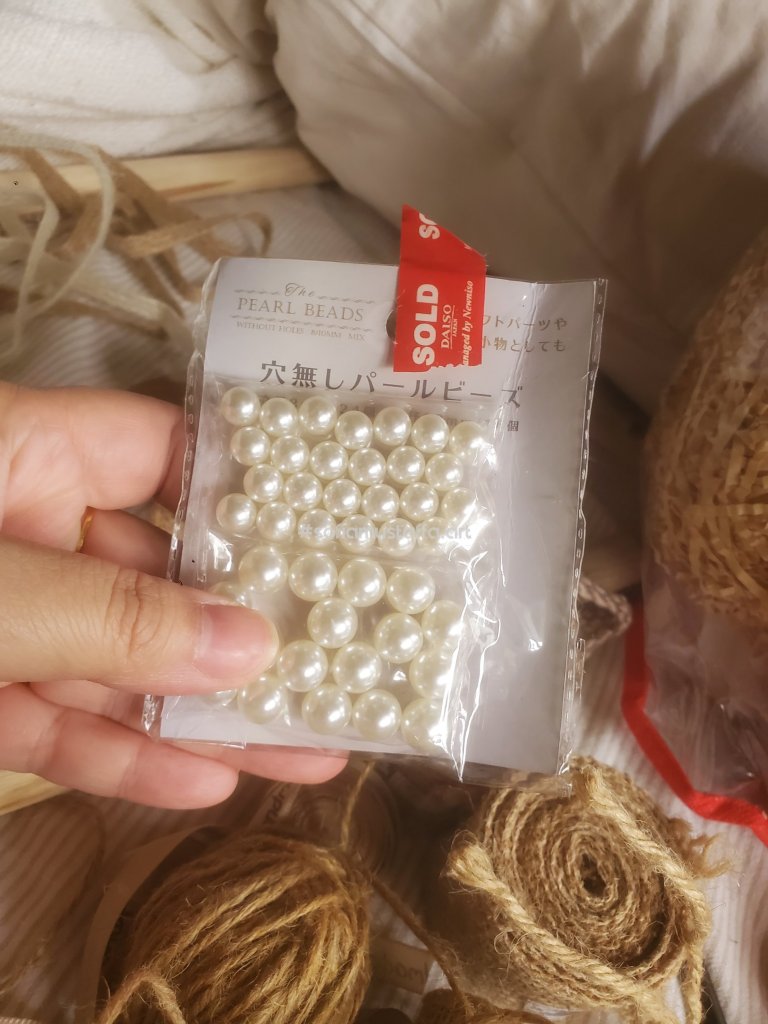
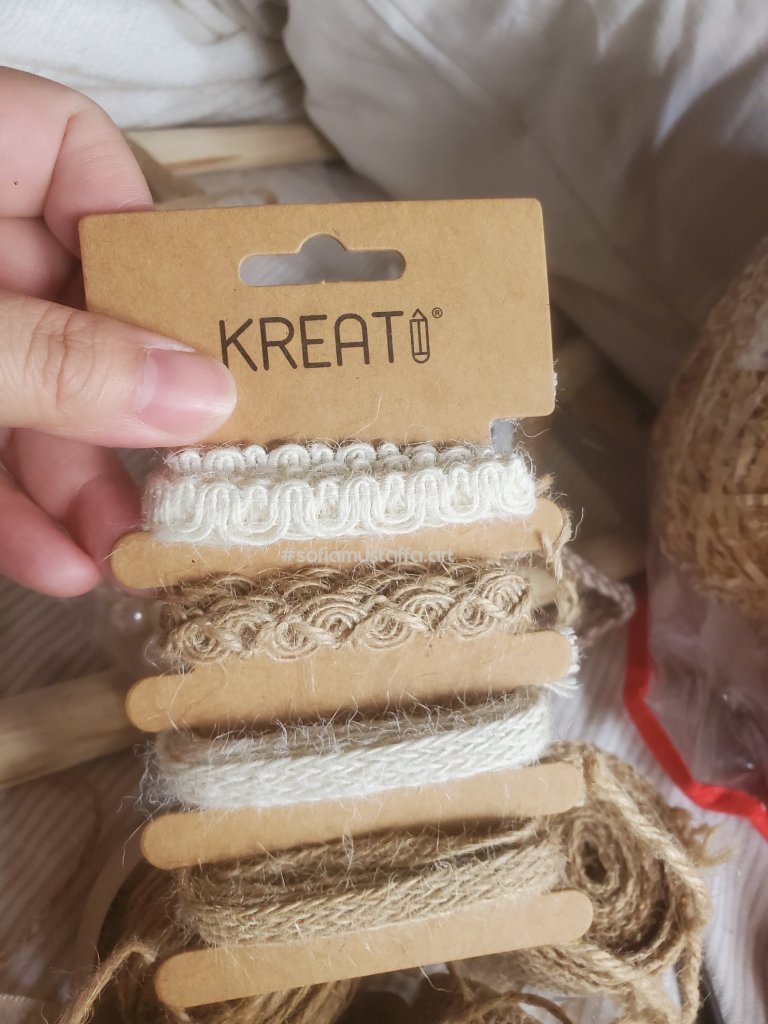
So, this is the Bar Chair, and I really don’t know what the extra wood for. Some extra woodTadaaaa…I have my existing craft stuffs, jute, ribbon, burlap etcThis is the wood. it looks white coz the covered it with plastic. I really dunno why. hahaha. So, when I opened the plastic, it looks like this.I have random jutesome place ribbon n jute ribbon, I guess the name was 🤷♀️Fake pearl for decoration.Just newly bought this at RM 2.40 @ecoshop.
In the making of Aesthetic Wall Frame 😃🥰
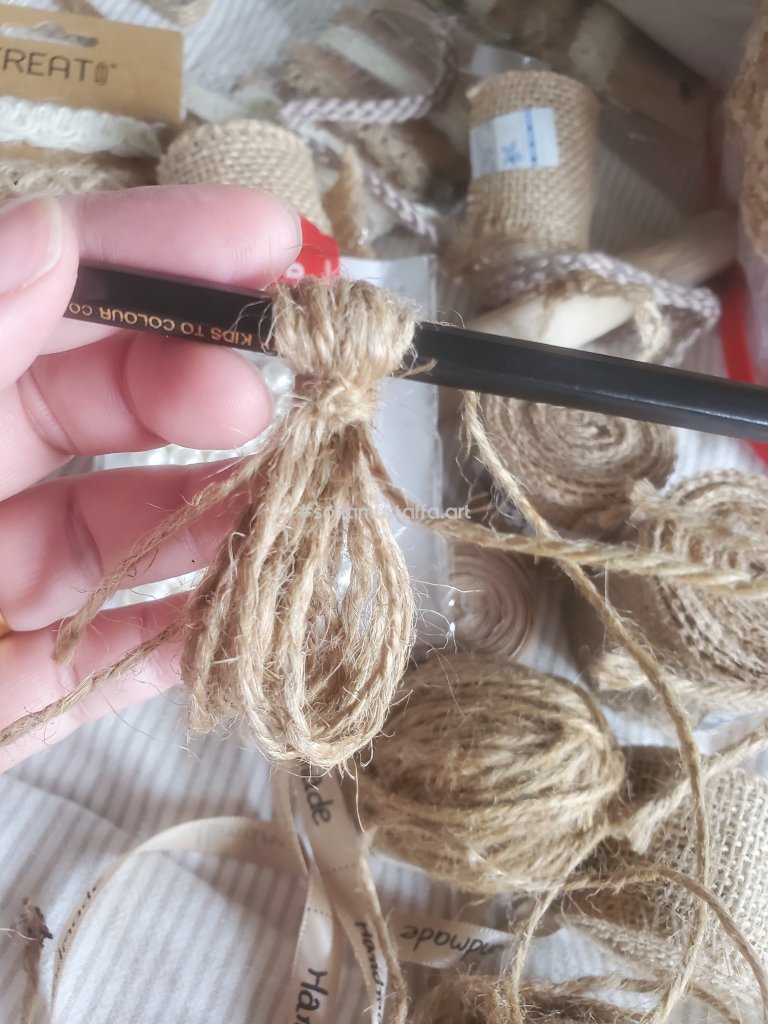
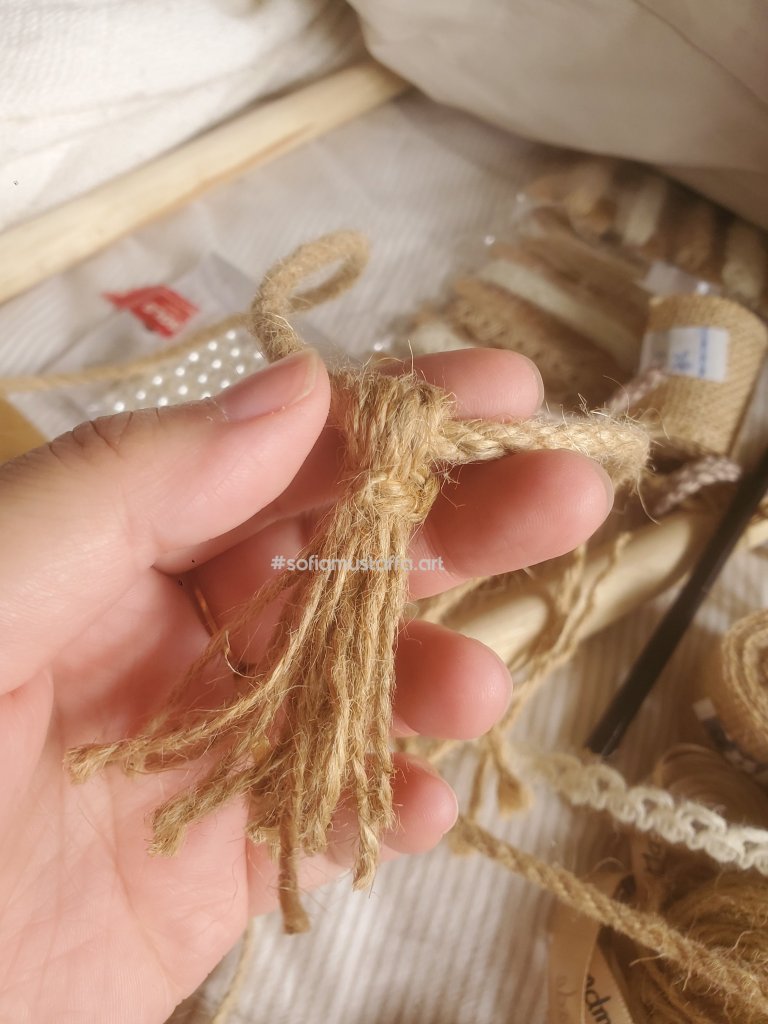
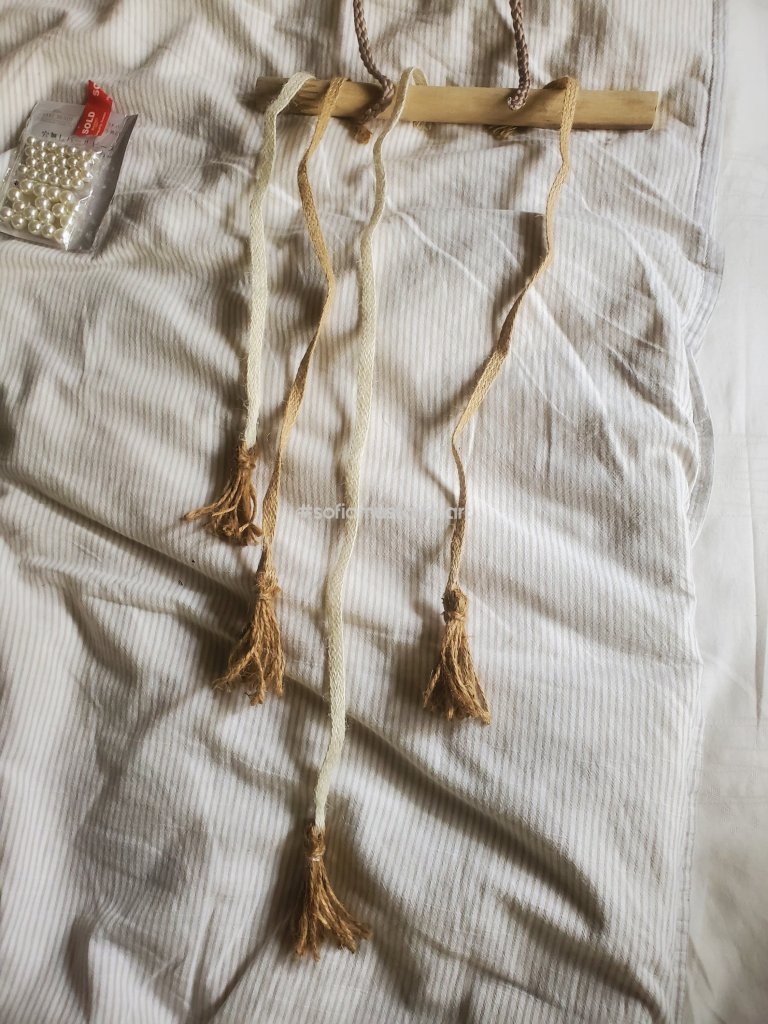
1. First, we need to do the tassle. It’s super easy. Just wrap your finger multiple times, I did here using 3middle fingers with 10 loops. 2. After done, put a pencil like this, and tie the tassle. Make sure it won’t open. I did glue the tassle, so it will keep in the place. 3. Then, I’m testing out using which ribbon/jute for the frame. Nah, it’s not nice using same color and pattern for the rope.4. So, I’m ended up using the ribbon, with different colors (brown and cream) 😃😃😃5. I glued all the ribbon onto the wood, and measure it accordingly so all gonna look symmetry for both side. 6. Tada!!! this is the final product. I’m gonna print out some quotes and glued it here. In my house, I have most quotes rather than photos. hahahaha. I cant wait to go and do some touch up on the interior.
So, that’s all my mini diy project for now. I can’t wait to do the make over for the house and rearrange everything. I’m budgeting everything to be rm3k, including water heater, ac, TV, curtain etc.
HeLLoOooooOoo Everyone!!! It’s been awhile since my last post..How are you? Hope everyone is happy, sound and safe 🥰
I recently trying to manage organizing my things in a proper manner, as I tried to customize my organizer according to my needs.
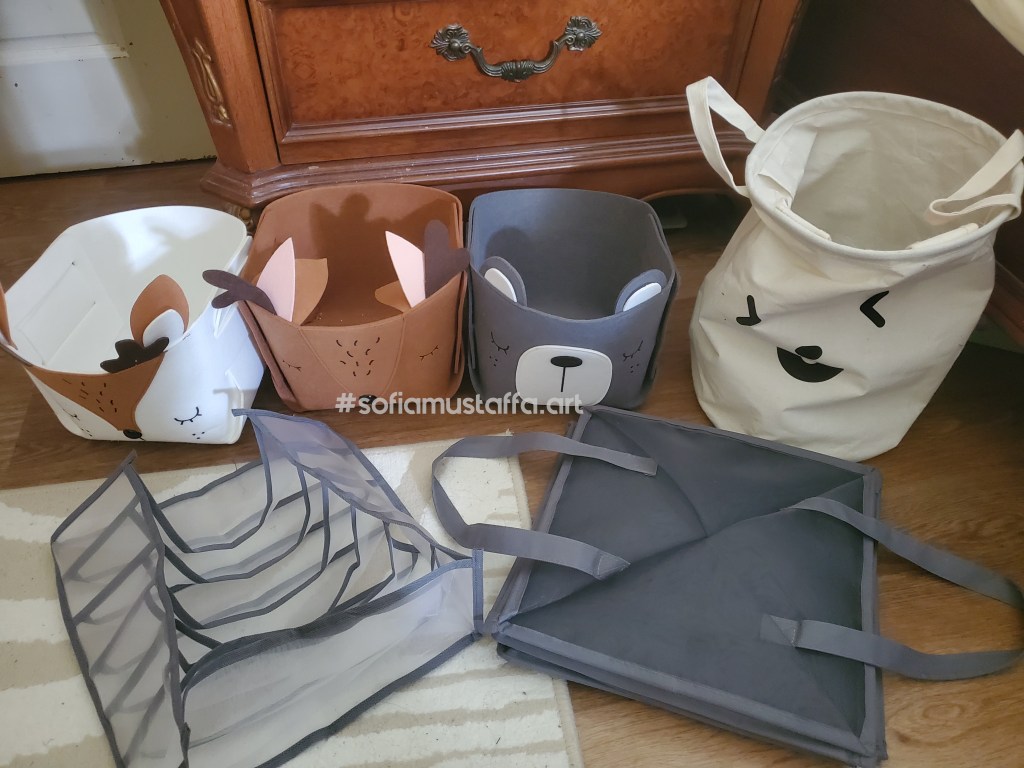
After decluttering so much, now I left myself with lot of organizer which organizer turn itself into clutters. Weee!!! 😀
some empty organizer that I’m still thinking what to do with it 😃
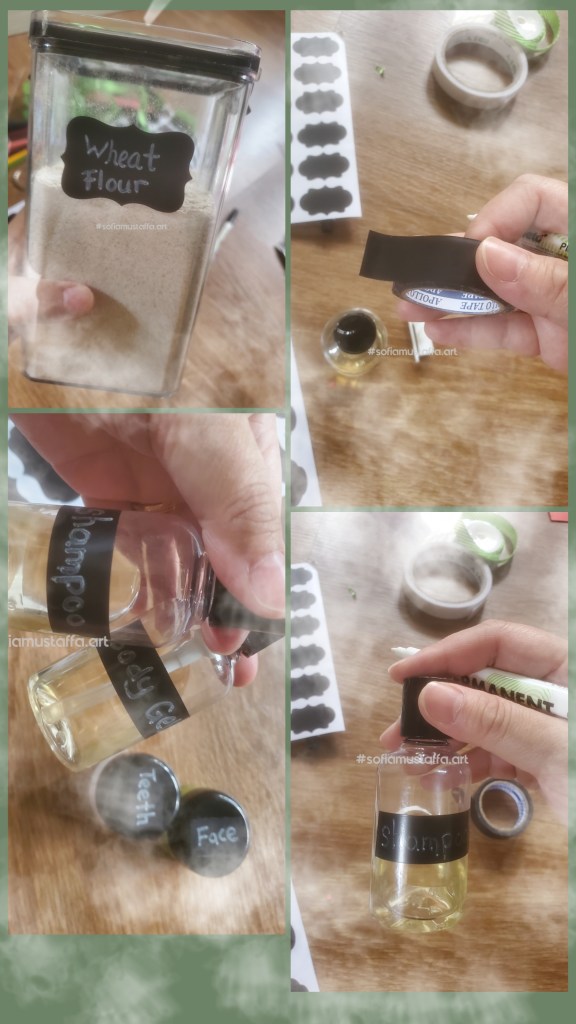
I starts labelling my things, and to well organize my current things, such as my travel toiletries, and my pantry items like flour etc.
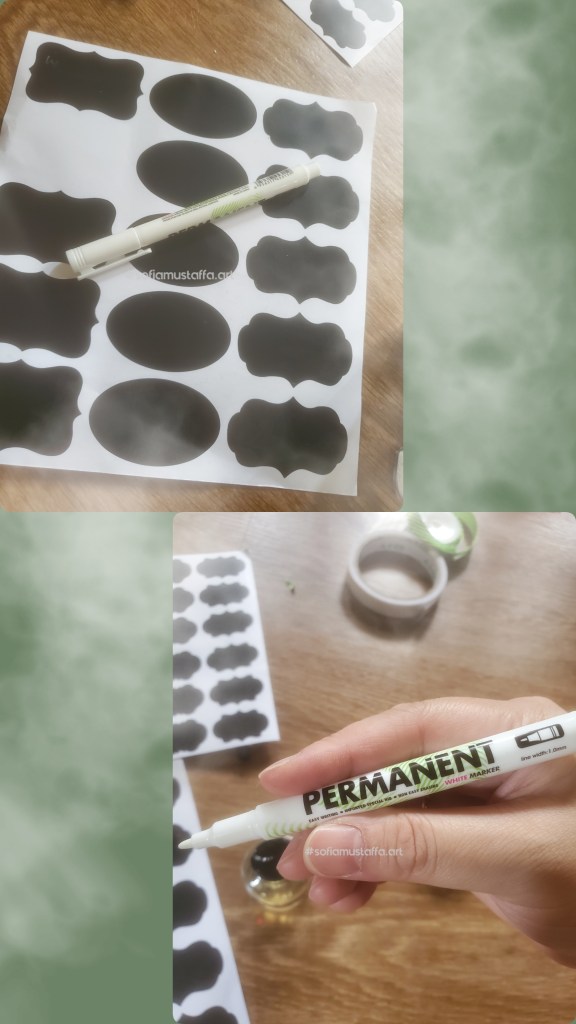
So, I bought empty black sticker and white permanent marker pen. I also have black tape as alternative way for labeling 😃
Check this out…
I bought the sticker for RM 1 each sheet. I bought 2 sheets and the marker pen about RM 0.70 😃I have black tape, so for my travel toiletries I’m using black tape and write it down with White Permanent marker pen. Well, IdK if the writing will fade or not, but its okay, lemme just try to use this as for now. Maybe I will need to find the one with waterproof for my toiletries 😃
Hey guys!!!! How are you doing?? Hope you are all good and sounds. So, today I’m gonna share how I make my easy dumplings. Its been few days back Im craving for dumplings. You know, nowadays when you buy food from restaurant, you will get a tasteless, expensive and vegie dumpling (eventhough you are actually bought beef/lamb dumpling), its all vegie you gonna taste (less meat, lots of vegie) 😂
So, here we go..a simple dumpling from Sofia 😃
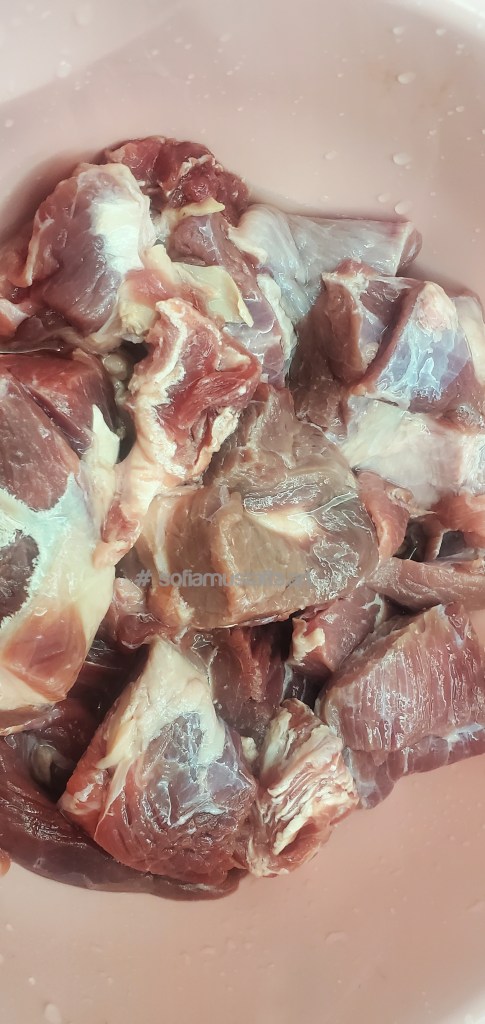
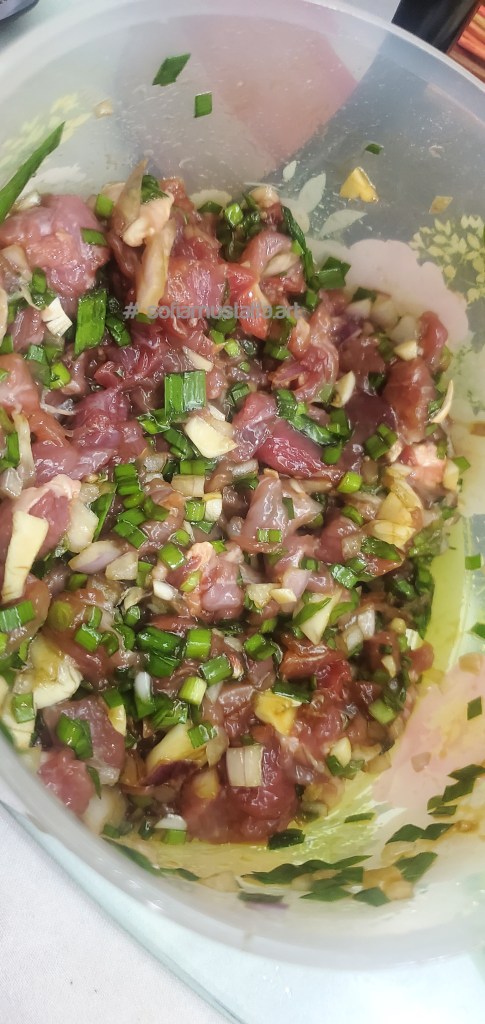
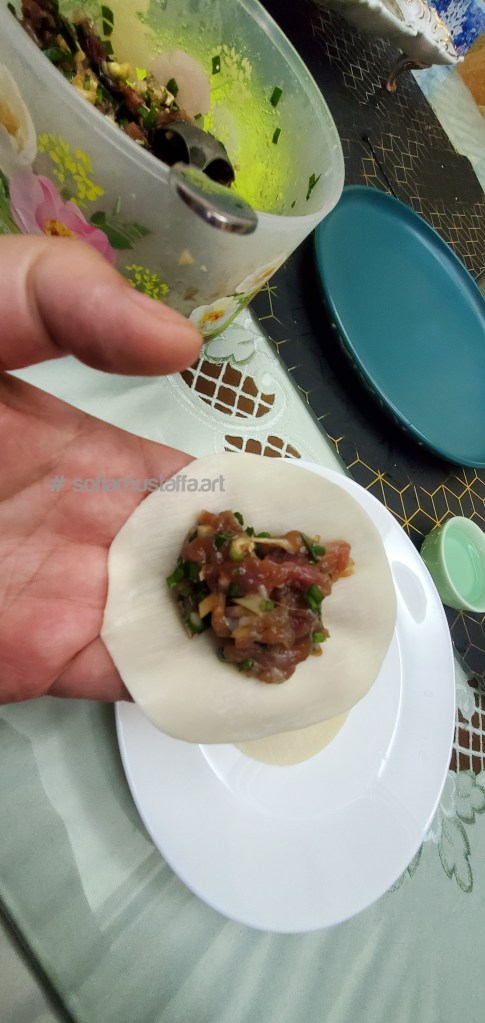
1. Firstly, you gotta buy meat. It depends on you what kind of meat you wanna use. I’m using beef meat here 😋2. Then, you need to chop garlic, onion, chives, salt, grind black pepper, and some marinated sauce.
Marinated Sauce…
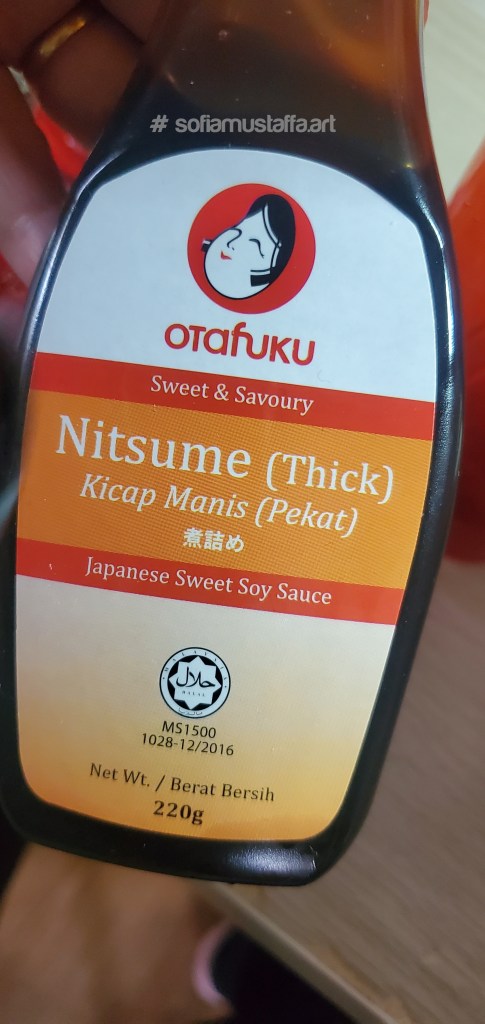
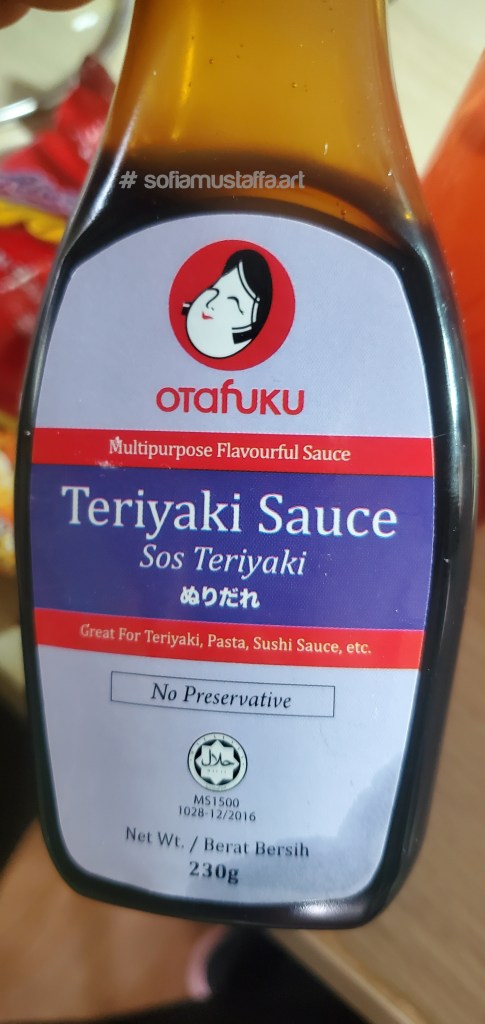
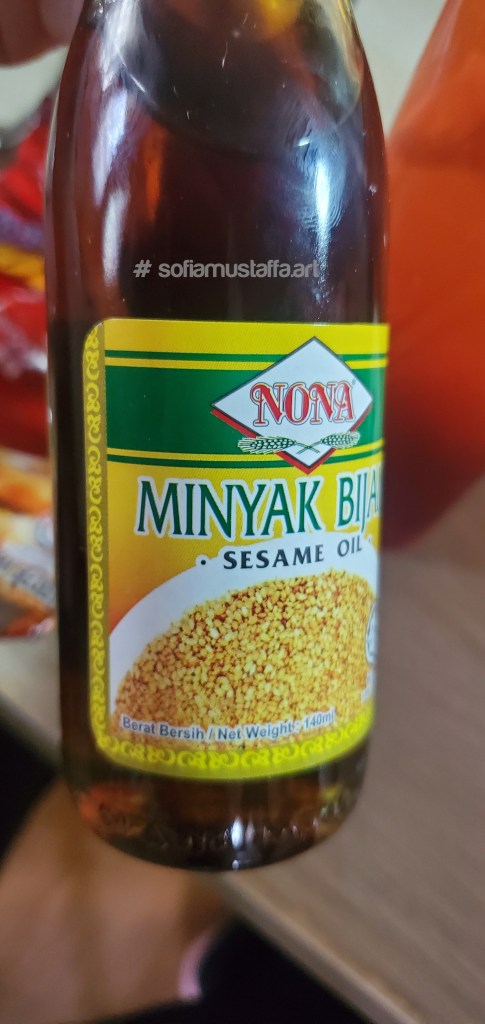
Okay, you got a loooooot of options for marinated sauce. Some love to add salt and black pepper only, some love to add soy sauce, some love to add chilli sauce. Choose whatever you love, in the end it’s yourself who gonna eat it. So, Im using teriyaki sauce, lil japanese sweet sauce and lil bit of sesame oil. I’m creating my own designated dumplings okeyh!! Hahahaha 😂❤ There is no right or wrong about it 😉
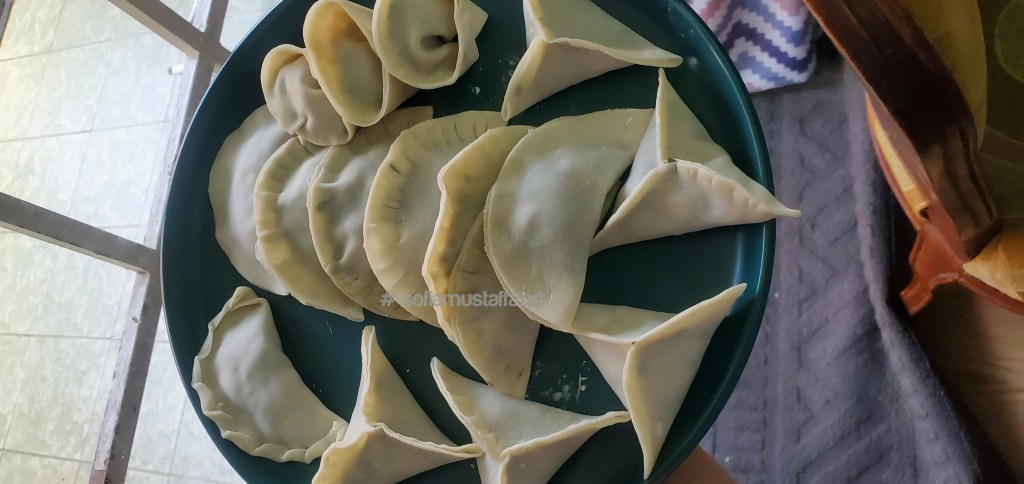
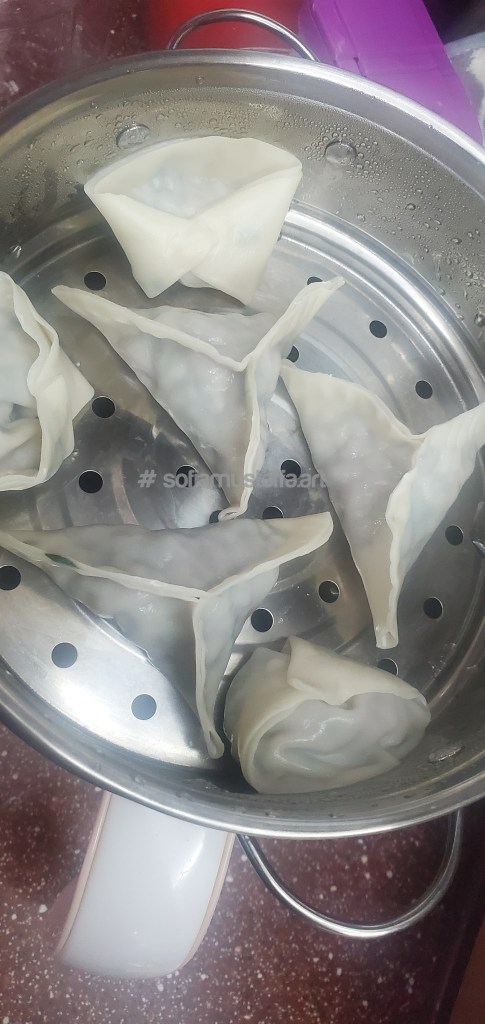
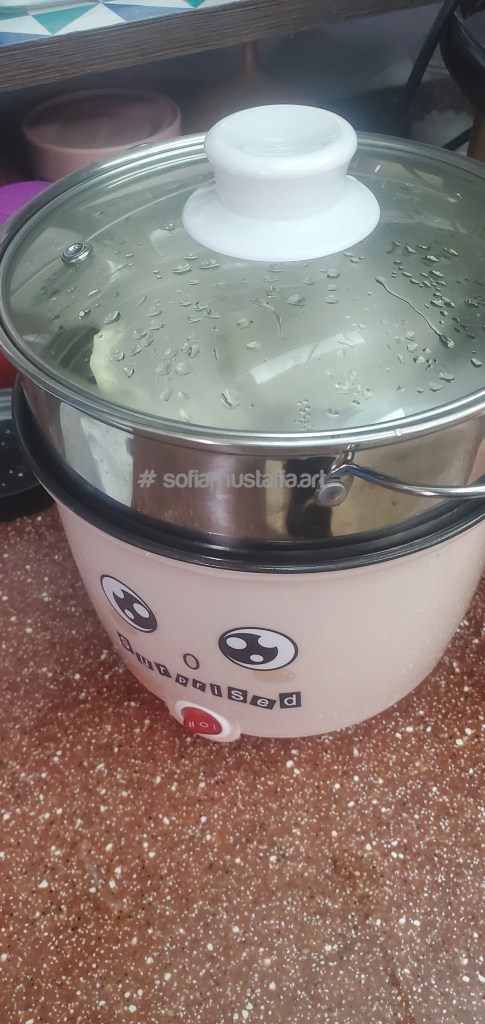
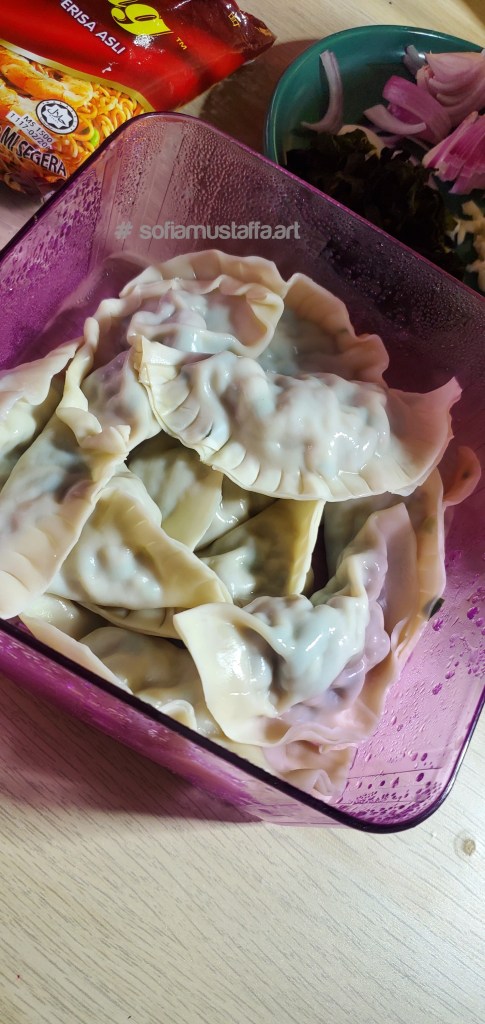
My Japanese sweet soy sauceMy teriyaki sauceMy sesame oil..3. When you chopped everything and pour in lil of your fav marinated sauce, keep it in chiller for overnight. I don’t put in freezer, coz the taste might lil bit different. Keep in a cool chiller, in between the normal chiller and freezer. Next day, you can stir fry the meat, or can put straight to the dumpling skin. Im just being lazy, I just put it on the dumpling skin and steam it 😃4. For dumpling skin, you can make from scratch, but Im too lazy to do that. So I bought the ready made dumpling skin. You can find it in pastry section in market. So, you pick one piece, then place the meat at the centre like this.5. The art of dumplings is how to fold it 🥲 This part is not easy, Im just doing the most simplest ways. You can find a lot of youtube videos on how to fold dumplings and find your fav one ☺6. Okay to steam the dumpling, if you have white thin cloth, you can put it to the bottom of dumplings. This is to avoid torn dumplings. I don’t have that, so I just put in the steamer. If you got better idea, do let me know 😀7. My cute steamer…I can steam, can boil, can cook rice..Its small and cute 🥰8. Tadaaa!!!!! Here my dumplings!!!! Yummy 😋. You can put it in container storage and keep it in chiller.
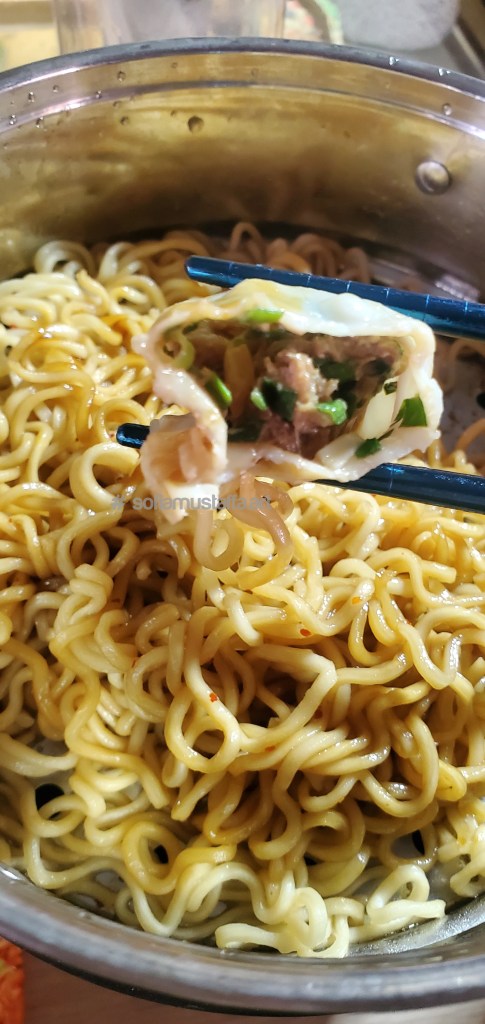
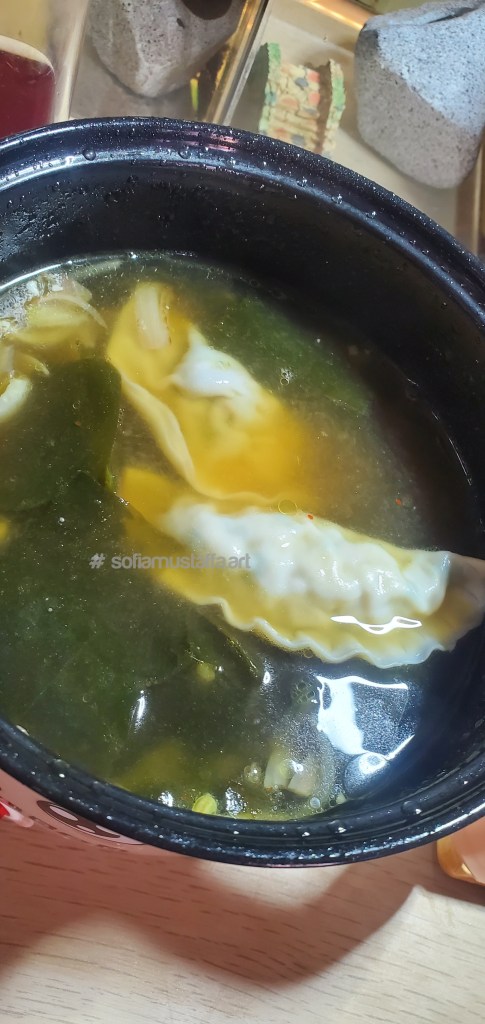
My fav style to eat dumplings with noodles and seaweed soups 🥰
Dumpling with noodles and sweet sauceThe inside..😋Dumpling with seaweed soup
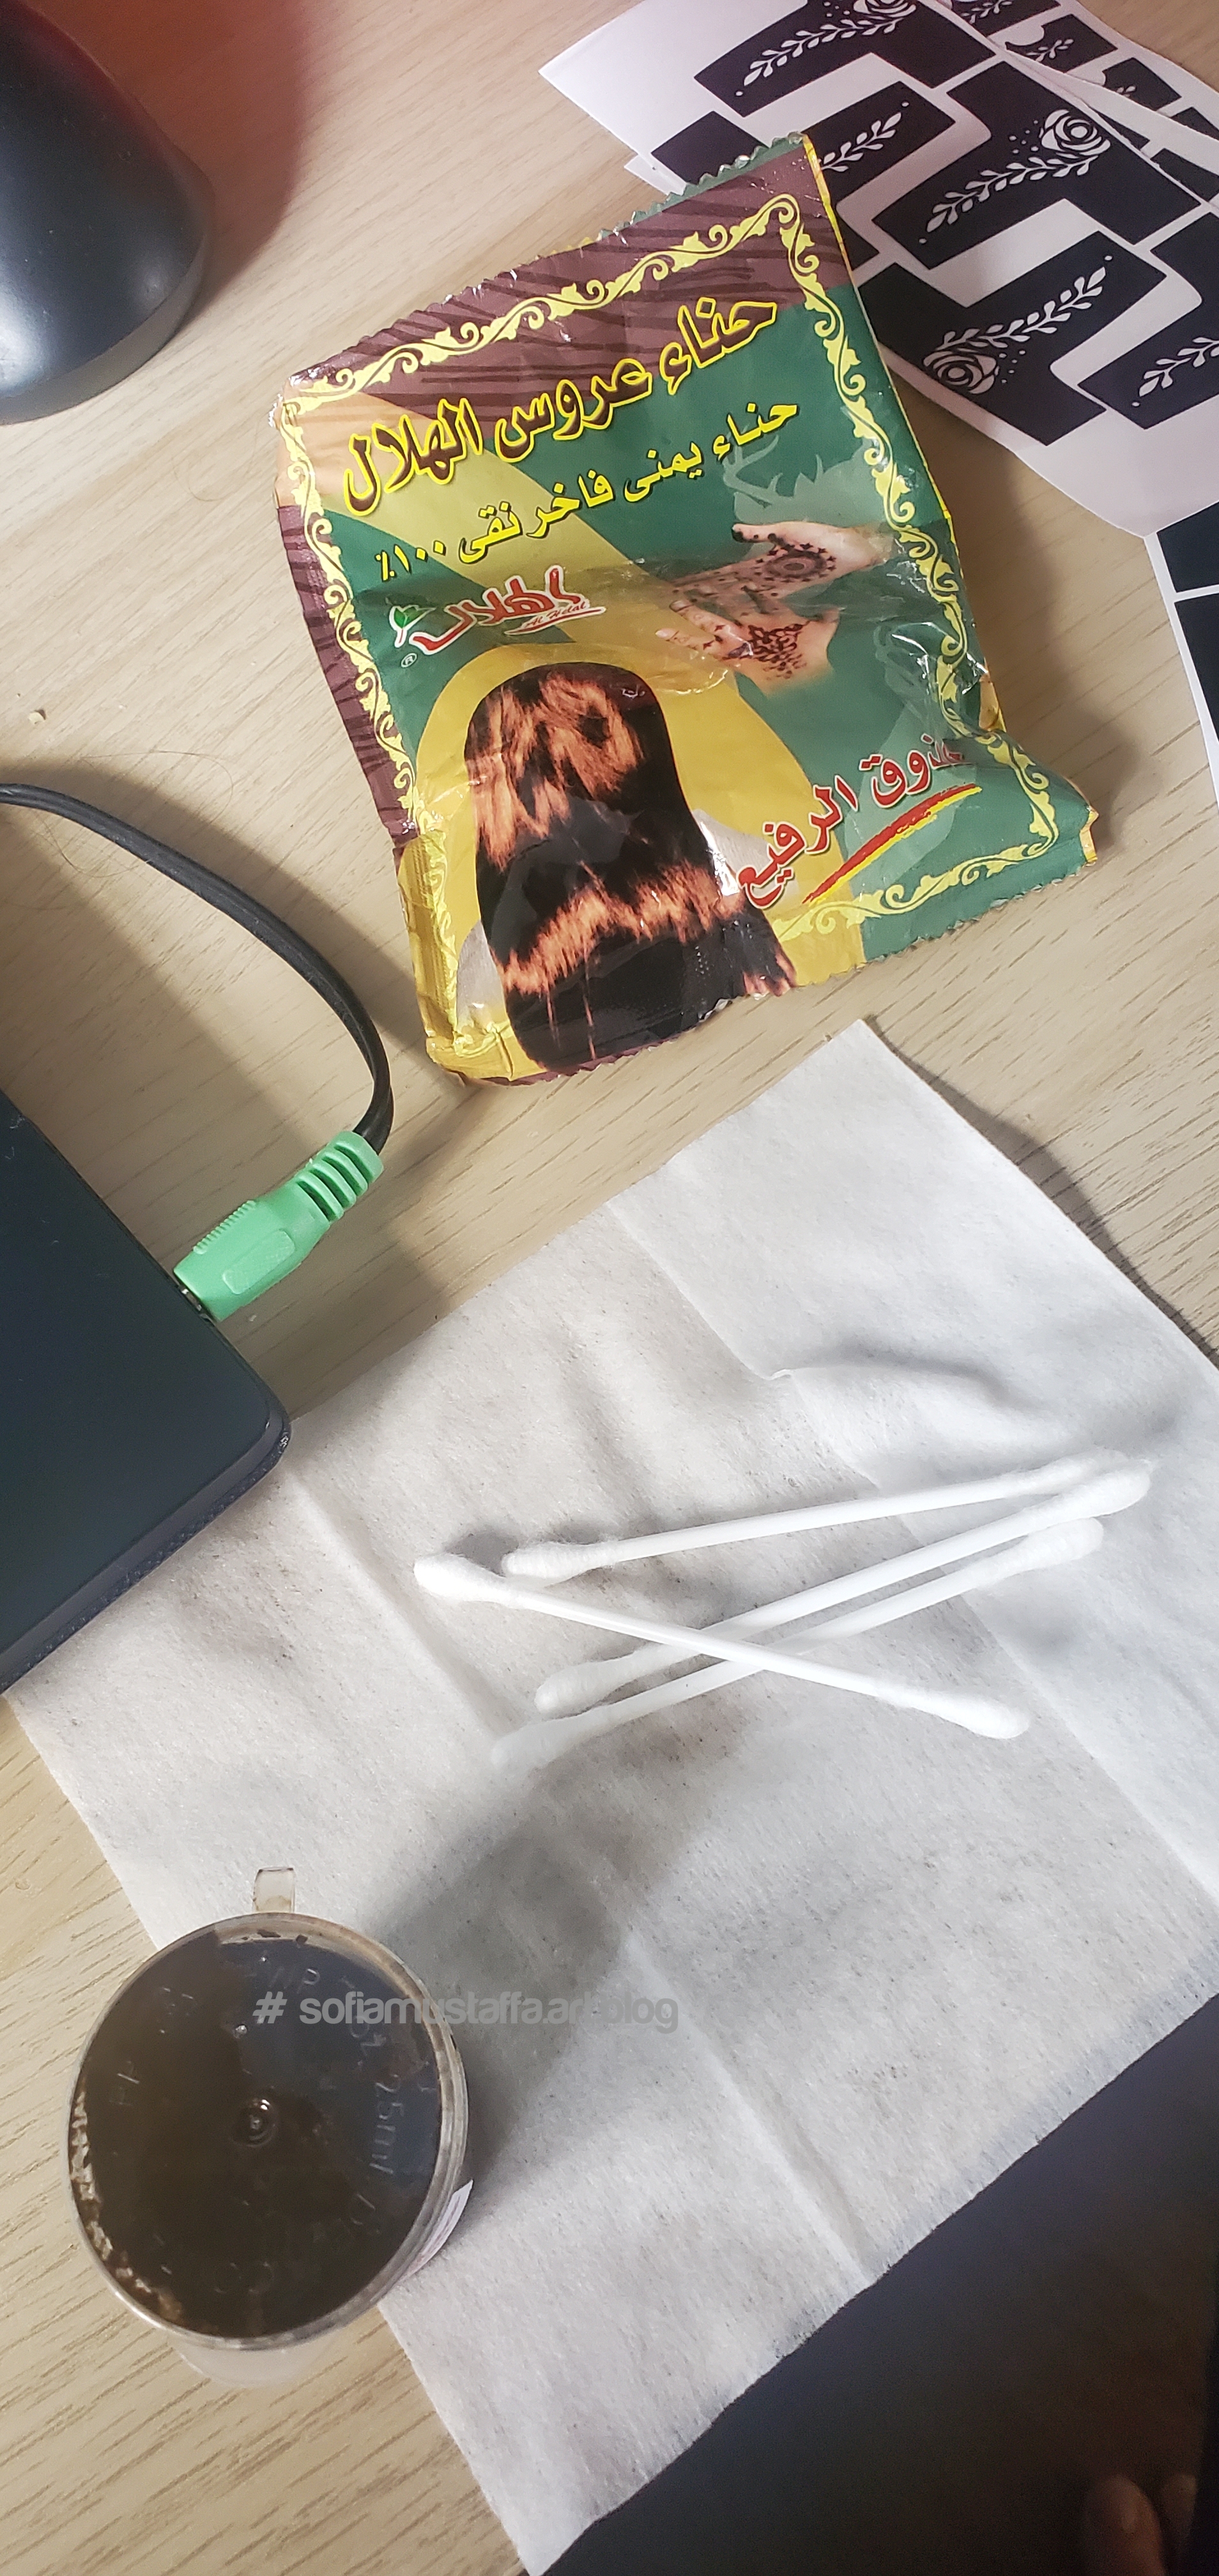
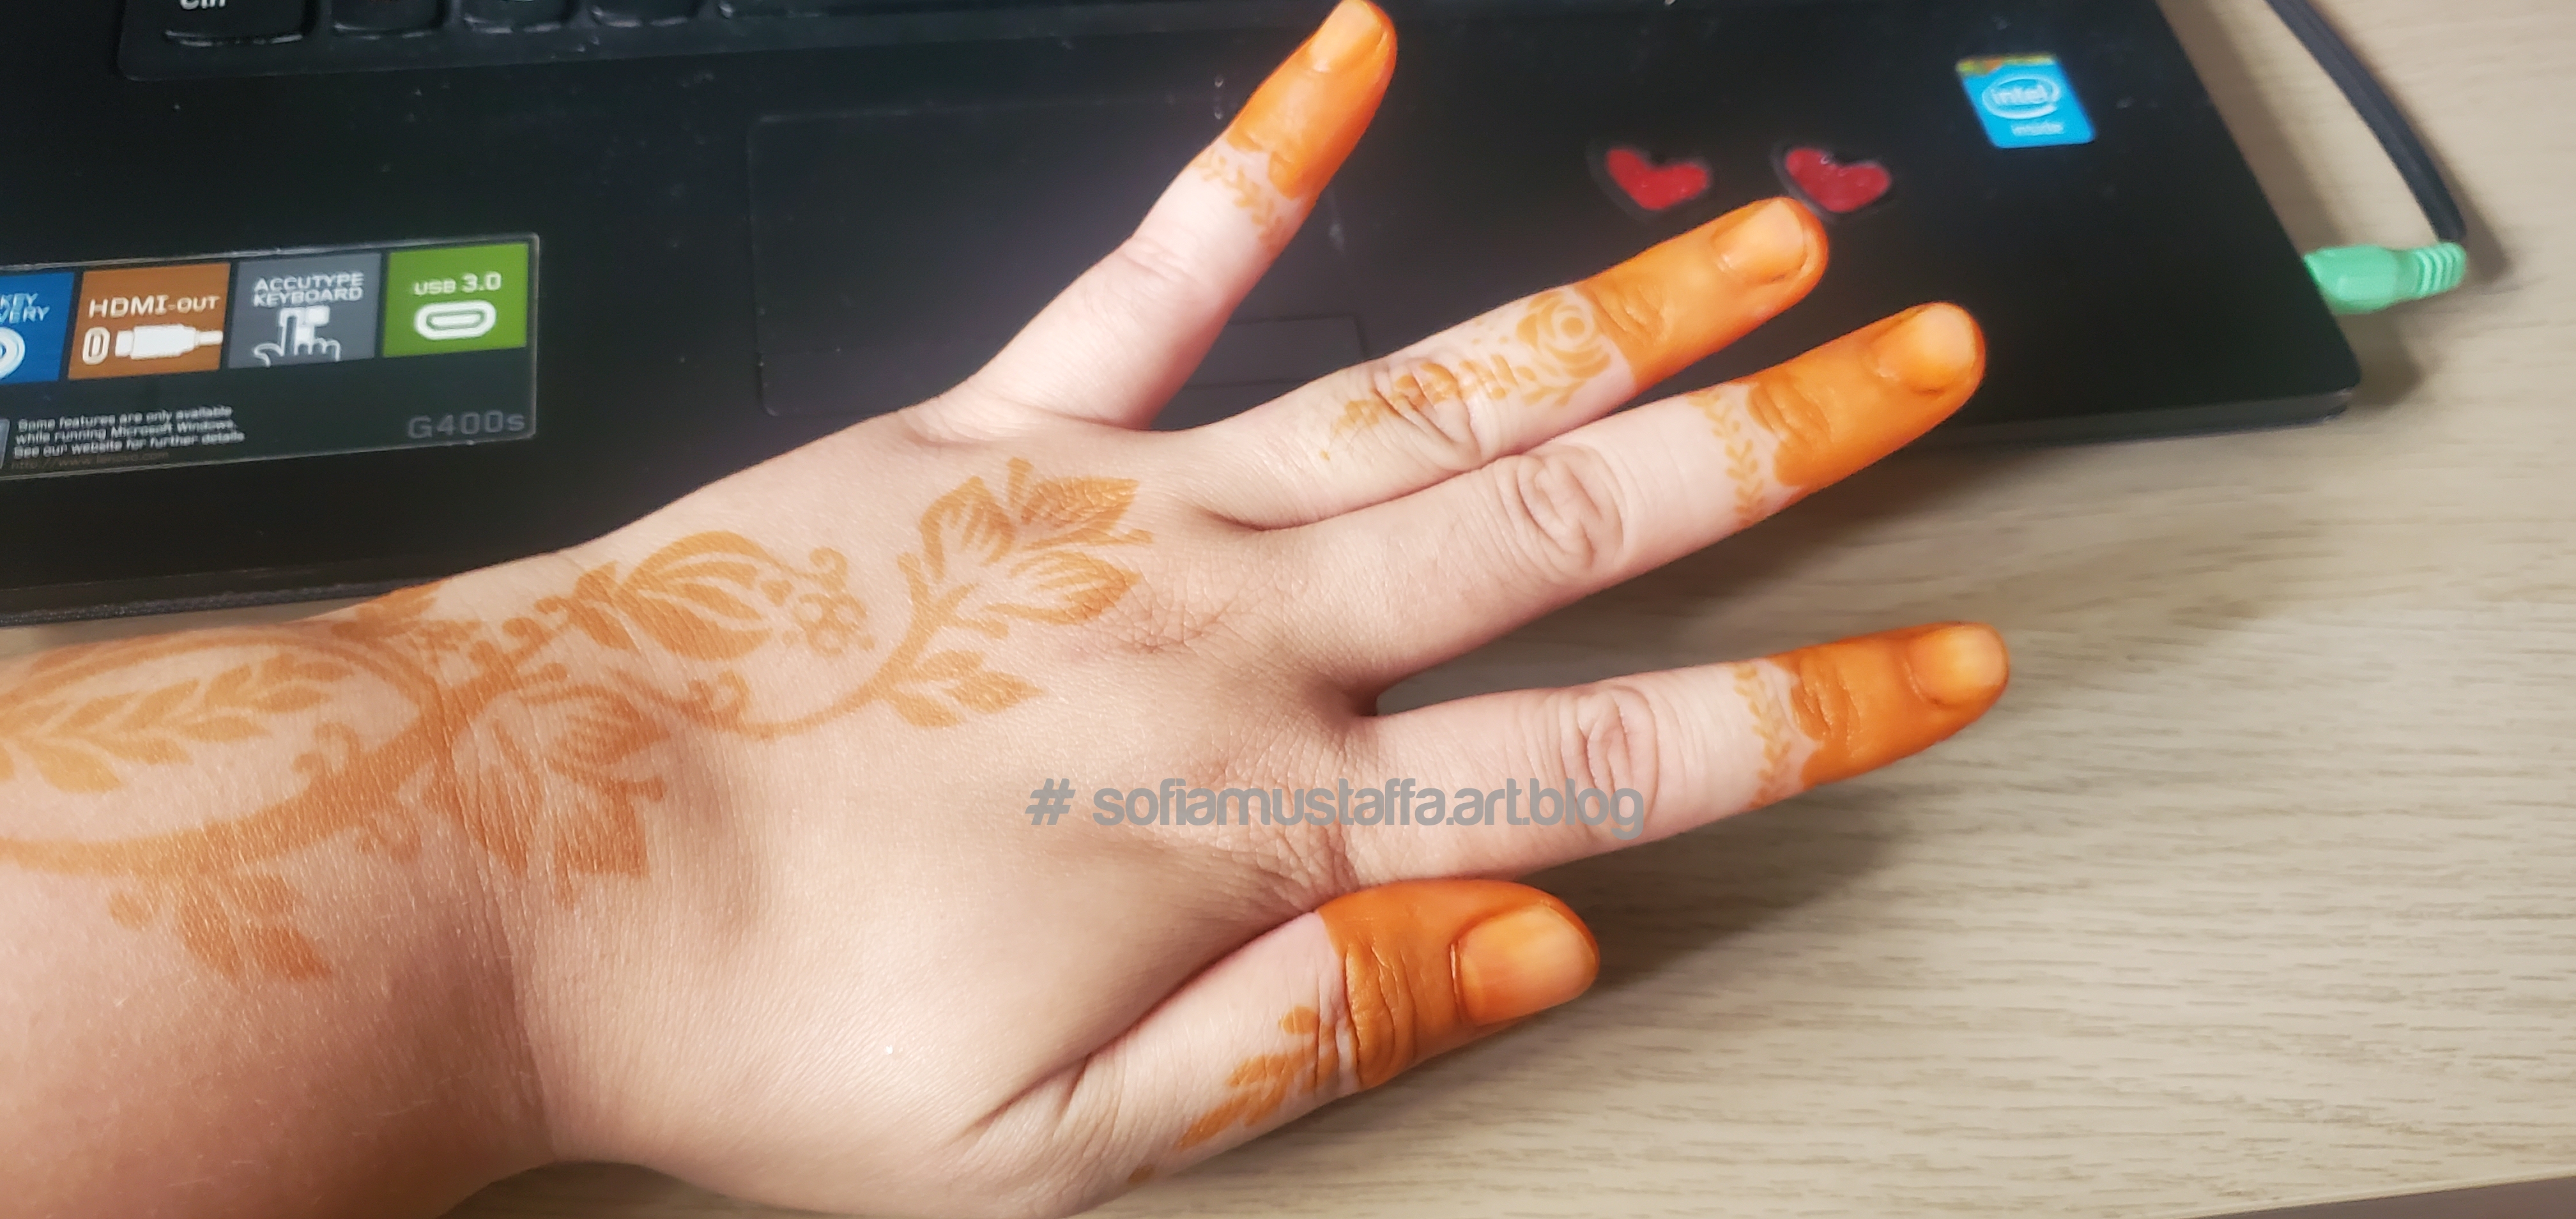
Raya Aidilfitri is just around the corner. I bought these DIY mahendi online and thought wanna give it a try 😃
Do you know how much it will cost for 1 hand mahendi in 2015? RM 15 (3.44 USD) per hand. Yes, that price was in 2015, I believe it will be more now, in 2022. Do you know how much I bought all of these kit? RM 31.50 (7.23USD) and you can use the sticker template over and over again, and wherever you want 😄
I bought 3 varieties of the finger design, 1 overall hand design and of course the henna (chose natural henna). You can choose your own fav design, coz sometimes when I did mahendi outside, they make a different design from what I chose. Myb they simply don’t know how to draw it. Idk😶
So…..here we gOoOoooo…let’s start….😃🥰
How to DIY your own mahendi 😍
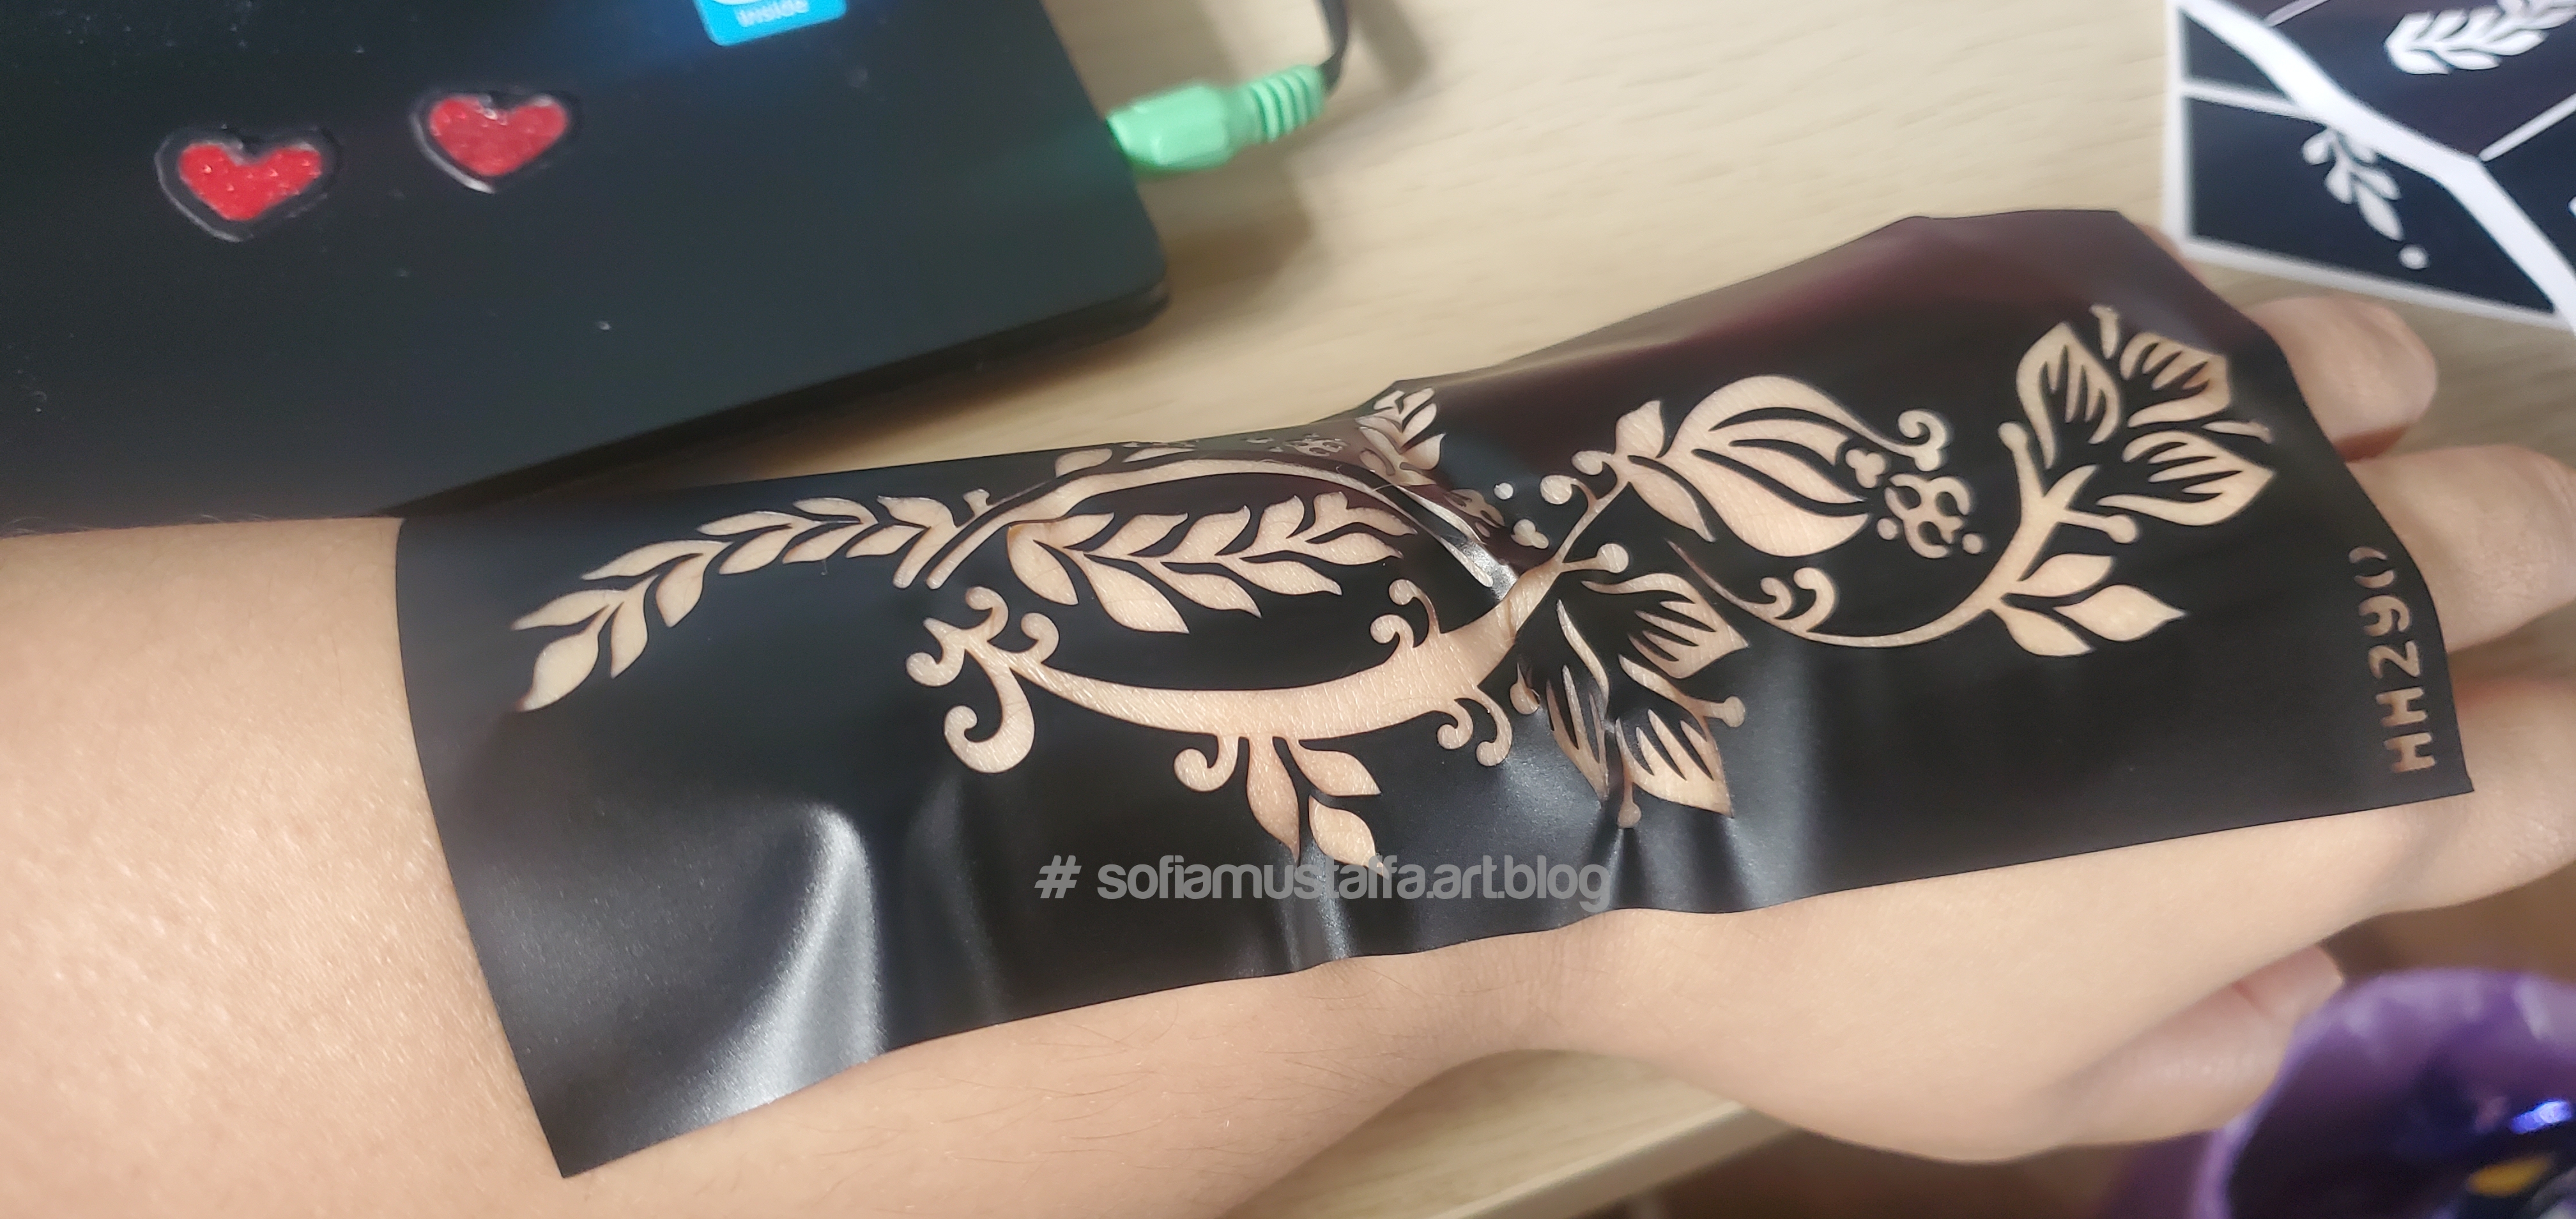
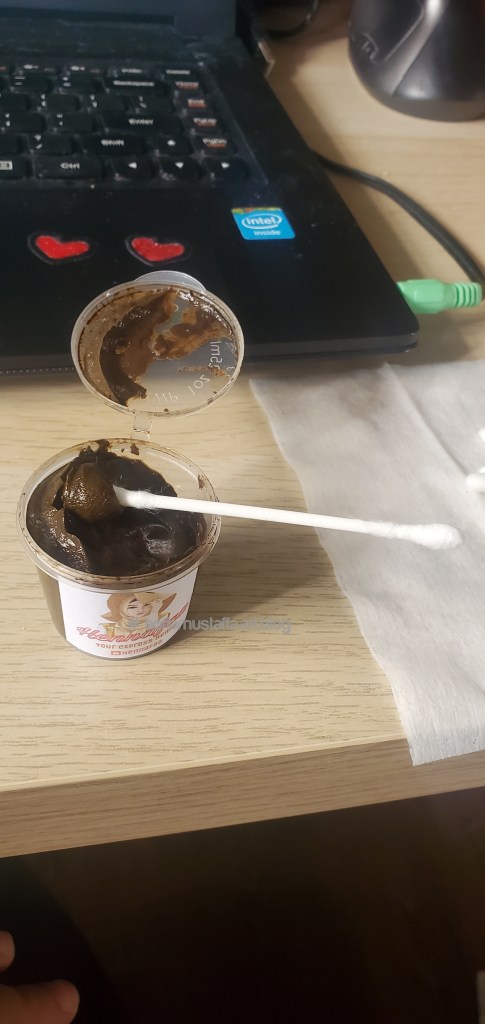
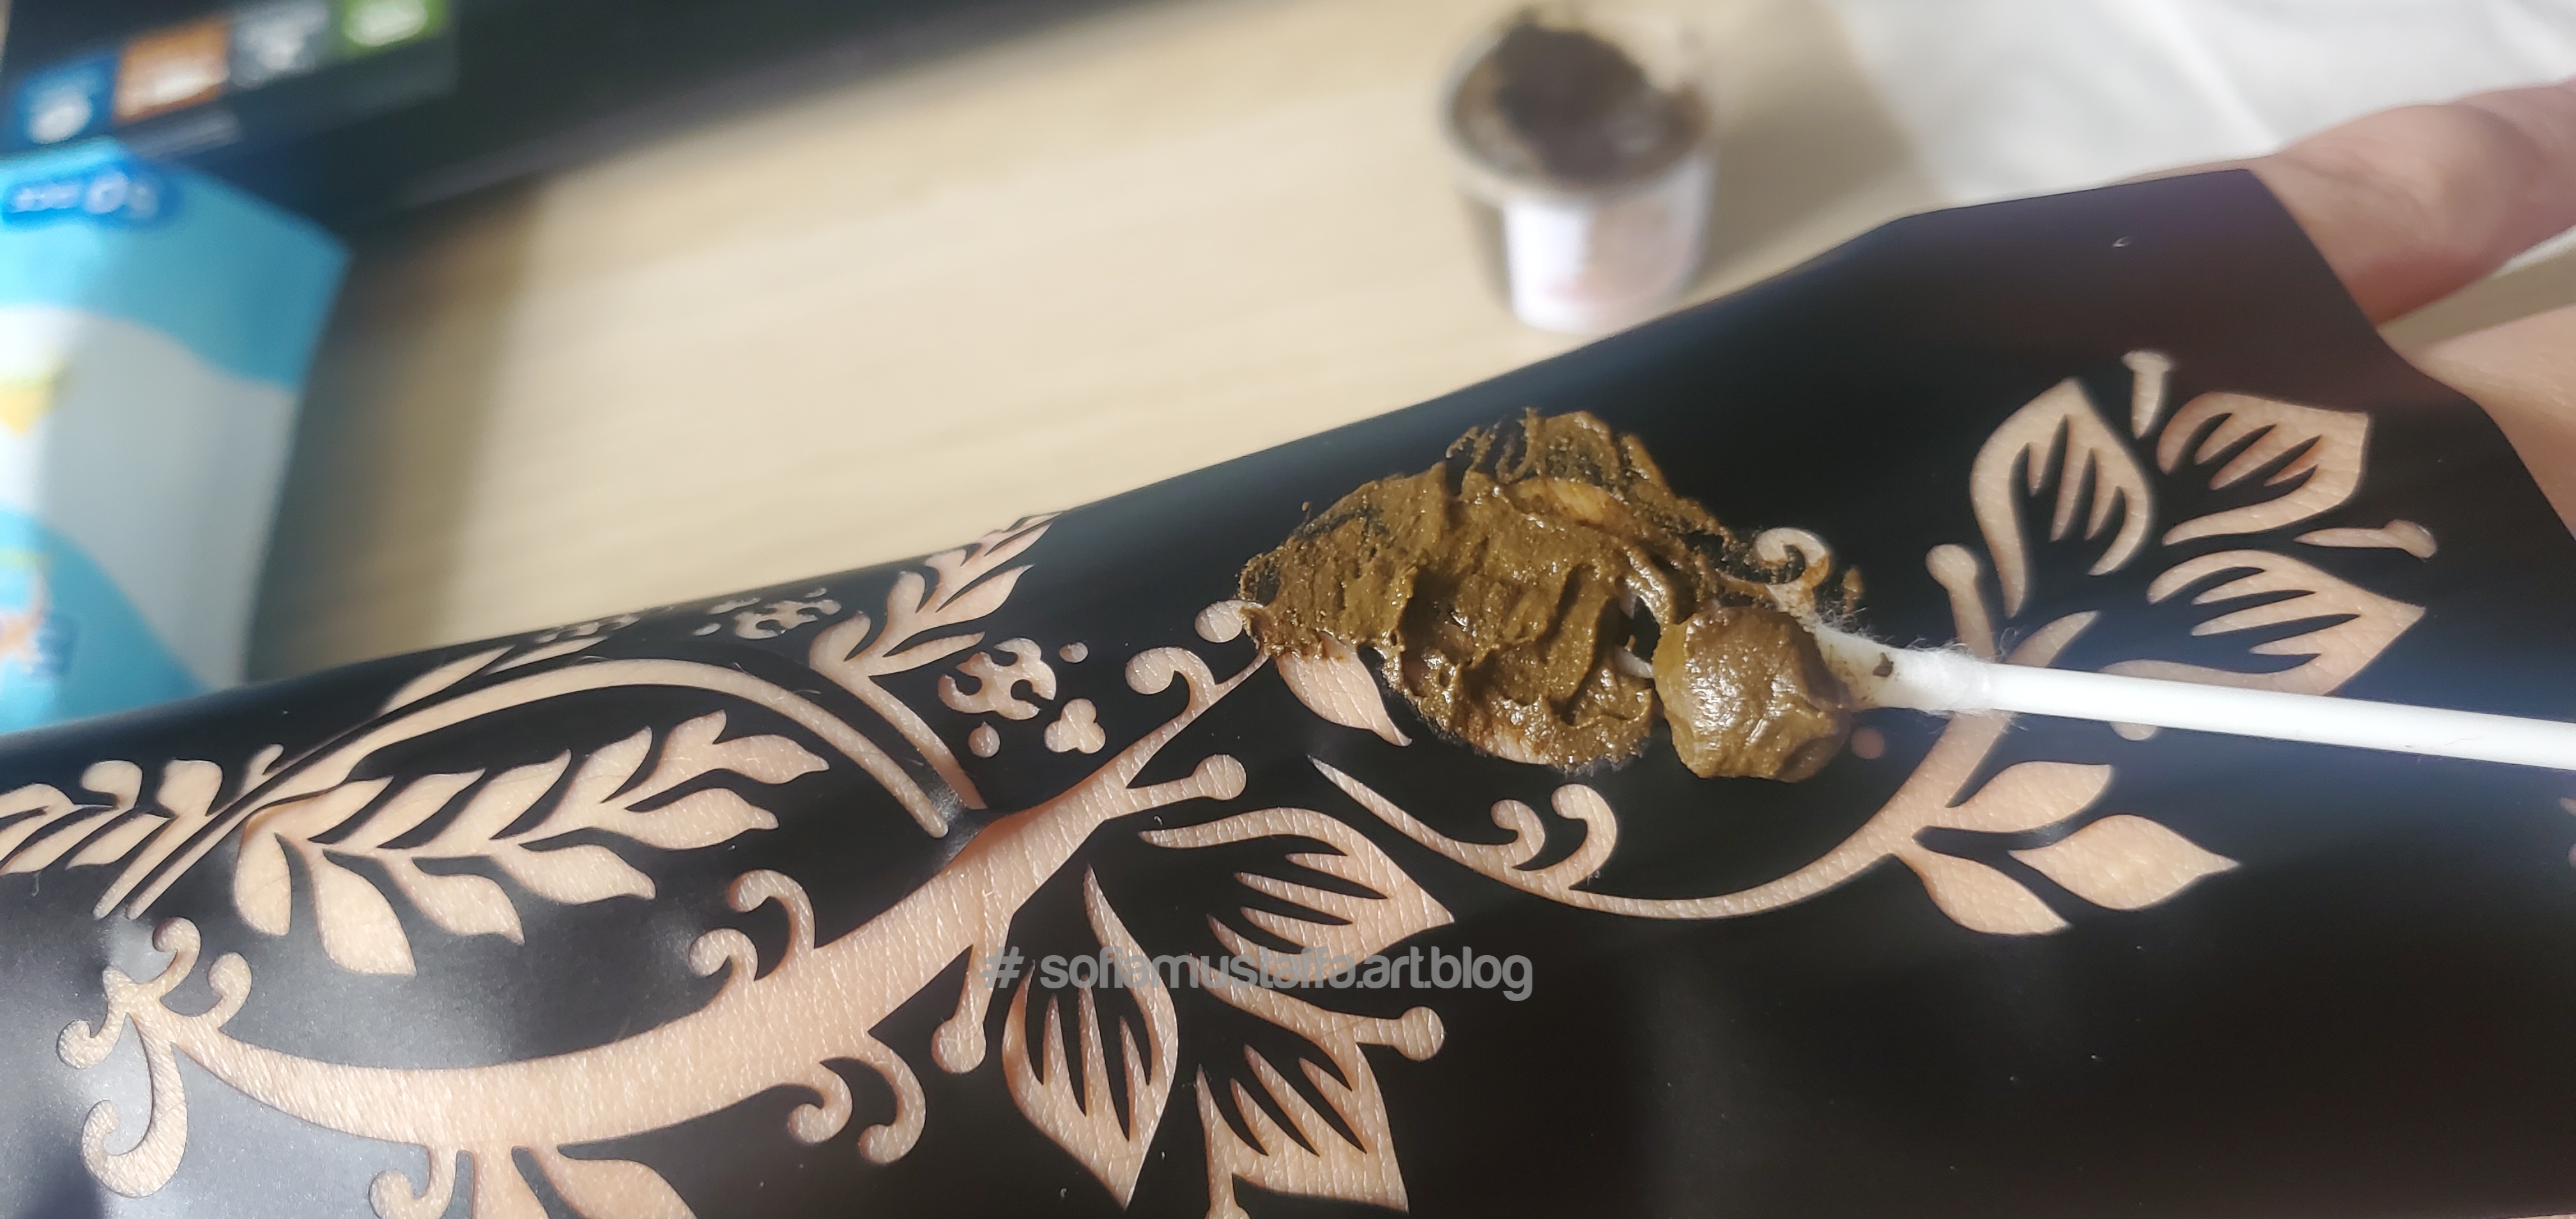
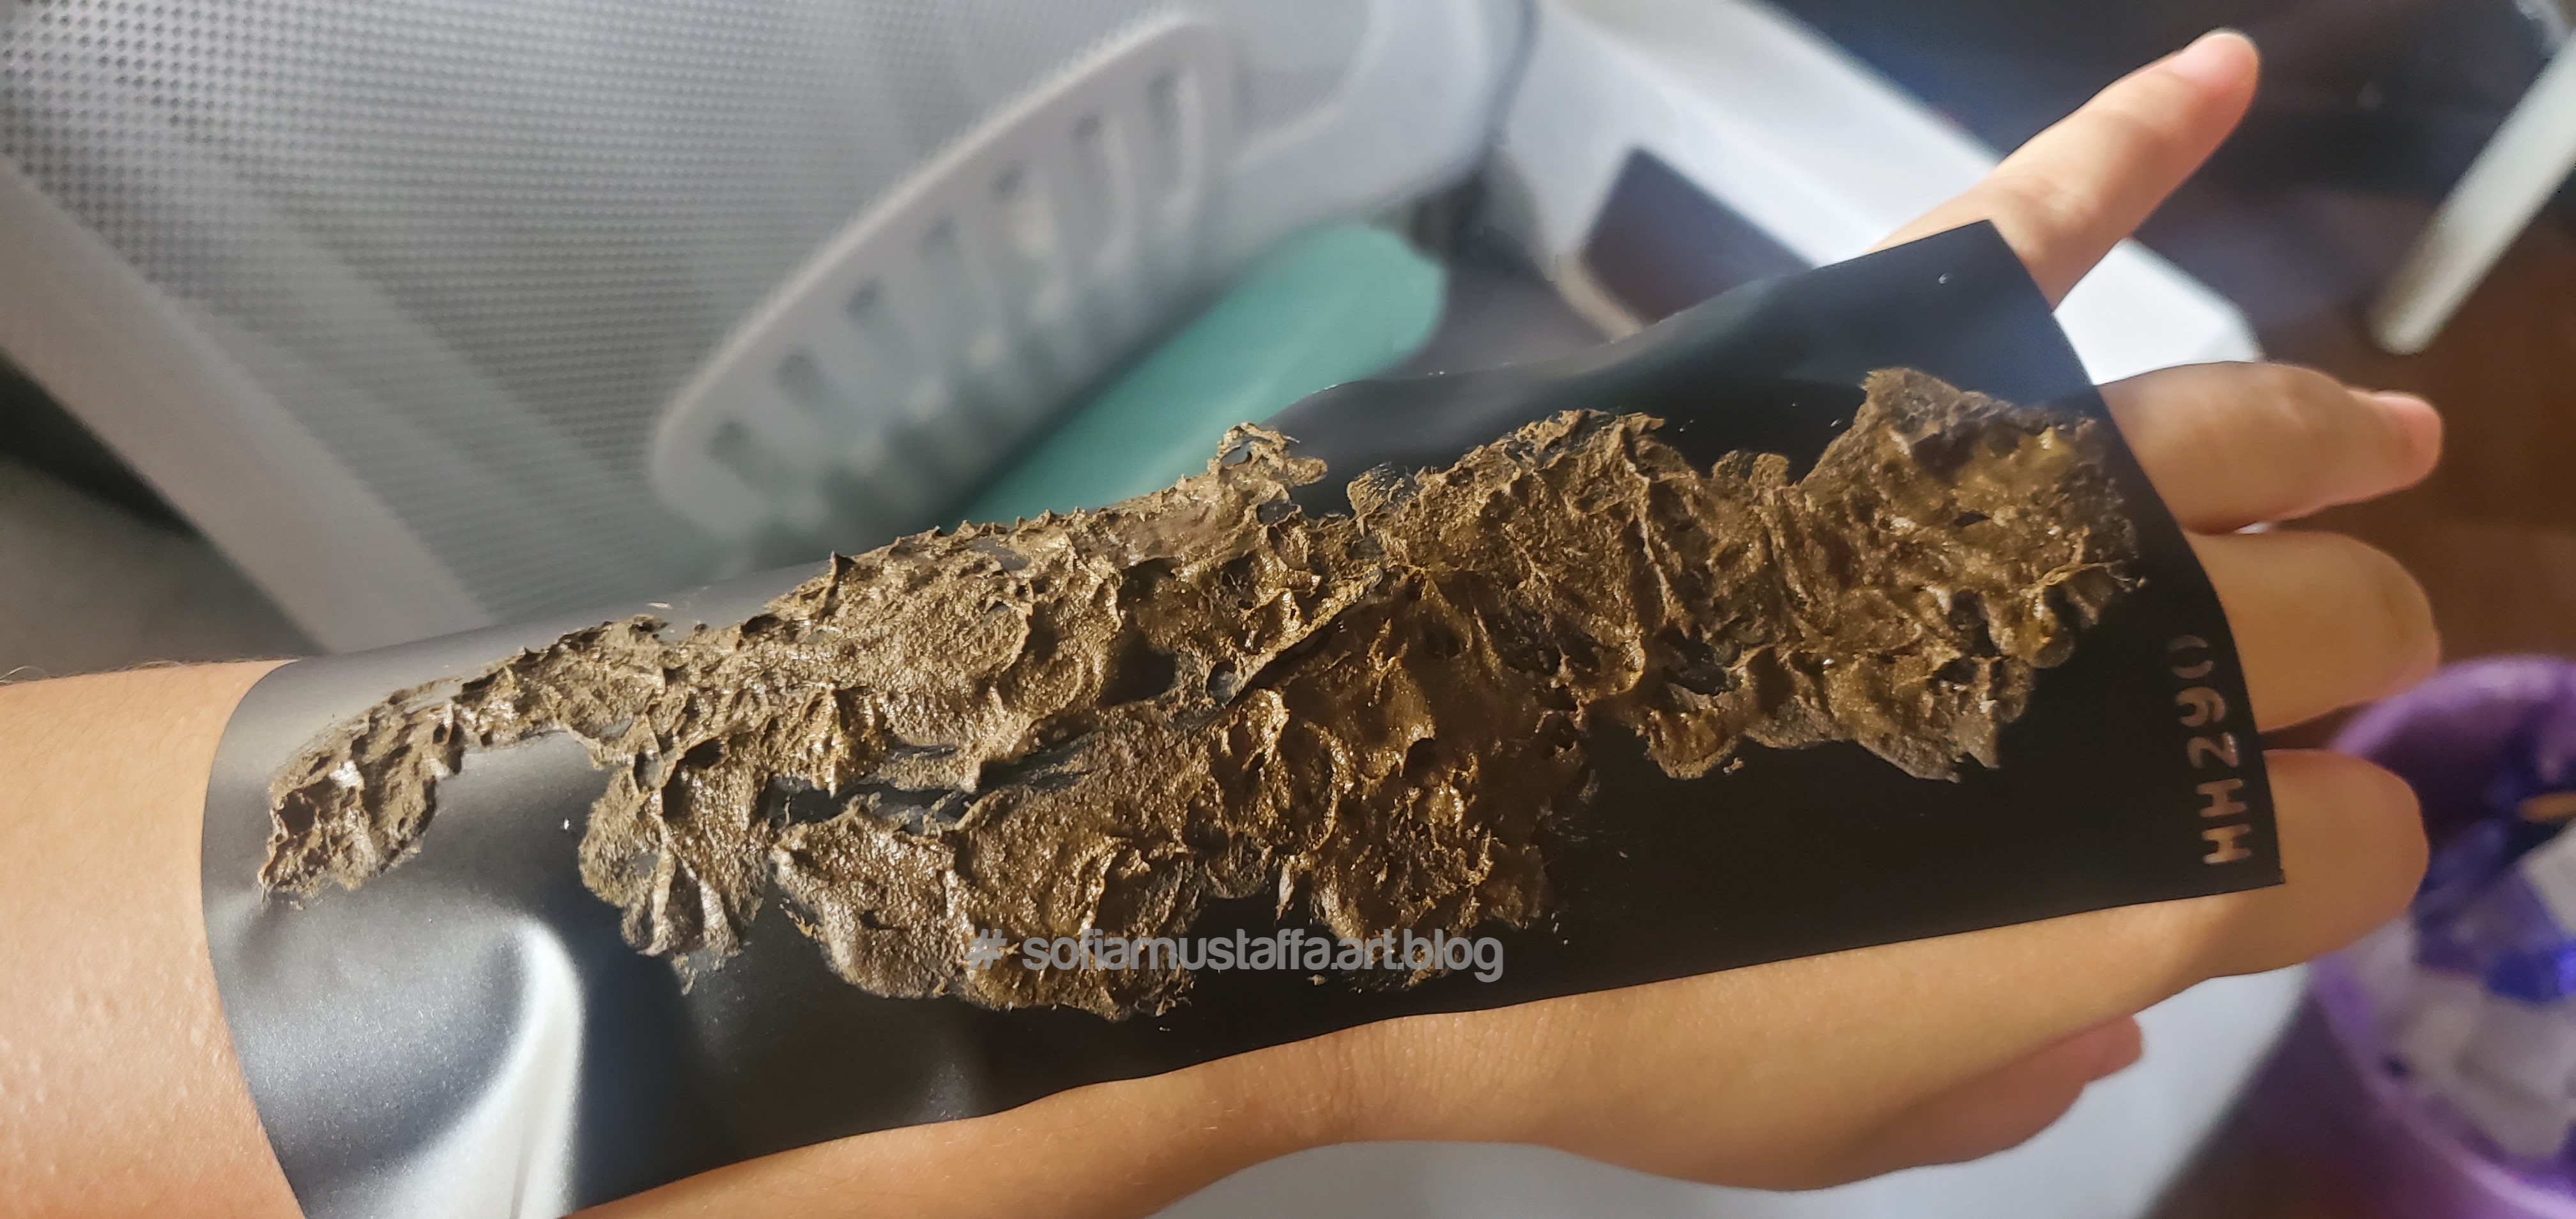
First thing first, you gotta choose which template you wanna try and where to put on your body 😅I prepare some tissue, and cotton bud to apply henna on it. As you can see here, the packet is the original henna, where you need to mix it with water. But I want things easier 😃, so I just bought readymade henna in the small cup. Of course it will be cheaper if you mix it yourself, i think the cup and packet, cup double price then the packet and a lot of quantity 😀Okay, then you put on the sticker template on your hand like this. Don’t put henna on those..HH290..its the sticker code ya 😁😅Alright, now we use the cotton bud to apply henna on top of the sticker…🥰Tadaa…make sure all template is well stick and apply on all sticker holes………..something like this….see..i dont put the HH290 henna, if not u gotta see it on your hand too..please ensure you alert on those 😅😅
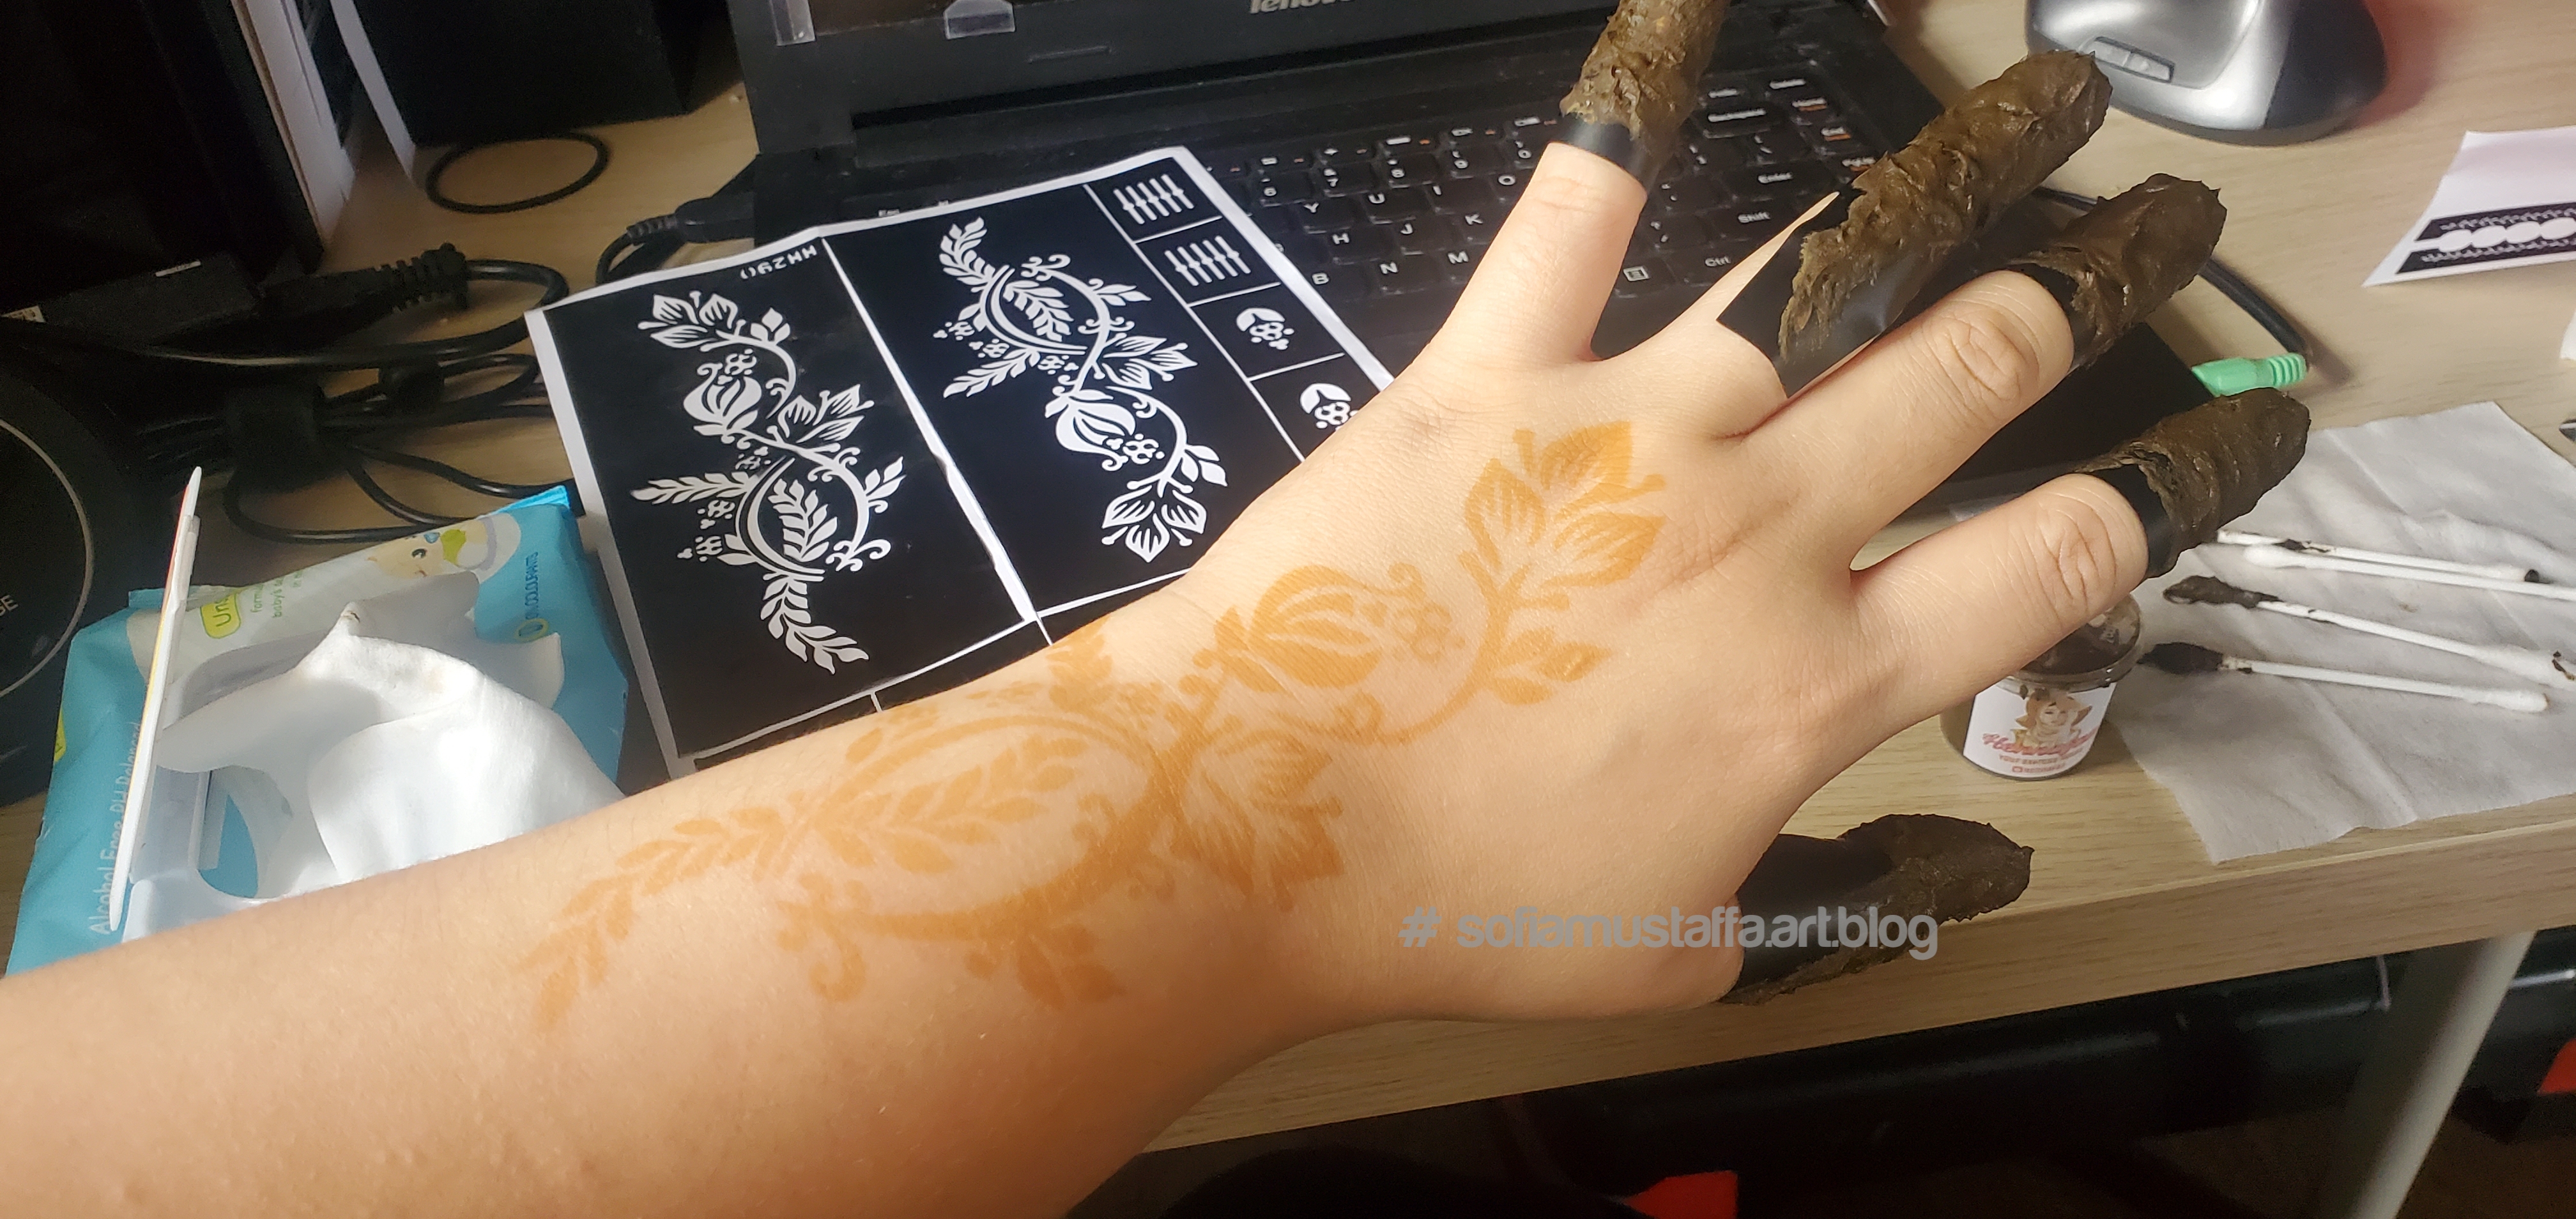
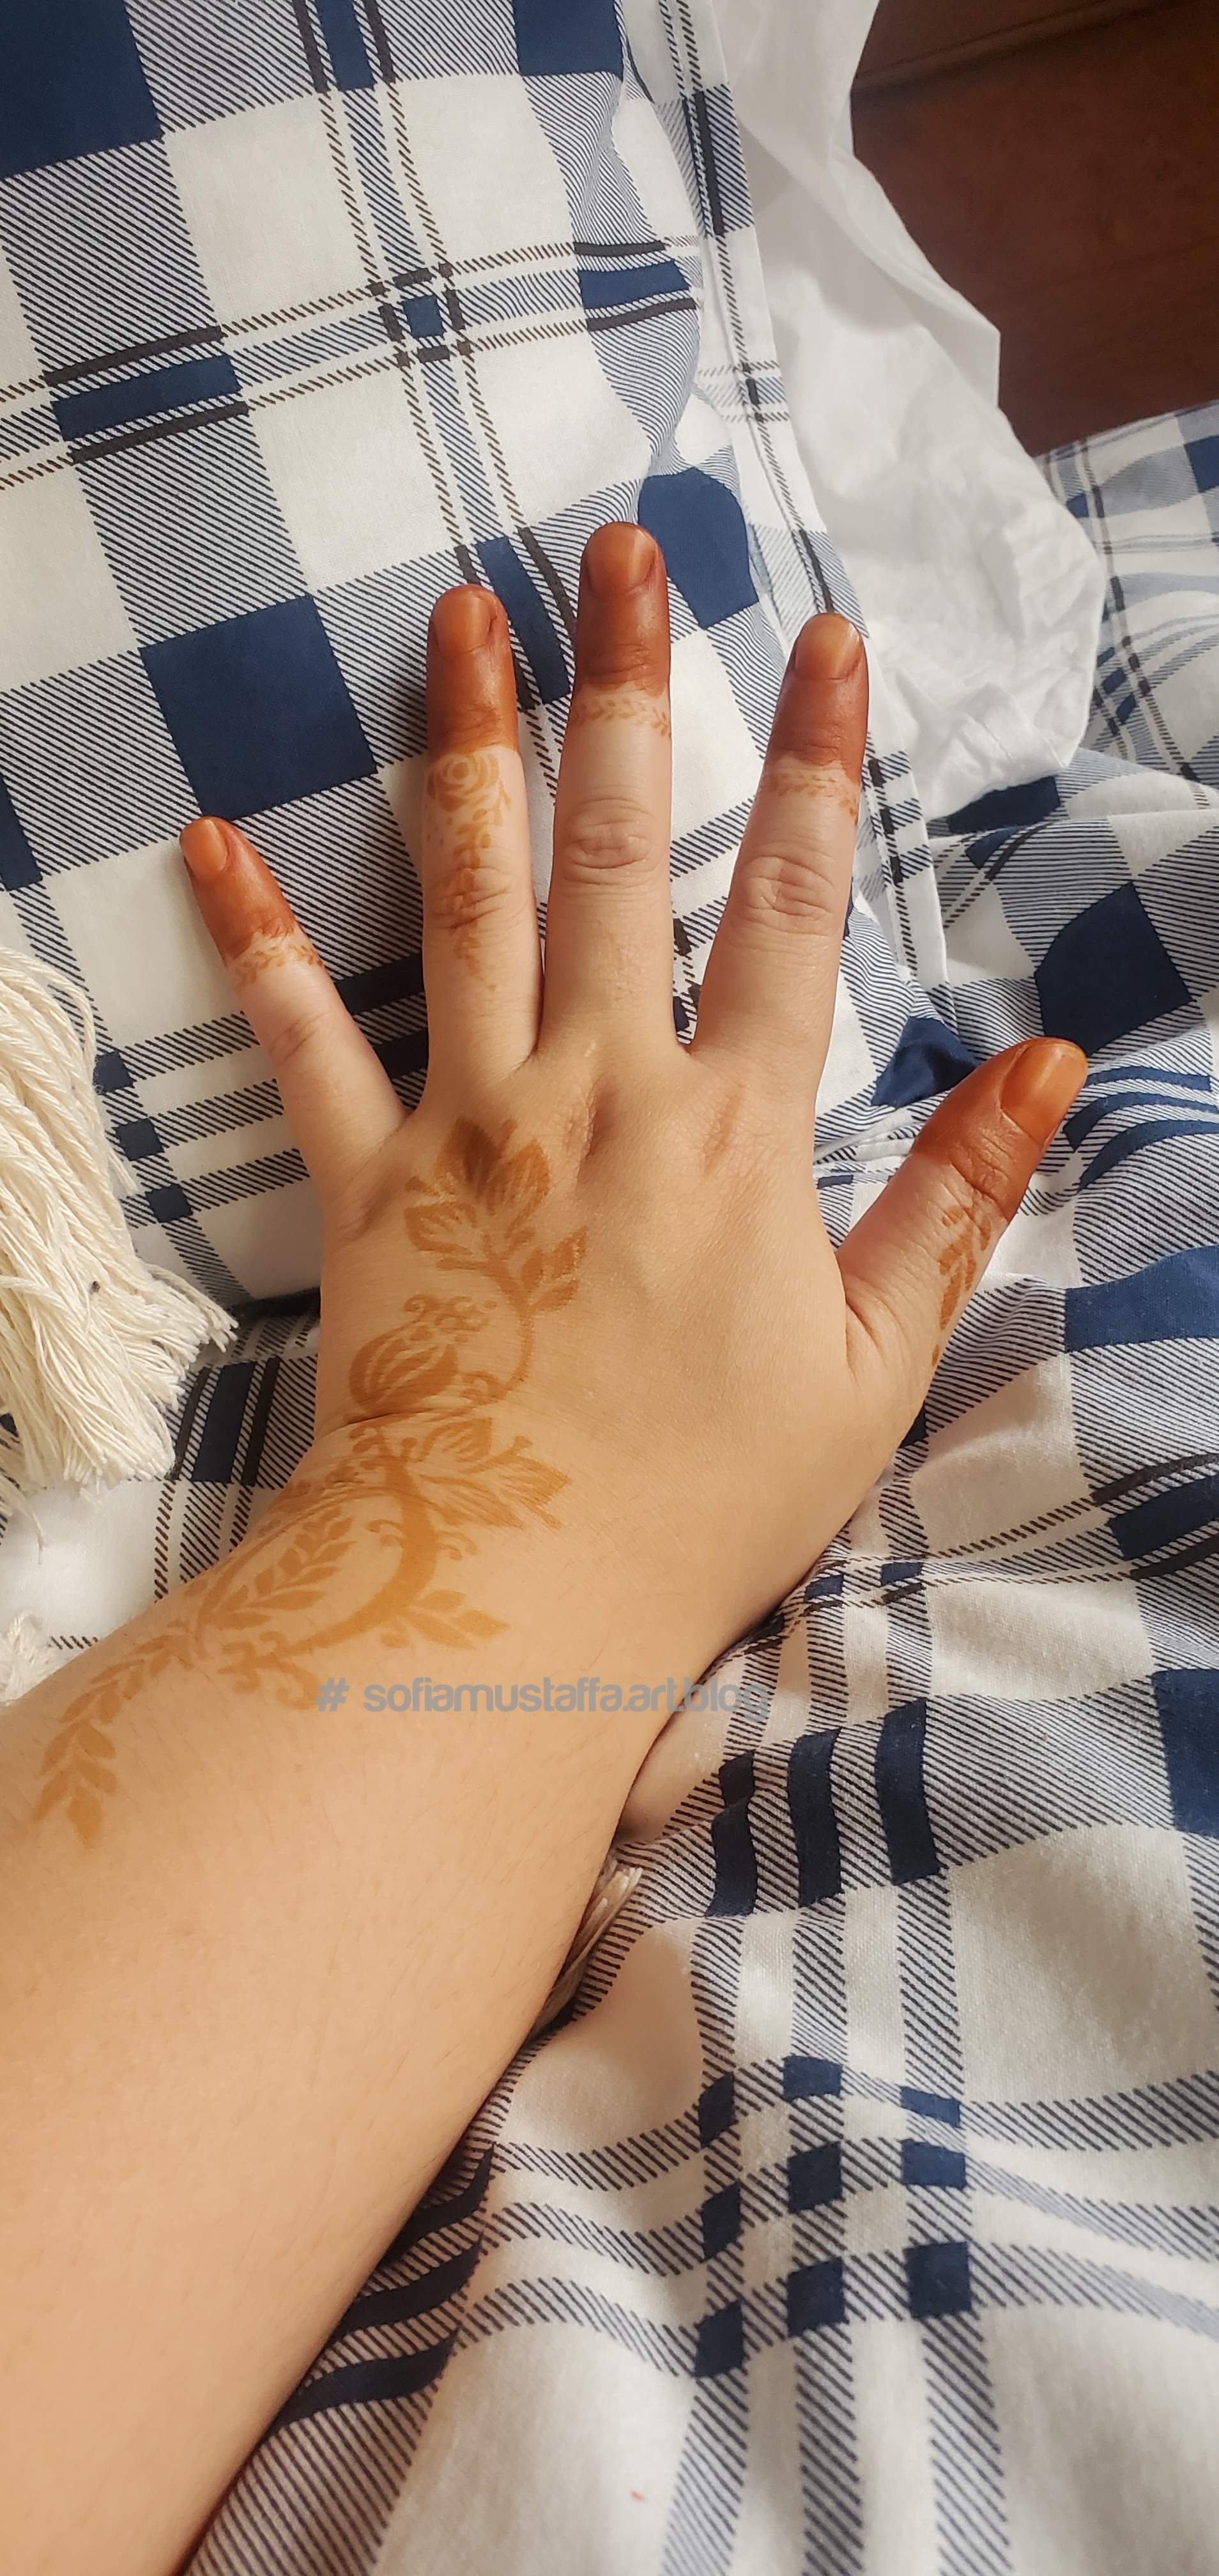
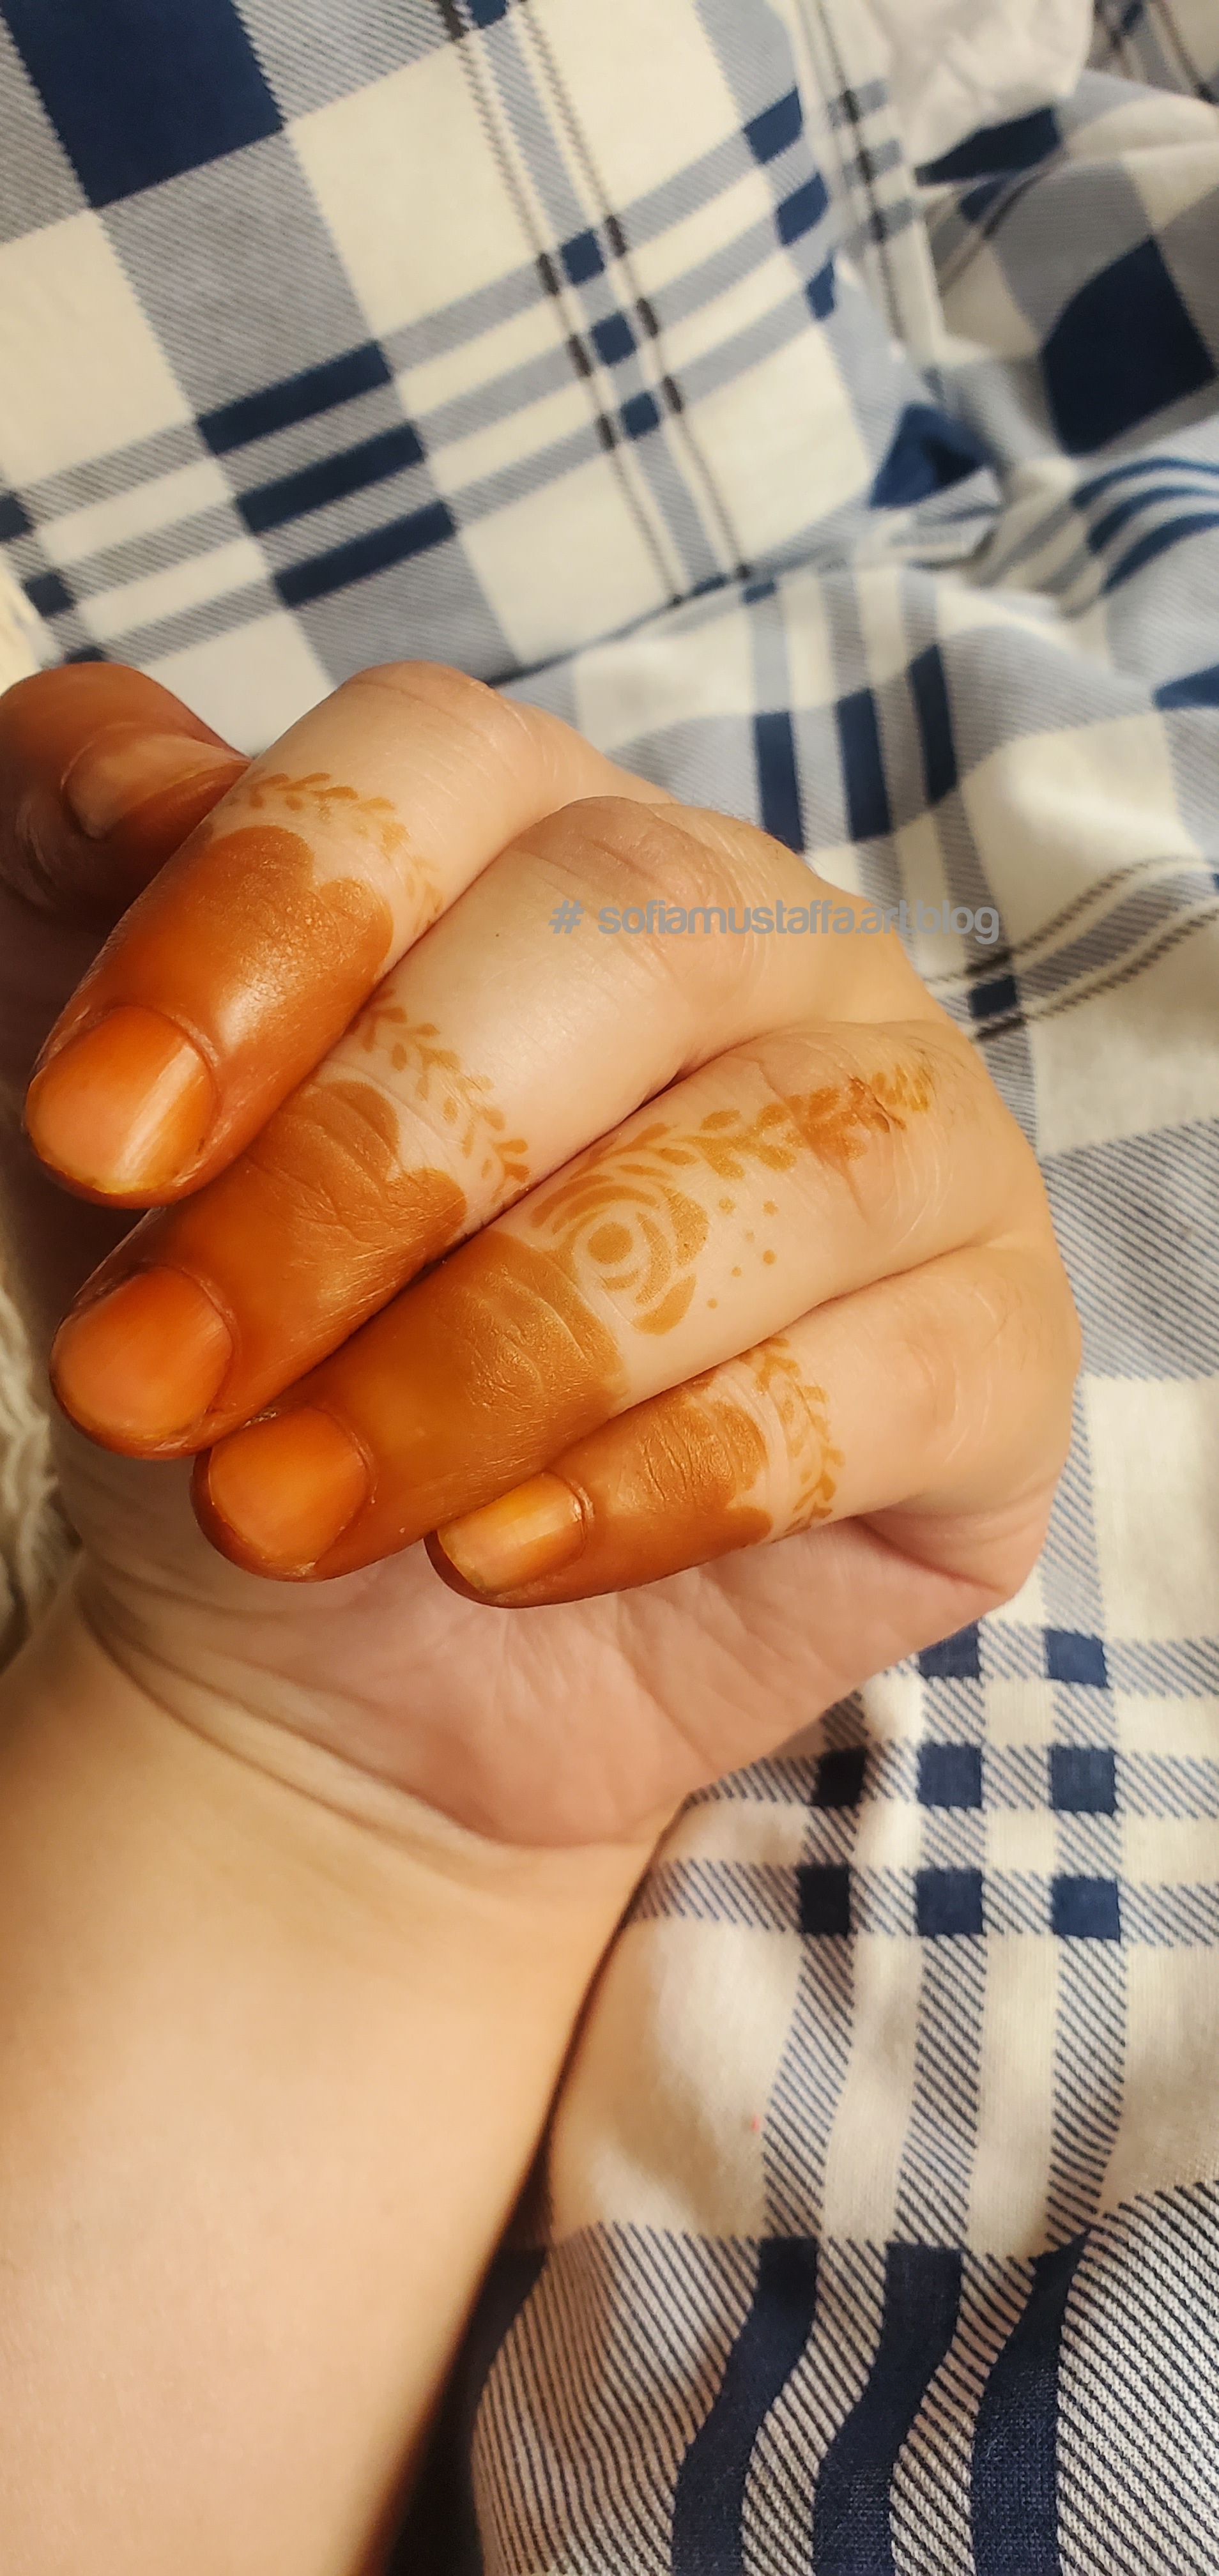
Okay, after you apply the henna, you gotta wait for few hours…or some people will leave it overnight. But hey, Im not gonna wait that long, I just leave it for 30min 😂. The more longer you wait, the more thick the color will be…☺
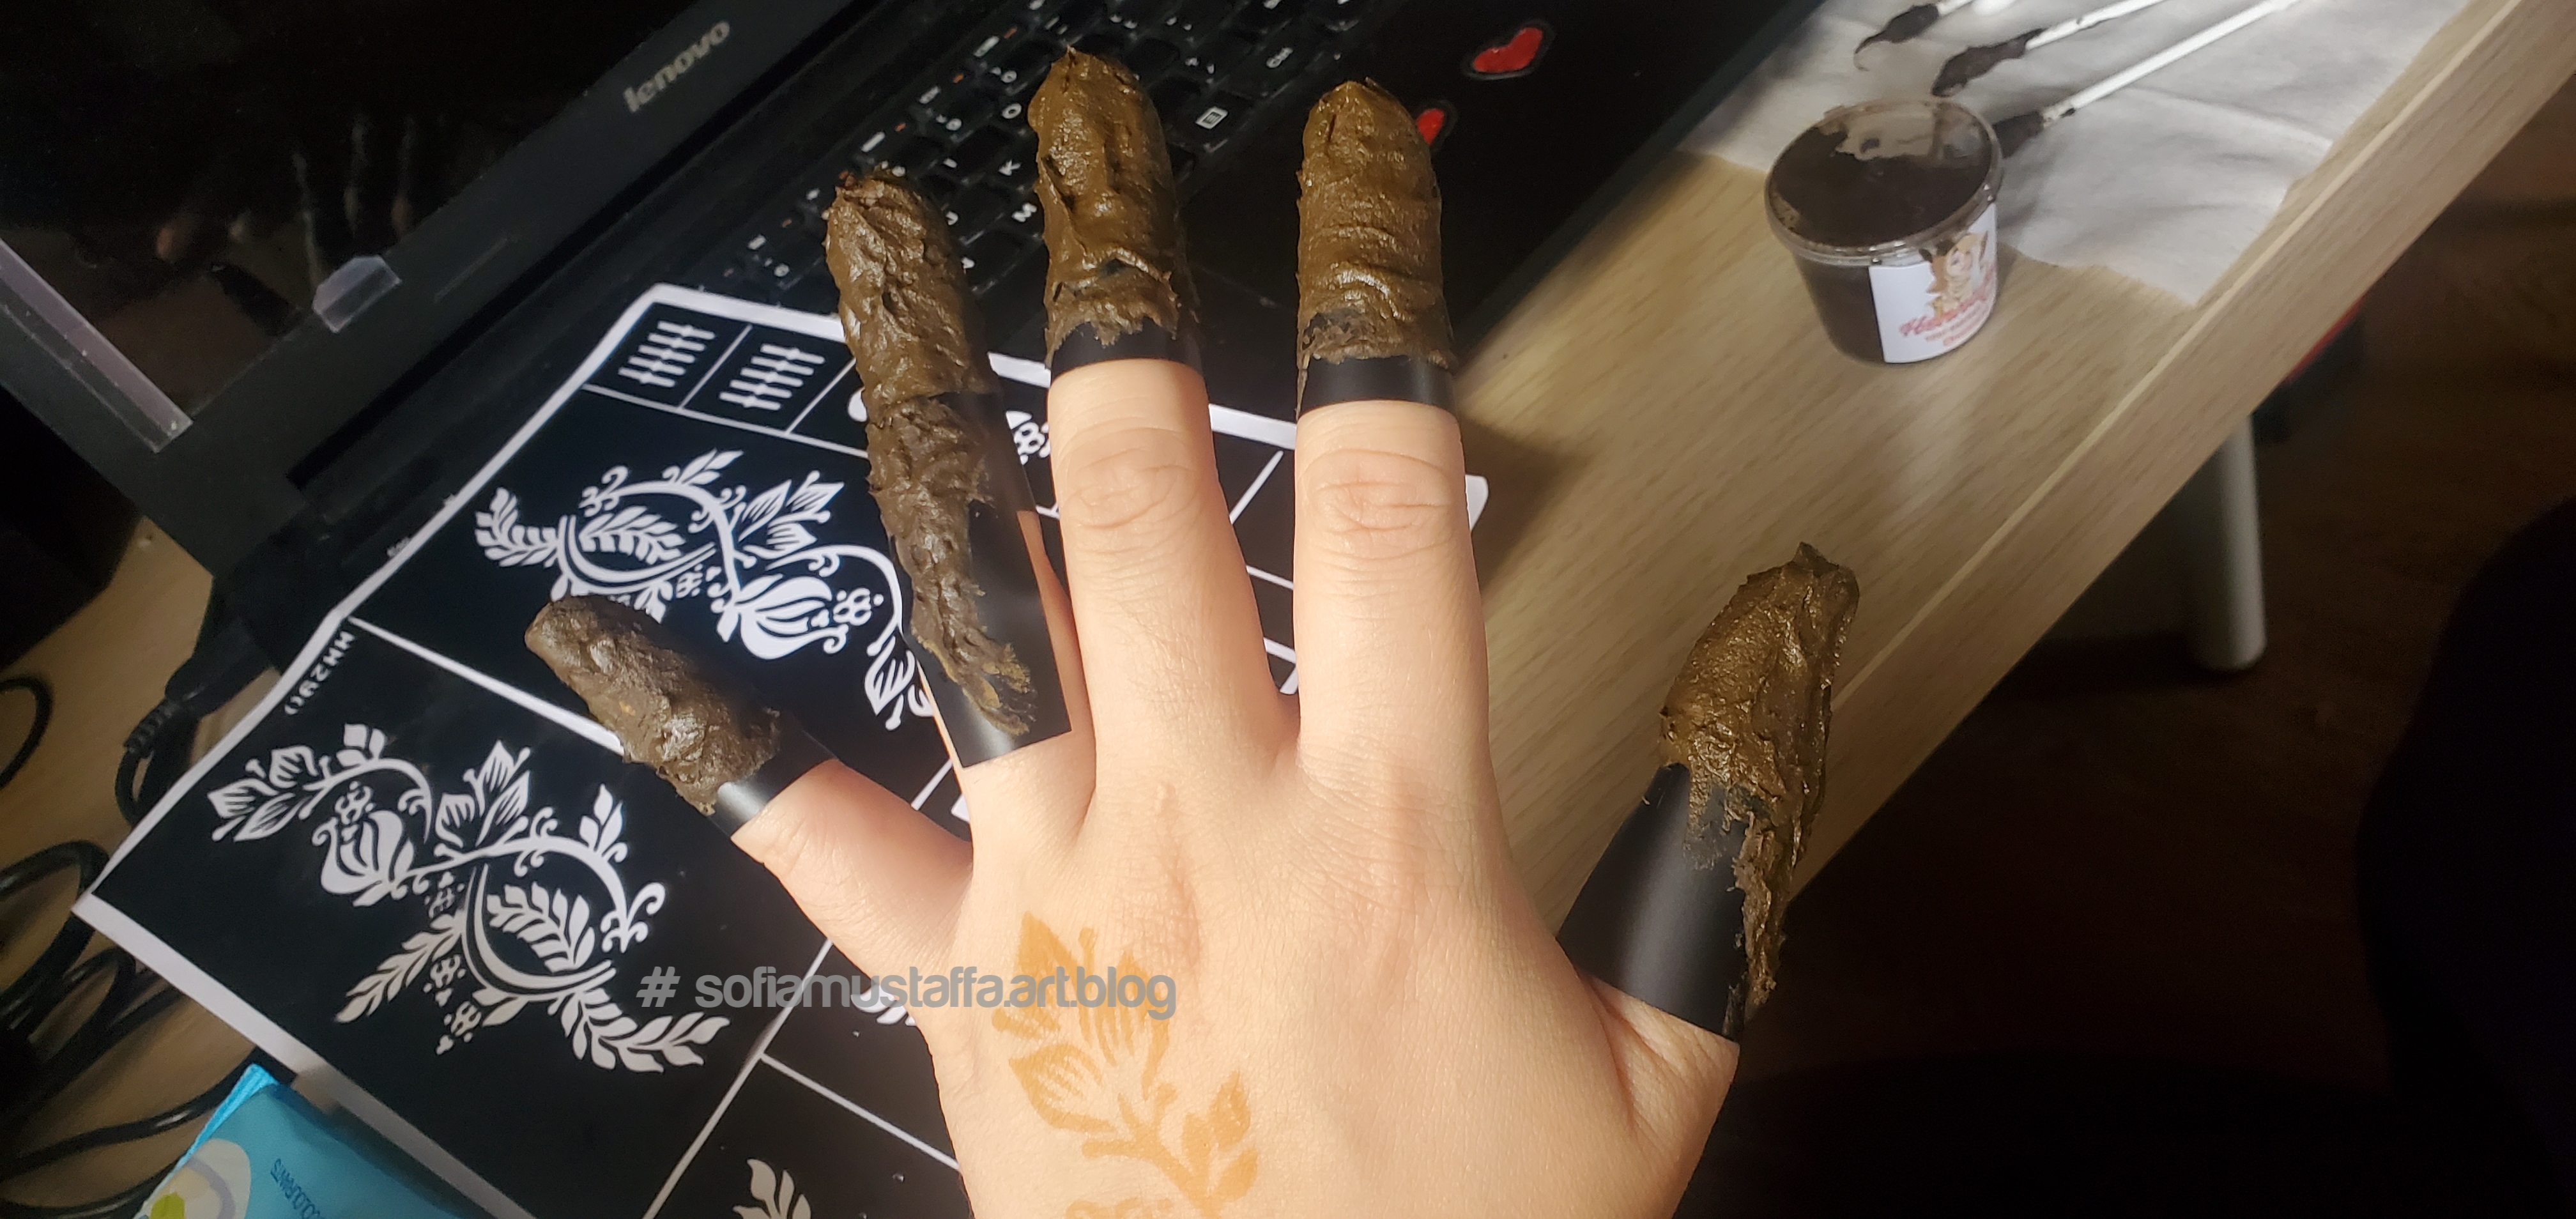
Okay, done for the hand part…let’s go to the finger part….
Hahaha…if you go to outside..most of them just lazy to design your hand. But me, I put on different design to my finger. You see, 3 different design on my fingers 😃. Okay, you gotta put it lower like this, so that 1/3 of your finger will cover by the henna..Apply the henna on top of the sticker template like this…Tadaaa..you see, the color is not that bright coz I just leave it for 30min 😂 okay, I waited another 30min. I don’t have much time to wait..LOLTadaaaaa….overall view..well..not bad…not bad at allIts orange color. Henna got available in white, dark green, black, red…but I love orange color the most. Suit with my skin 🥰Jeng jeng….i just love it…different kind of design….🥰🥰🥰
Okay guys, thats all Im sharing on how to make your own mahendi. Your own design, your own satisfaction. Till then guys…to be continue….