How are you? Hope everyone is in good health and conditions.
Since 2018, I’ve started my journey as minimalist. Now, at the end of 2025, I’m heading to back to a basic lifestyle, reducing expenses and living an optimum lifestyle.
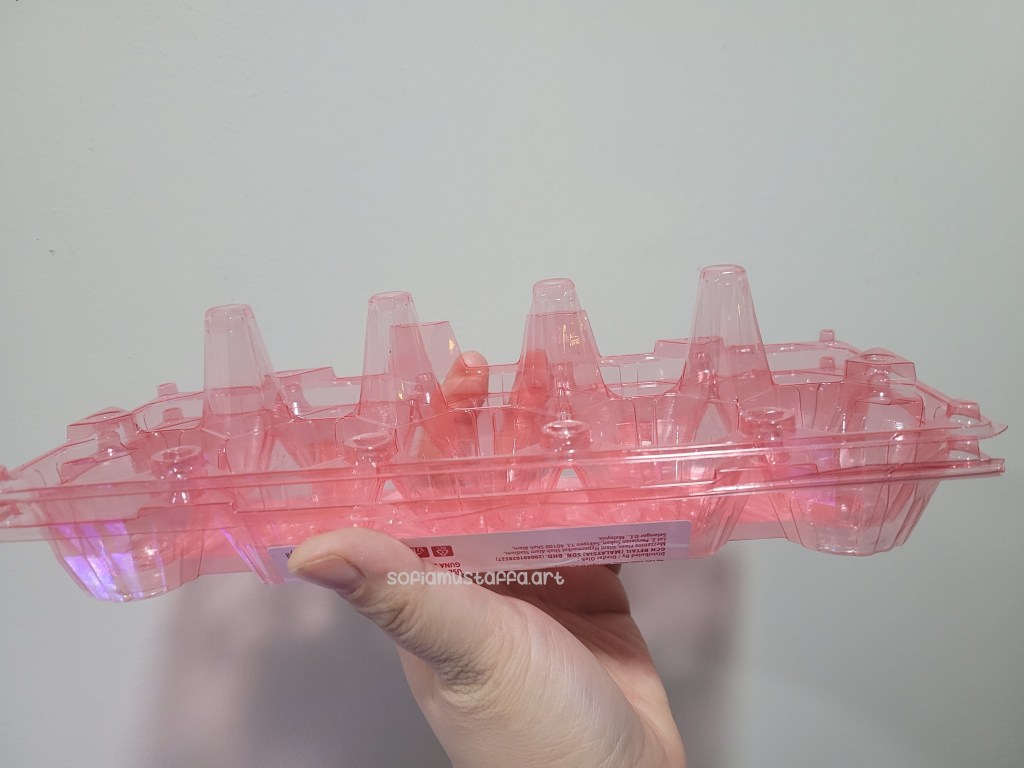
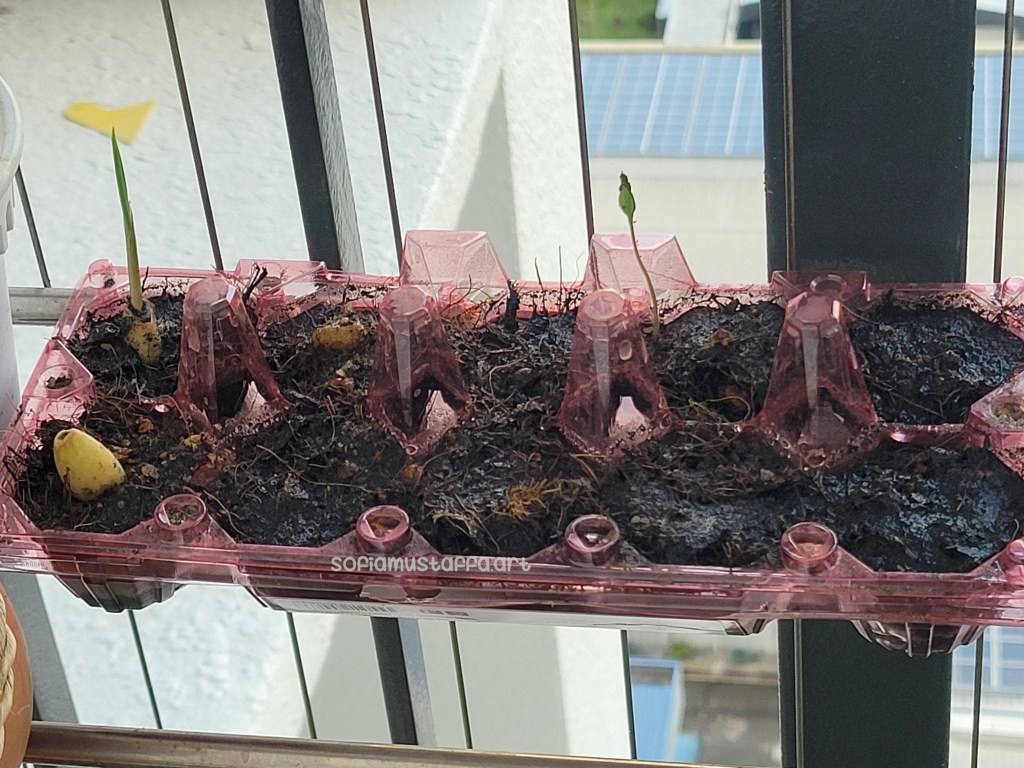
I try to make something useful from every container, box, bottle and reuse it for other purposes. One of it was eggs container which I feel is very useful and filled my needs.
Living in a small home in town, had opened my eyes to cut some expenses, and I started from my groceries.
Making a seedling pot from eggs container 🪴
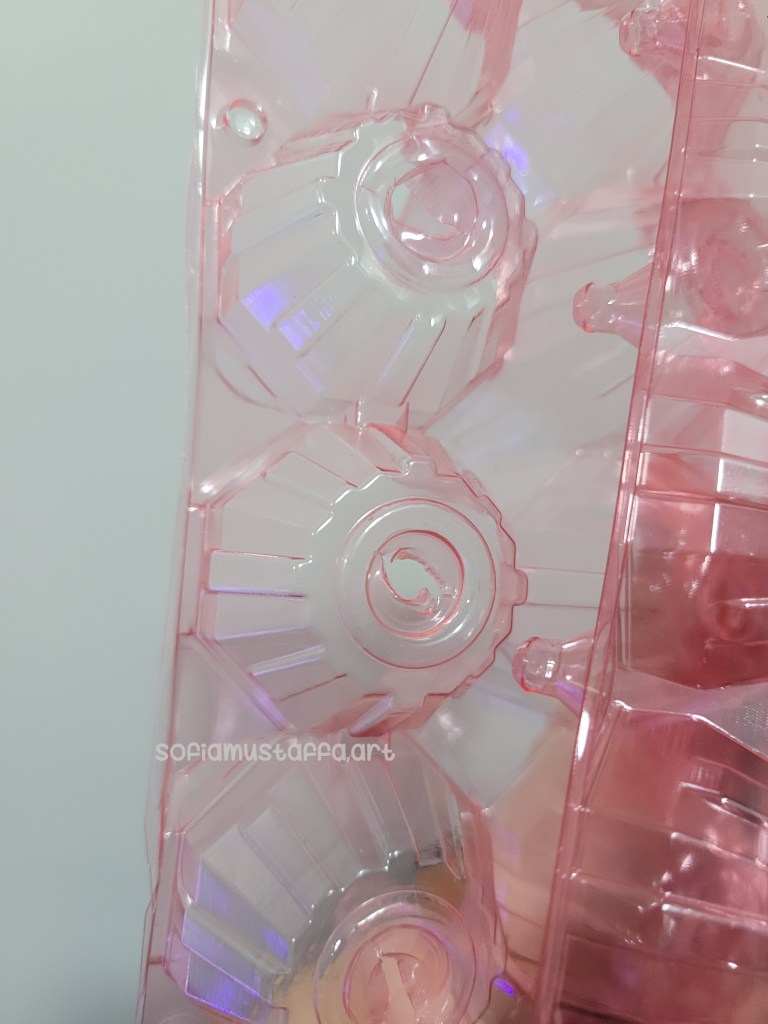
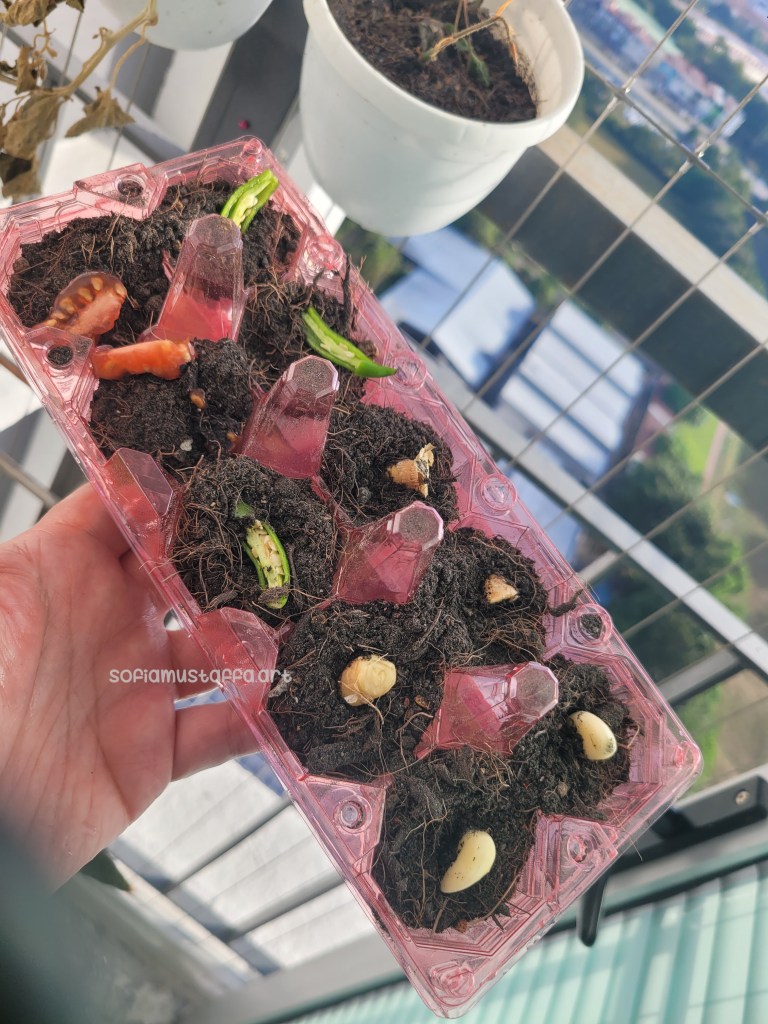
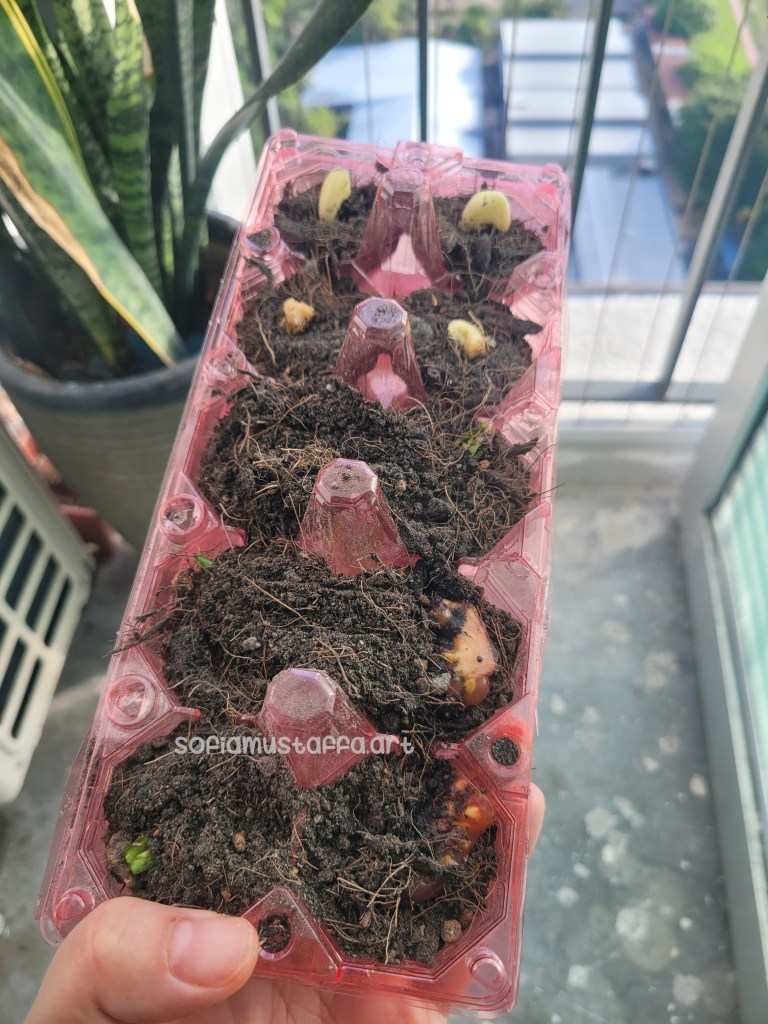
1. Cut into 2 for the normal eggs container and put the cover under the eggs container as per in the photo.2. Make a little hole on each of the bottom for the eggs container as per in the photo above. You can cut a little bit with a scissor/blade and use pencil/chopstick to make a small round hole.3. Put 2/3 of mixed soil into the container like this and put each of the containers with seeds, onions, and ginger (whatever you want). I’m using chilli, tomato, ginger, and garlic as these are normally I use for cooking.4. Then, cover the rest of the container with the same mixed soil and water it.5. This photo is after 5 days I’m watering it. As for now, I can see garlic and tomato started sprouting from the seeds. Can’t wait to see the rest soon 🥰❤️
If you have a landed property, it will be awesome for this activity. Please pray for me to have landed property soon, so I can make more diy project to recycle things I have at my home. 😇
Hey hey heyy, hey everyone!! How are ya? Hope you are all doing good.
Just wanna share some ideas on what I’d completed to my 1st home. A lil bit touch up before ready to open for viewing.
So basically, what only left are:
1. To receive another curtain as current curtain is actually shorts after the folding. LOL. So I bought another 2 blackout curtain for my living room.
2. To receive my TV, I bought a smart TV for the house.
3. To hang the kitchen’s curtain. I already have it, just that I forgot to bring plier and scissor for cutting and adjusting the wire.
4. To hang bathroom mirror and bathroom rack. I need to bring along the strong double sided tape, I guess I just use double sided tape for the rack. 😃
5. To dismantle and install the water heater. I already bought 2units, just need plumber to install. I already book plumber to do such things 😀
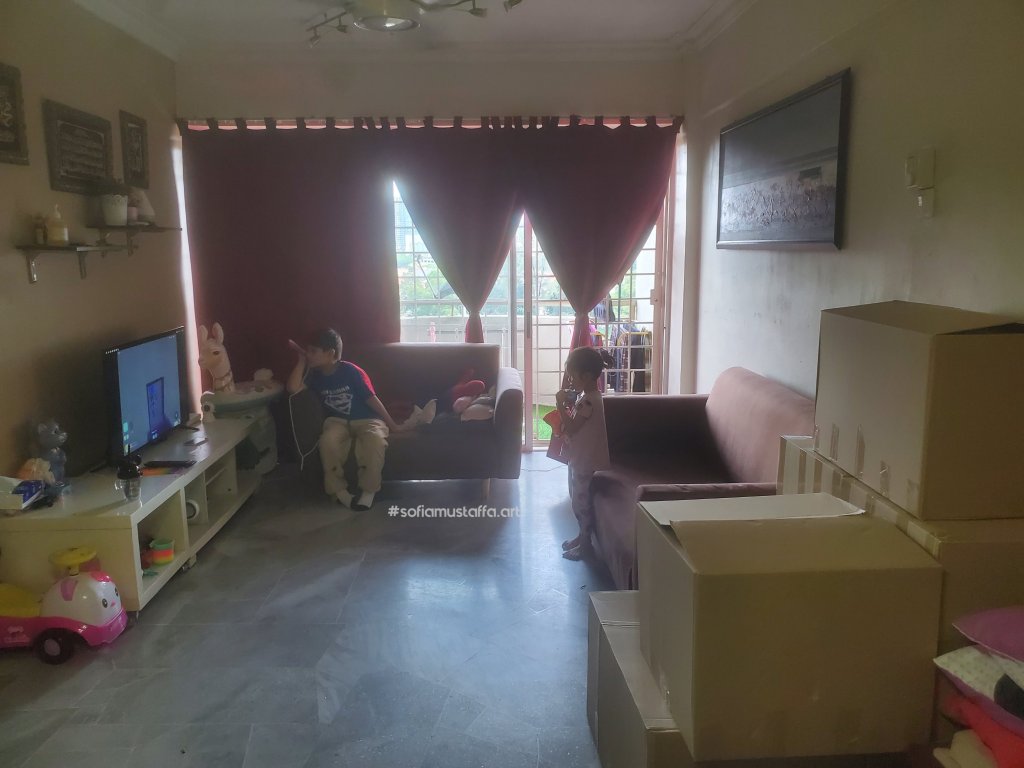
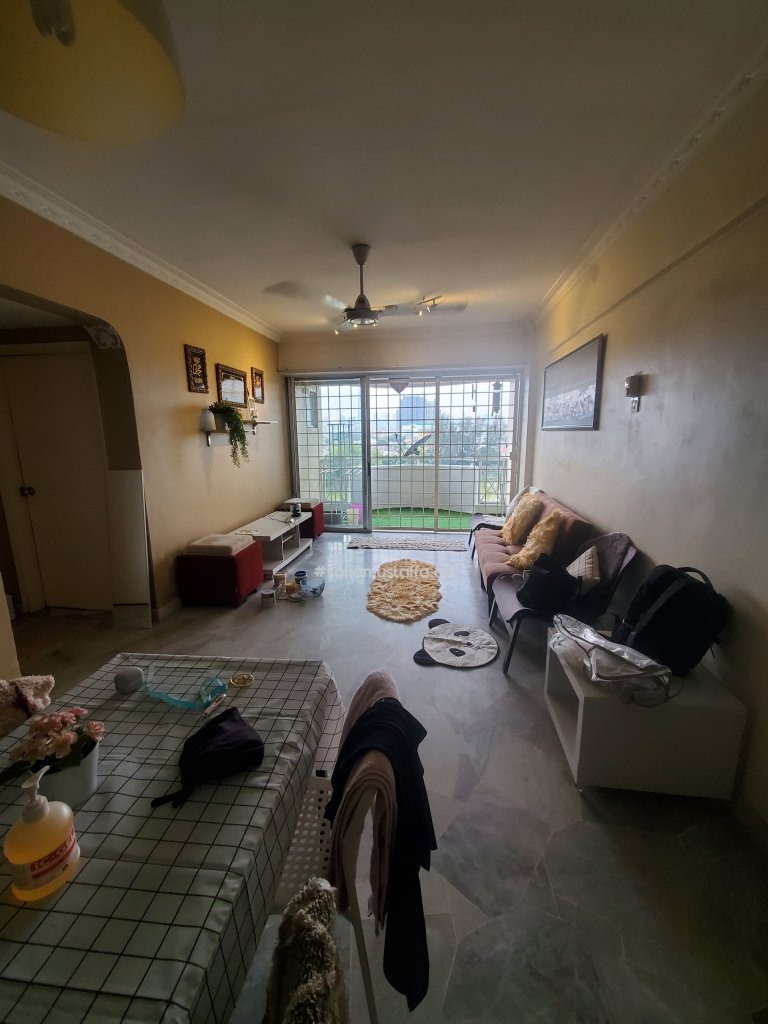
So, check these out the differences before I took over and after I took over the house 😃🥰😃
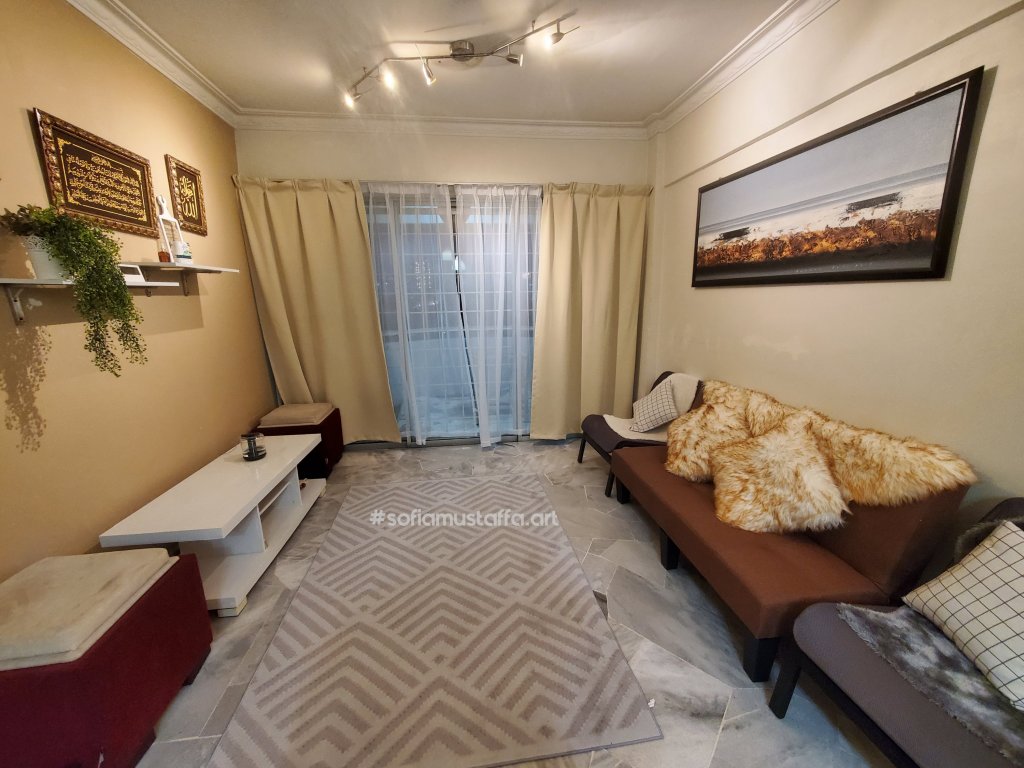
When I’m viewing the house before my tenant move out.This was after I cleaning up the house and make a lil changes.This will be the final, only the Smart TV left to put on the TV cabinet.
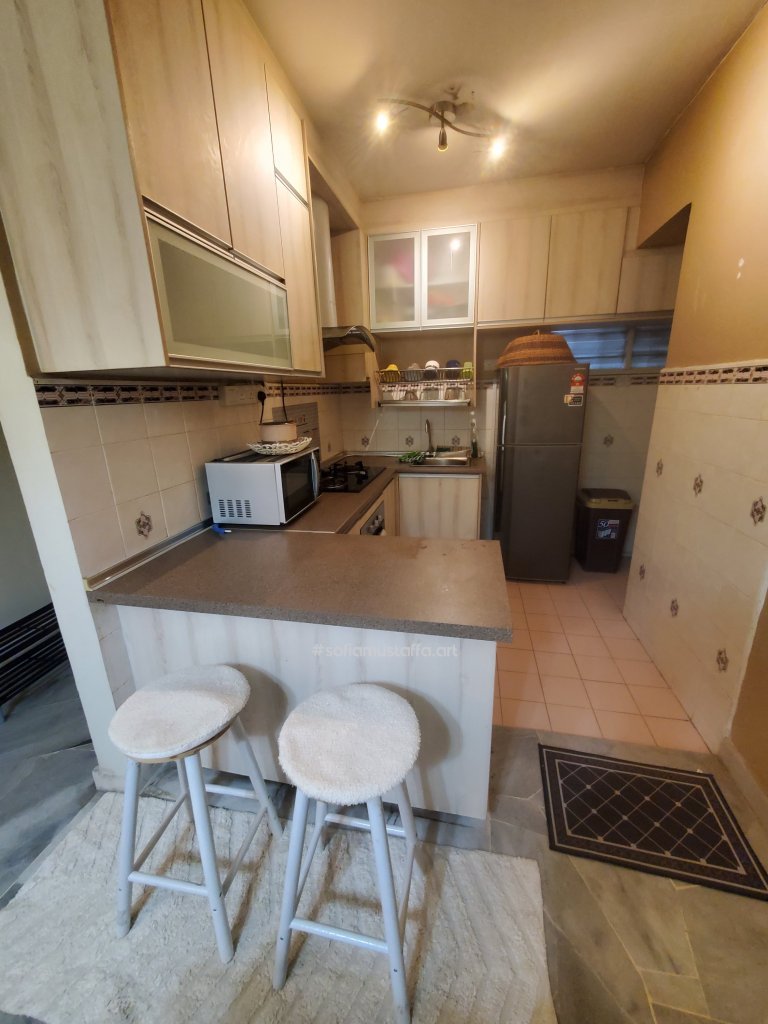
Check out the kitchen…
This was before when I viewing the house and my tenant still living in.After my tenant move out and I clean up the kitchen.This was the final after I do a total cleanup in n out the kitchen cabinet and buy some carpets for kitchen.I love as clean as this..🥰❤🥰
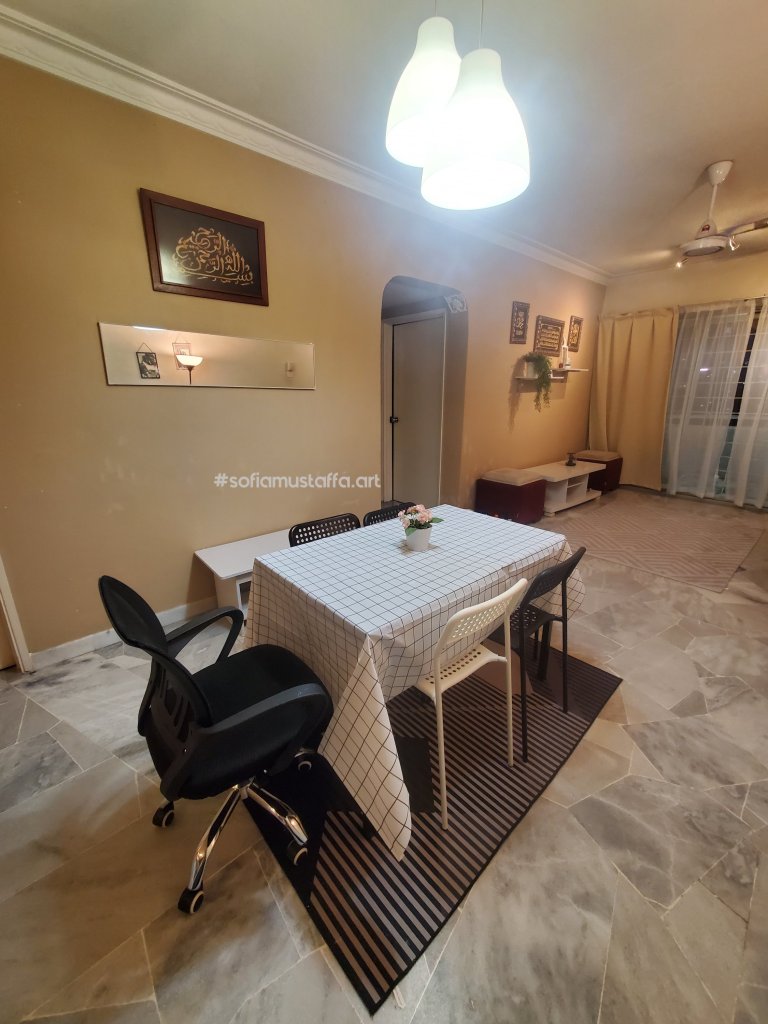
Now, let’s see the dining area…🥰
This was before the tenant move out.This was after the cleaning up,, I rearranged n buy some stuff for the dining area.
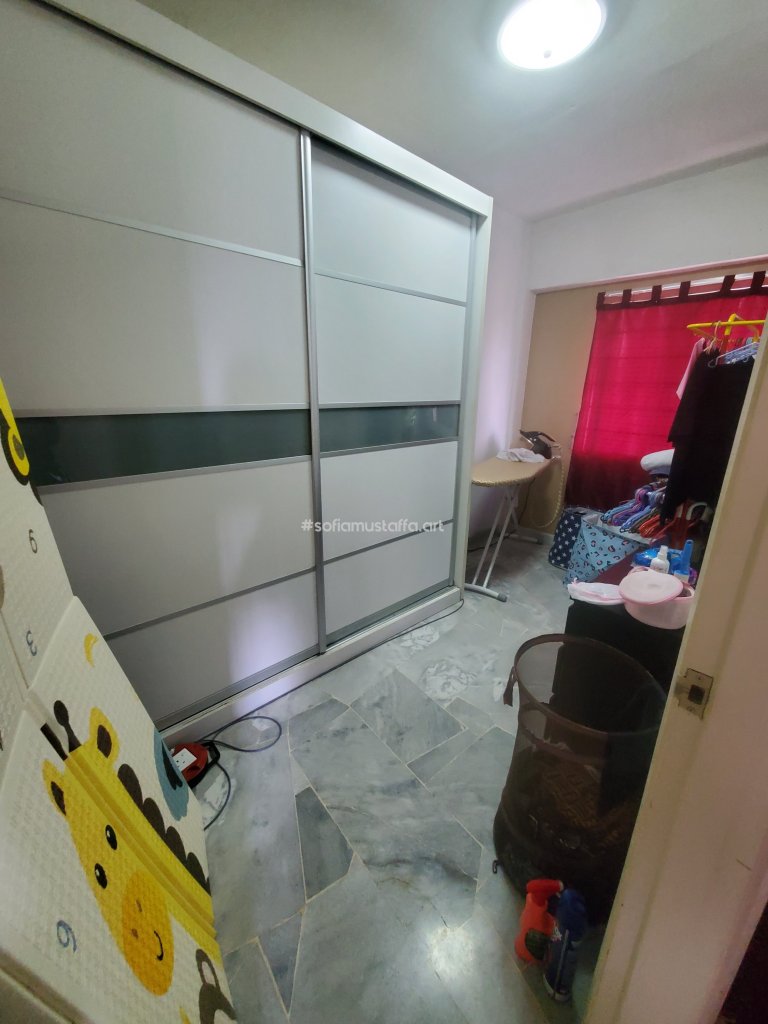
Let’s check out rooms, the house has 3rooms and 2bathrooms.
The masterbedroom during the tenancy.The master bedroom after cleaning up, painted furnitures and bought mattress cover & some matched curtains .This was the middle room, where the tenant make it as a store room. A lot of clean up done for this room. This was the current view. Perhaps it need some rearrange, but not sure yet. I just bought the mattress cover and curtain for this room. This was the smallest room. Originally I made it as my wardrobe room and clothes organization room. So, my tenant just continue it, kinda have a lot of stuff during my visit that day.So I do a clean up and bought curtain. nothing much I did for this room. Just a cleaning.
So, most of the thing I did was, a massive clean up, throwing unnecessary stuff and do a lot of painting. I did paint the furniture such as TV cabinet, coffee table, make up table, mirror frame, TV rack, the dryer outside as well 😃
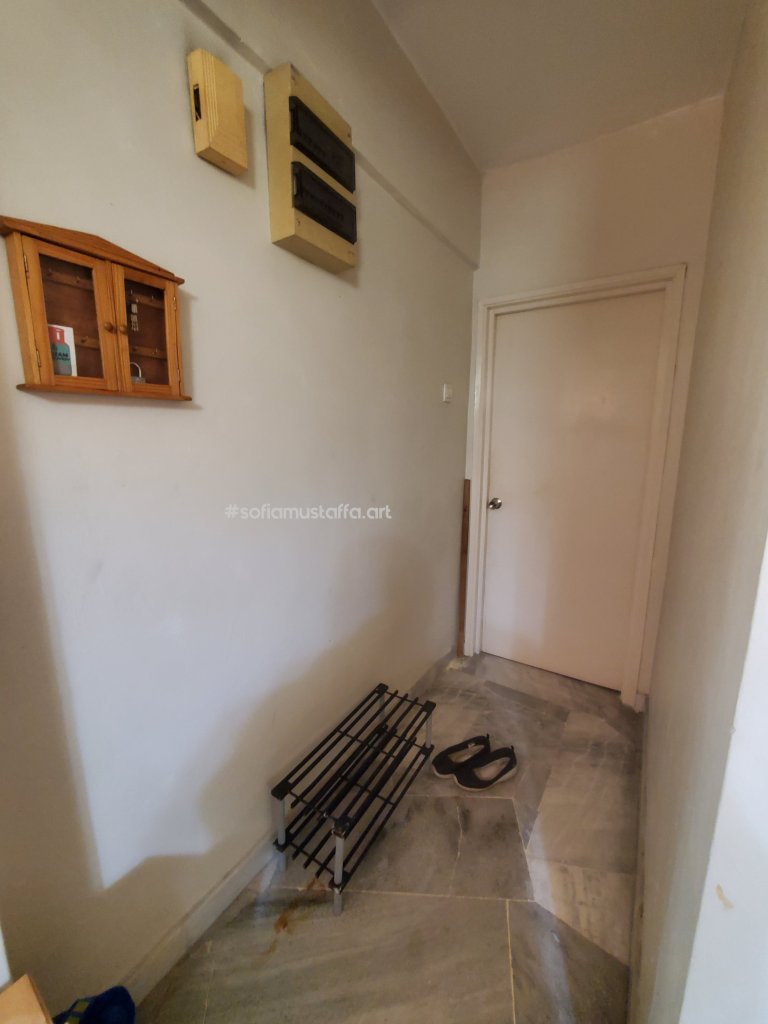
Some other things I snap photo before I went back home, last Saturday 😃🥰😃
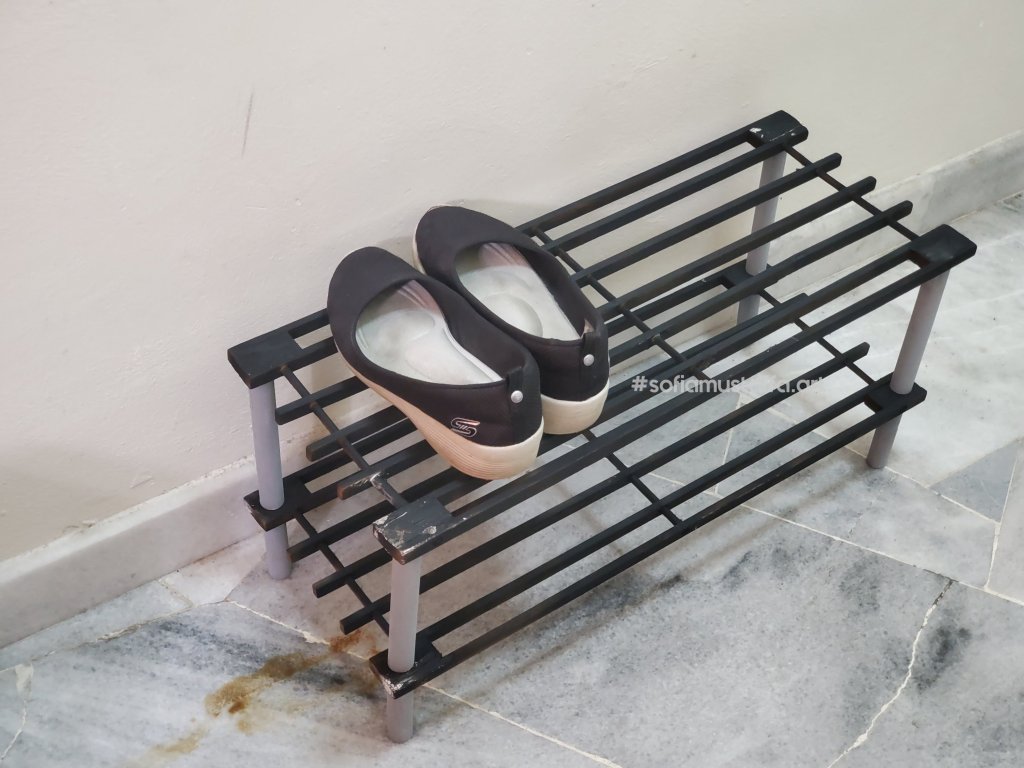
I still need 2 more curtains..lolThe shoe rack, I don’t buy expensive shoe rack. I just re-paint the original brown wooden color with black and light grey color. I just buy the spray paint, make my life easier..LOLTadaa ❤❤❤
Okay, I will snap some photos later, after the rest pending things complete.
HelloOoo everyone!! How are you doing? Hope you are sound and well.
I’ve been busy these 2 weeks to reshuffle my home, as I want to rent it out again to the next tenant. Yezzaaa!!! I already have 2 agents wanna review the house, but I have not ready yet the house 😃😃😃
So, it’s only left to install the water heater, hang the living room curtain and waiting for my Smart TV. I got it cheap, as I’m using vouchers to buy it. Hahaha…awesome babe..I cant wait for my TV 🥰
I got this Smart TV for RM 433 including shipping. It’s the most reasonable price for Smart TV 32″ 😃The bright curtain for my living room 😃This is how it look alike. I got my carpet already, just forgot to take the photo 😀I got this for RM 154.50 including shipping. The most reasonable price I can find with proper security 😃
Hello everyone!! Happy Awal Muharram to all Muslims out there. 🤗
Yesterday, I installed my new Bar Chair as I’m buying some little things for my 1st home. My tenant for past 7 years has moved out from the house. They said, they had been transferred to their hometown in Kedah. So, last Friday was the last day and they handed over the key to me.
I think it’s not a right time to sell the house yet, so I’m gonna rent it out with higher rental fee due to raises in OPR for the house loan. I did some calculation, to include all hidden charges like taxes, and maintenance, so I’m gonna have positive cash flow and not suffer later.
I will post out the make over for the house in next topic, supposely to go by today to measure the curtain and paint the furniture, but I fell sick and having terrible fever. Maybe in upcoming Saturday, if no plans.
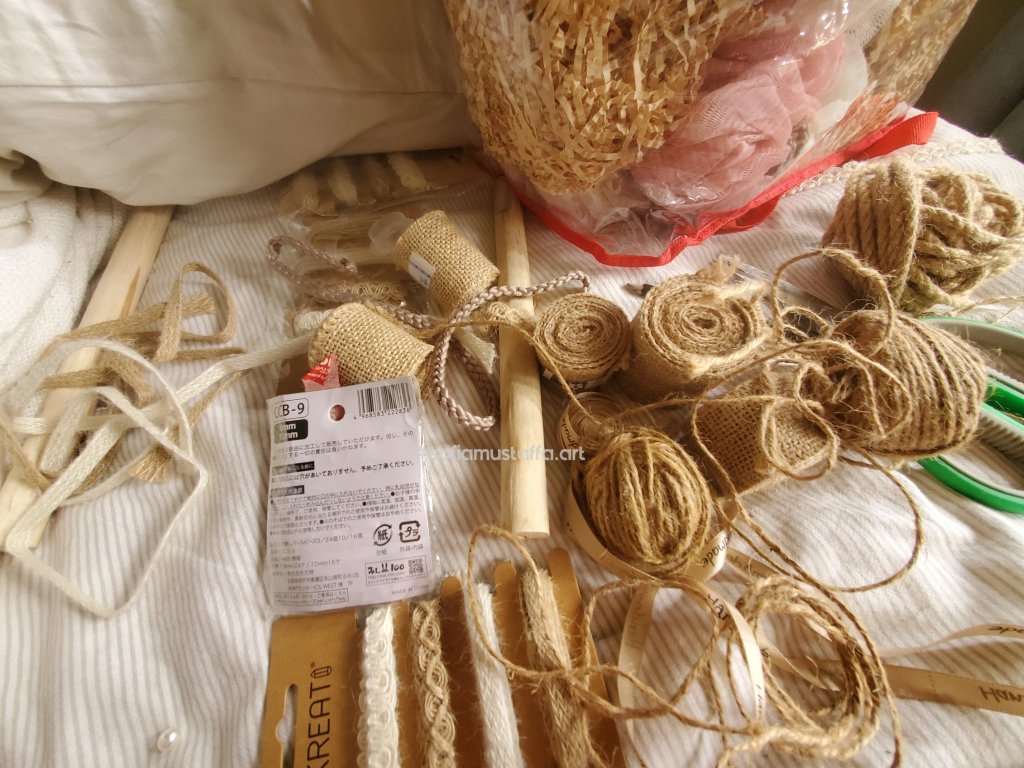
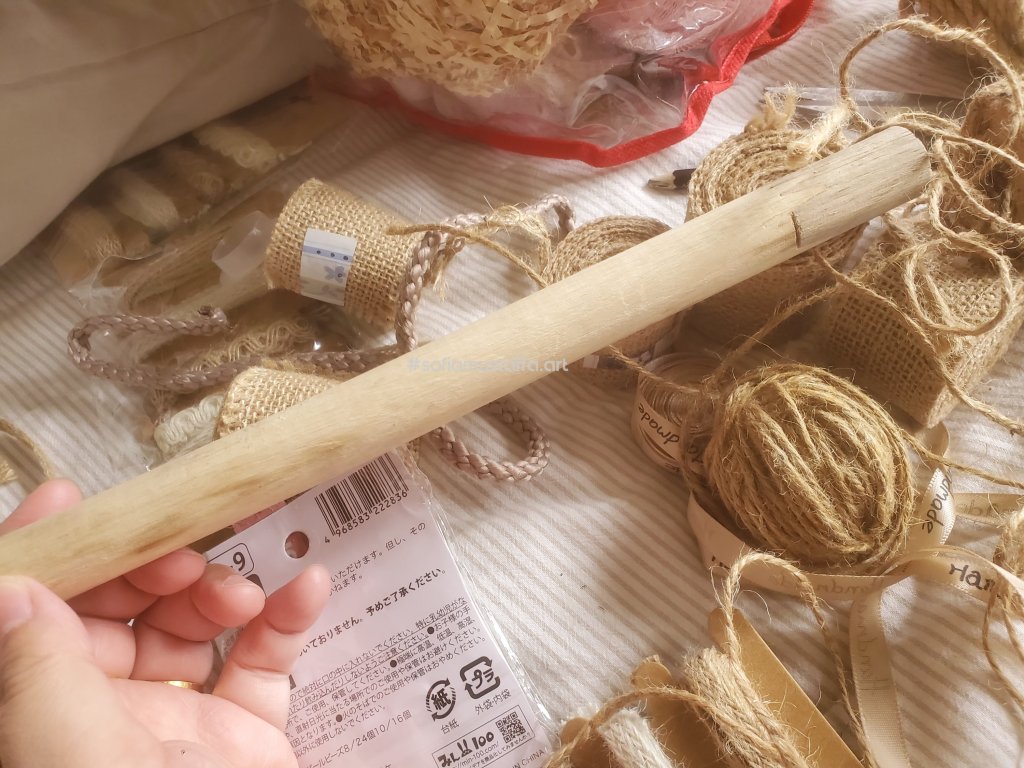
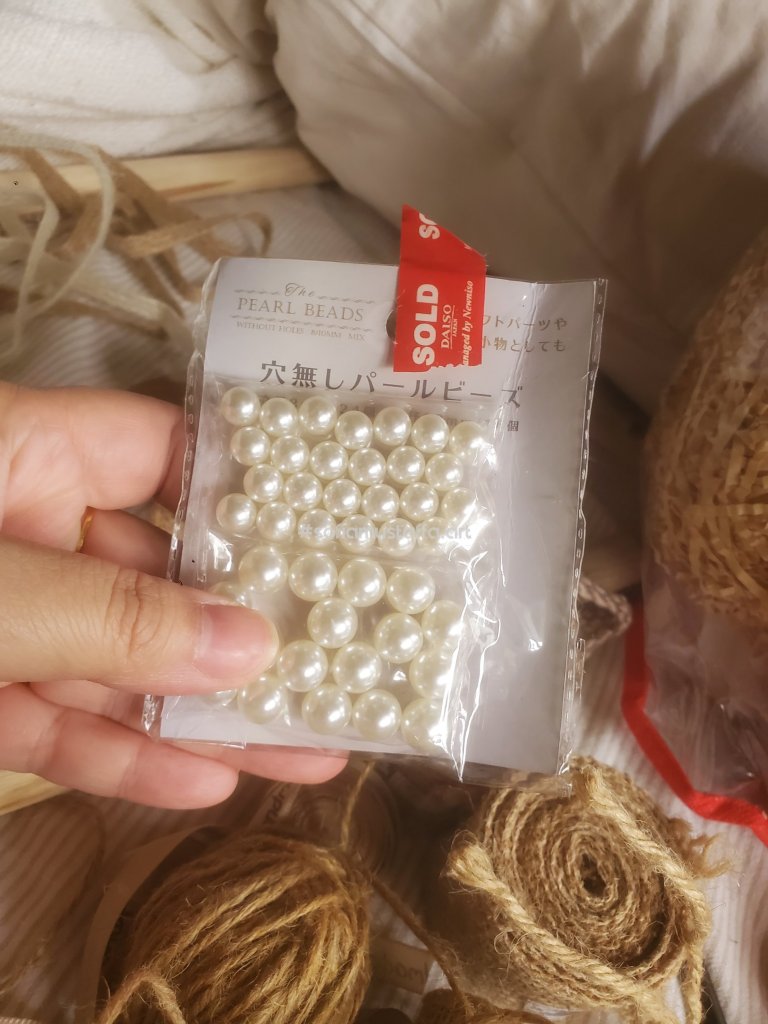
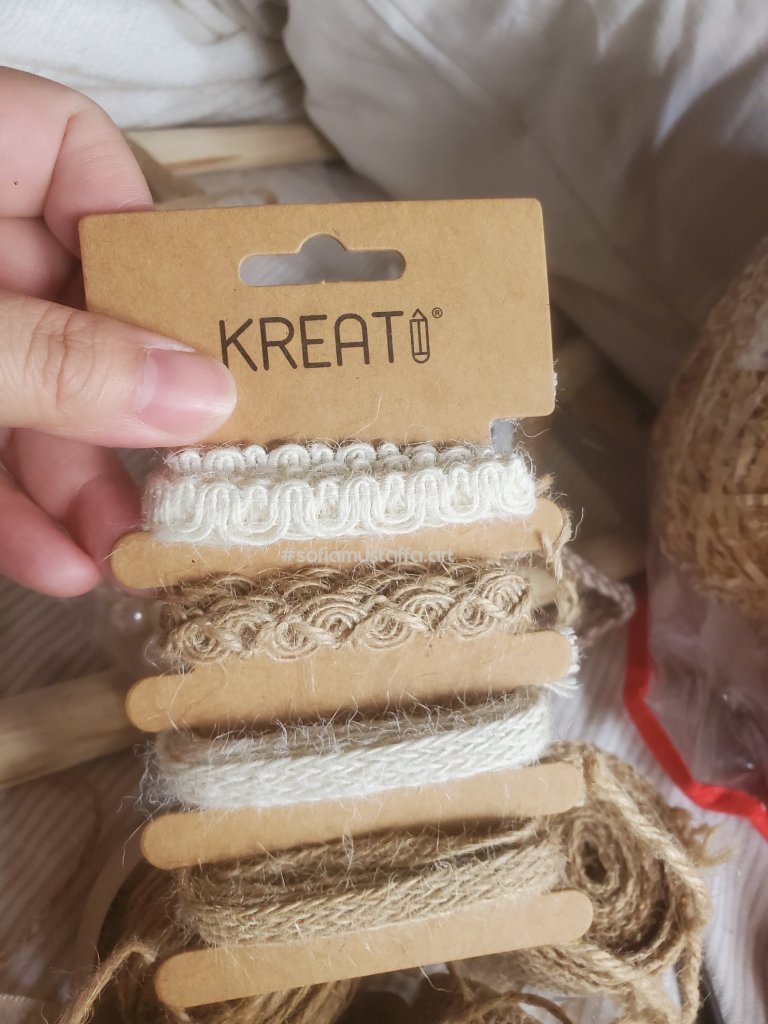
So, this is the Bar Chair, and I really don’t know what the extra wood for. Some extra woodTadaaaa…I have my existing craft stuffs, jute, ribbon, burlap etcThis is the wood. it looks white coz the covered it with plastic. I really dunno why. hahaha. So, when I opened the plastic, it looks like this.I have random jutesome place ribbon n jute ribbon, I guess the name was 🤷♀️Fake pearl for decoration.Just newly bought this at RM 2.40 @ecoshop.
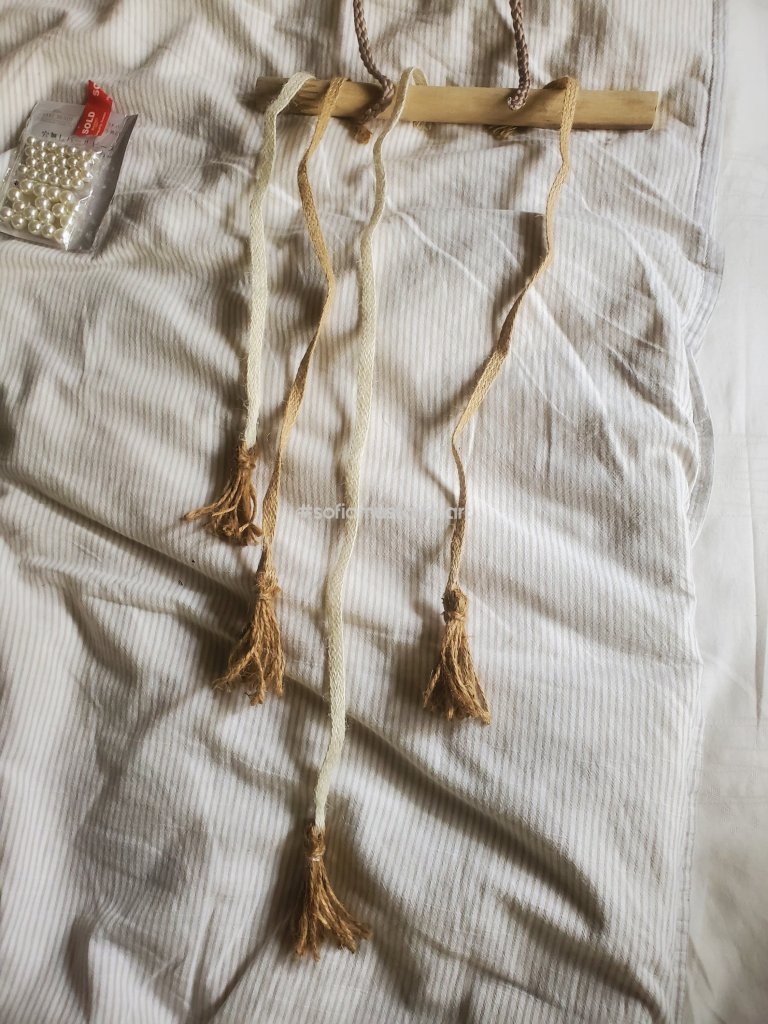
In the making of Aesthetic Wall Frame 😃🥰
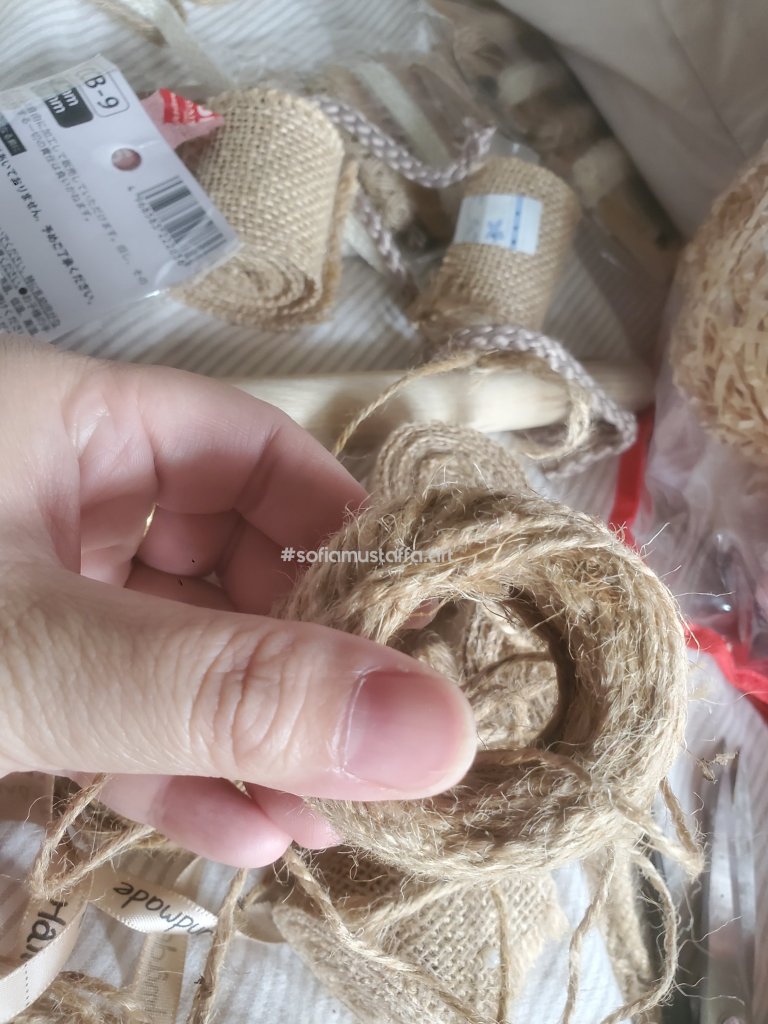
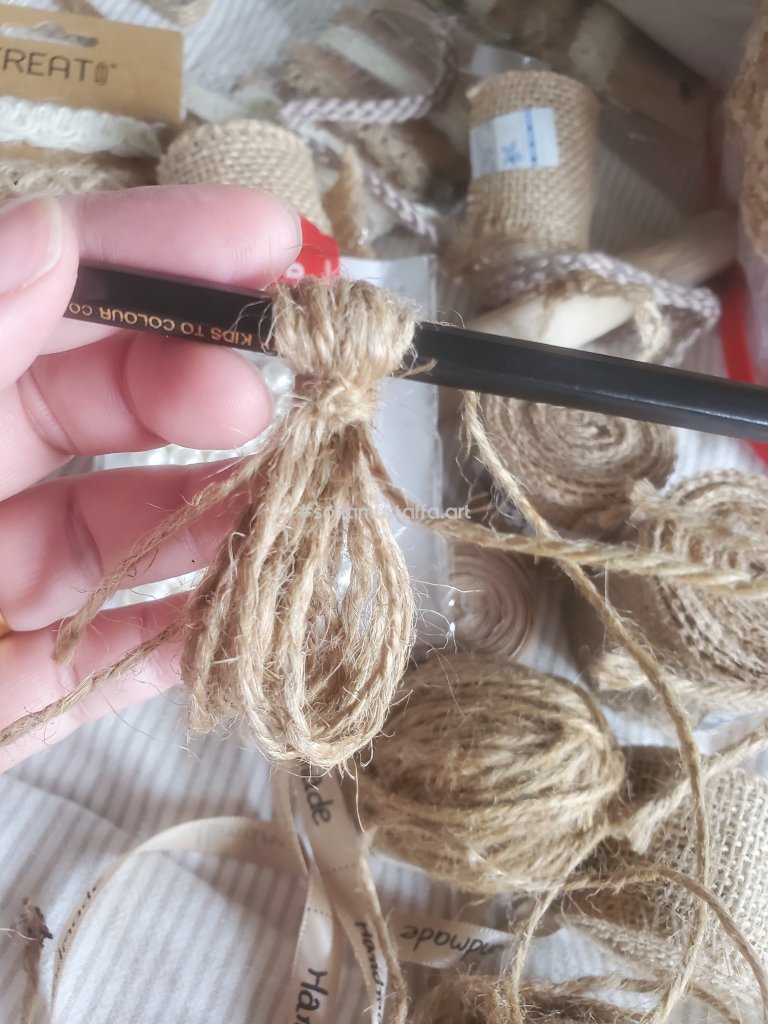
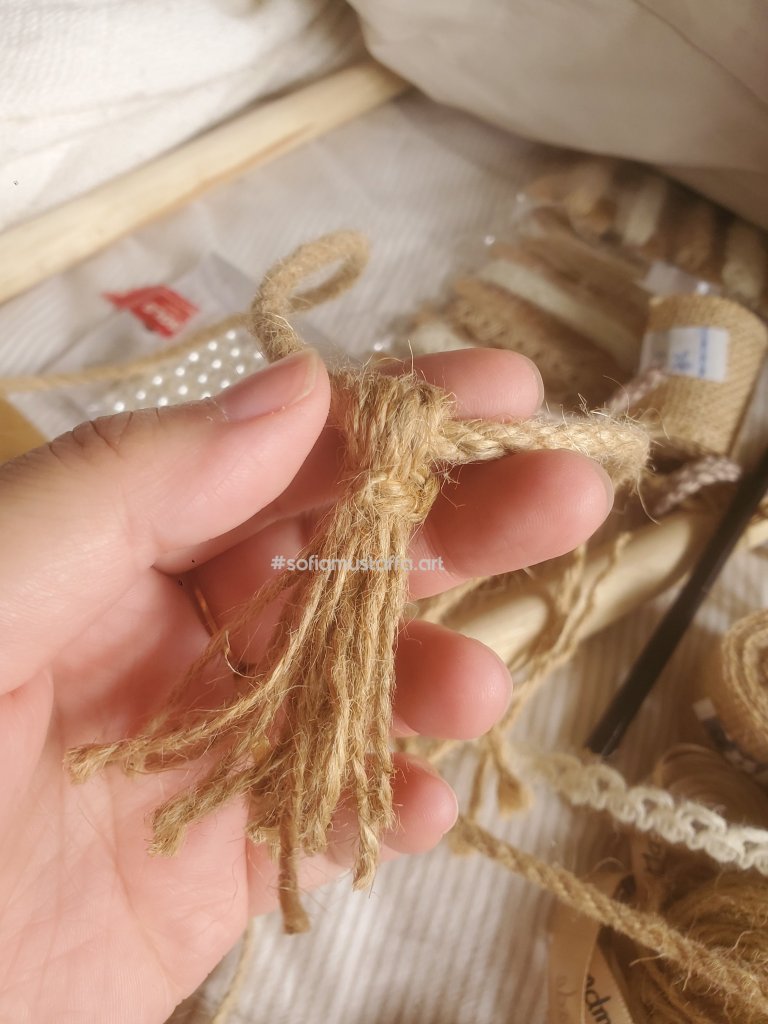
1. First, we need to do the tassle. It’s super easy. Just wrap your finger multiple times, I did here using 3middle fingers with 10 loops. 2. After done, put a pencil like this, and tie the tassle. Make sure it won’t open. I did glue the tassle, so it will keep in the place. 3. Then, I’m testing out using which ribbon/jute for the frame. Nah, it’s not nice using same color and pattern for the rope.4. So, I’m ended up using the ribbon, with different colors (brown and cream) 😃😃😃5. I glued all the ribbon onto the wood, and measure it accordingly so all gonna look symmetry for both side. 6. Tada!!! this is the final product. I’m gonna print out some quotes and glued it here. In my house, I have most quotes rather than photos. hahahaha. I cant wait to go and do some touch up on the interior.
So, that’s all my mini diy project for now. I can’t wait to do the make over for the house and rearrange everything. I’m budgeting everything to be rm3k, including water heater, ac, TV, curtain etc.
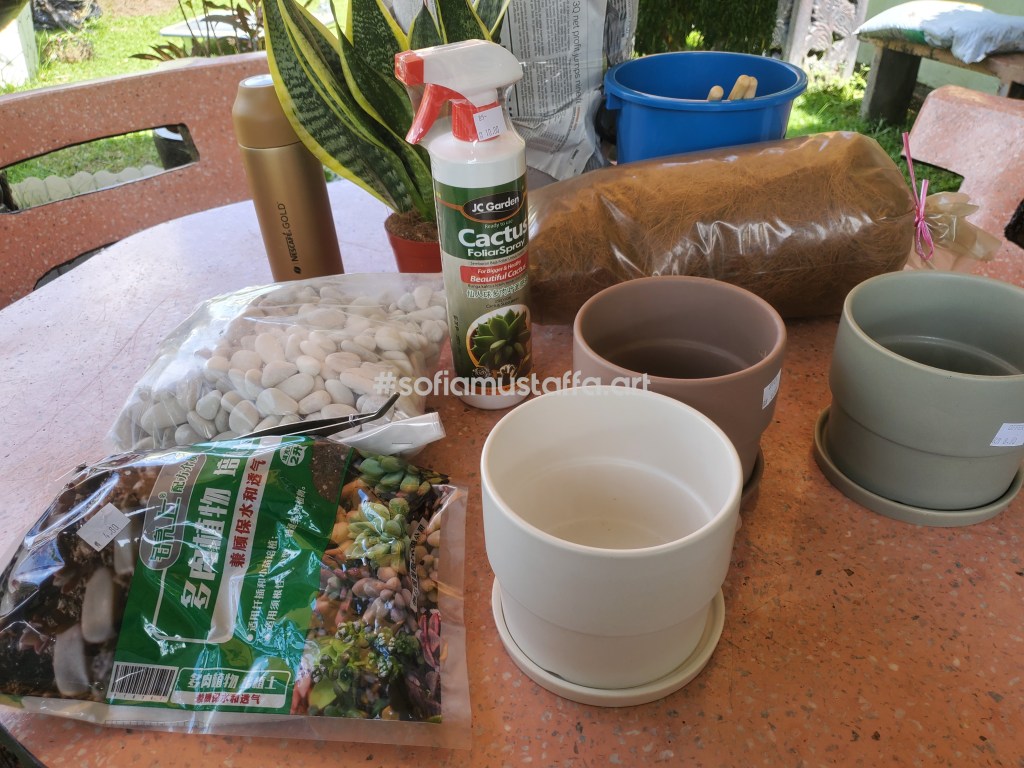
Hi everyone. Happy Monday. Just to share how usually I replace from original pot into new home for my baby cactus.
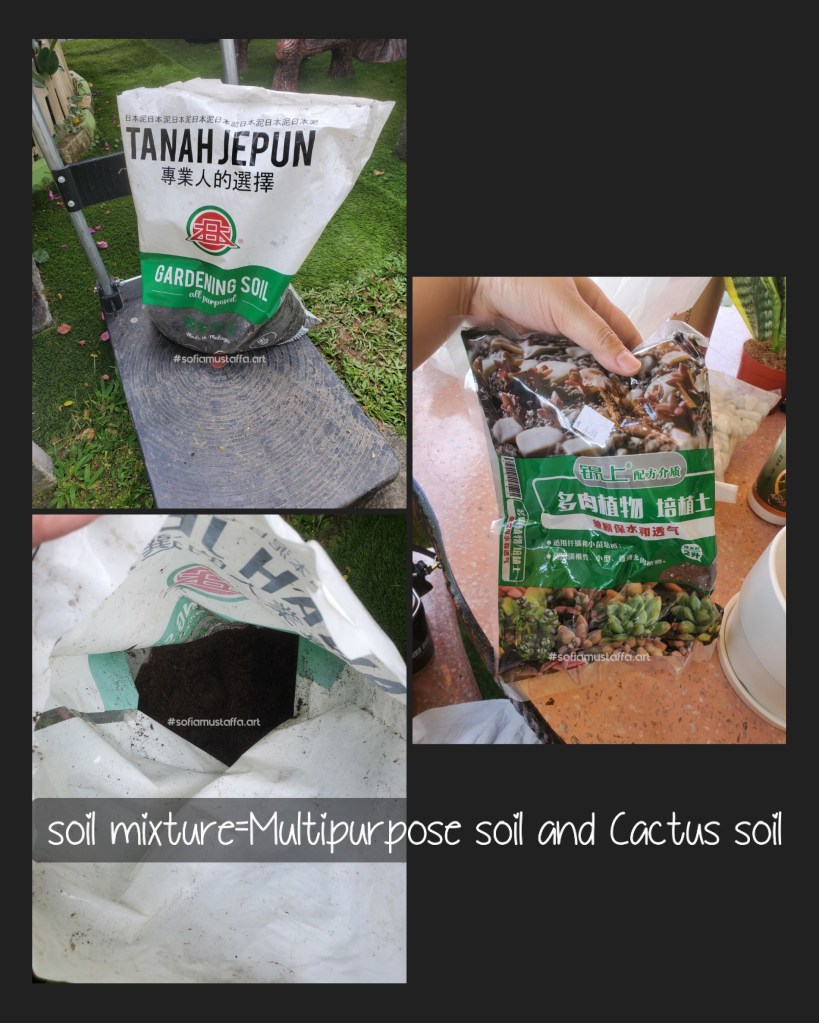
All you need to have is the pot, multipurpose soil, cactus soil, mini shovel, and cactus fertilizer.First thing, mix the Multipurpose soil and Cactus soil. I do ratio 50:50.
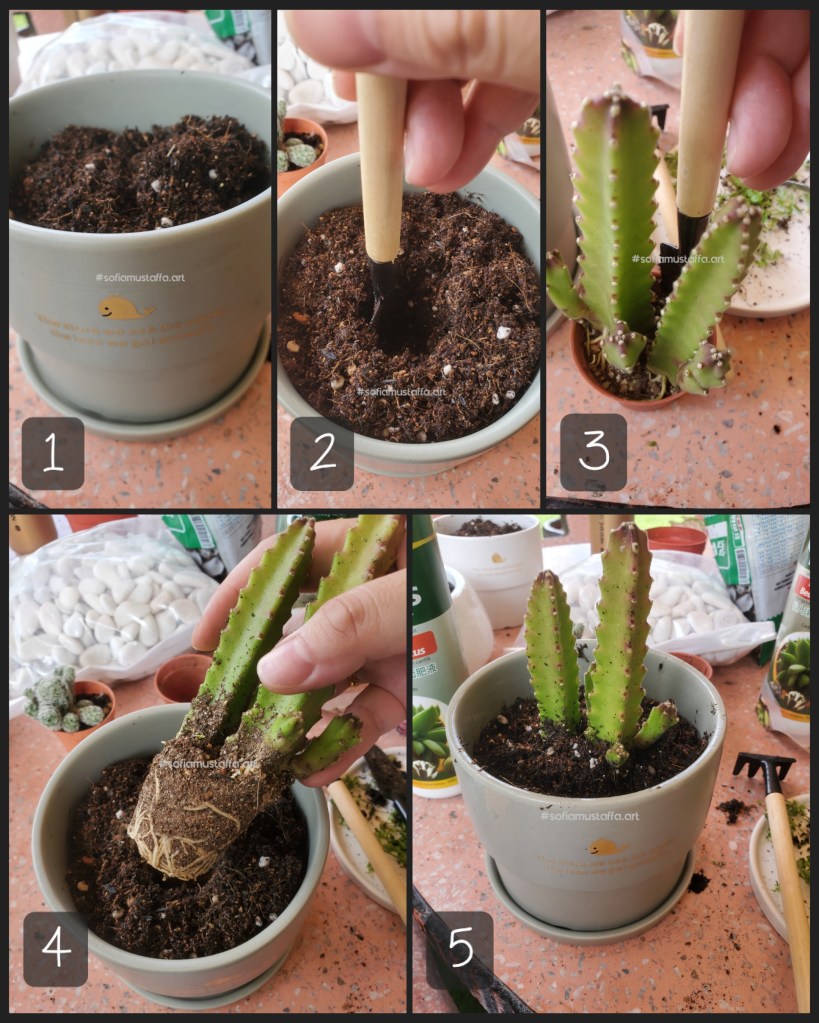
1. Put the mixture soil into the pot.
2. Make some hole with mini shovel in the center of the soil.
3. Take out the baby cactus from the original pot.
4. Put the cactus into the hole, then cover the remaining soil with mini shovel.
5. Tada!! You have transfer your cactus into a new ‘Home’ 🥰
Hello Everyone! How are you? Hope you are sounds and safe. Covid 19 cases has increased in my country, so stay safe guys!
In this post, Im gonna share with you how I refurbish my organizer..check this out 😉
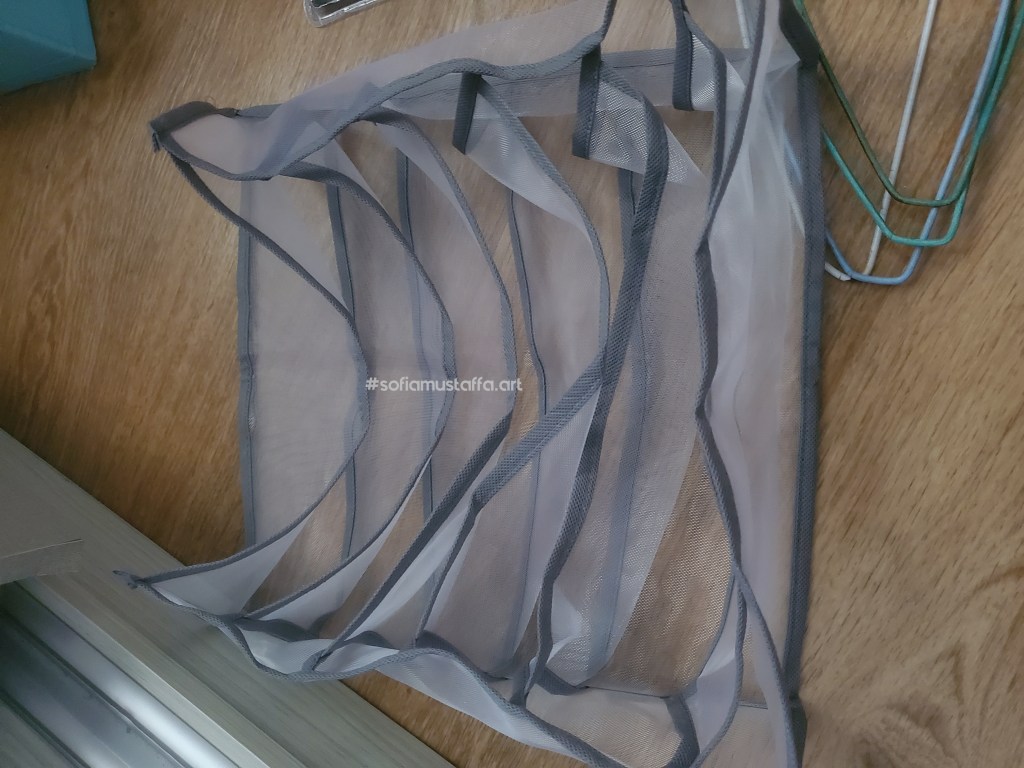
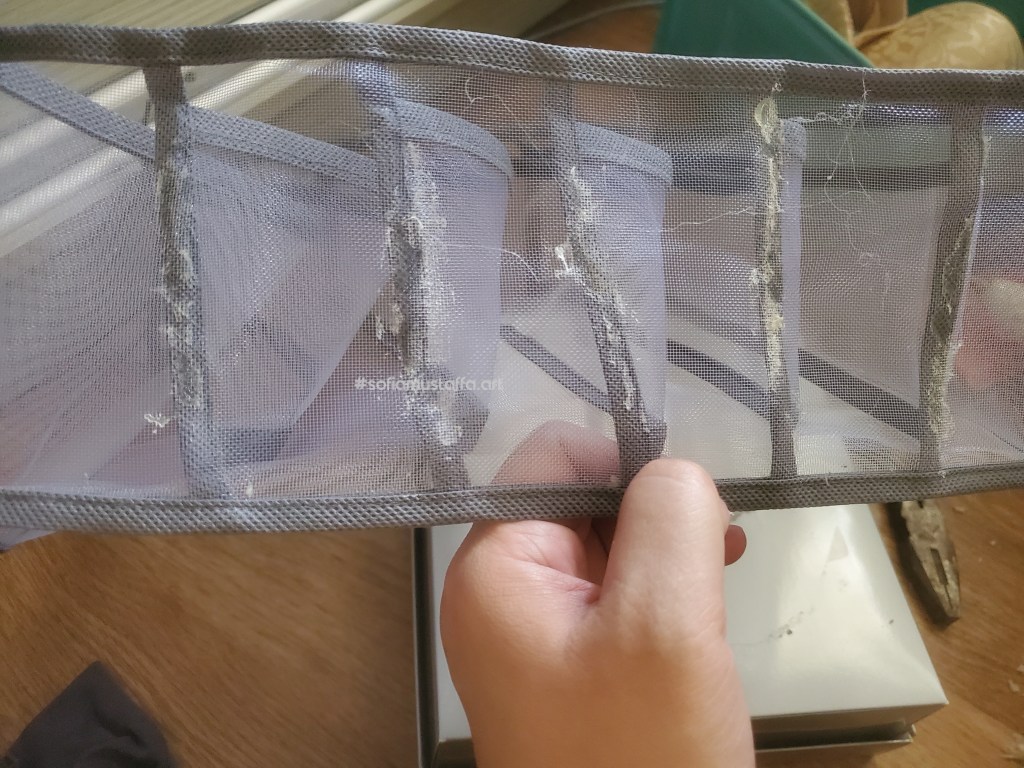
Last time, I had bought undergarment organizer. But, it doesn’t work on it purposes. So, I thought to check out to see what’s the cause and why it doesn’t serve it purpose as organizer.
So, here you go. This undergarment organizer I bought it online, but as you can see, it’s all smashed and not stand still. 😕
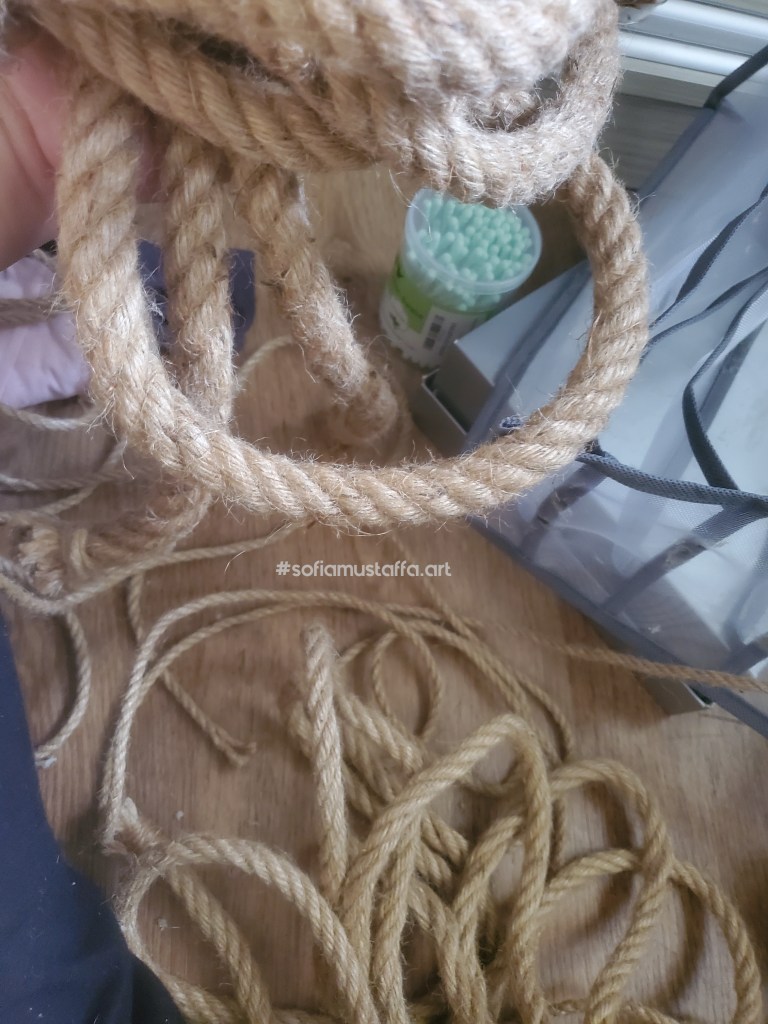
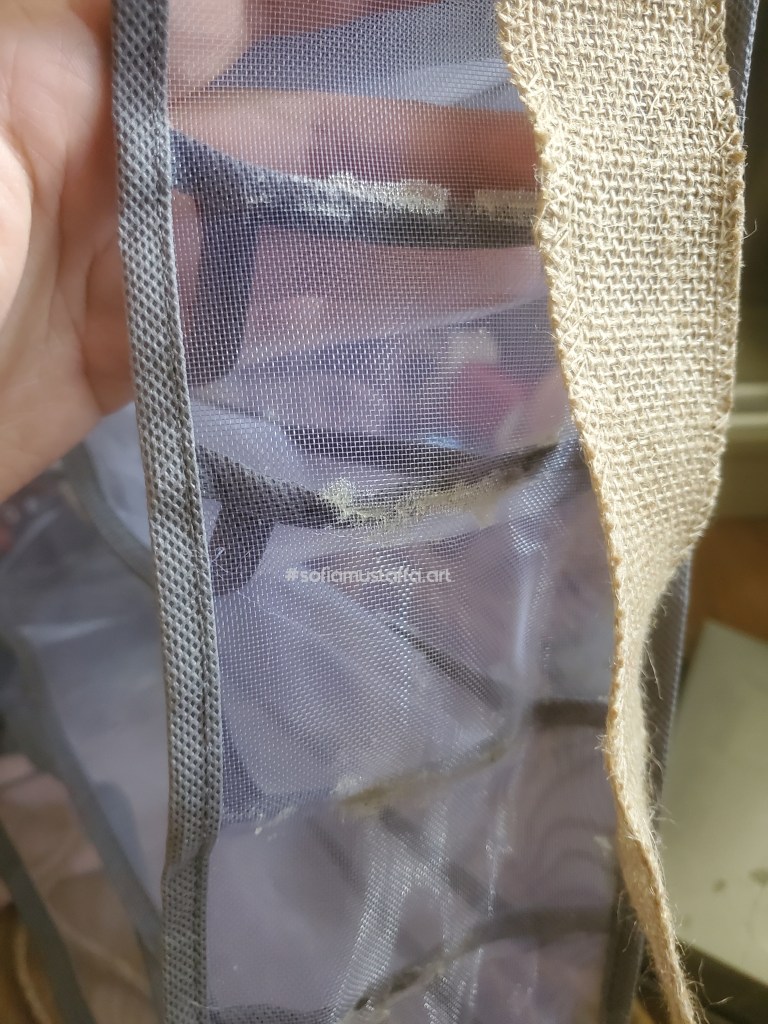
I rethink over and over again and remembered…hey!! I got some extra Burlap, Ribbon and variety sizes of Jute Rope 😃
Multiple sizes of Jute Rope I have. I bought for it DIY purposes, keep it for recycle, redesign, reuse items. Its time to use it now 🥰
Things you will need to have, to refurbish your organizer:
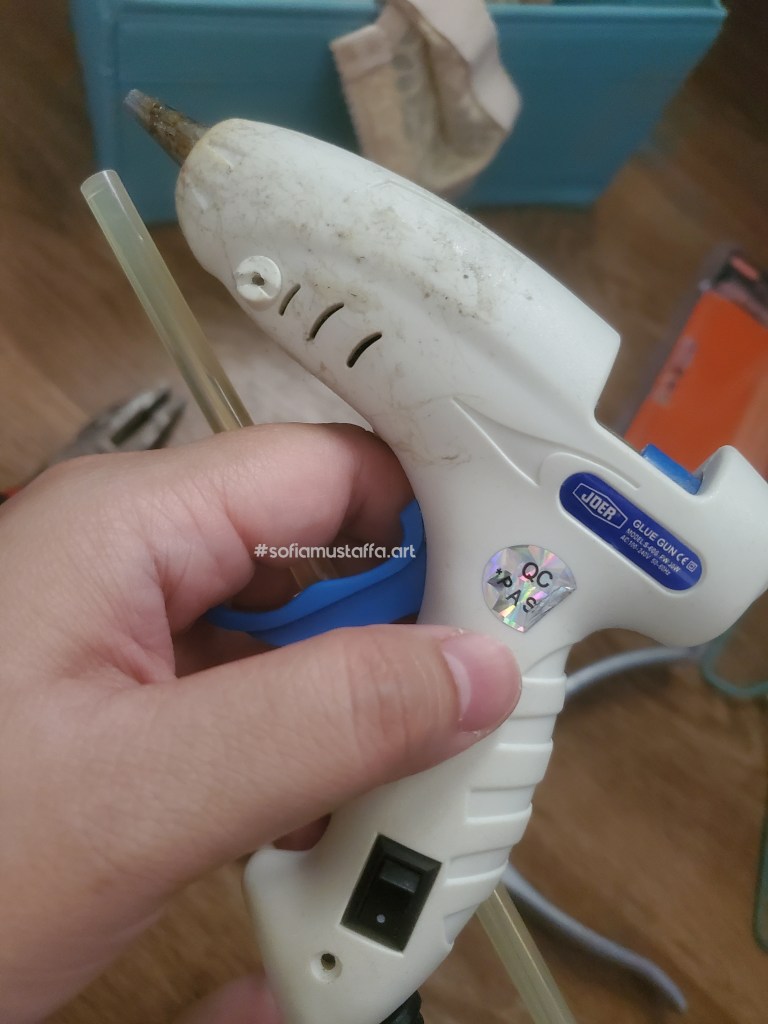
Glue gun with the refills
Jute Rope
Burlap
Ribbon
Scissor
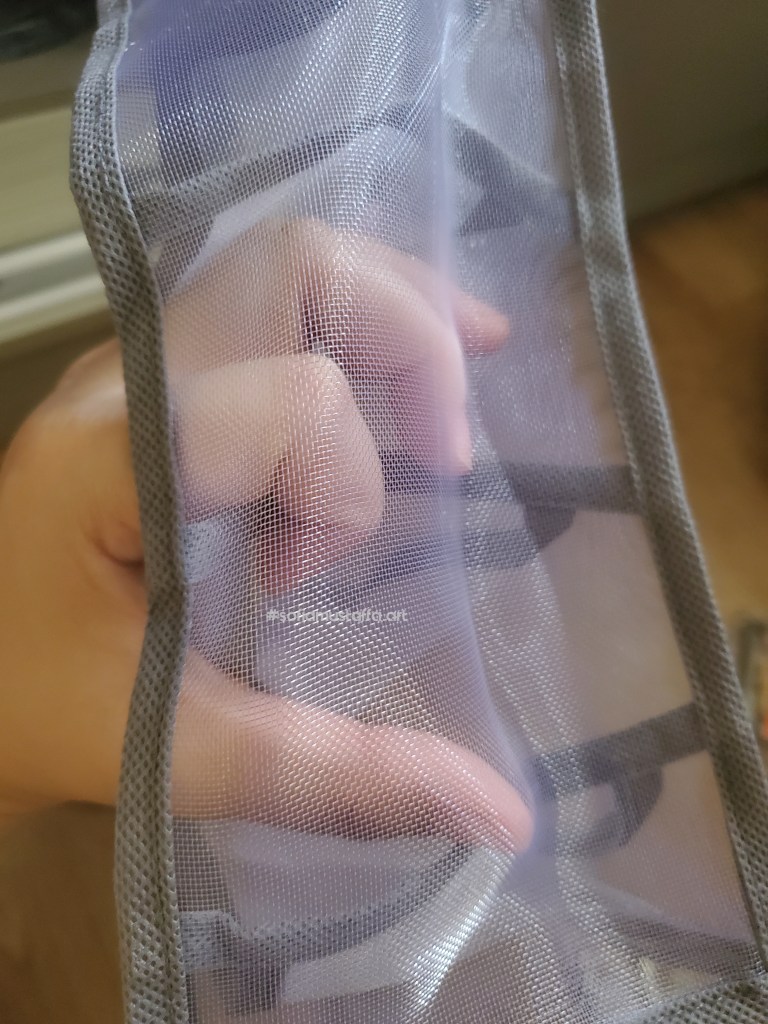
So, I do take a closer look on it. The reason is, the base is not attaching makes it not a strong enough to stand still. So, I’m modifying it according to my own taste. Ha ha ha 😃
Firstly, I started glue the base to strengthen it. Glue gun was my best buddy in everything diy stuff I made 🥰
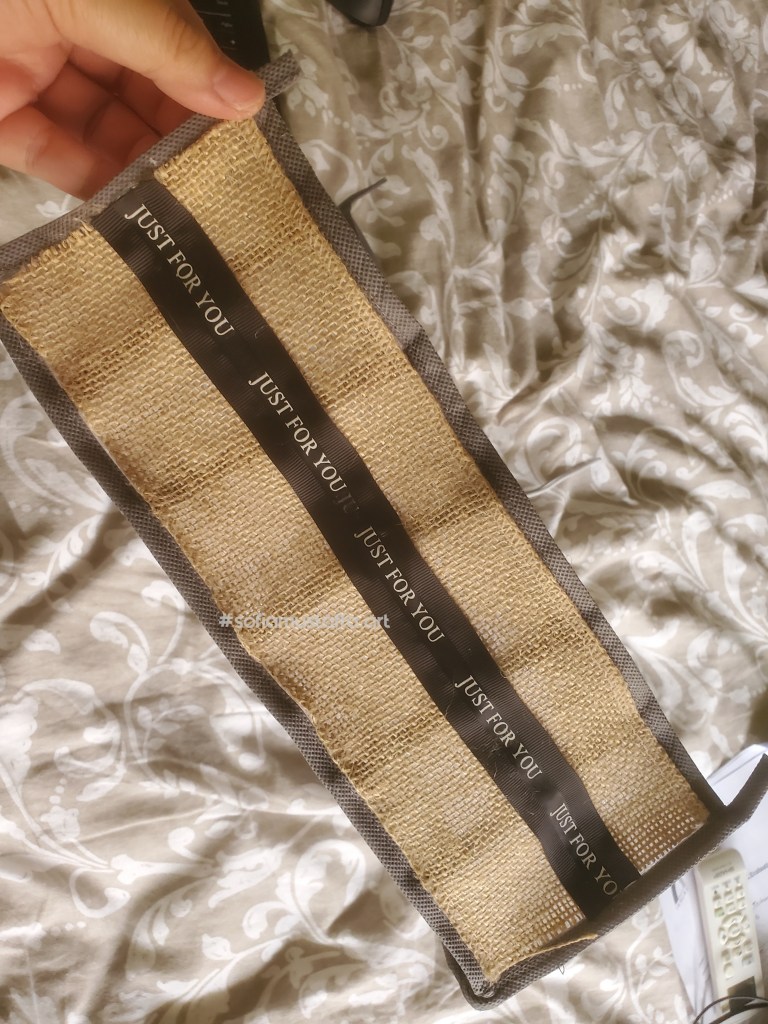
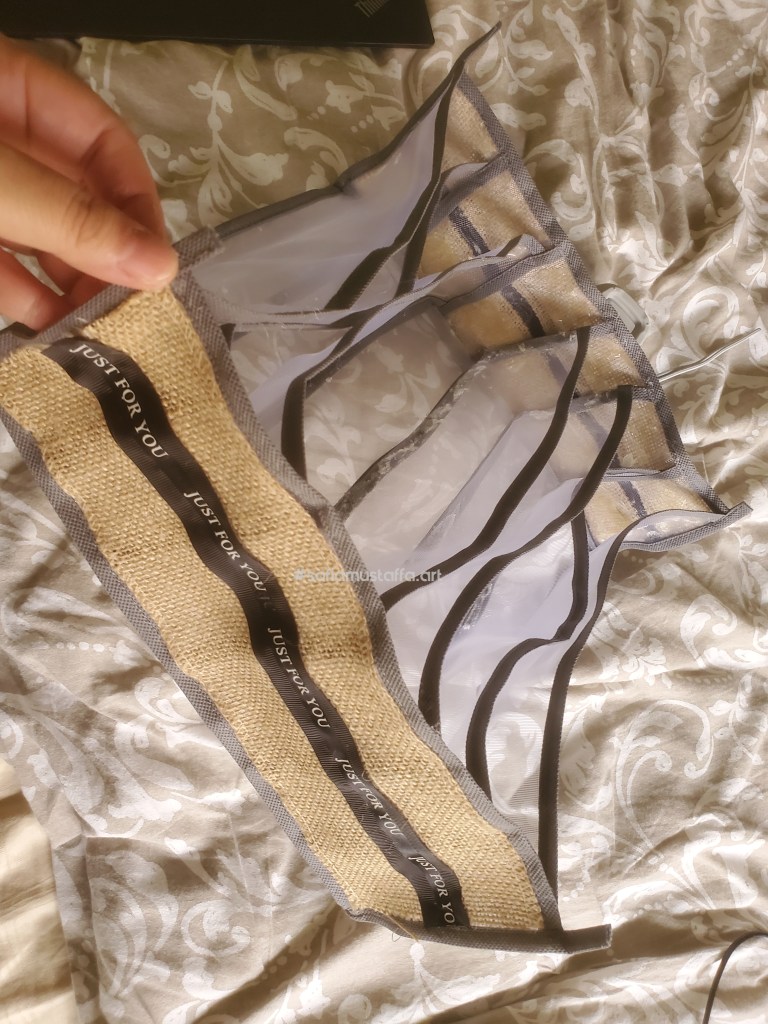
A weak base, is not attaching 😕So, the base needs to be glued with glue gun.Tada!!! This is my best buddy 🥰Arghhh…it looks hideous!! So I need to cover it up, to beautify it 😍🥰I cut the Burlap, according to the size. Then glue it on the net, to cover up the hideous looks 😃When completed the Burlap, I glue on top with Ribbon I have. In this pic, there is A gap between those Burlap. So, I just cover it up with cute Ribbon ❤🥰This will be the final product. Tadaaa!!~
That’s all for now. I still have another pending project, which is Coins Container 🥰
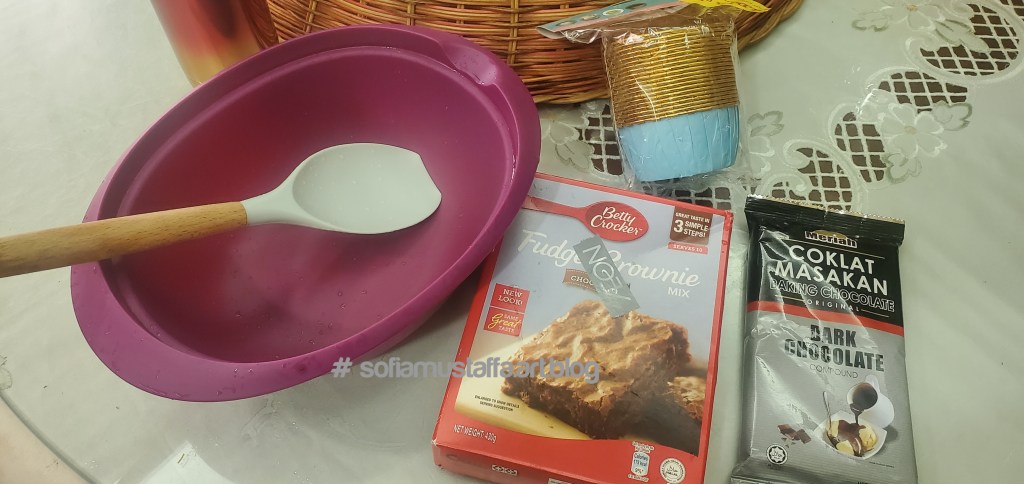
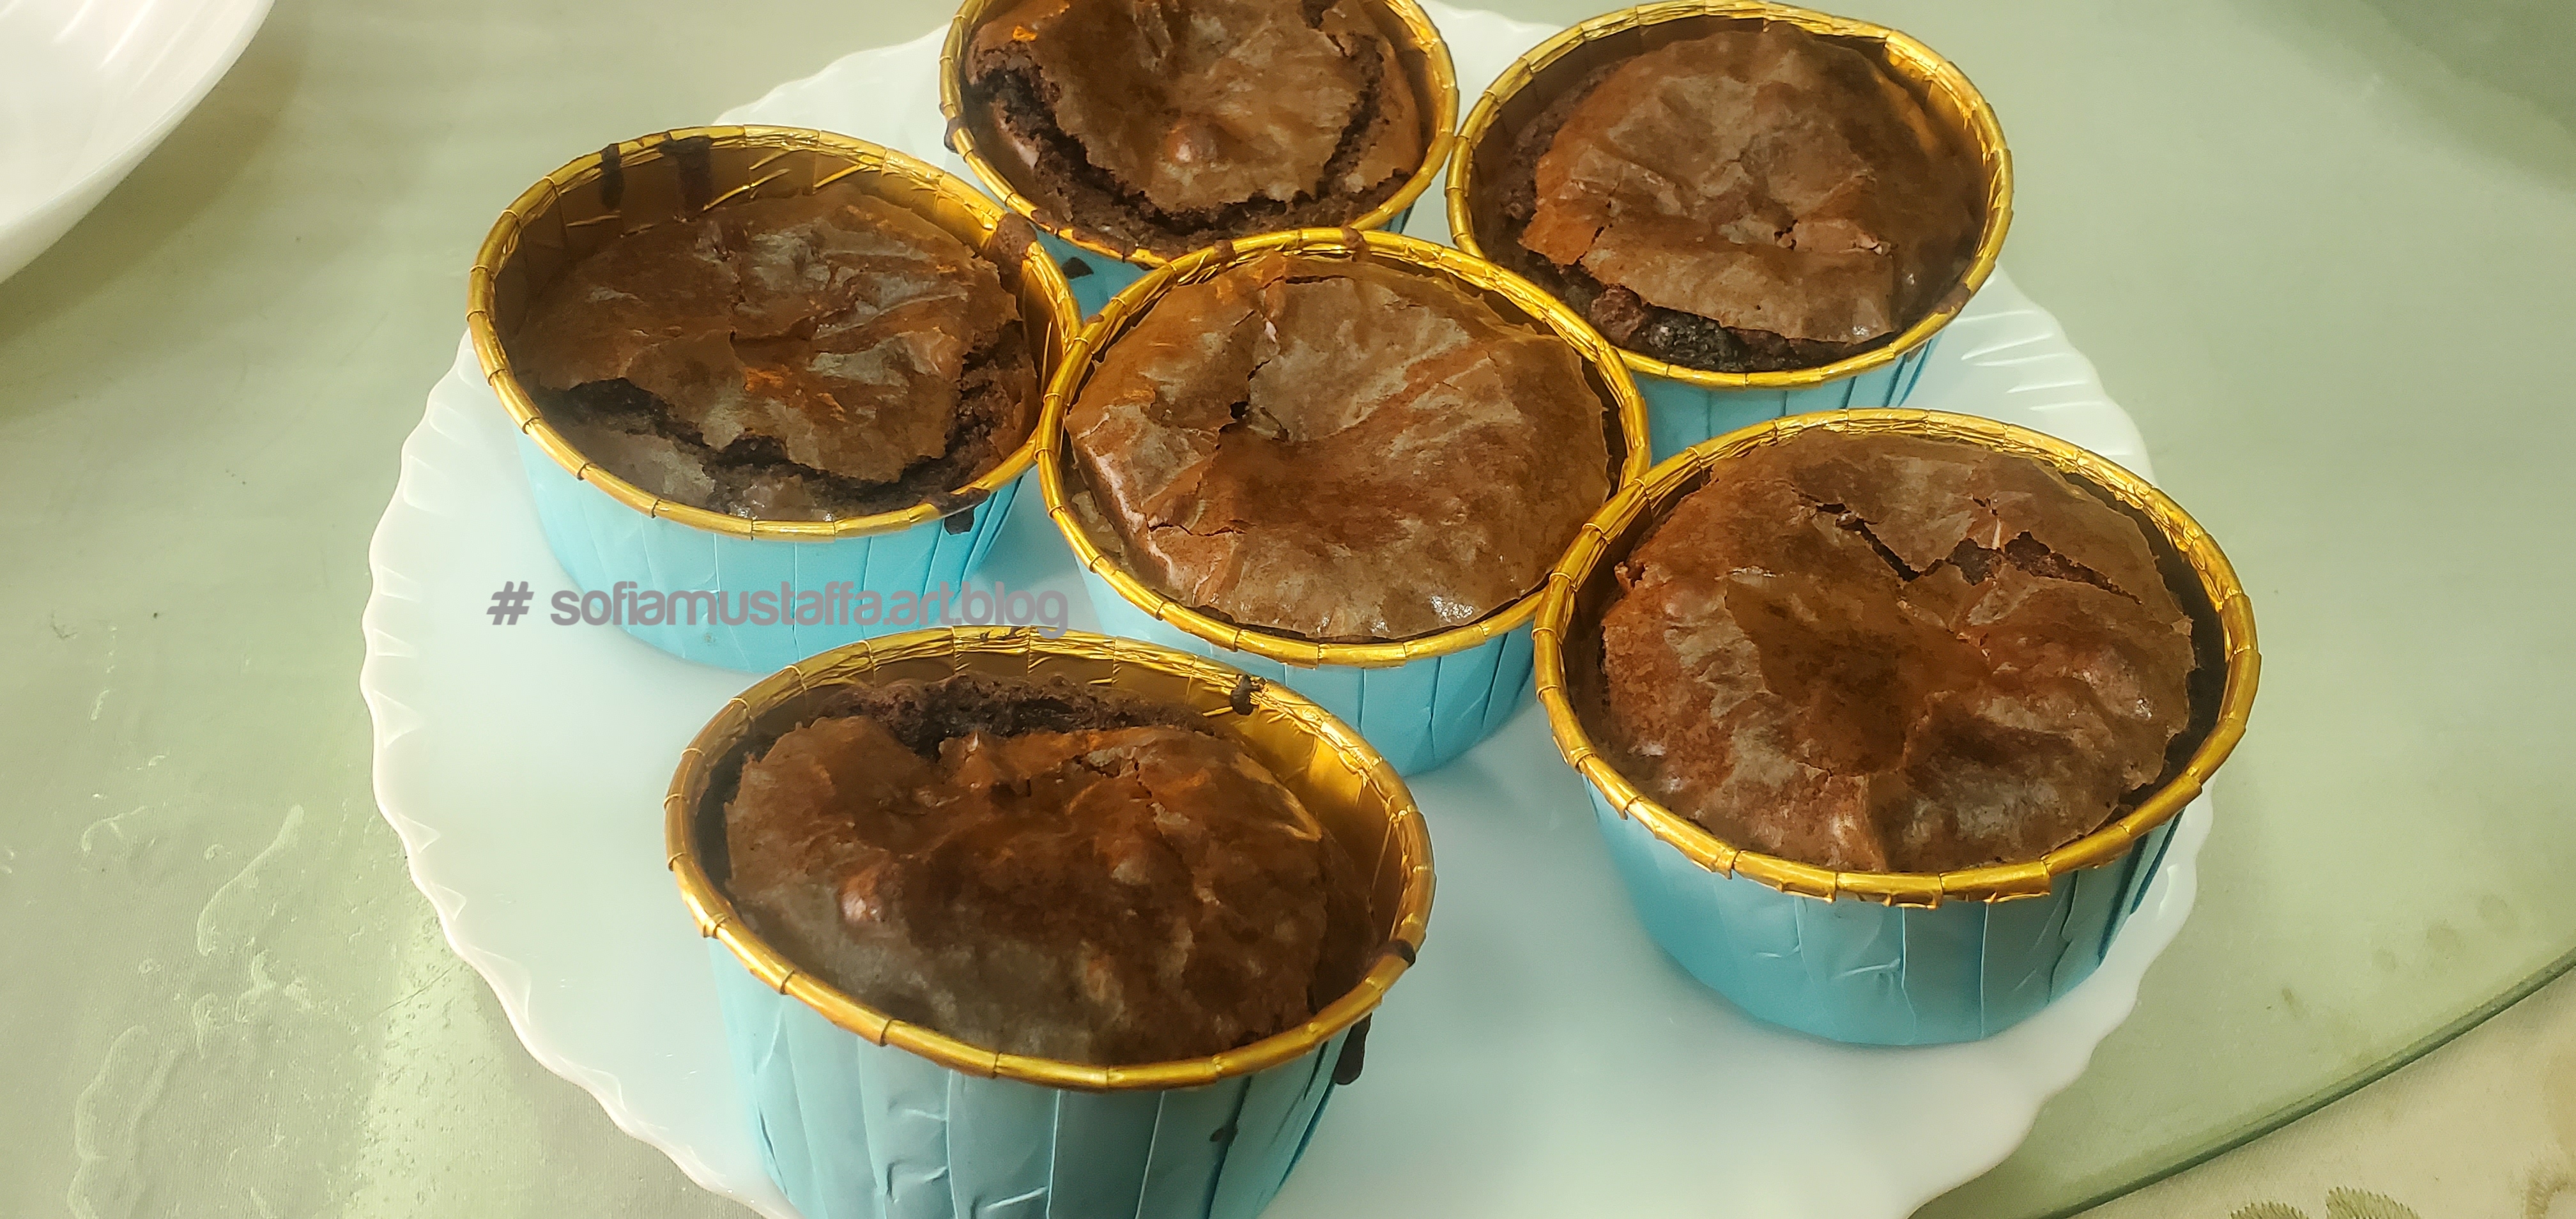
Hi everyone!! It’s been awhile I’m not baking. I had bought these brownies and chocolate bar for quite some time, just that I don’t have time to bake it.
Cooking chocolate, Brownies Mix and Cupcake 😃If you bought the ready made mix, it has the instruction at the back. I don’t want to buy any unwanted extra flour. So i bought this. Simple and easy. 😂
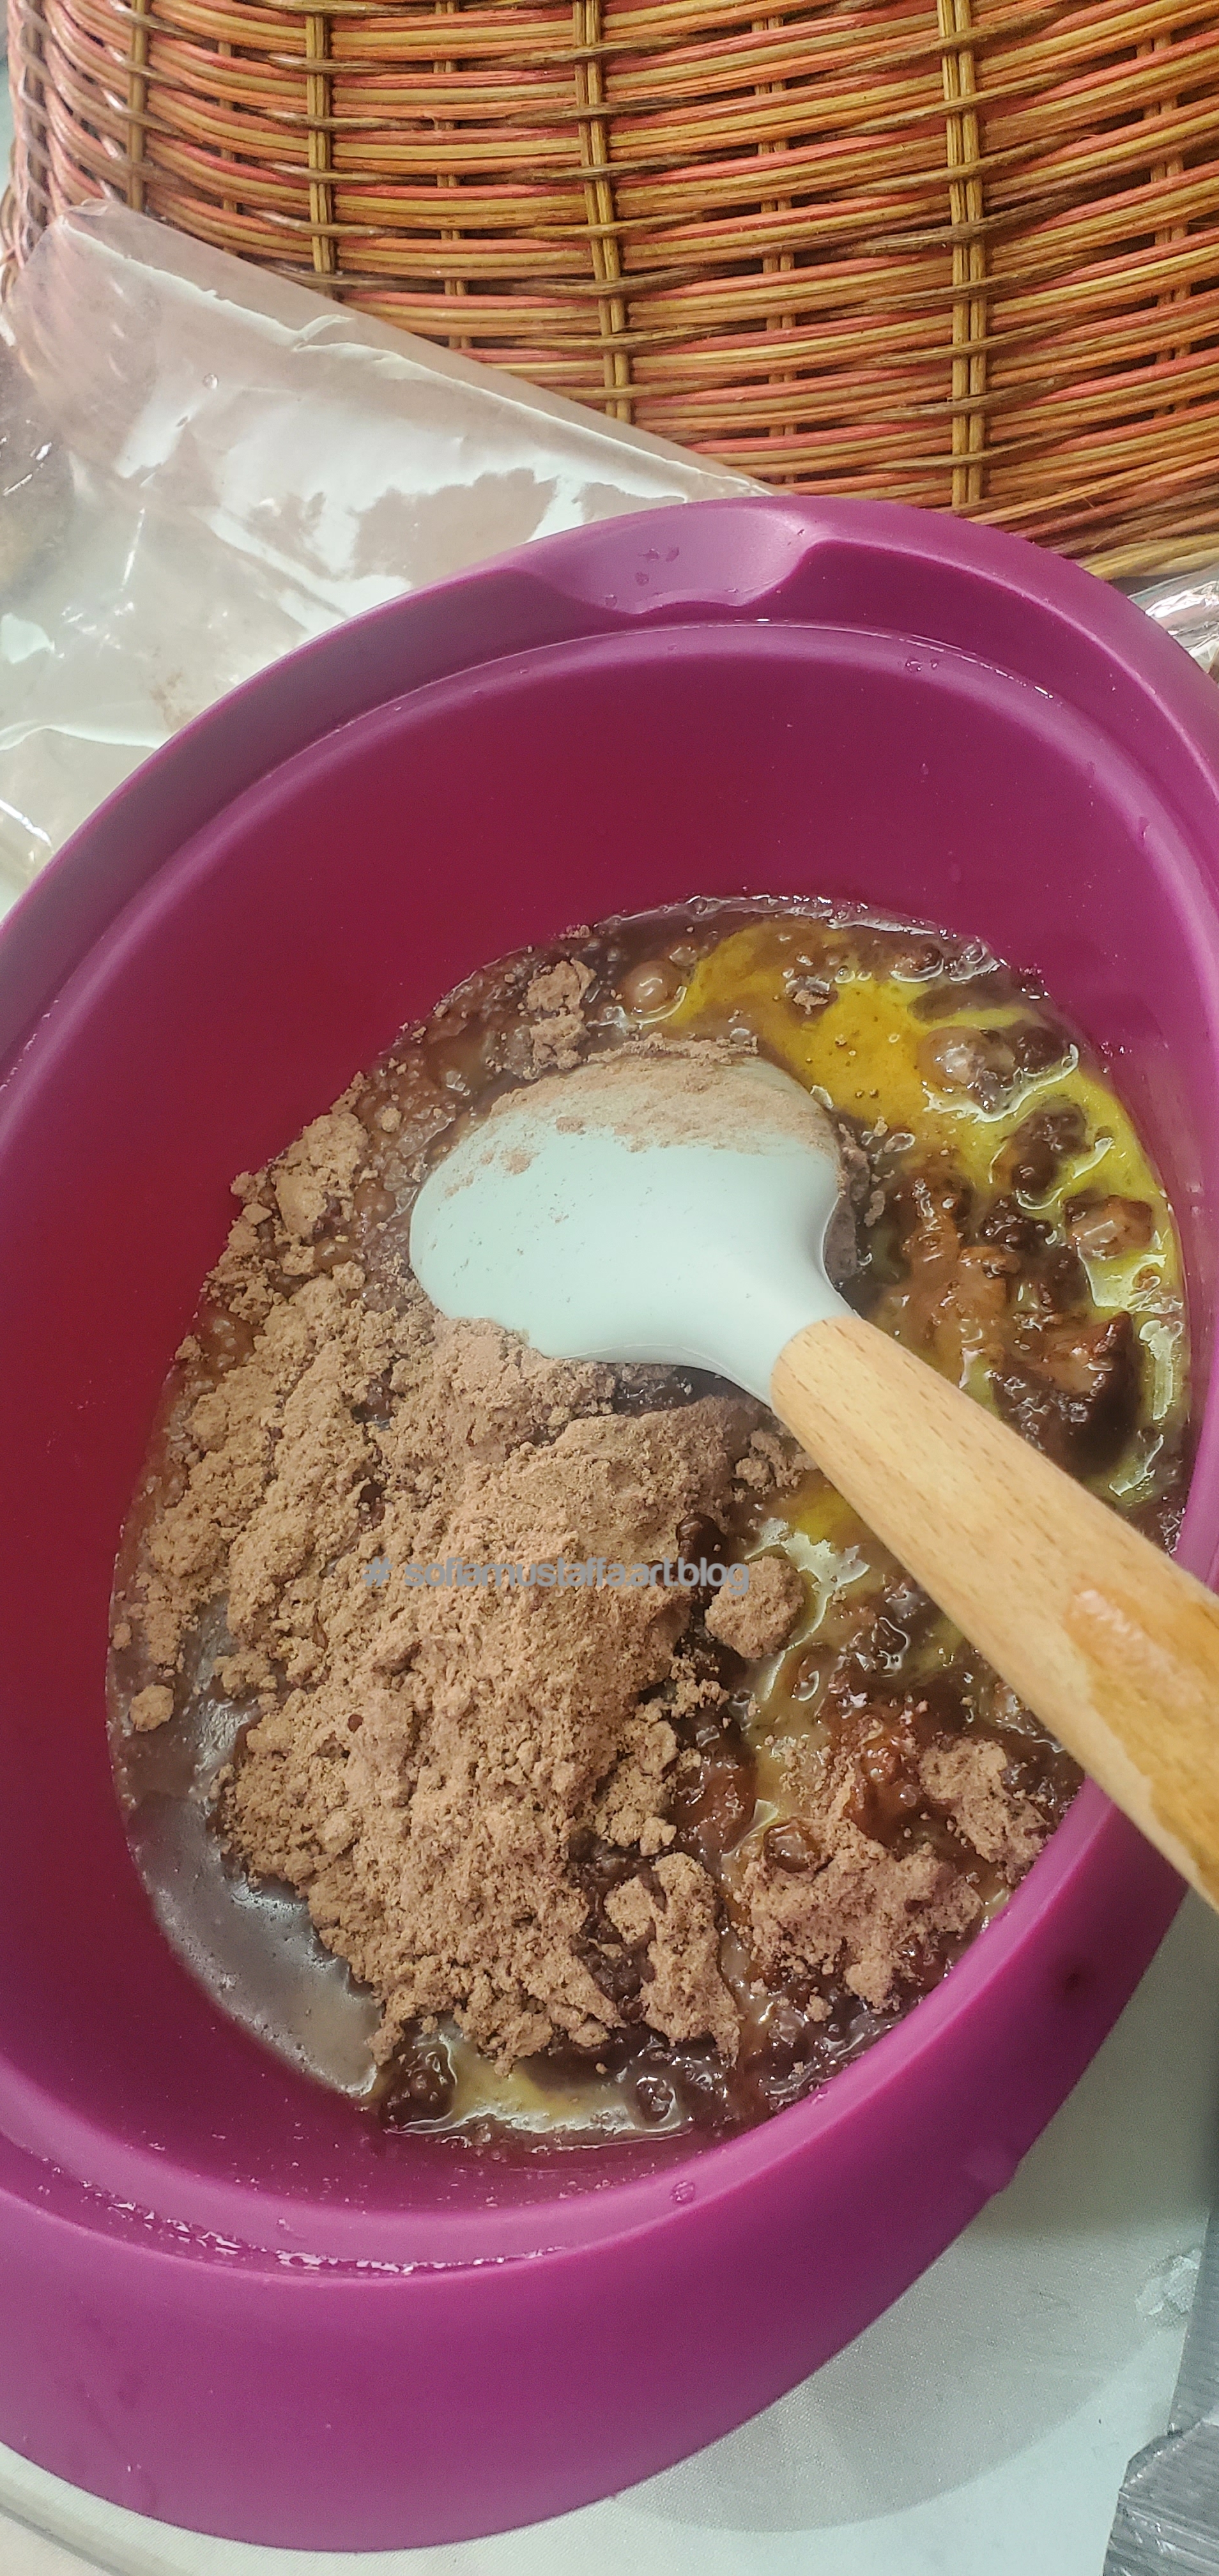
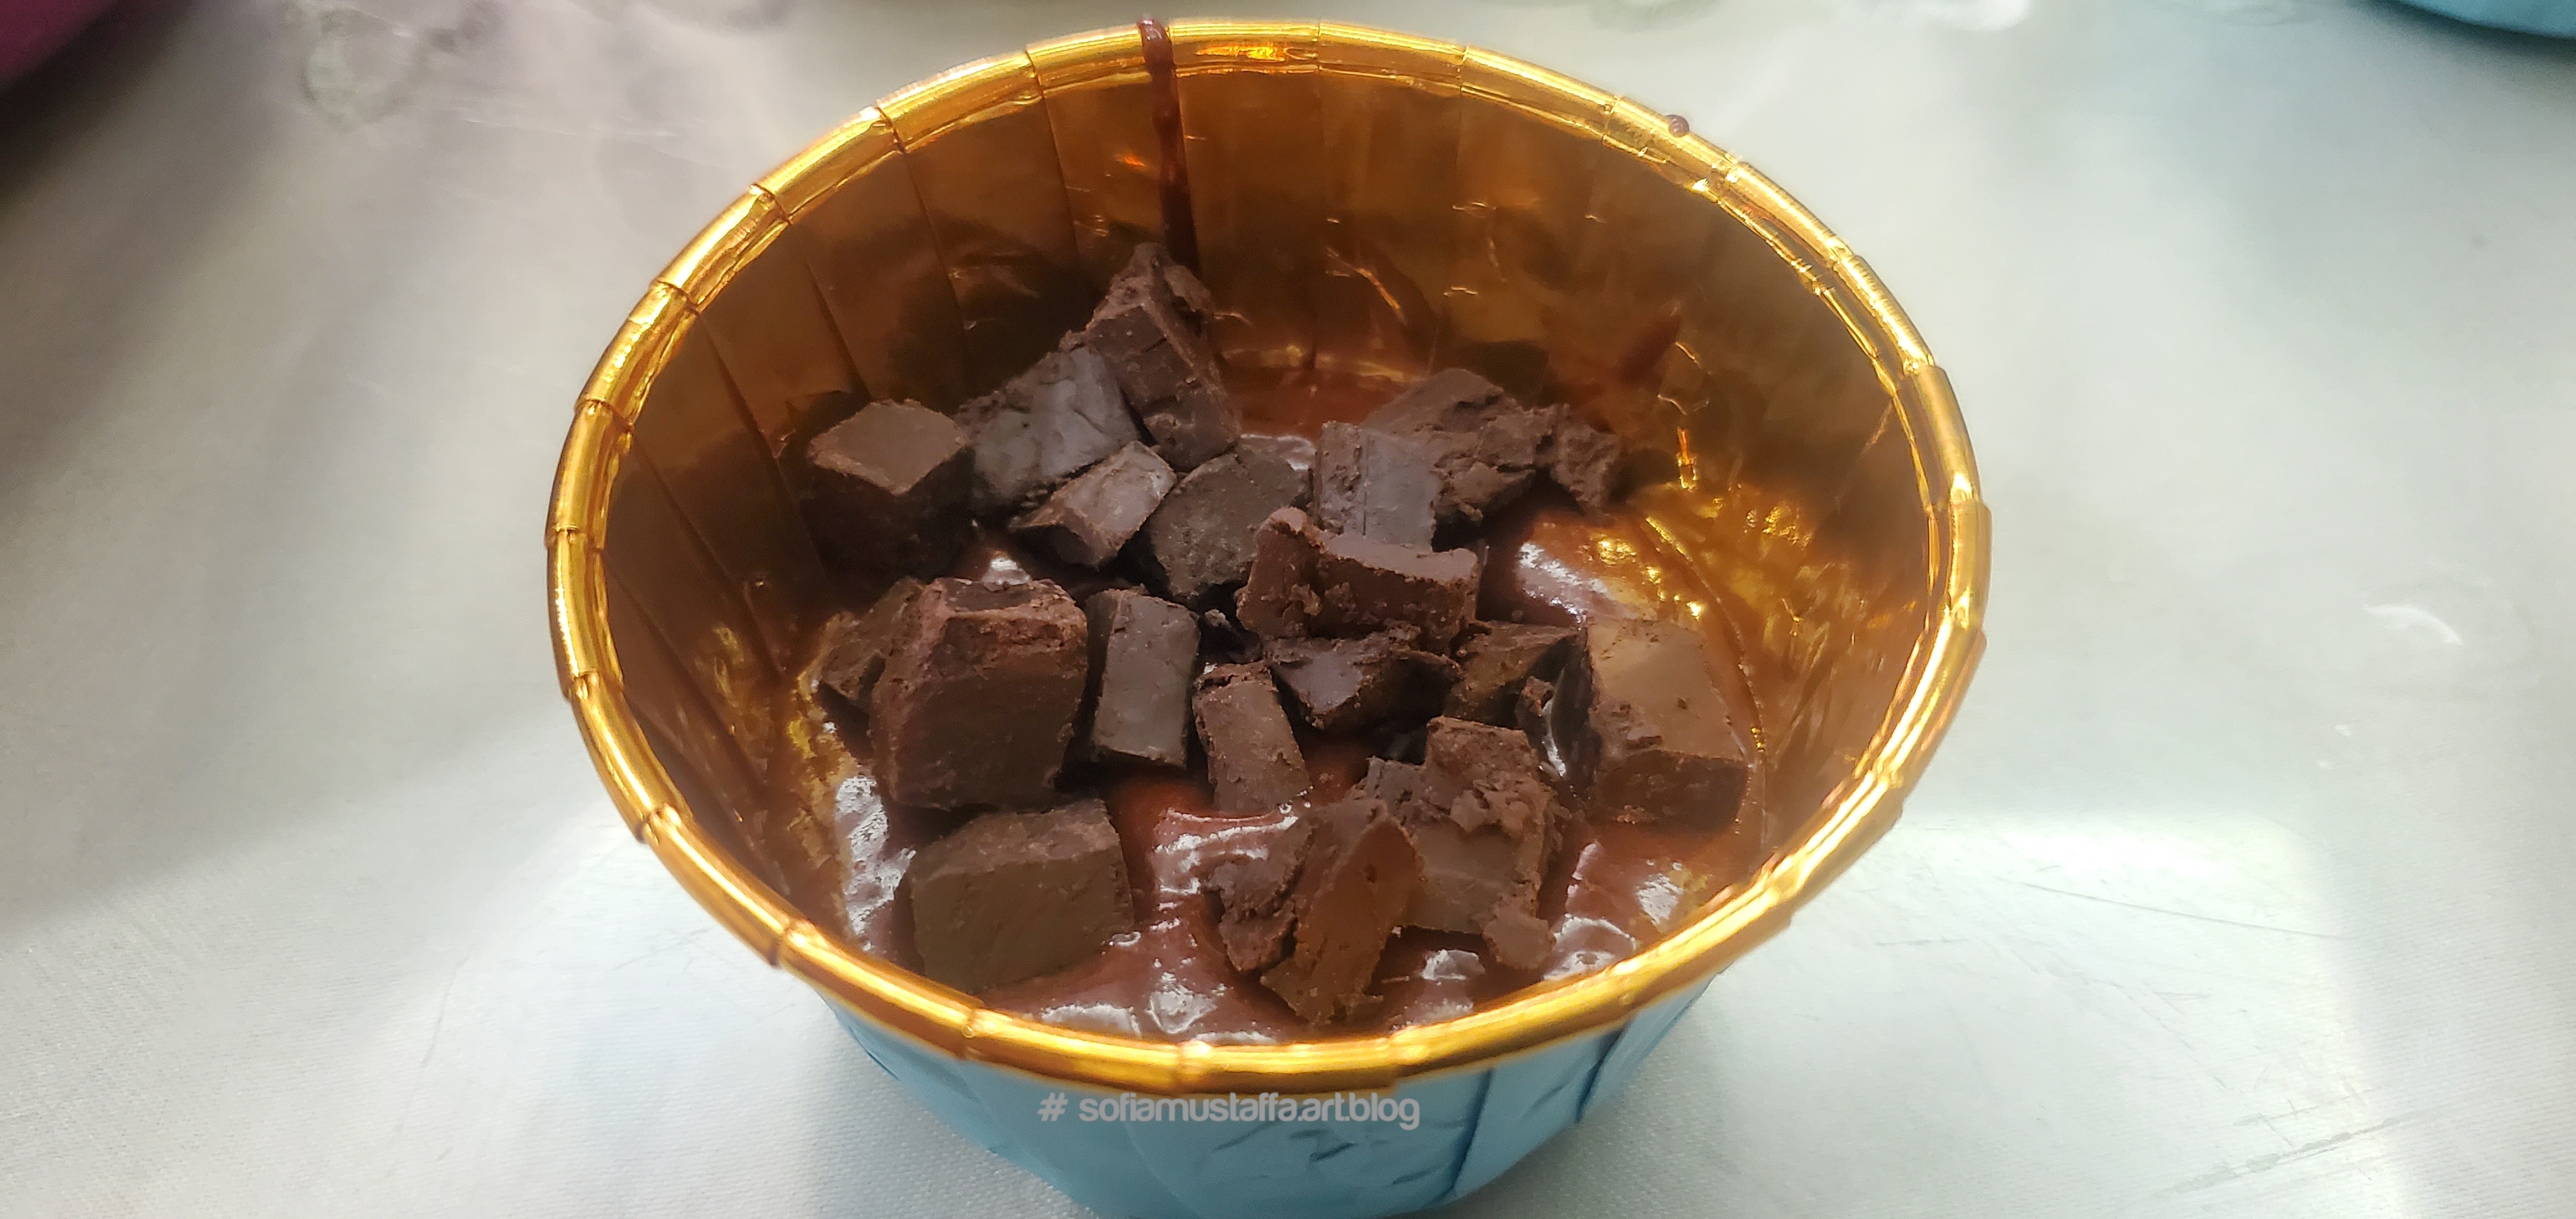
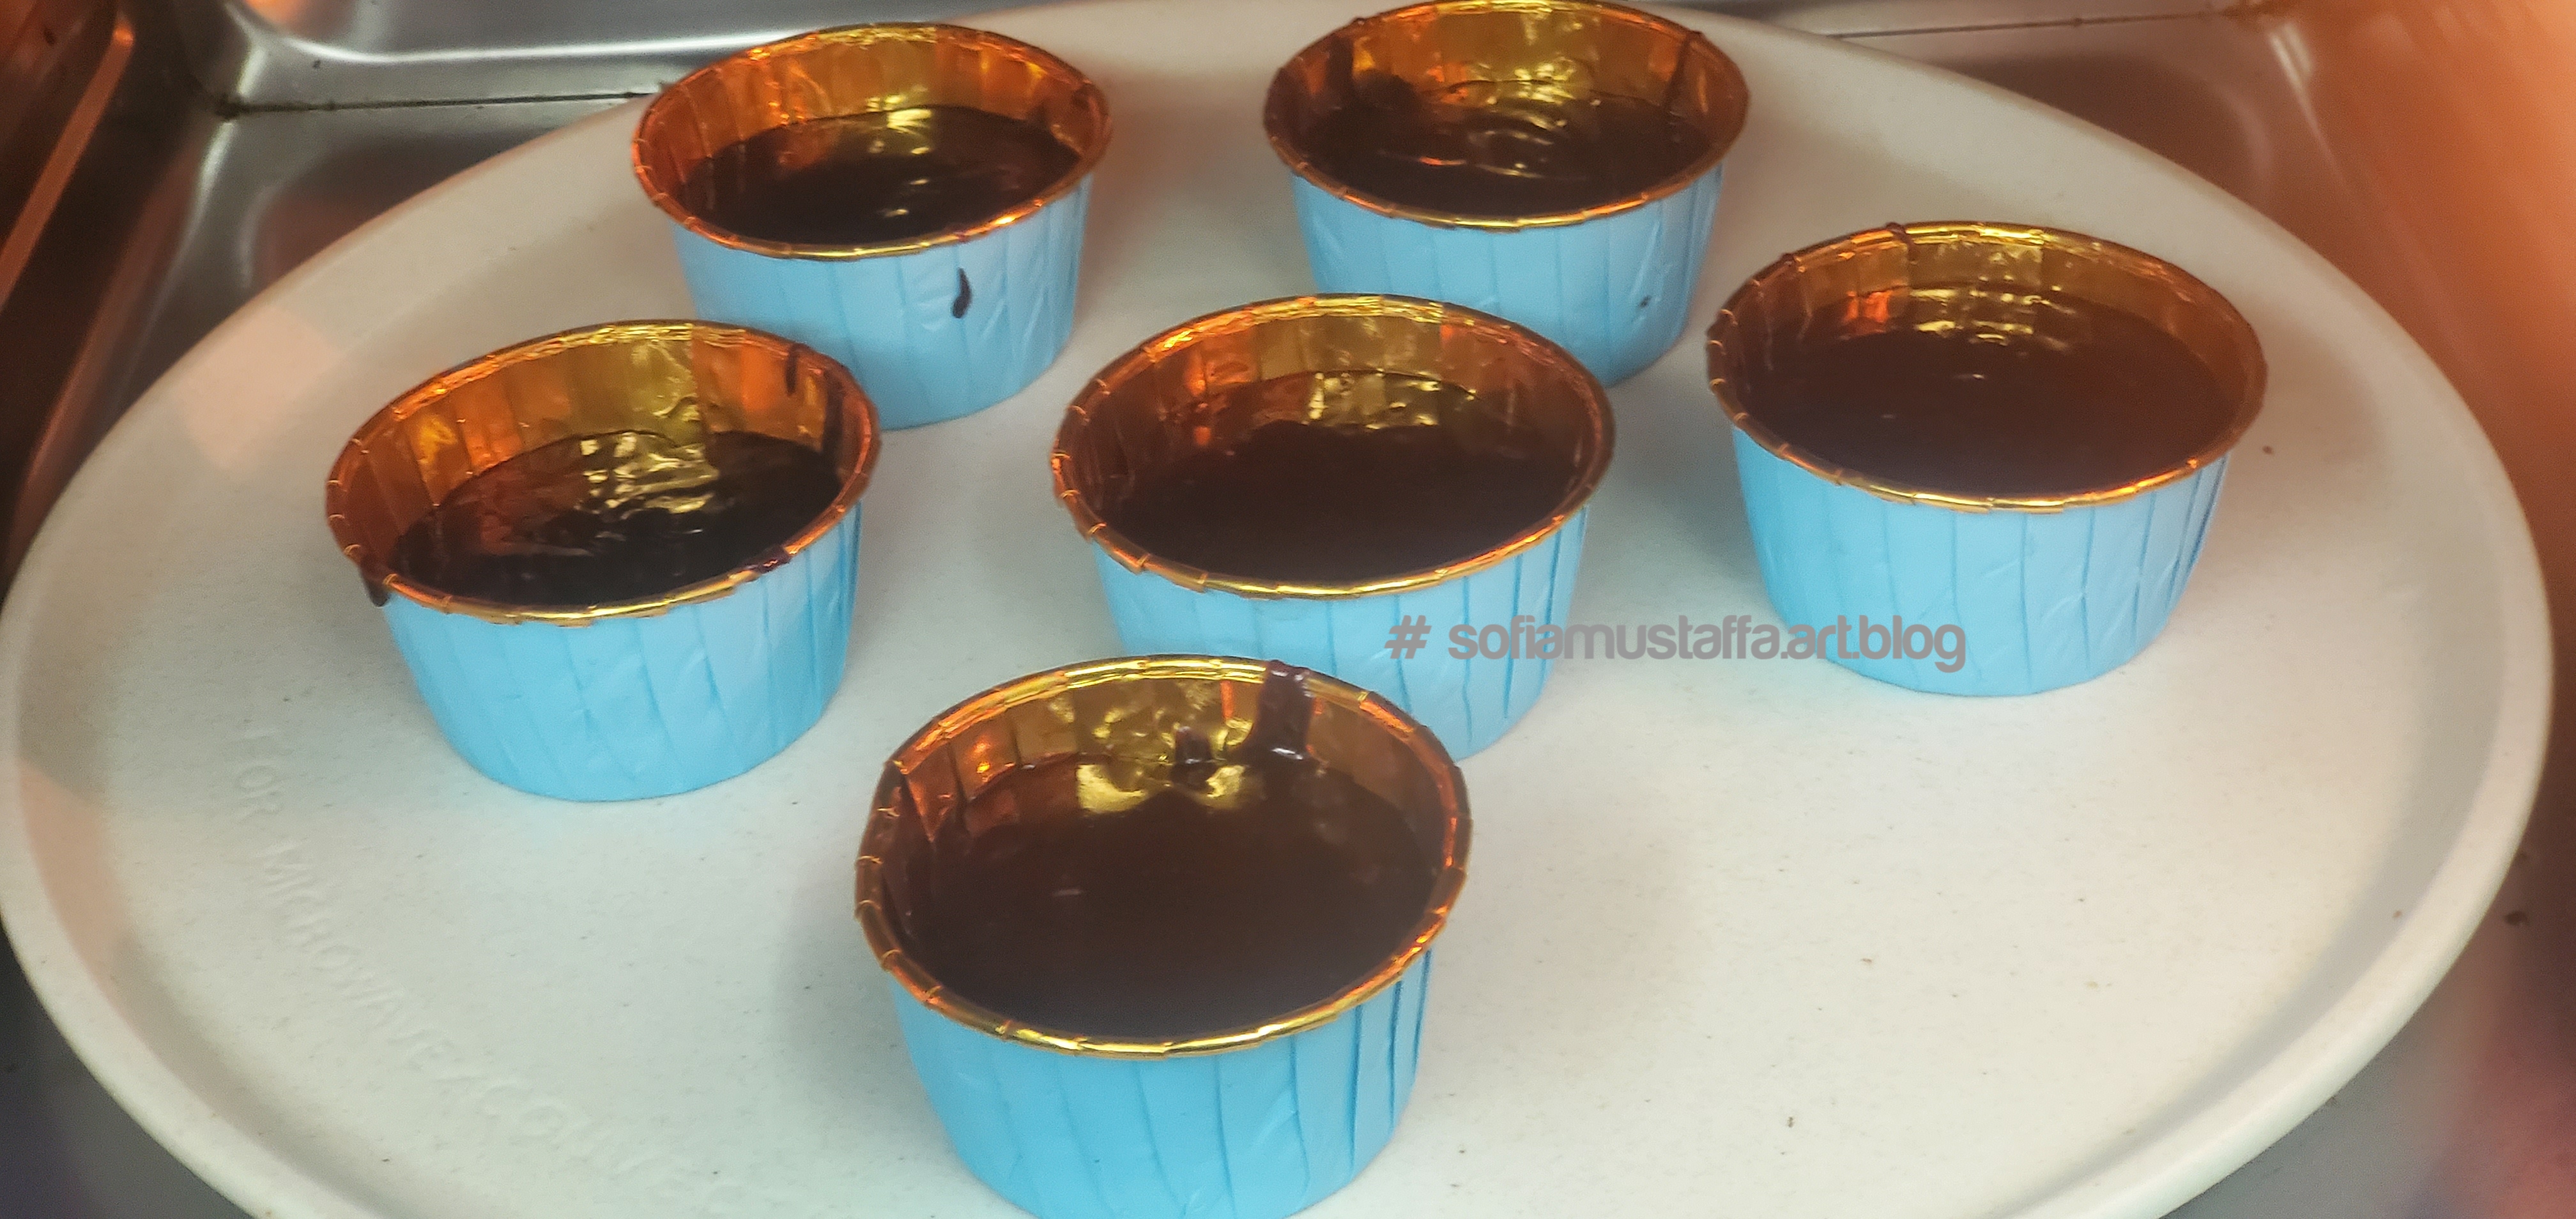
How to make a simple brownies, but tasty 🥰
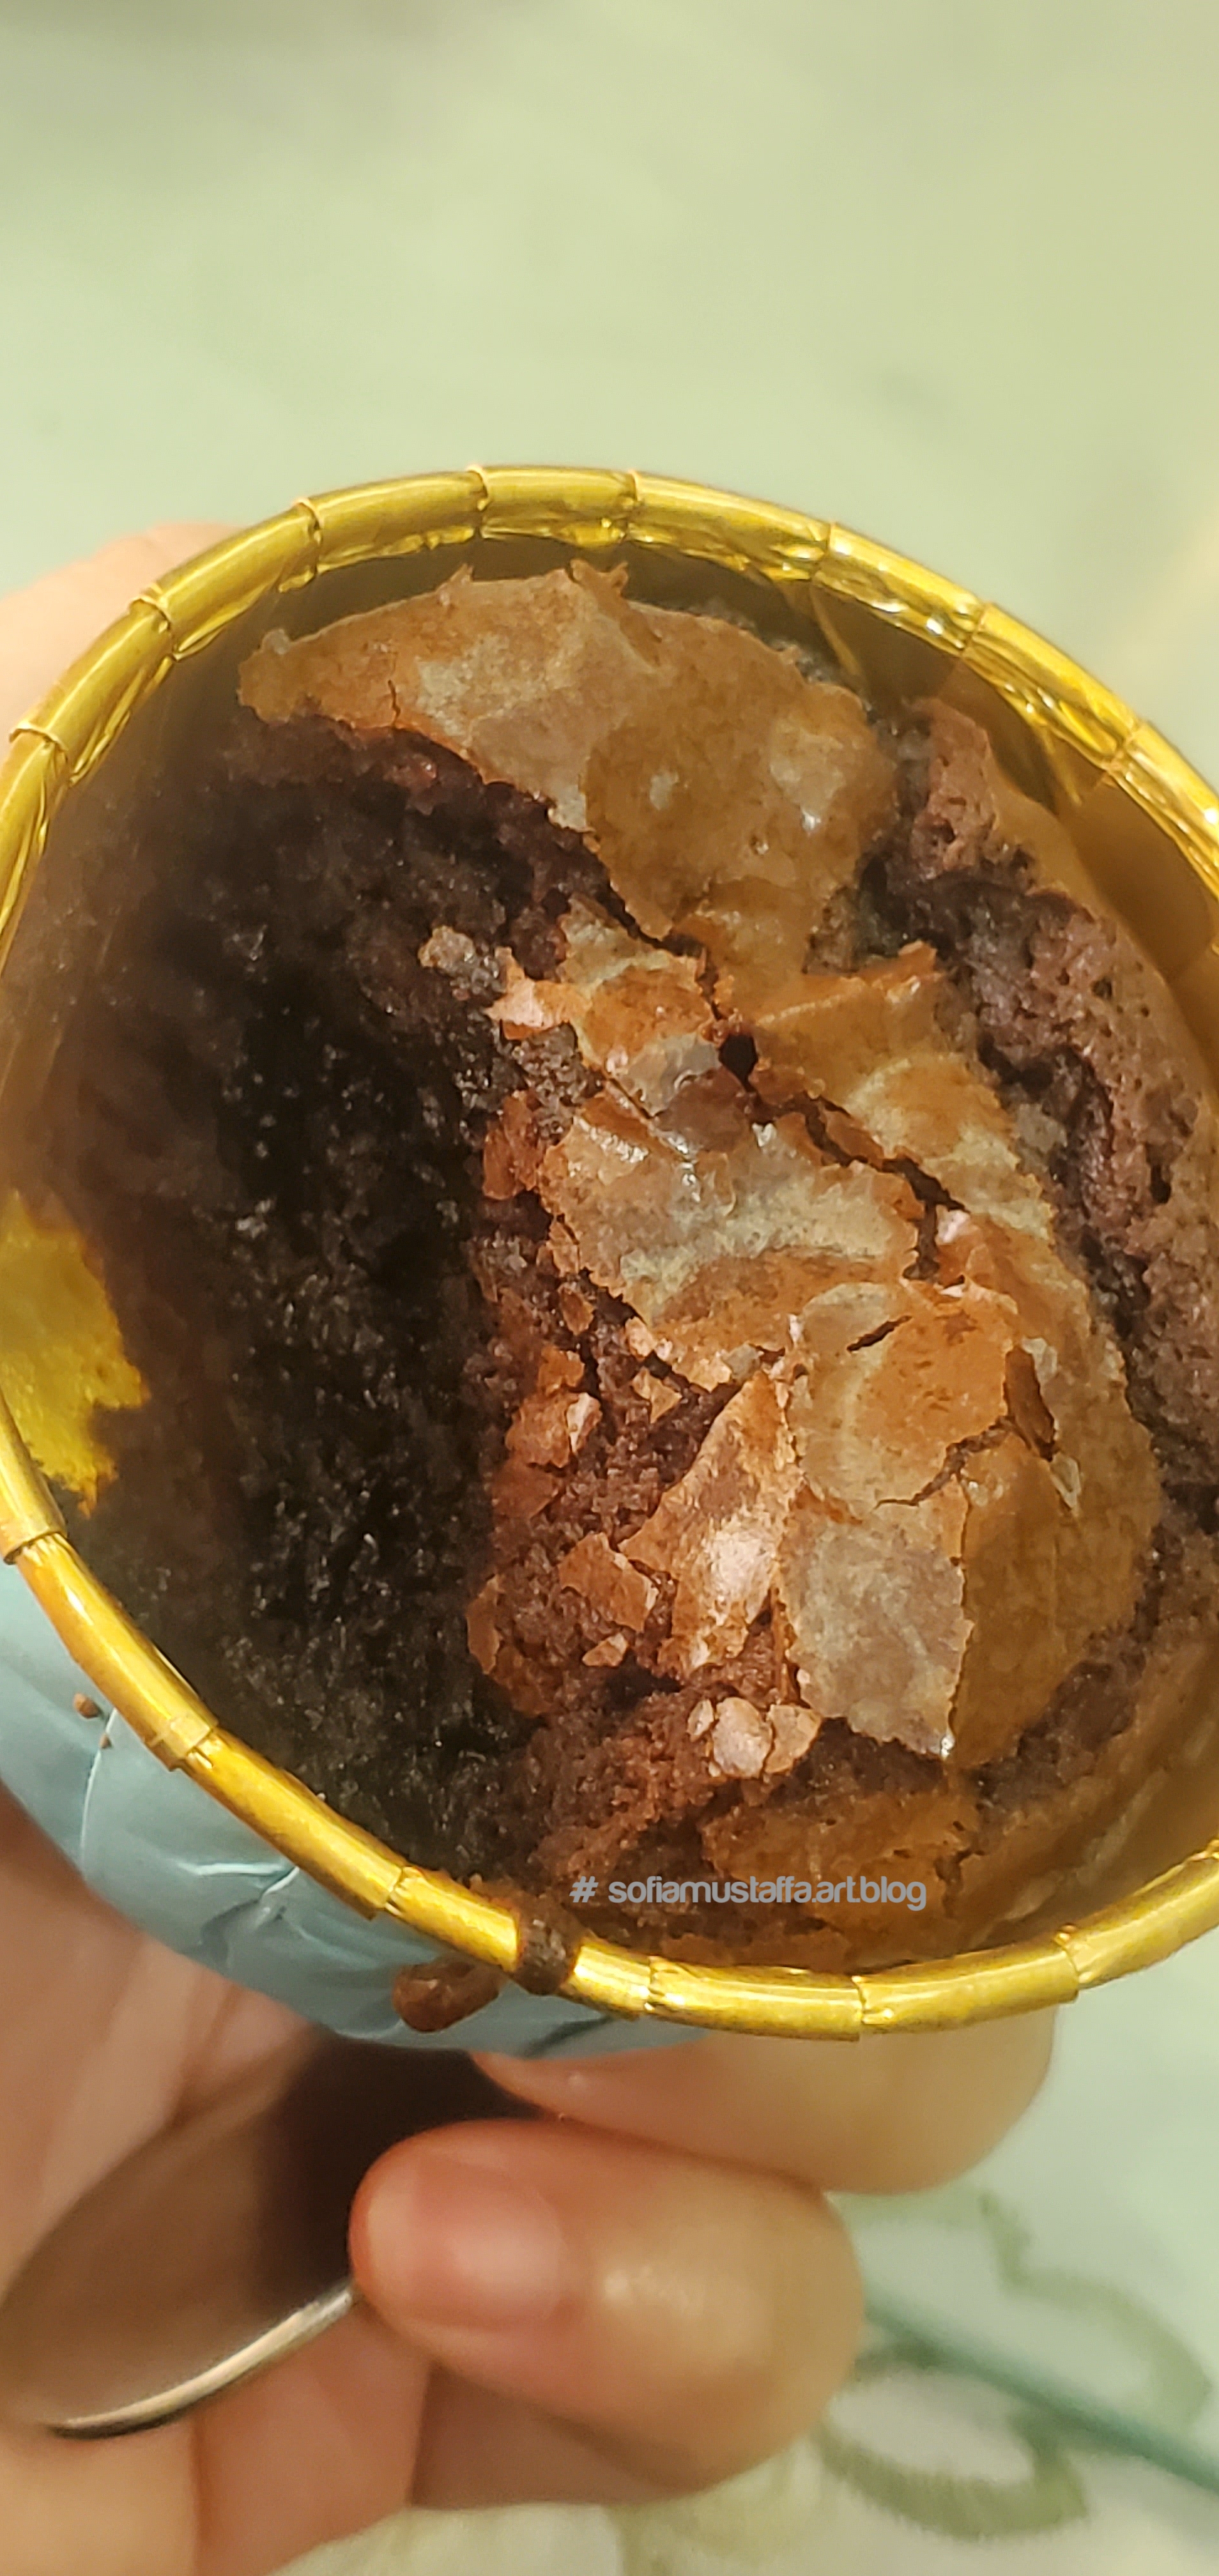
1. Firstly, you pour all the mix into 1 BIG bowl like this. As u read the instruction, it need 85ml water, 50ml vegie oil and 1 egg. Just pour everything, then mix with spatula.2. When u mix, make sure no lump. I don’t like any lump in my cakes/brownies, so I make it smooth possible. Not to use any electric machine, just use spatula and stir it with your hand. Simple and easy to clean 😃3. Chunk the chocolate bar. I don’t like sweet brownies, so i bought Dark Chocolate. If you likr sweet brownies, you can use the normal Milk Chocolate according to your taste bud 😇4. First layer, I pour the mix batter. Then I put the chocolate chunk like this on top. After that, I layer again with the mix batter.5. So, it will looks something like this. Picture before heat it with 180 degree celsius, and about 23 minutes.6. You will know your brownies are ready when the top is crack like this. The box instruction was to stick fork in it. If it’s not stick to the fork, so it’s ready. I just don’t, coz it will look hideous on my brownies 😂 when i feel light, and just nice plus top is crack and dry, I stopped it.7. Tadaaaa~~ its yummy!! 🥰 Top and bottom dry, and moist in between ❤
Hi everyone! It’s weekend! Time to enjoy ourself and reward our soul.
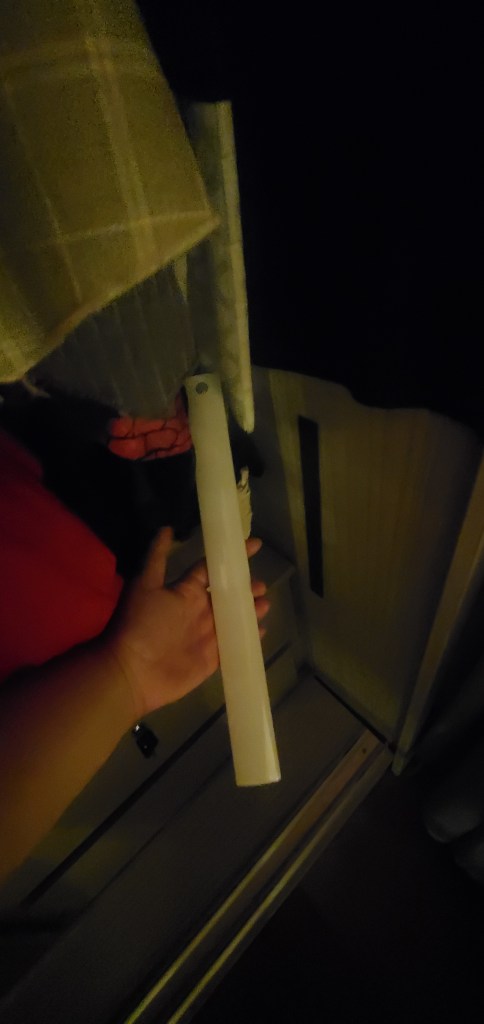
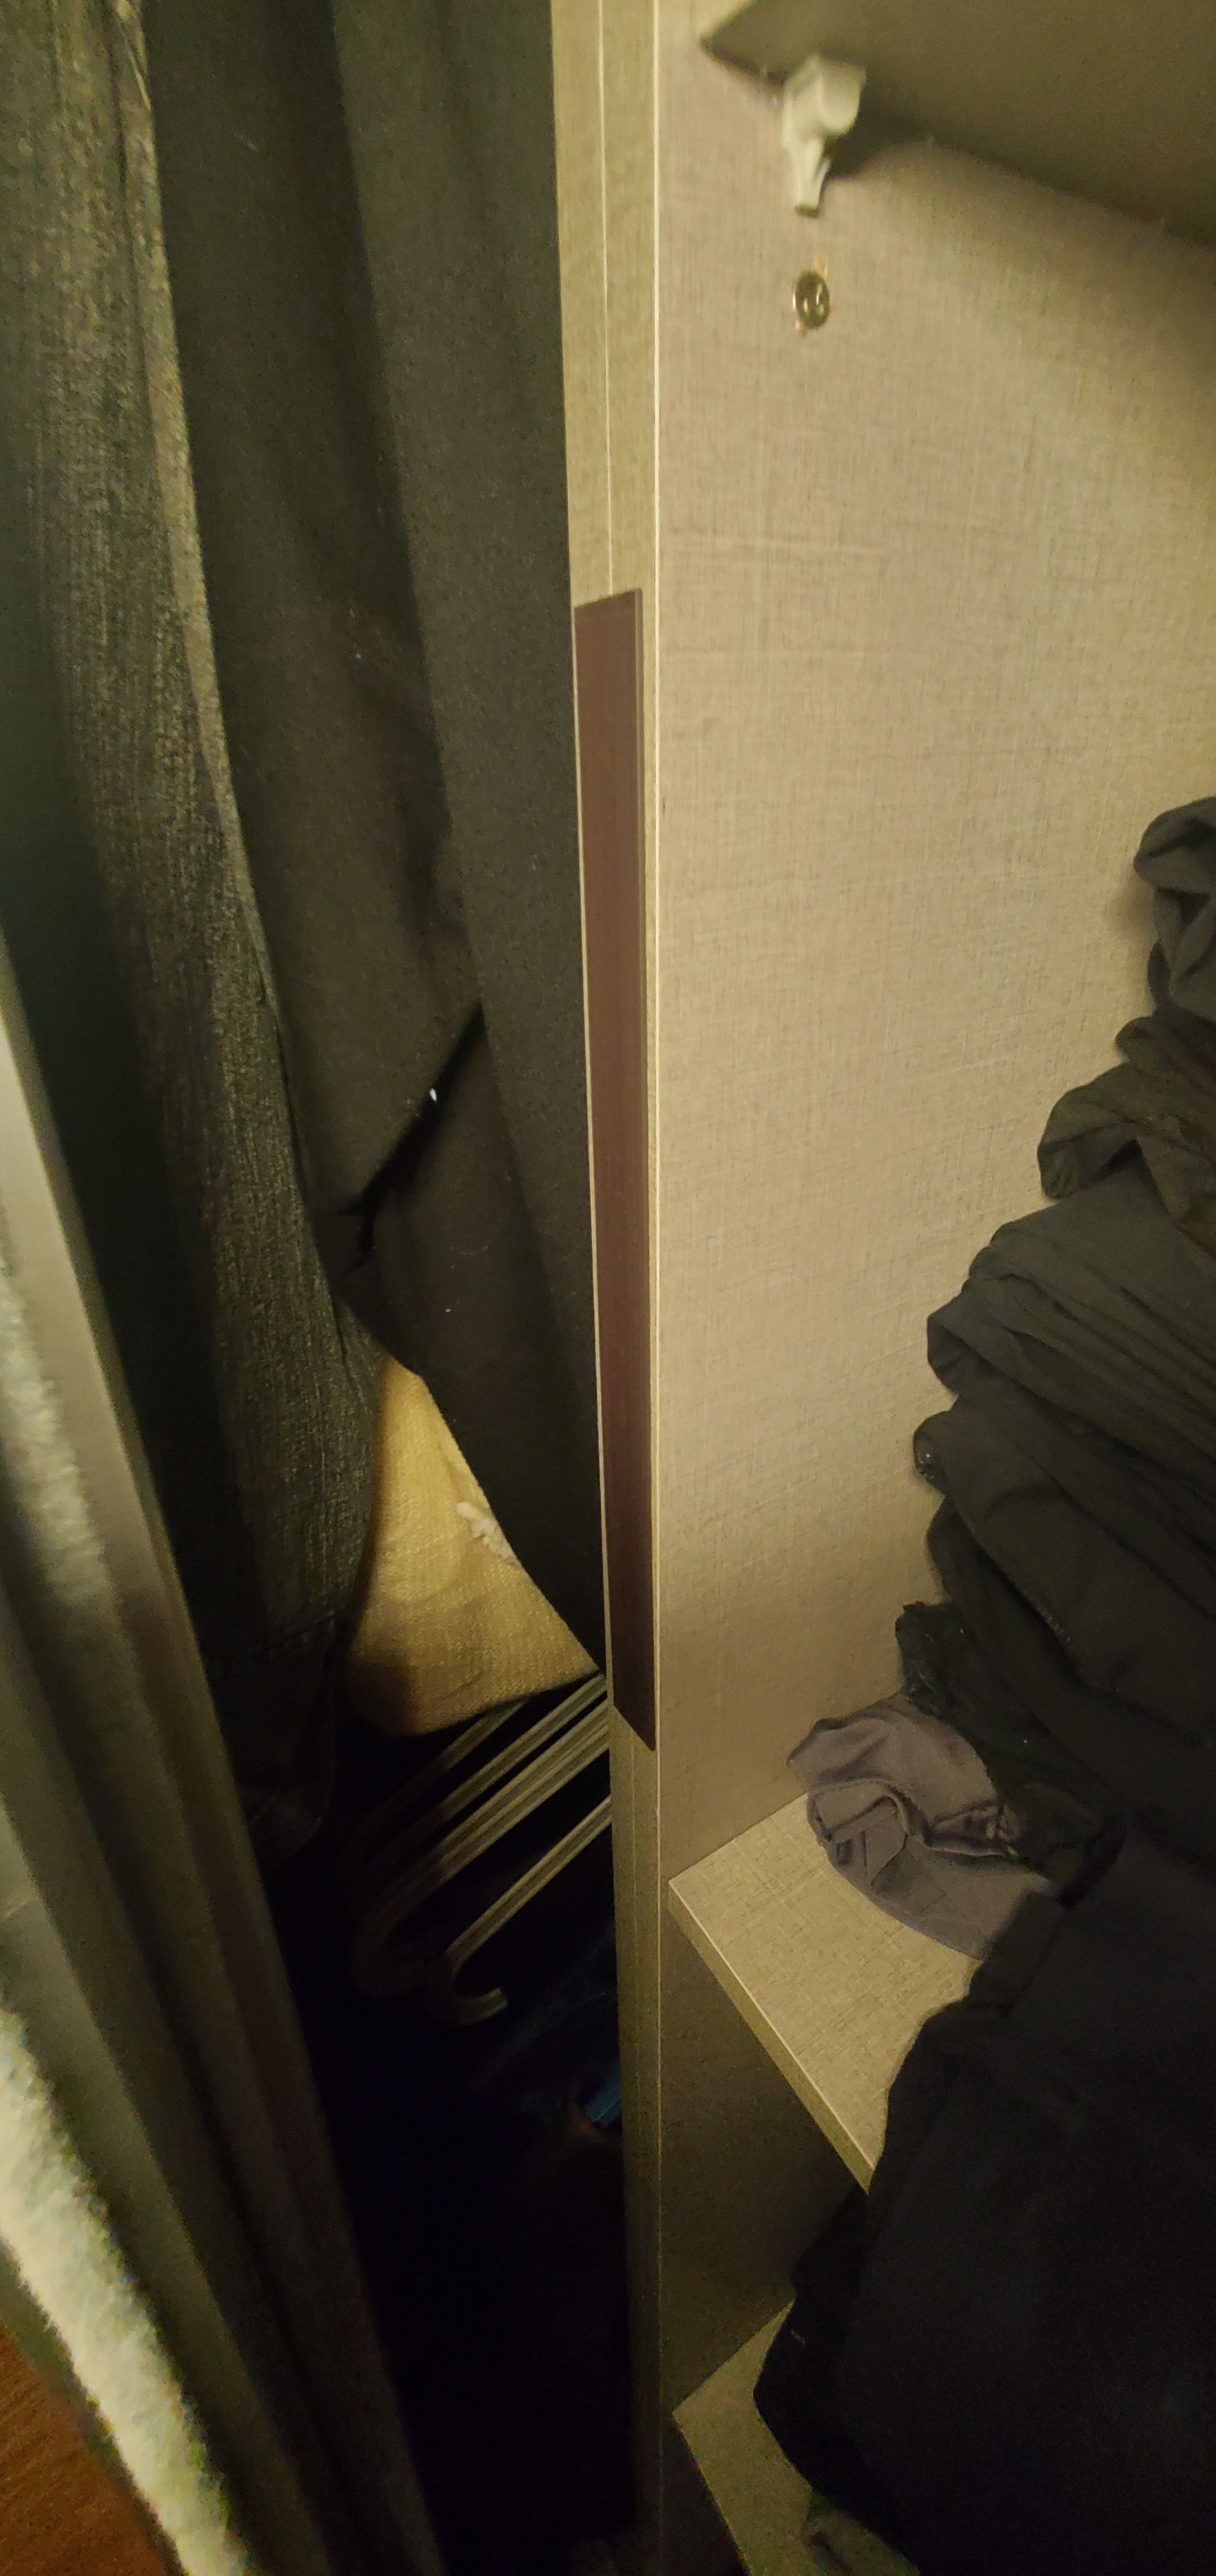
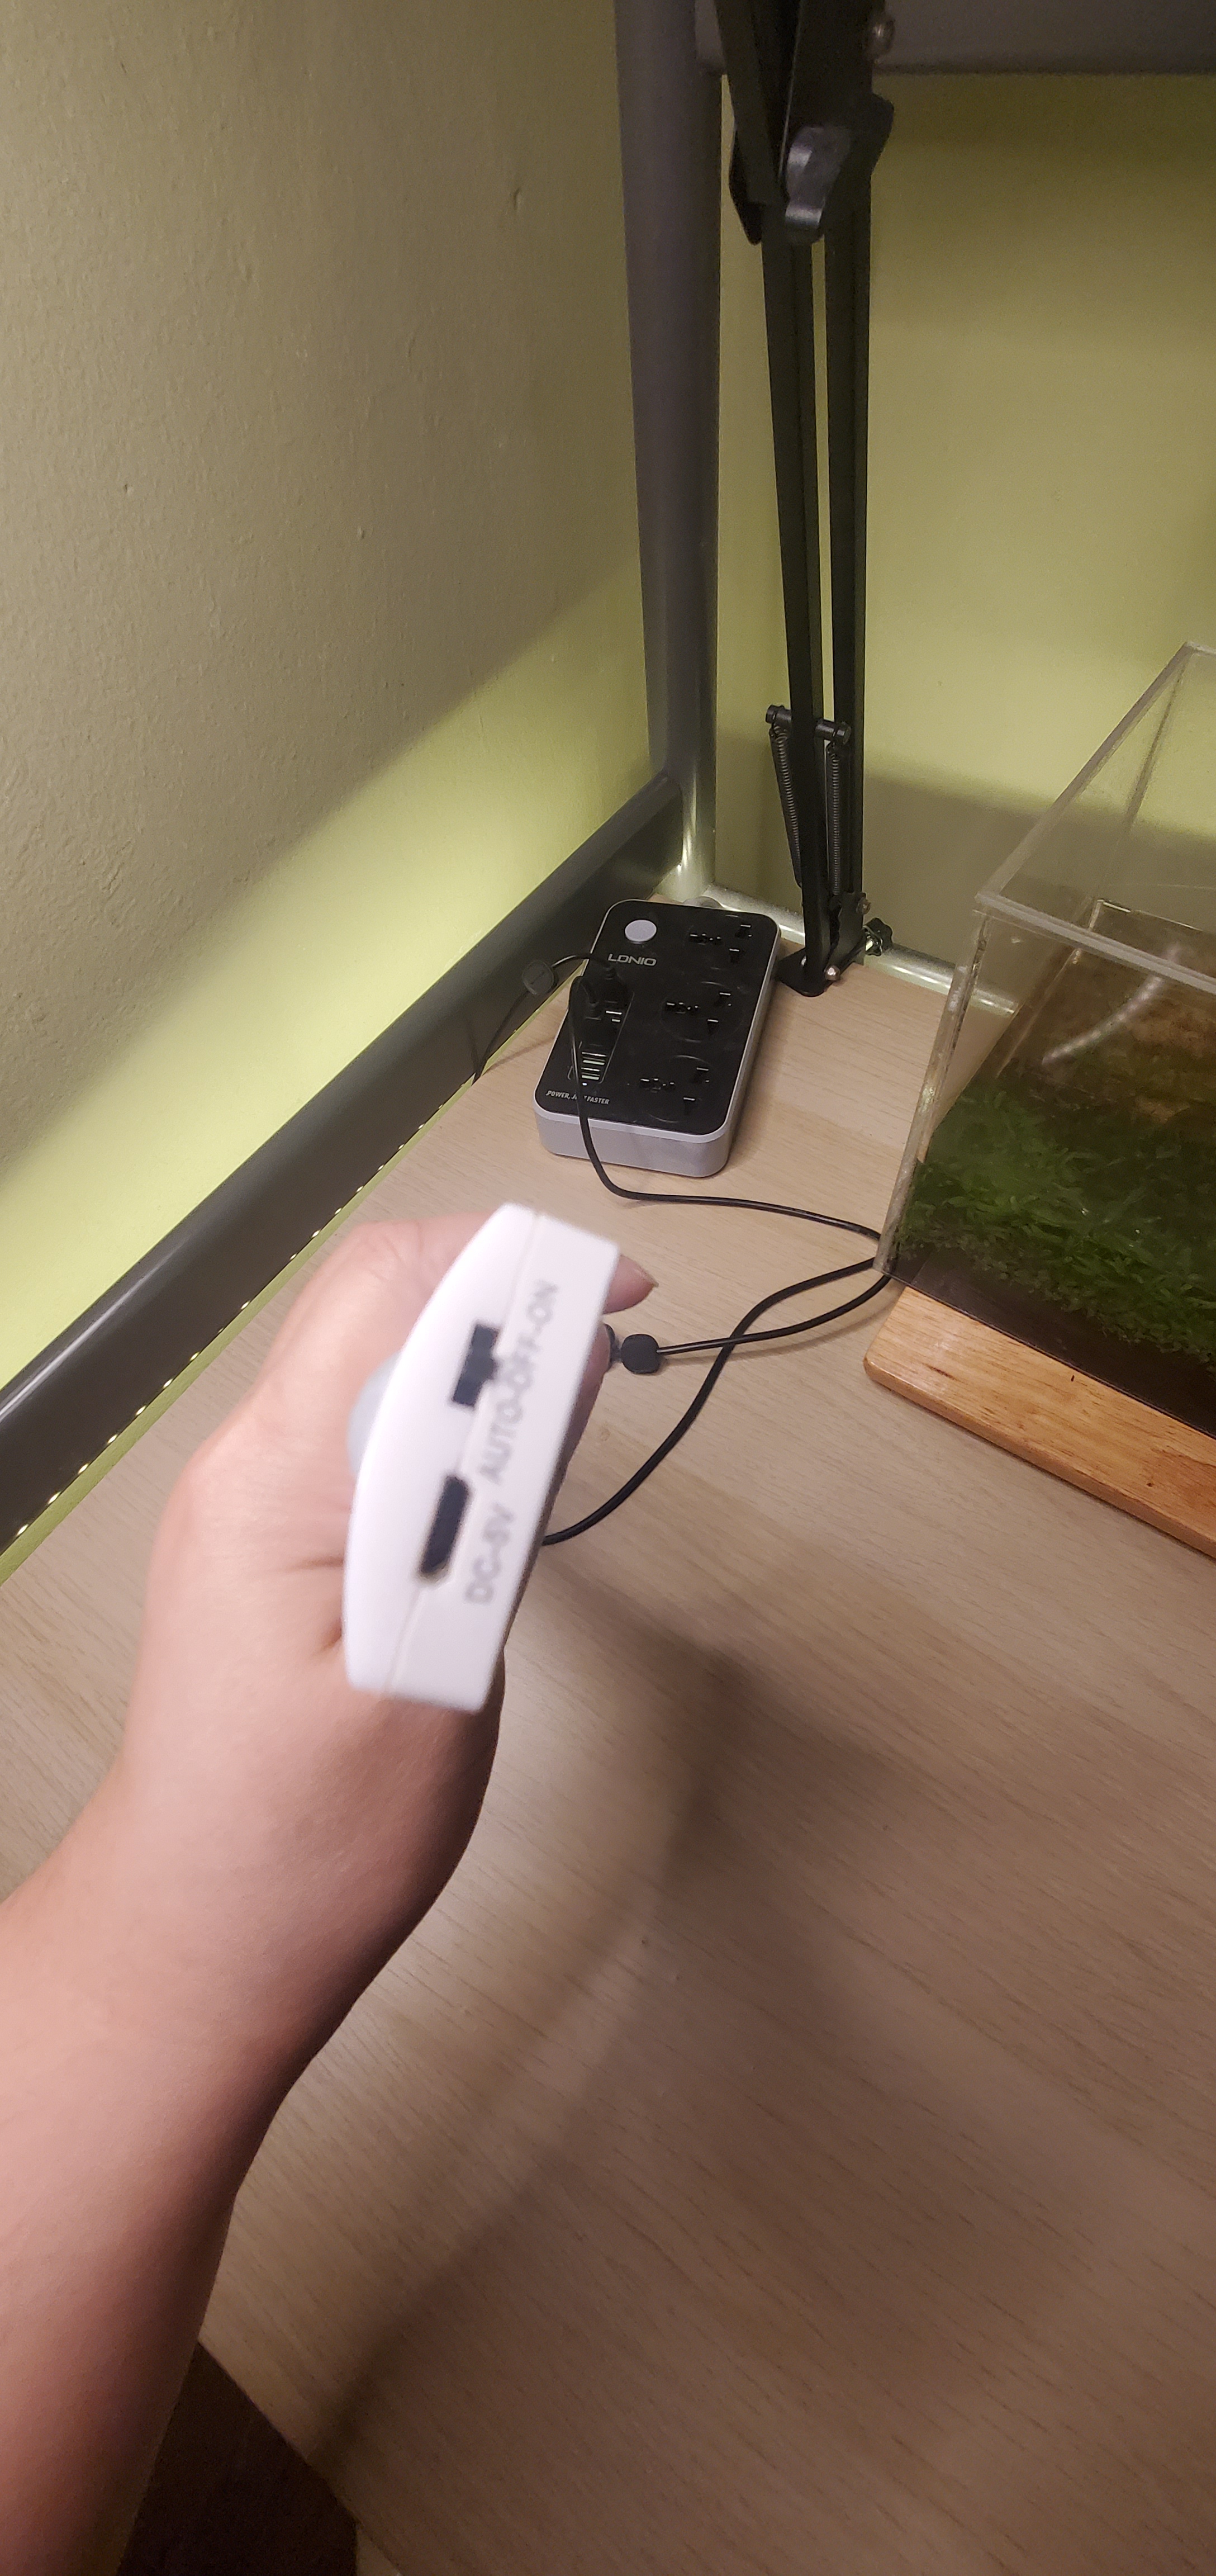
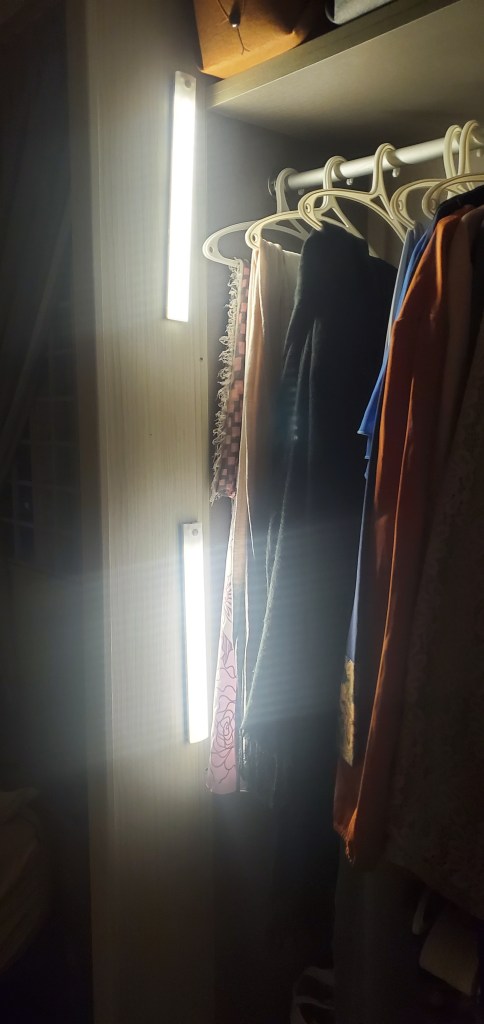
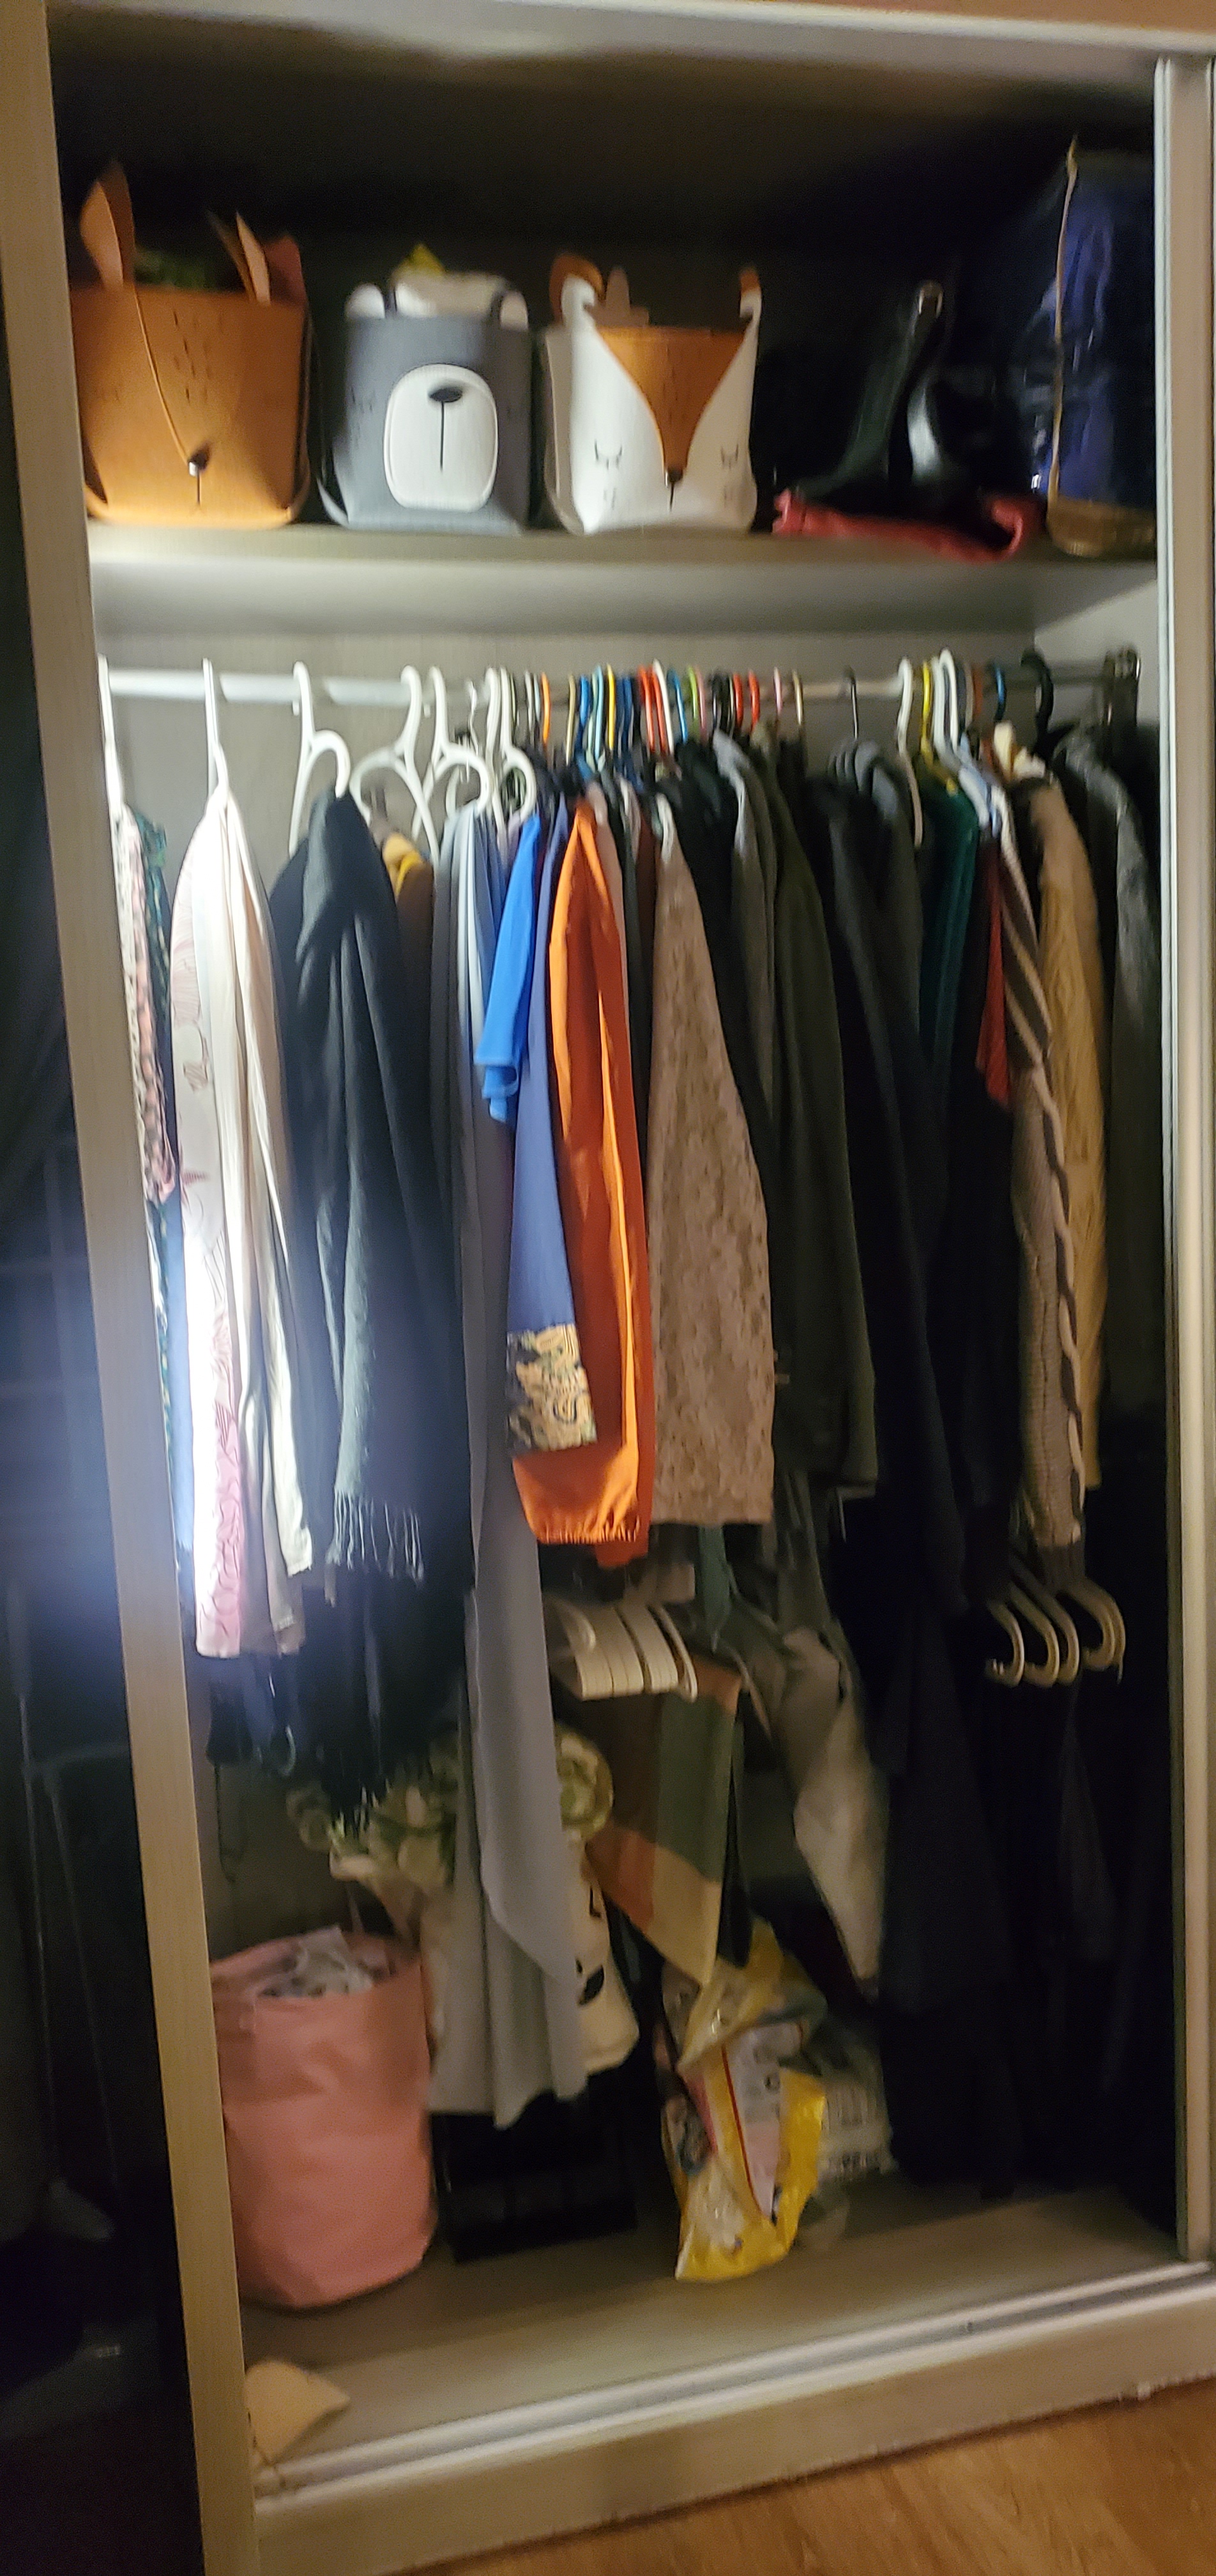
I just wanna share some cool items that I bought, helped me in saving my electric consume for my wardrobe. I bought 4 sensor LED magnetic light for my wardrobe. It will turn on when detected movement, and off when no movement. It helps me in finding my things/cloths well, rechargeable and portable LED lights. 🥰
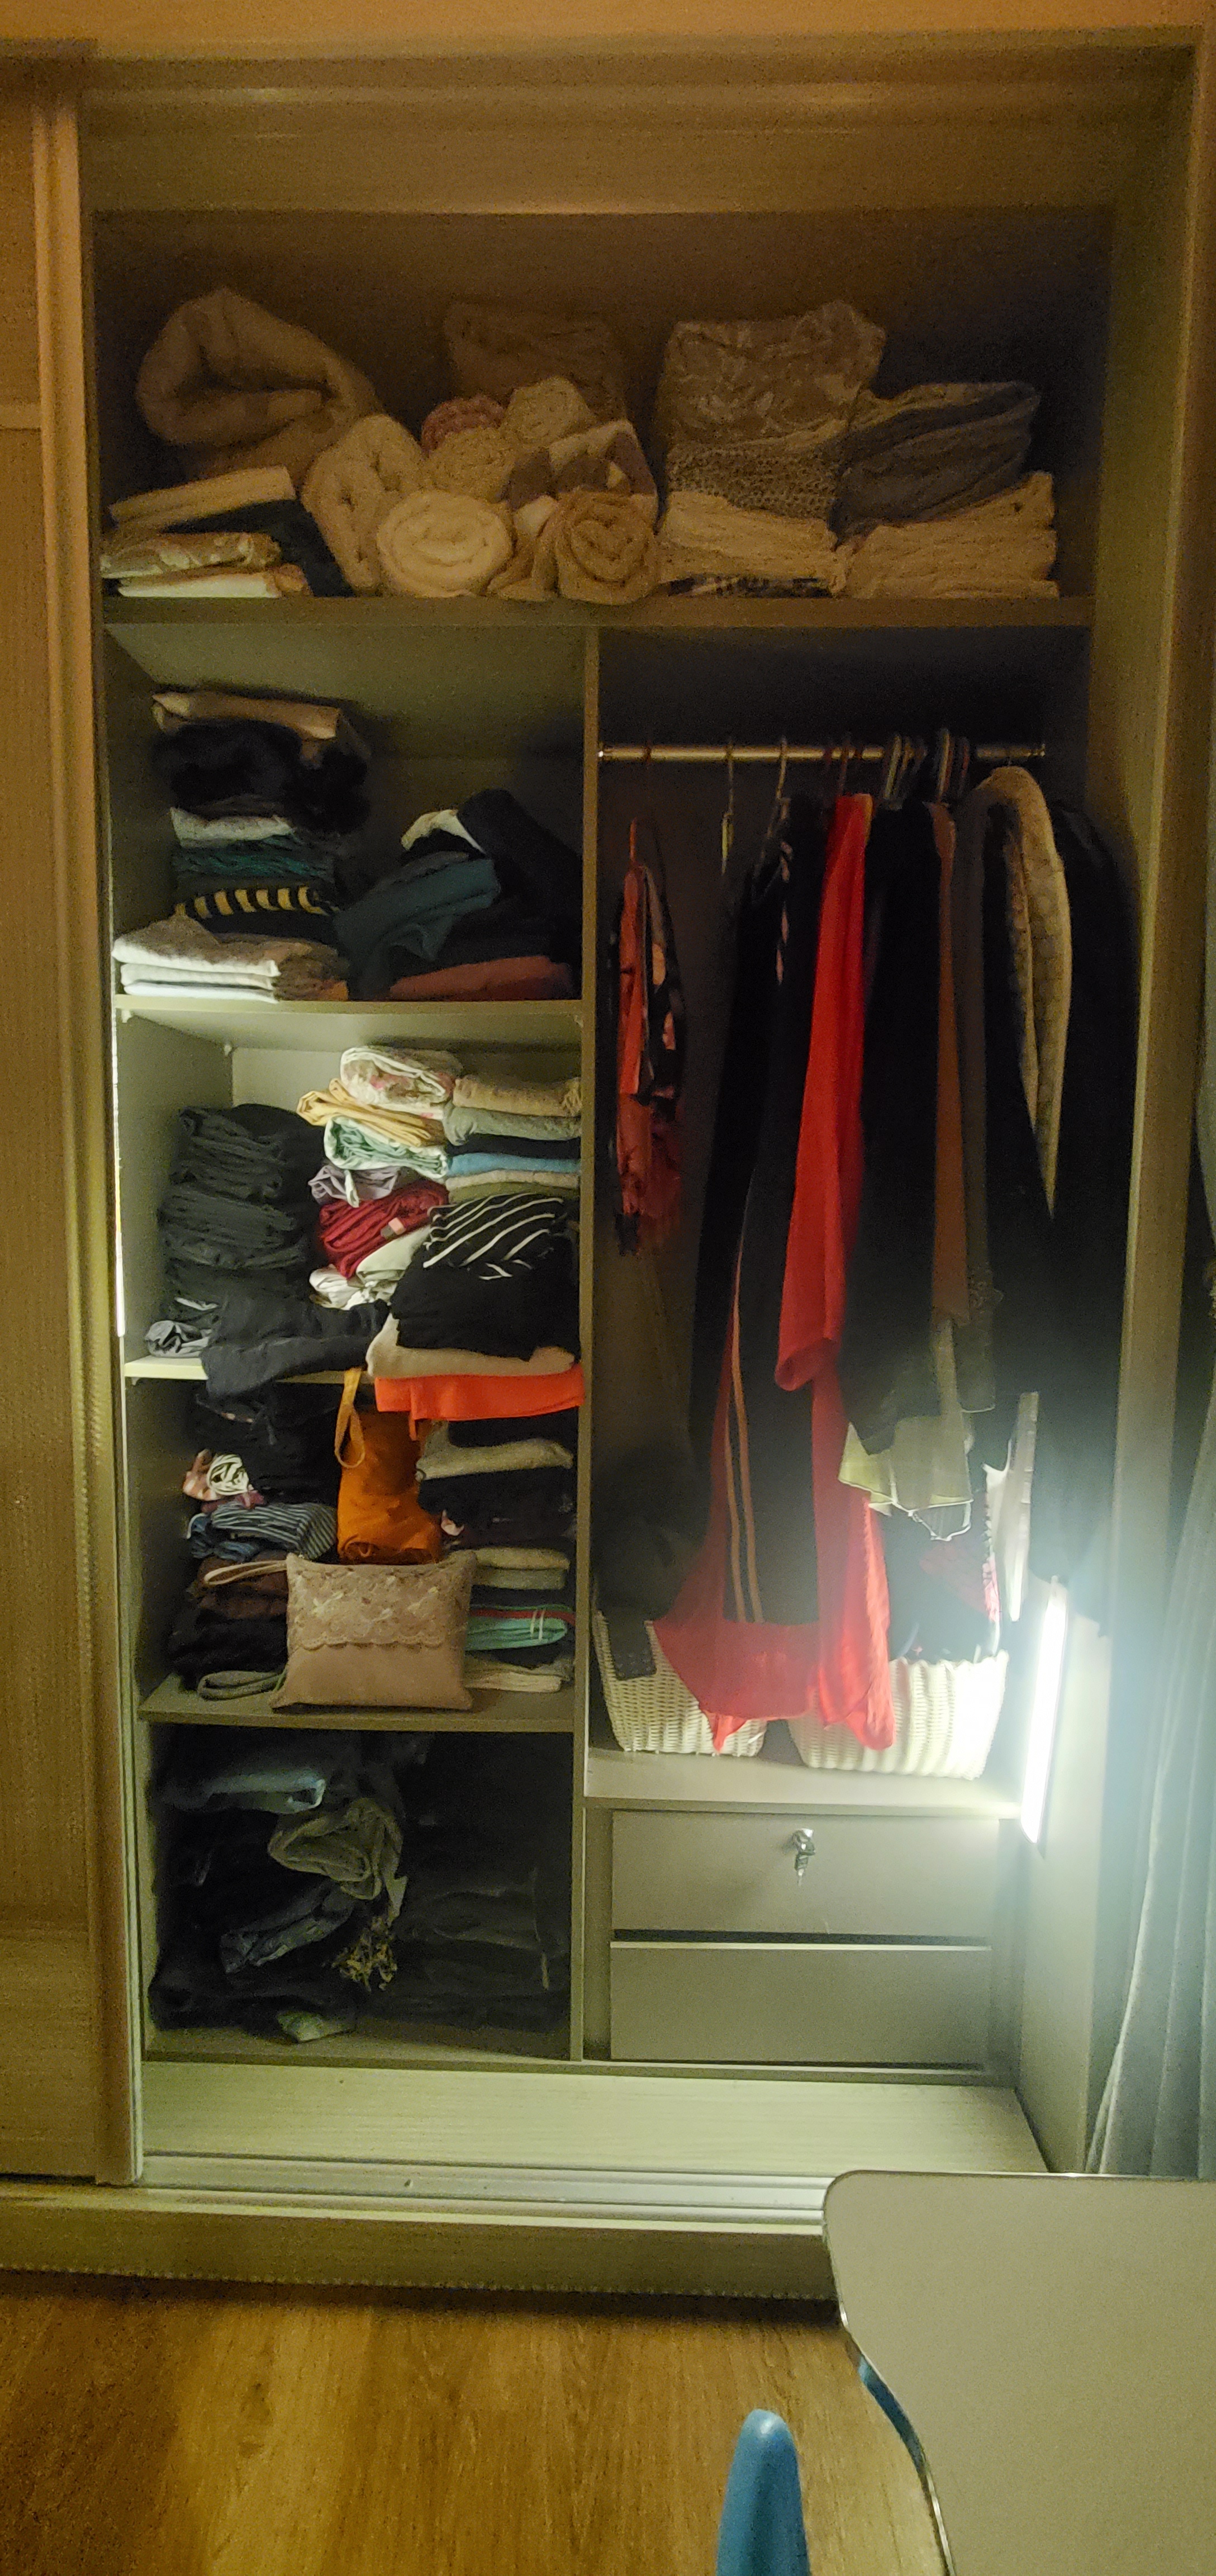
It’s quite long LED lightIt comes with magnetic pad, which already have adhesive sticker at the back. I just need to peel it and stick anywhere I want. So easy installation 😃At the back of the light has another magnetic pad that already been sticked. I think the magenetic pad is a good item to buy separately and experiment with other stuff, especially for kitchen storage. I will explore it with other things as well, to make room/house more sleek look 🥰The DC port, and it has option auto-as for auto-on when it sense some movement, auto-off when no movement; and I can turn it on always or off. It has options what I need. Tadaaa..yess..im bad in installing stuff. I just stick it for a practical practice without thinking its nice to look or not 😄How it basically looks like….i still need a lot to declutter…idk how long it will goes..coz its been going for about 3years to declutter my wardrobe. I’m taking it out, slowly and follow my own timeframe 😂How it looks like at the other side 🥰
Okay everyone…idk when I’m gonna install my RGB LED for my whole room. I’m still looking for a better idea on that.
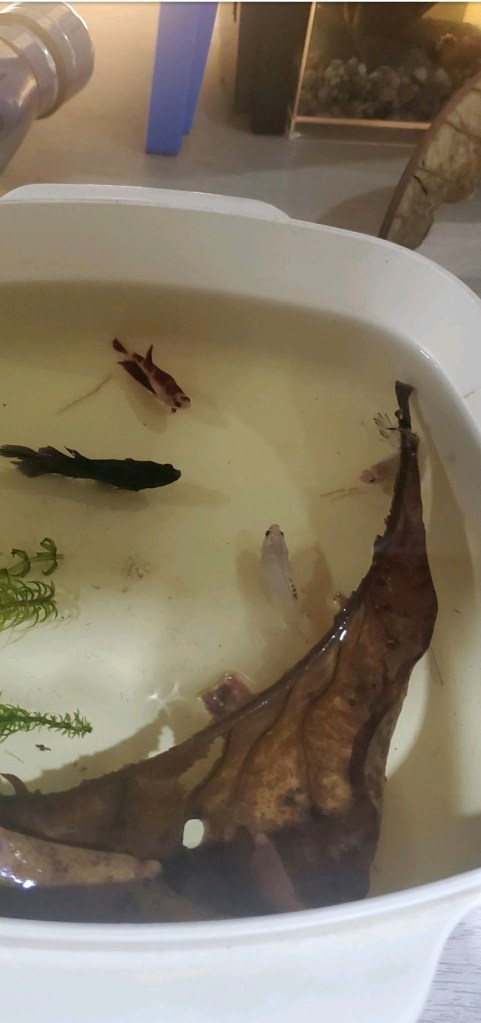
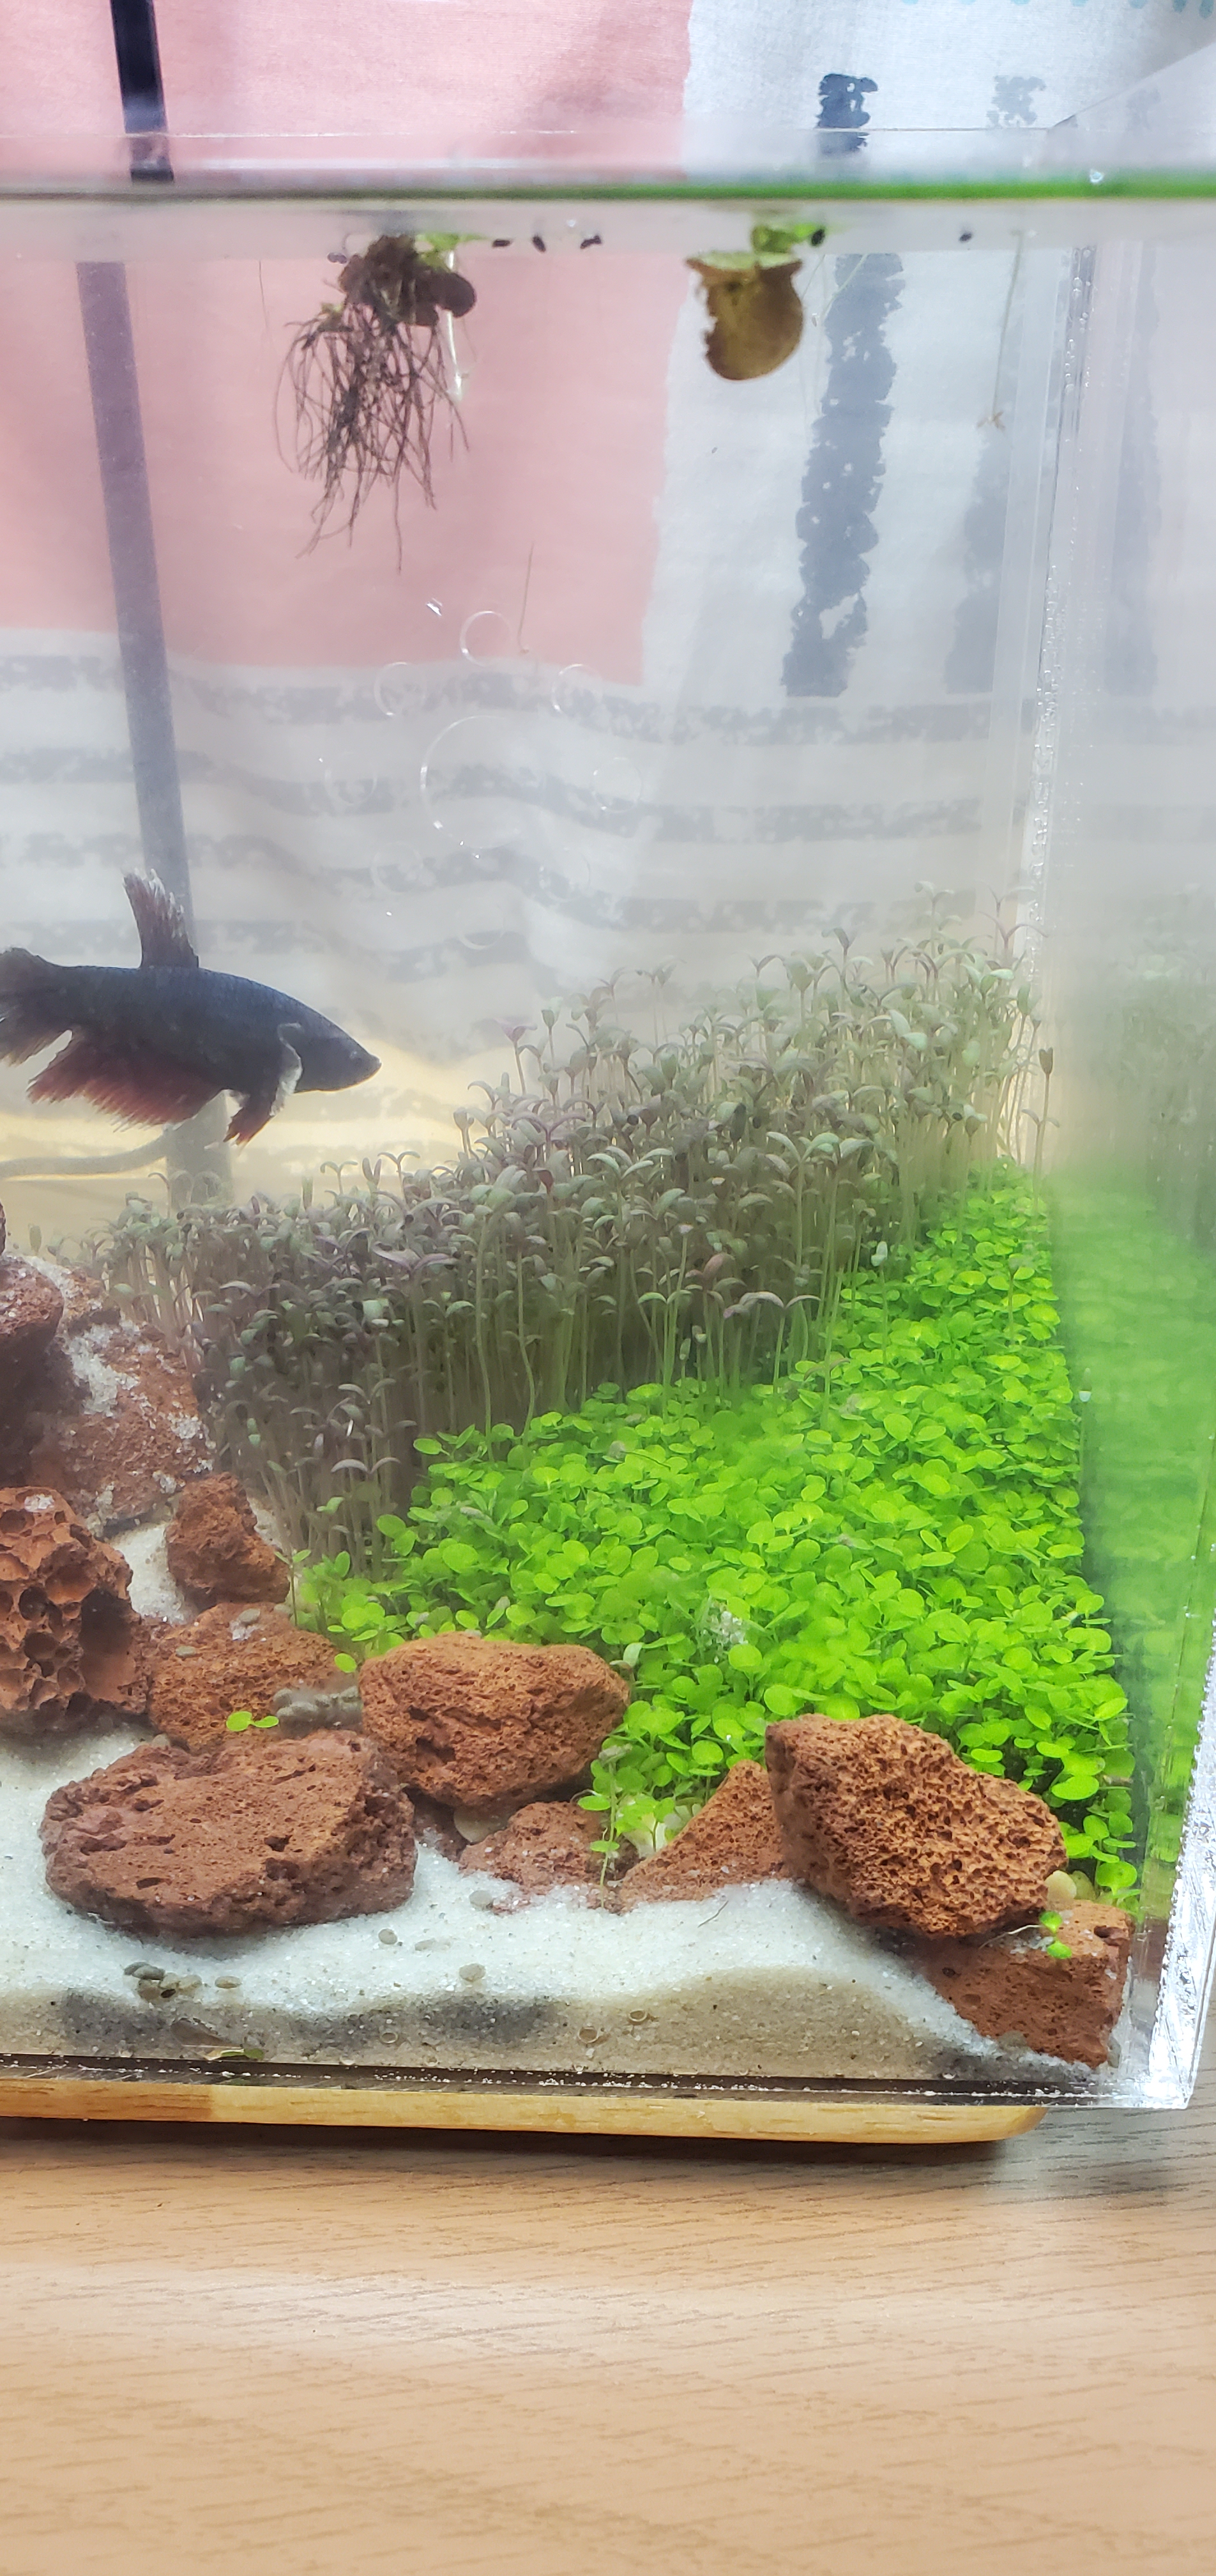
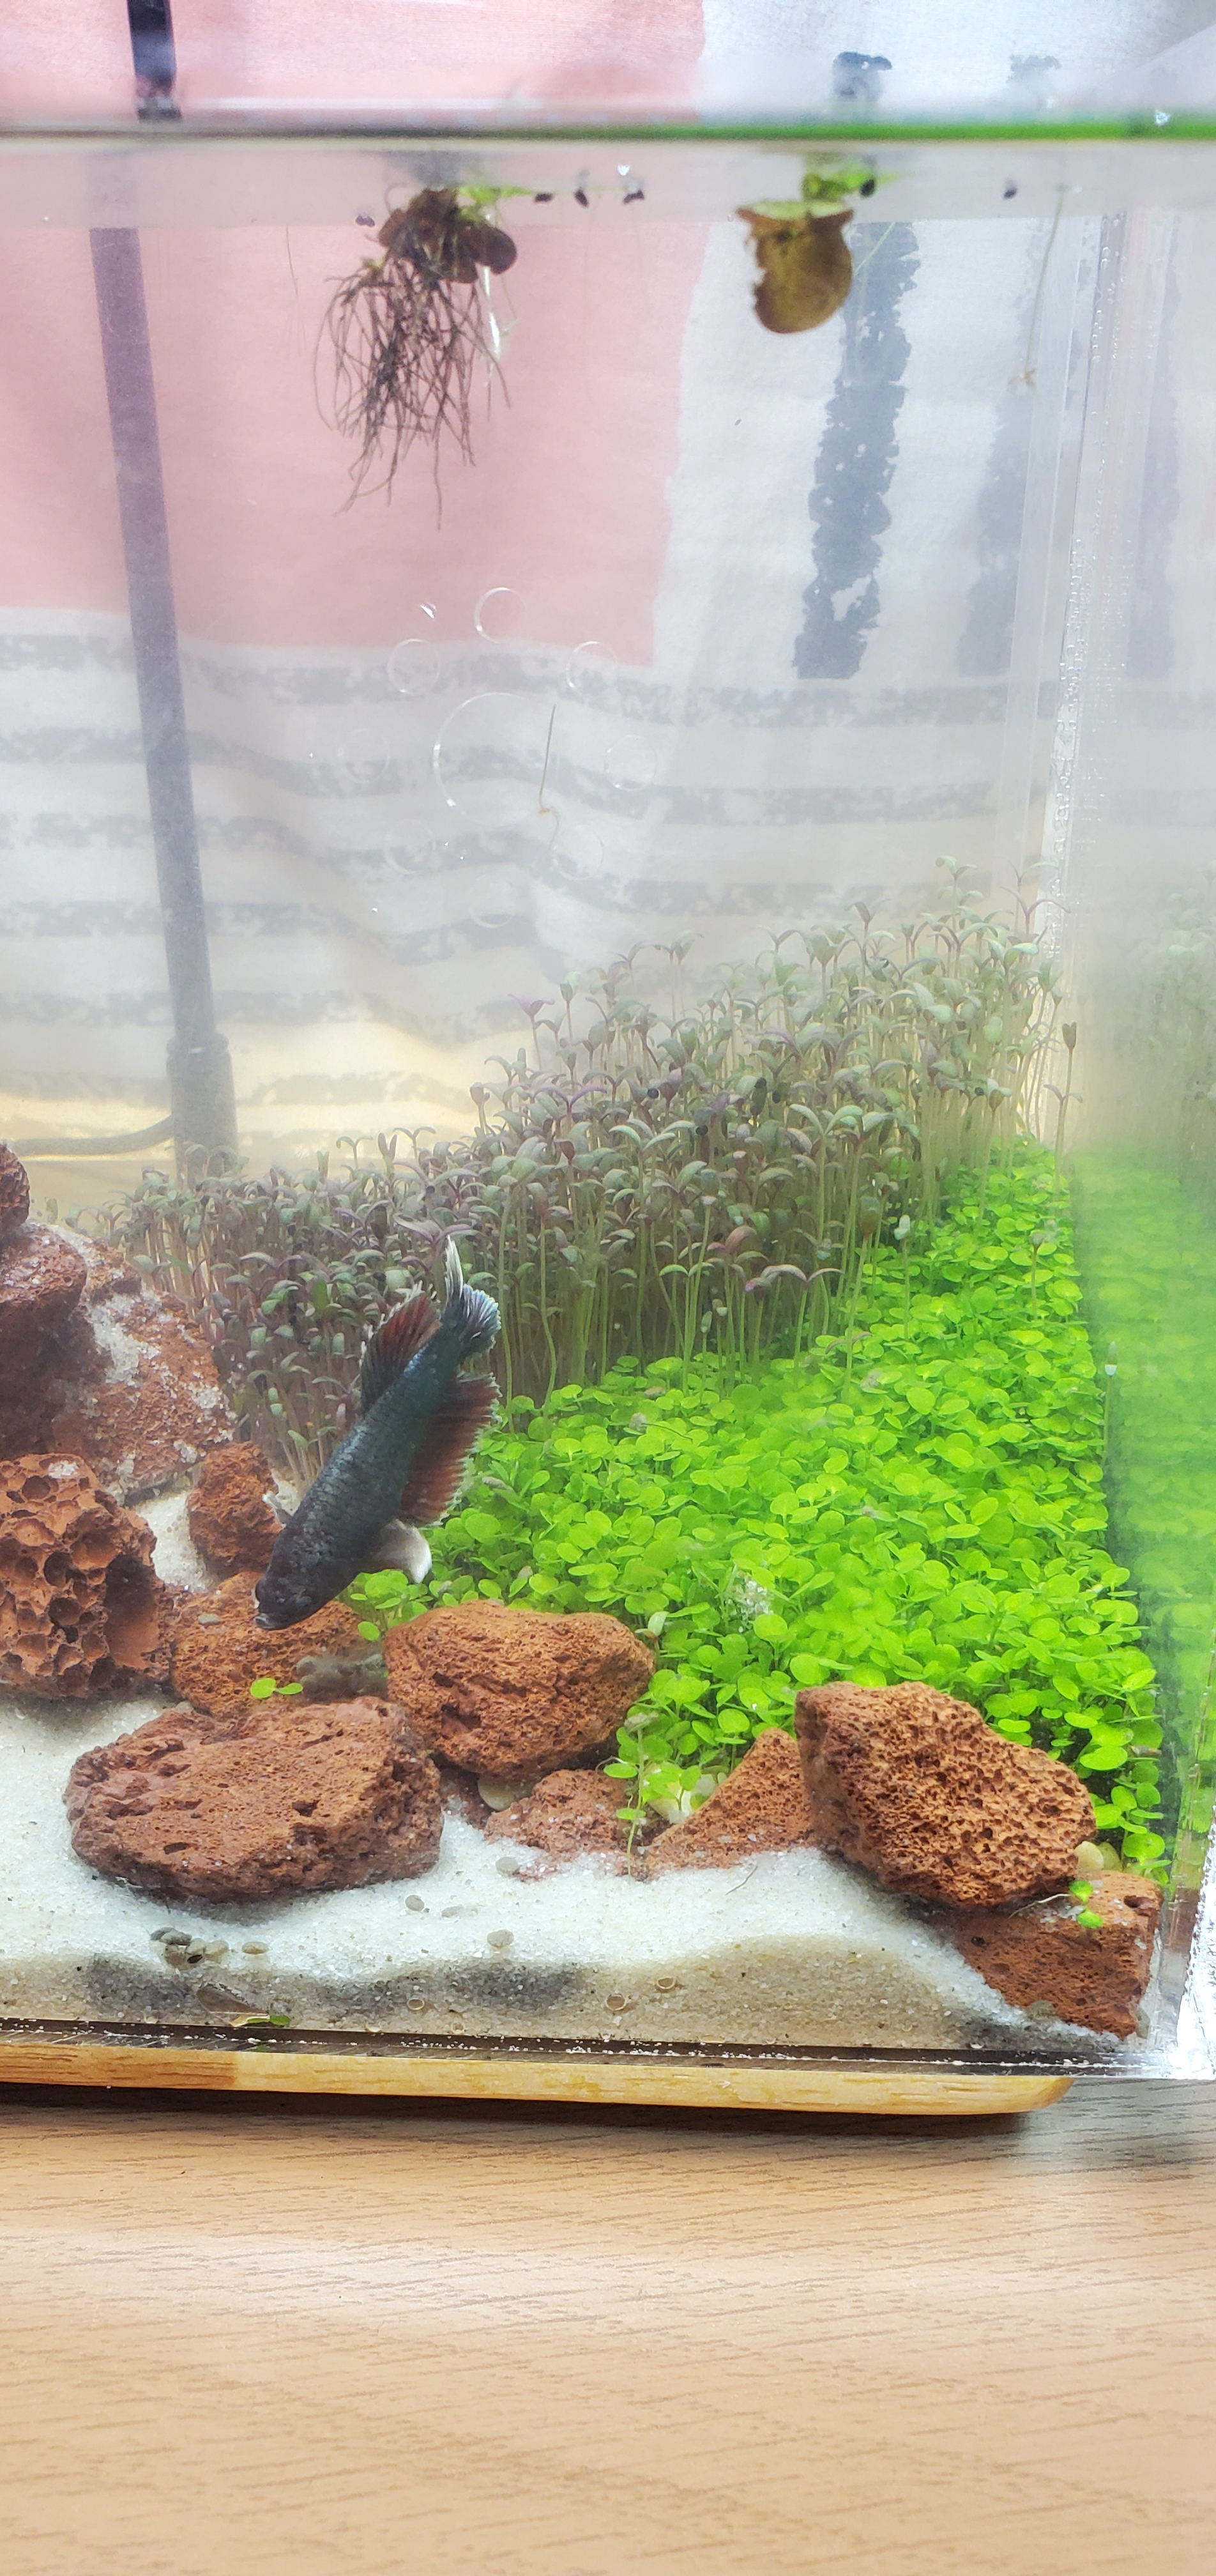
Just want to share with you, I had bought females Betta fish for my existing male Betta fish.
Somehow, they are still wondering what is happening. Are they knowing each other or they were in meeting discussing on who going to be 1st, 2nd and 3rd? 😃
I don’t know yet, my goal is that all my Betta fishes can get along well together (doesn’t matter male or female), so that I will only have 1 tank to minimize my aquascape 😃
I’m wishing….wish me all the best, guys 🙃
Are they mating or meeting?? 😃
I will update any news later…till then…to be continue..
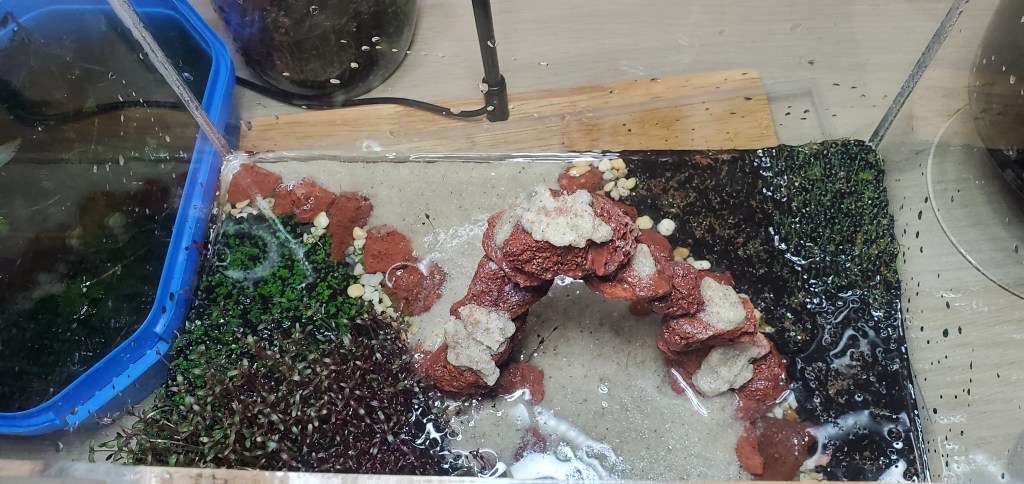
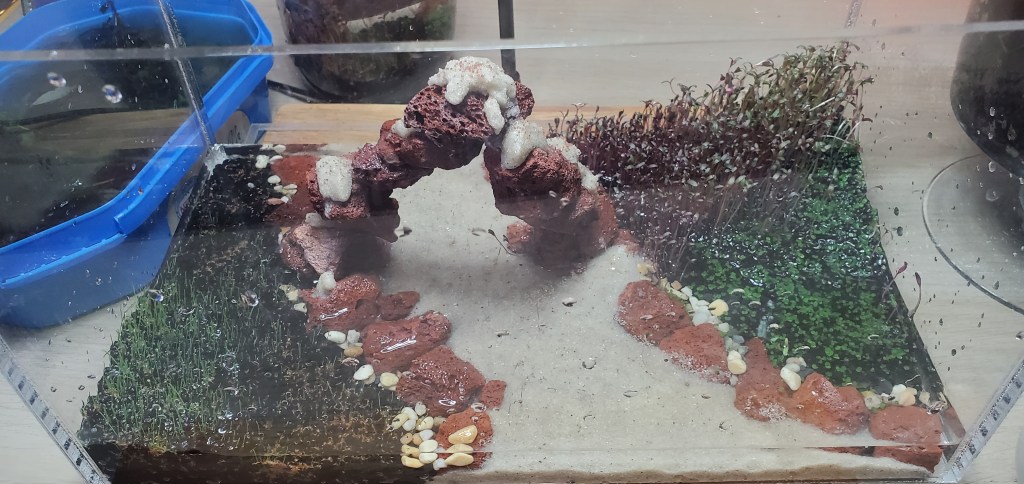
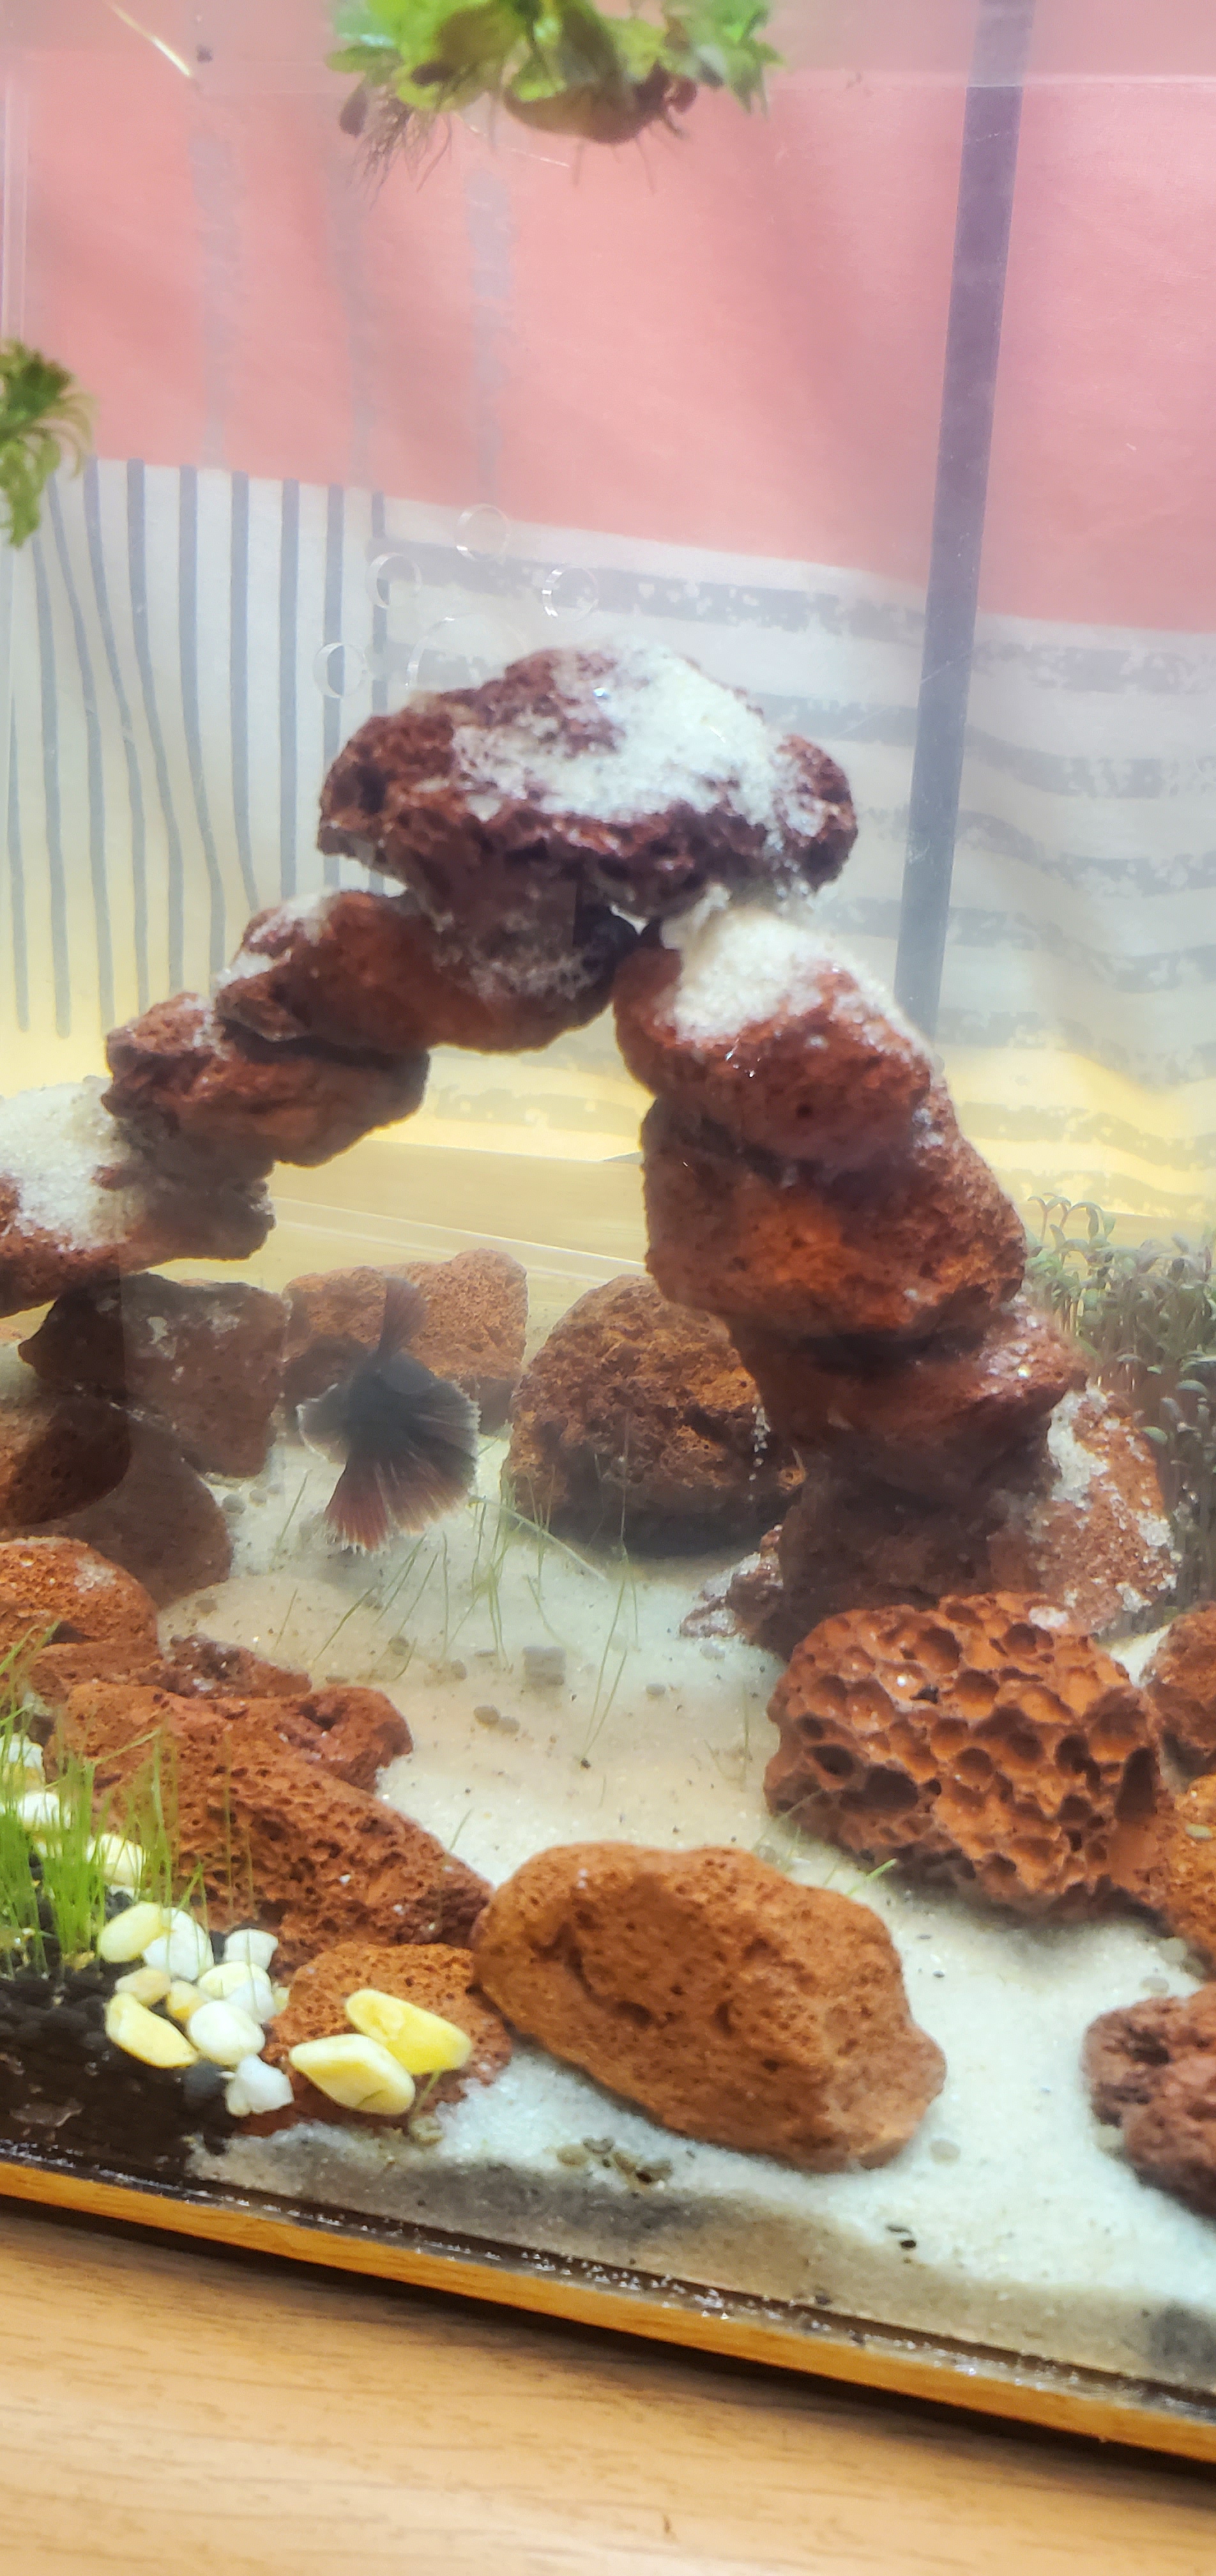
Hi Everyone!! I made an arch for my Aquascape. It’s a bit tricky to make it and need patience.
I’m just using materials I have-Aquascape glue and Lava Rocks.
So, I started glue the Lava Rocks together and make an arch, then I’m simply glue to the existing rock base. Enjoy the picture below!! 😃🥰
I tried to make an arch…with the Aquascape glue…How it looks like from topSide viewFront viewClose up!! I love the mini leave plants..gonna buy the big leave and love leave for 2nd box 🥰Close enough? 😅My Arch!! 😍
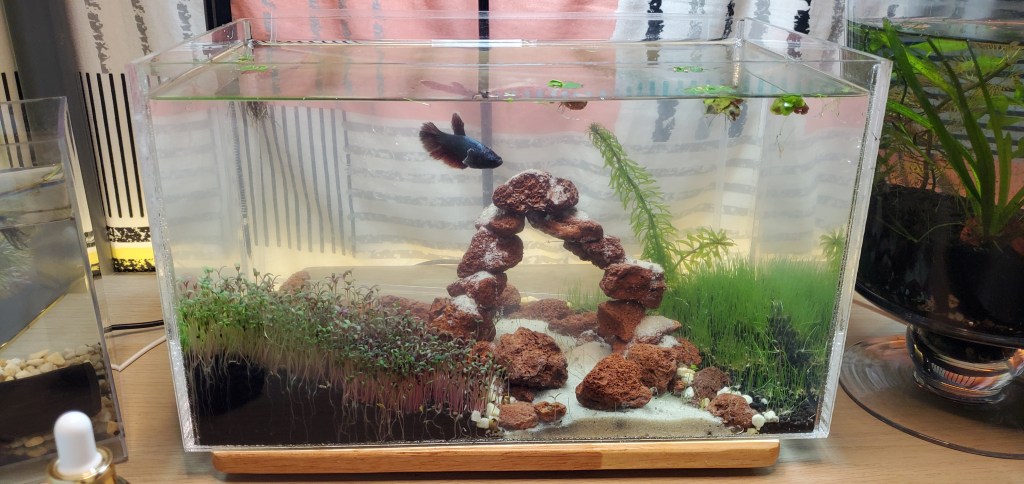
Guys, I’m now rearranging my mini tank, coz this betta fish poo so much. So, I decided to rearrange the mini tank…stay tune for better aquascape..this is for trial only..☺