How are you? Hope everyone is in good health and conditions.
Since 2018, I’ve started my journey as minimalist. Now, at the end of 2025, I’m heading to back to a basic lifestyle, reducing expenses and living an optimum lifestyle.
I try to make something useful from every container, box, bottle and reuse it for other purposes. One of it was eggs container which I feel is very useful and filled my needs.
Living in a small home in town, had opened my eyes to cut some expenses, and I started from my groceries.
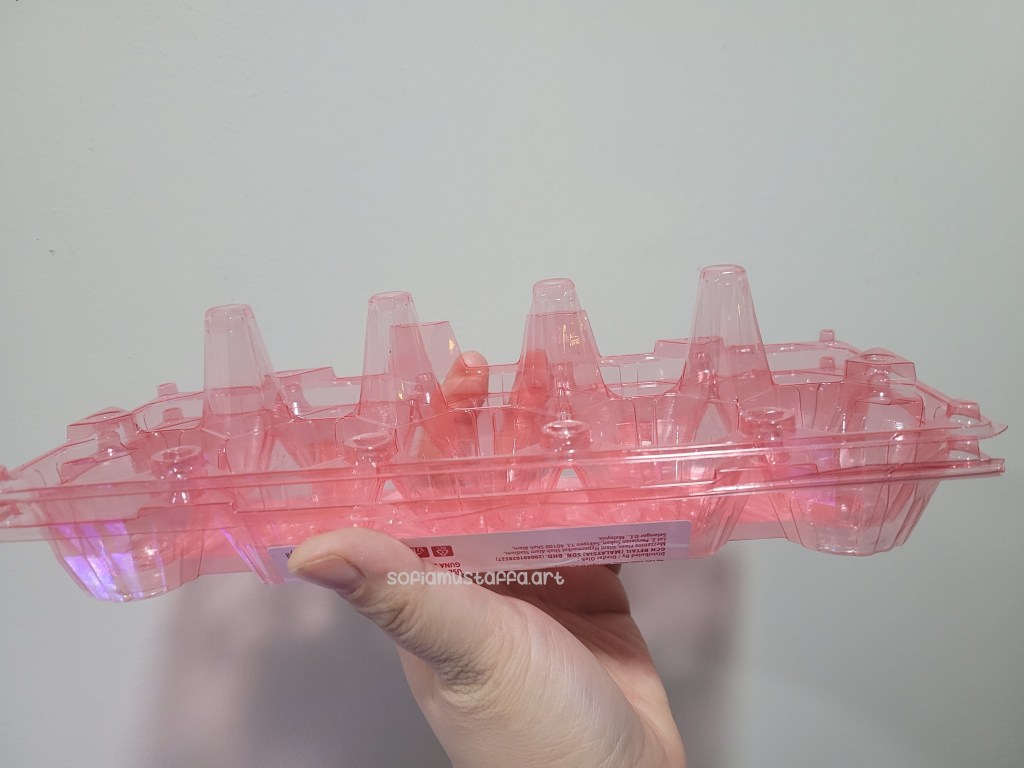
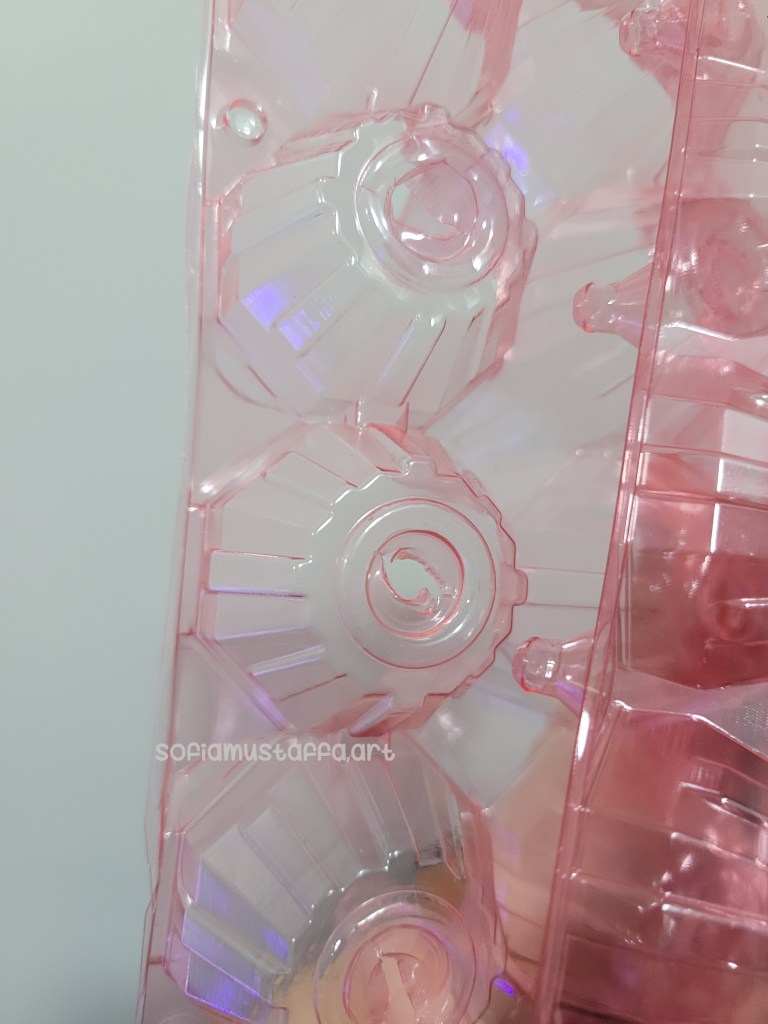
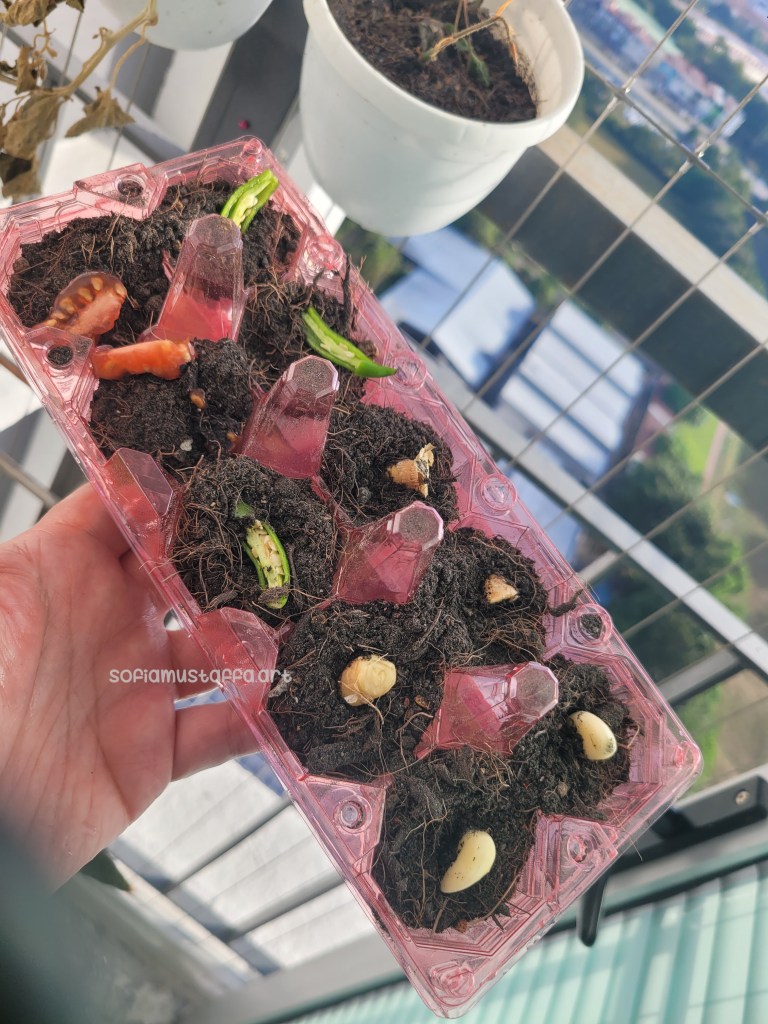
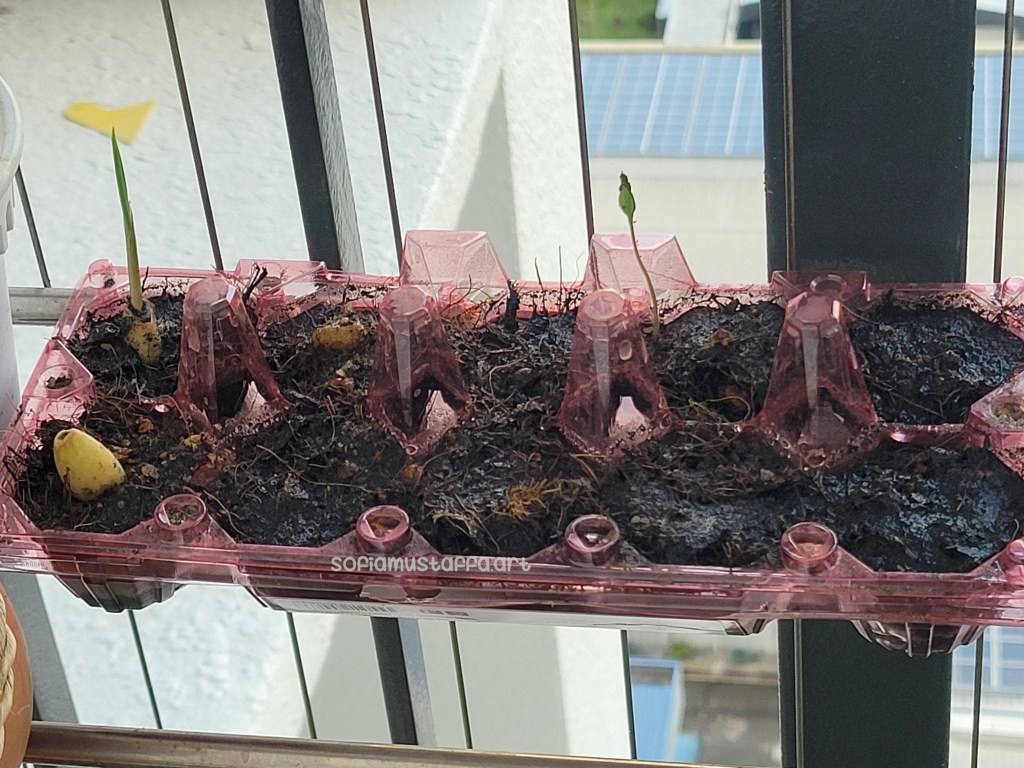
Making a seedling pot from eggs container 🪴
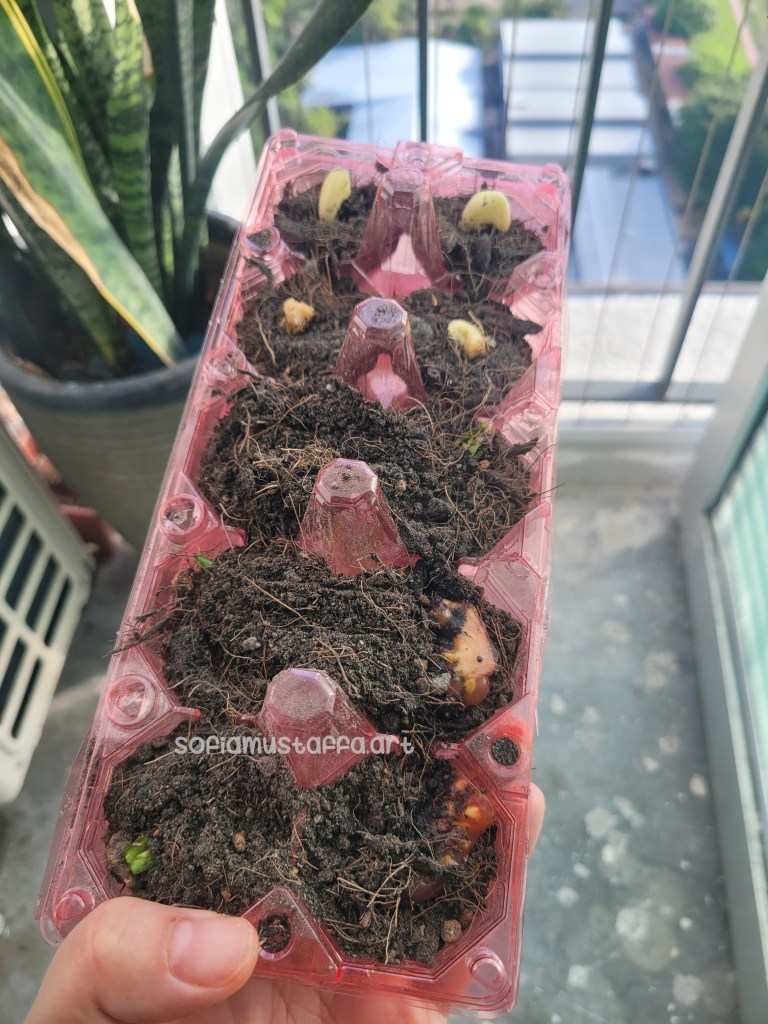
1. Cut into 2 for the normal eggs container and put the cover under the eggs container as per in the photo.2. Make a little hole on each of the bottom for the eggs container as per in the photo above. You can cut a little bit with a scissor/blade and use pencil/chopstick to make a small round hole.3. Put 2/3 of mixed soil into the container like this and put each of the containers with seeds, onions, and ginger (whatever you want). I’m using chilli, tomato, ginger, and garlic as these are normally I use for cooking.4. Then, cover the rest of the container with the same mixed soil and water it.5. This photo is after 5 days I’m watering it. As for now, I can see garlic and tomato started sprouting from the seeds. Can’t wait to see the rest soon 🥰❤️
If you have a landed property, it will be awesome for this activity. Please pray for me to have landed property soon, so I can make more diy project to recycle things I have at my home. 😇
Wollaa…what’s up, Everybody? It’s been ages I didn’t update my blog. Sorry guys, been really busy these days, weeks, months and about a year. haha!! 😃
Well Well Well, it’s just around the corner, we are about to enter year of 2024!! Hoho!! Time flies so fast…and now the world is ending…hurmmmm.
Well everyone, I’ve successfully managed to live a minimalist lifestyle for about at least 5 years, to be honest, I really love the lifestyle and bring a lot of positive vibes. especially when I stopped buying junk stuff, and selling my junk stuff. Keep my environment clean n tidy.
As for now, I have a new things to unlock, where I’m looking forward a place to settle down and built my own sustainability and zero waste house. Yes!!! U heard it correctly and clearly. I wanna built a family with sustainability and zero waste home. Then, I wanna have my own farm and a run a restaurant. But before hand, it required a loooooooOoooot of research, the risk and impact to each item I wanna unlock moving forward 2024 and onward. WeehoooOooo!!
Babe, to be honest..the minimalist lifestyle makes me having some extras, where I can proceed my future goal on the next level..which is..sustainability and zero waste. Hihihi!!!
So guys, stay tuned! Looking forward for sustainability and zero waste residential and restaurant for the new achievements. Insya Allah 🥰❤️🥰
Hey hey heyy, hey everyone!! How are ya? Hope you are all good.
Just wanna share some idea on what I’d done to my 1st home. Just a lil bit touch up before its ready to view for the next tenant.
So basically, what only left is:
1. To receive another curtain as current curtain is actually shorts after the folding. LOL. So I bought another 2 blackout curtain for my living room.
2. To receive my TV, I bought a smart TV for the house.
3. To hang the kitchen curtain. I already have it, just that I forgot to bring plier and scissor for cutting and adjusting the wire.
4. To hang bathroom mirror and bathroom rack. I need to bring along the strong double sided tape, I guess I just use double sided tape for the rack. 😃
5. To dismantle and install the water heater. I already bought 2units, just need plumber to install. I already book plumber to do such things 😀
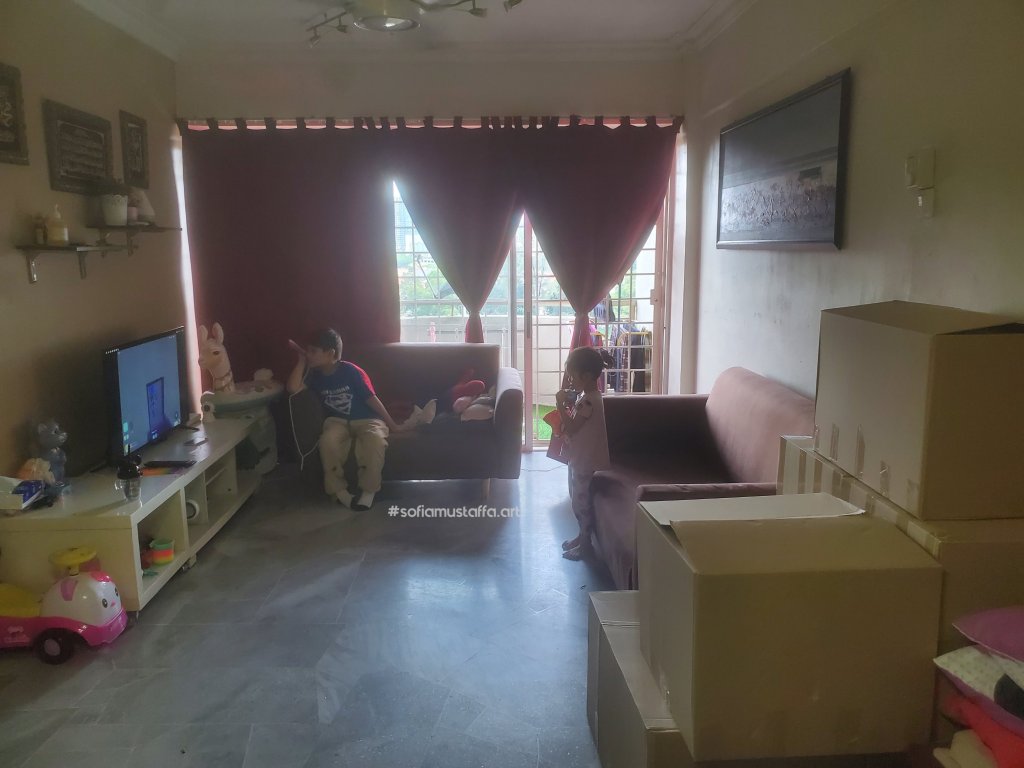
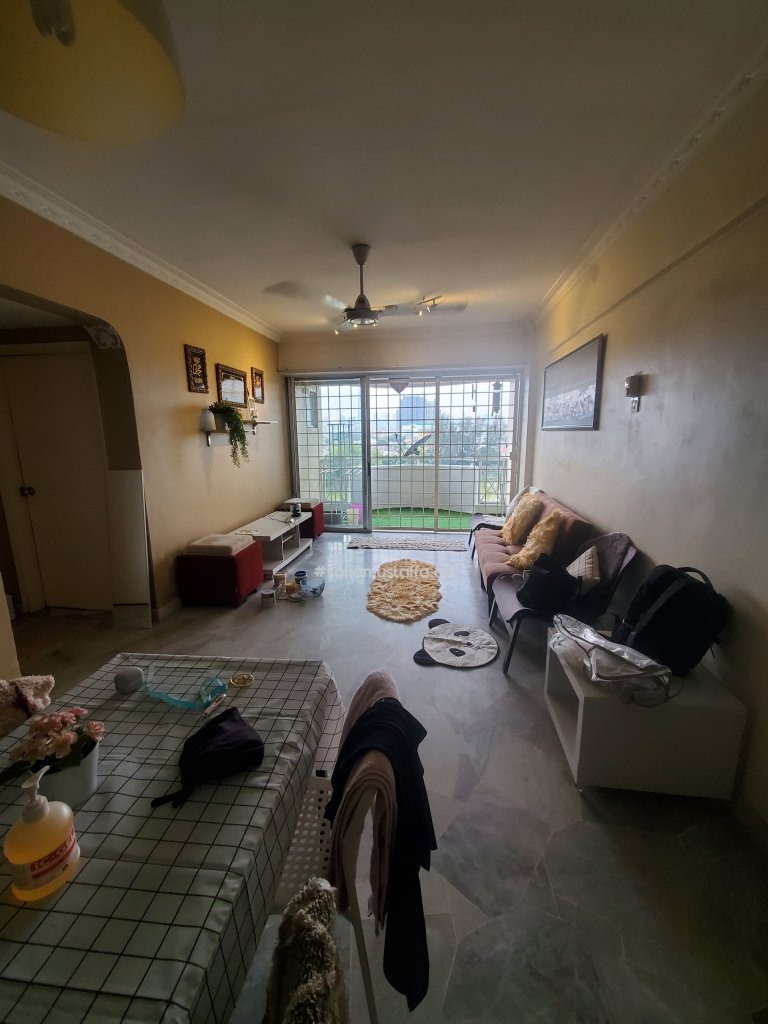
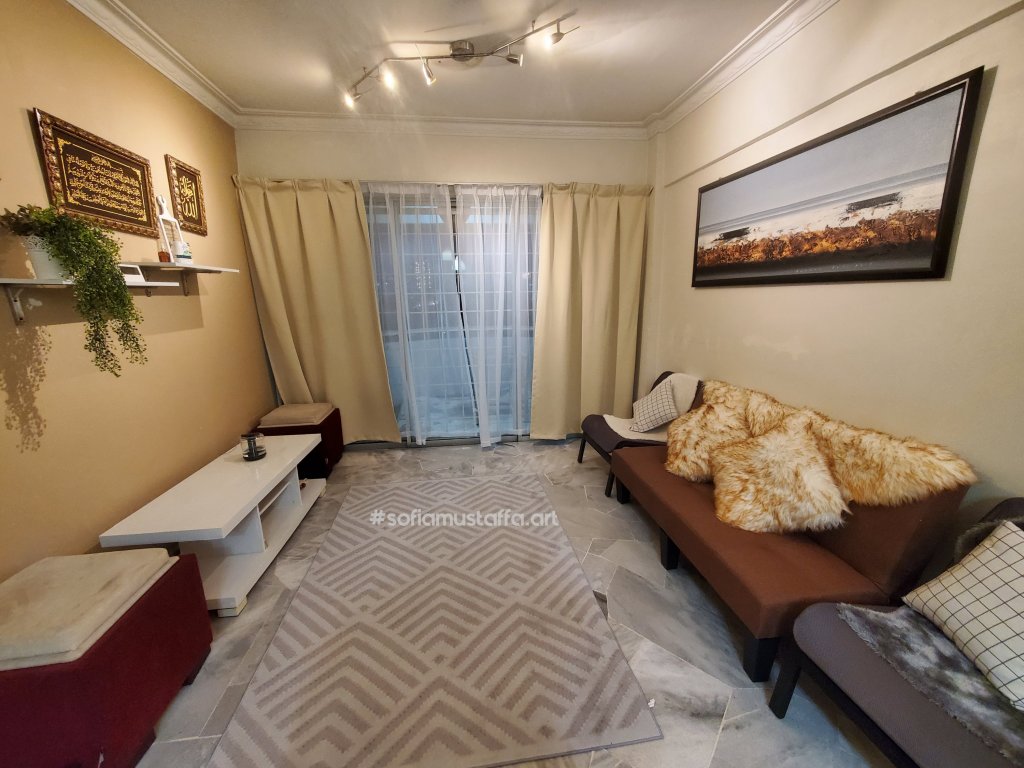
So, check these out the differences before I took over and after I took over the house 😃🥰😃
This was before, when im viewing the house before my tenant move out.This was after I clean the house and make lil changes.This will be the final, only the Smart TV left to put on the TV cabinet.
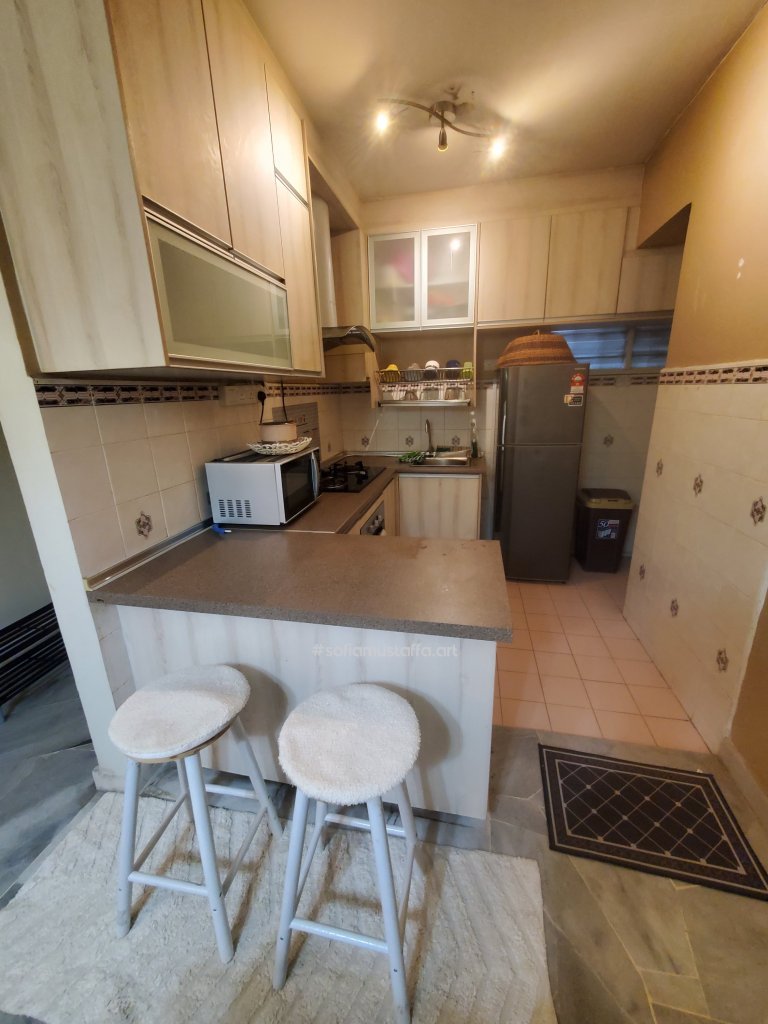
Check out the kitchen…
This was before when I viewing the house when my tenant still living in.After my tenant move out and I clean up the kitchen.This was after I do a total cleanup and buy some carpet for kitchen.
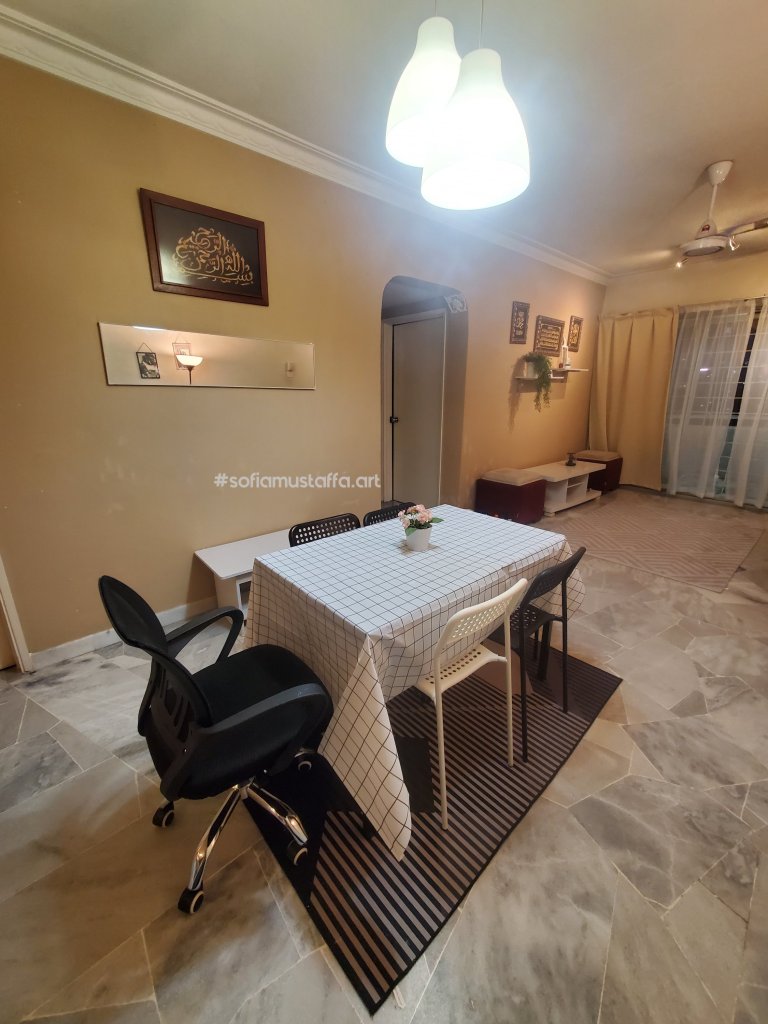
Now, let’s see the dining area…🥰
This was before the tenant move out, when the tenant still living in the house.This was after the clean up,, I rearranged n buy some stuff for the dining area.
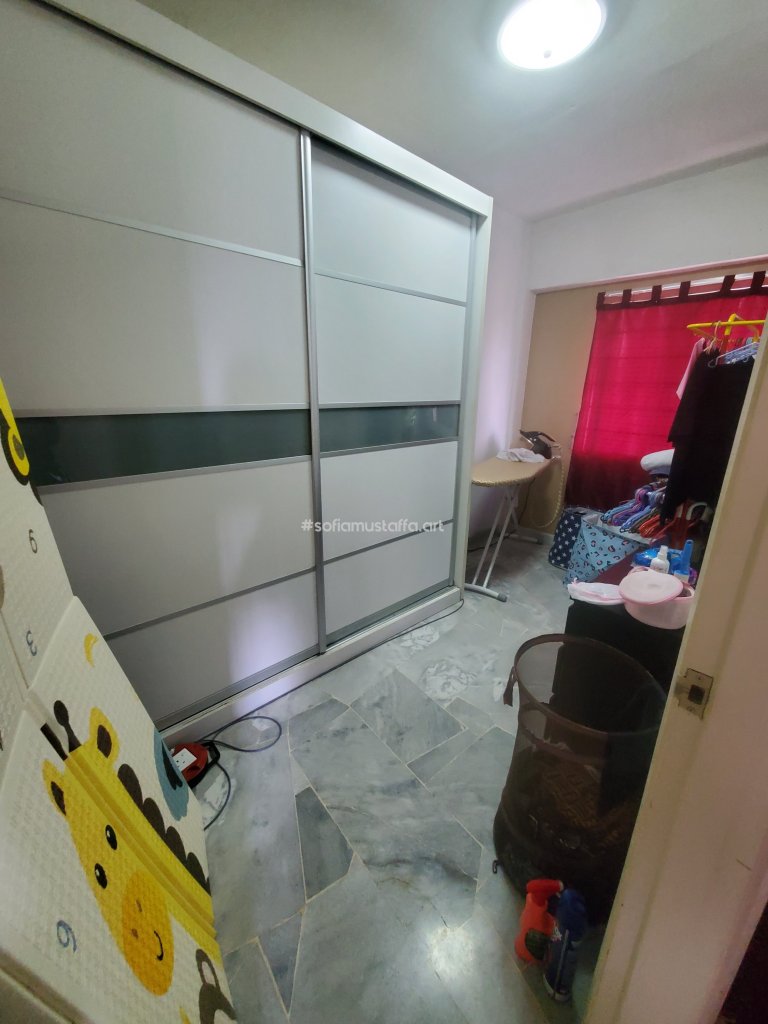
Let’s check out rooms, the house has 3rooms and 2bathrooms.
The masterbedroom during the tenancy.The master bedroom after clean up, painted furniture and bought mattress cover & curtains .This was the middle room, where the tenant make it as store. A lot of clean up done for this room. This was the current view. Perhaps it need some rearrange, but not sure yet. I just bought the mattress cover and curtain for this room. This was the smallest room. Originally I made it as my wardrobe and clothes organization room. So, my tenant just continue it, kinda a lot of stuff. So I do a clean up and bought curtain. nothing much I did for this room. Just a cleaning.
So, most of the thing I did was, a massive clean up, throwing unnecessary stuff and do a lot of painting. I did paint the furniture such as TV cabinet, coffee table, make up table, mirror frame, TV rack, the dryer outside as well 😃
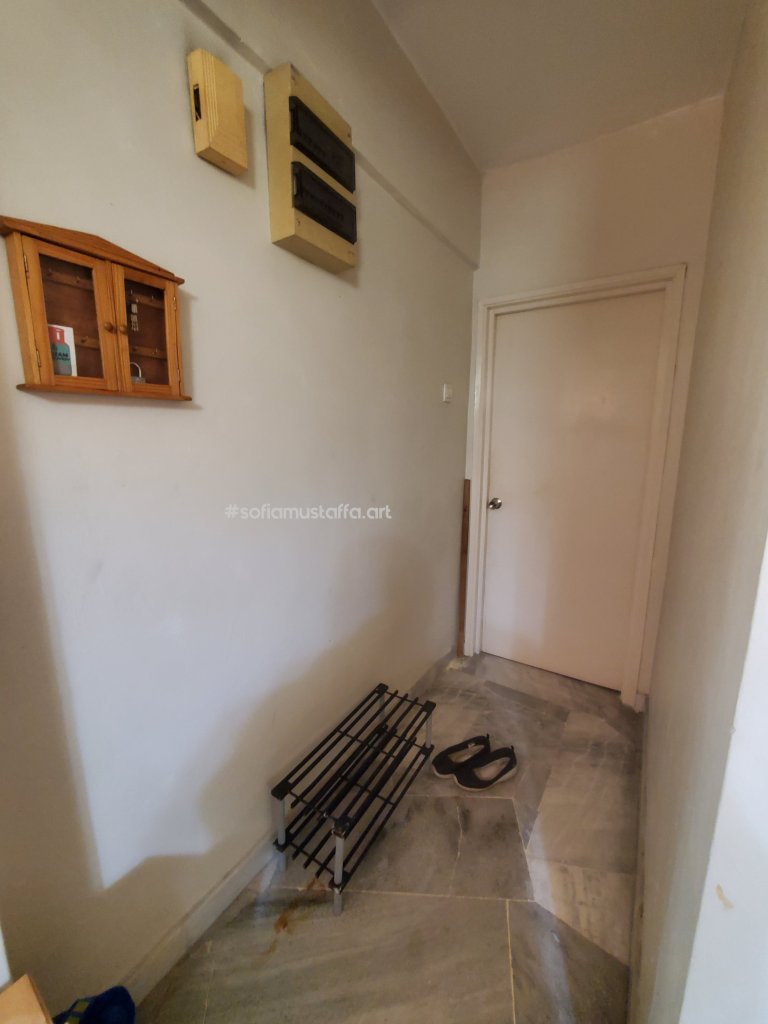
Some other things I snap photo before I went back home last Saturday 😃🥰😃
I still need 2 more curtains..lolThe shoe rack, I don’t buy expensive shoe rack. I just re-paint the original brown wooden color with black and light grey color. I just buy the spray paint, make my life easier..LOLTadaa ❤❤❤
Okay, I will snap the rest pending things and post in later…
Hello everyone!! Happy Awal Muharram to all Muslims out there. 🤗
Yesterday, I installed my new Bar Chair as I’m buying some little things for my 1st home. My tenant for past 7 years has moved out from the house. They said, they had been transferred to their hometown in Kedah. So, last Friday was the last day and they handed over the key to me.
I think it’s not a right time to sell the house yet, so I’m gonna rent it out with higher rental fee due to raises in OPR for the house loan. I did some calculation, to include all hidden charges like taxes, and maintenance, so I’m gonna have positive cash flow and not suffer later.
I will post out the make over for the house in next topic, supposely to go by today to measure the curtain and paint the furniture, but I fell sick and having terrible fever. Maybe in upcoming Saturday, if no plans.
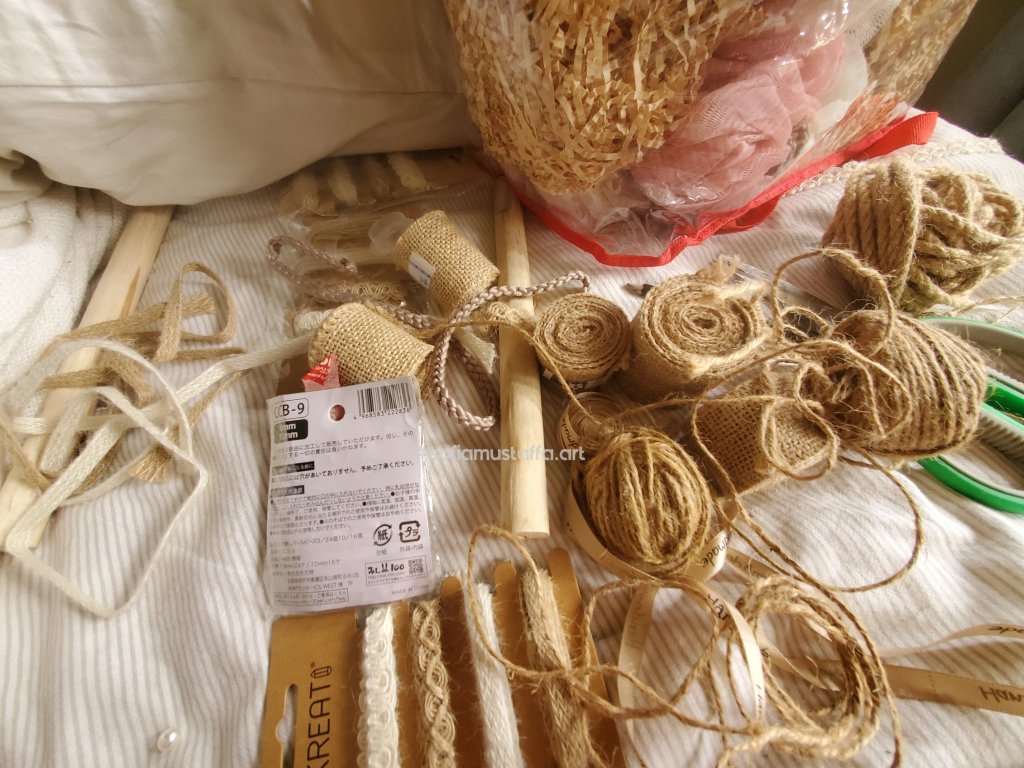
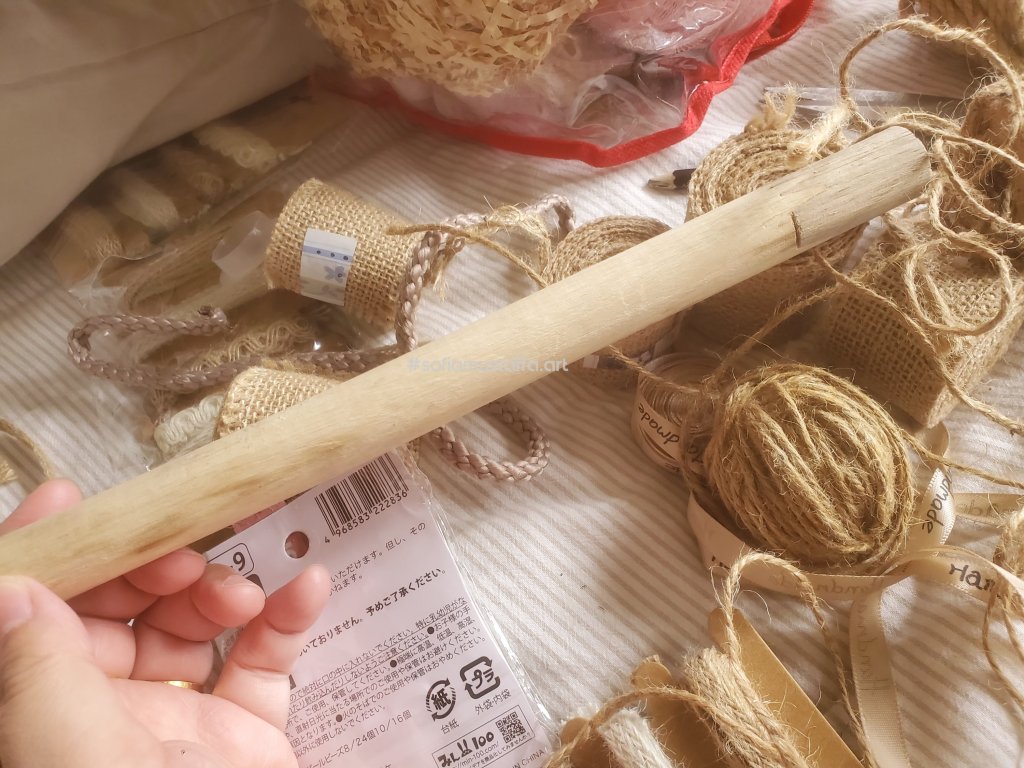
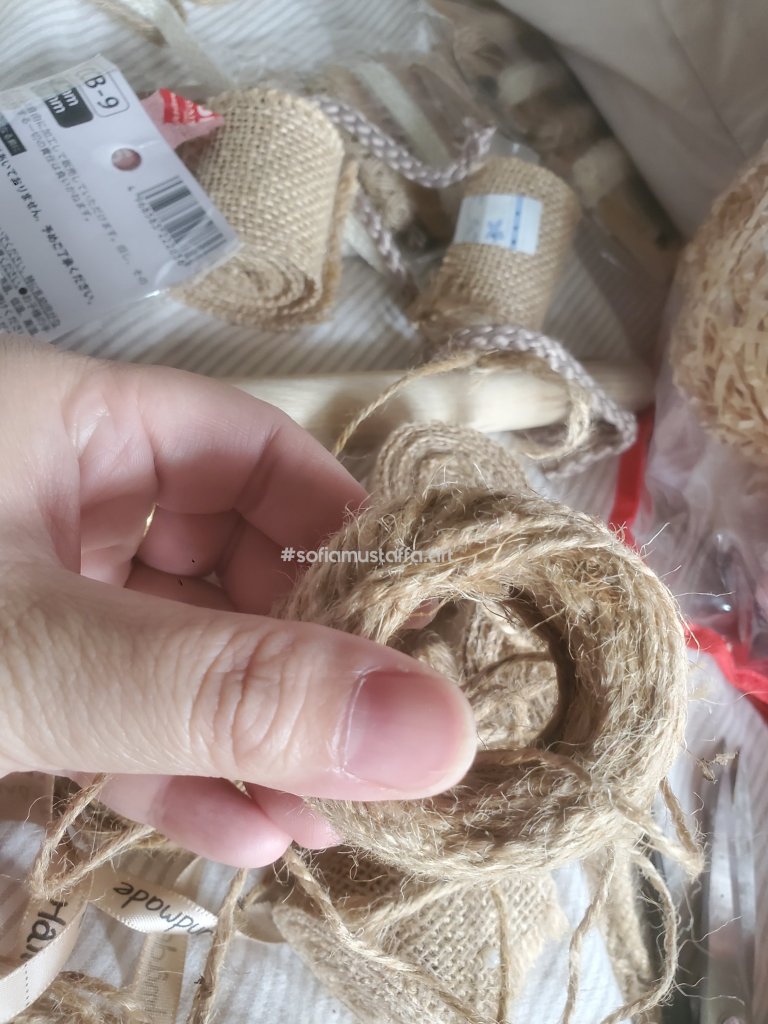
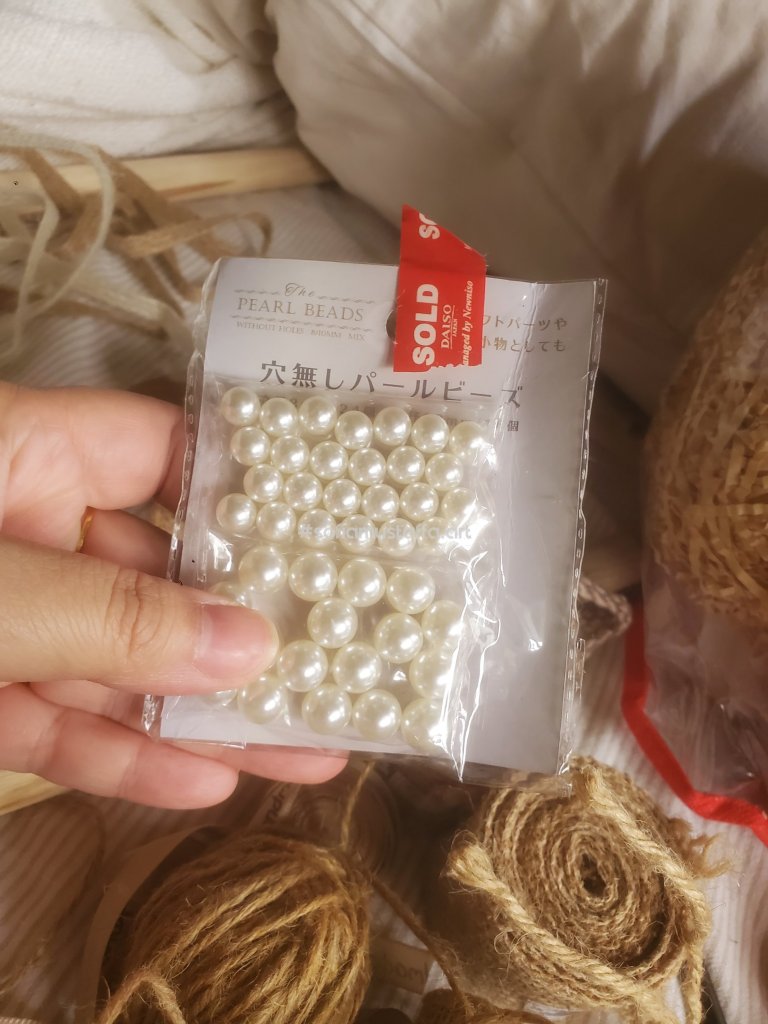
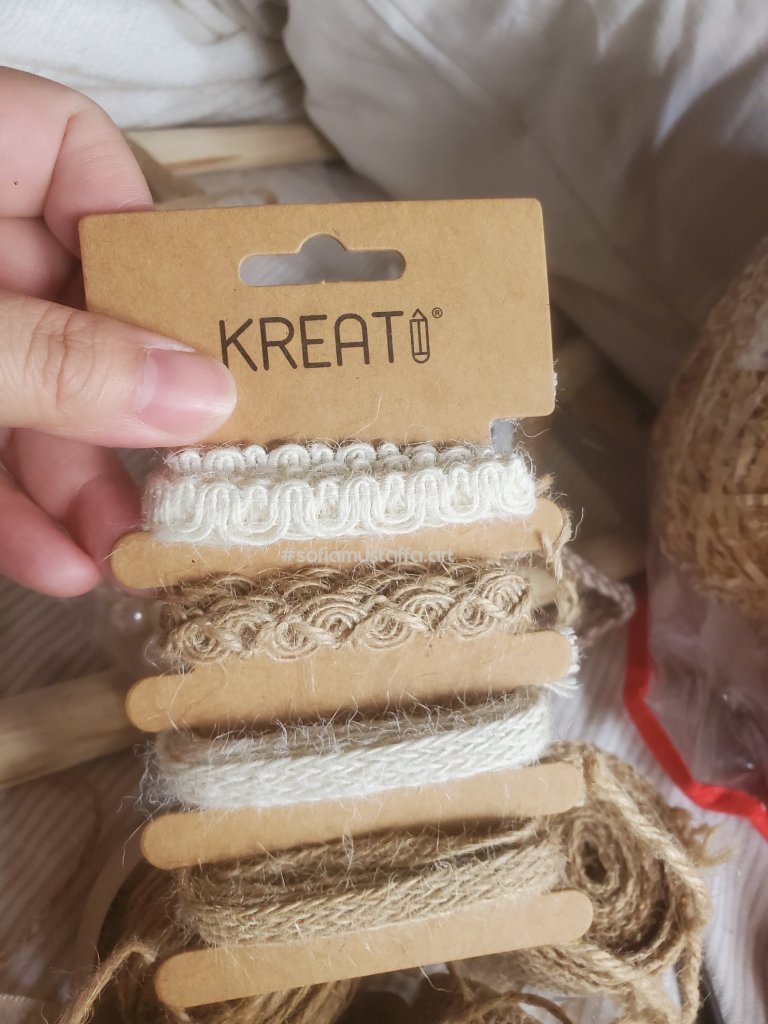
So, this is the Bar Chair, and I really don’t know what the extra wood for. Some extra woodTadaaaa…I have my existing craft stuffs, jute, ribbon, burlap etcThis is the wood. it looks white coz the covered it with plastic. I really dunno why. hahaha. So, when I opened the plastic, it looks like this.I have random jutesome place ribbon n jute ribbon, I guess the name was 🤷♀️Fake pearl for decoration.Just newly bought this at RM 2.40 @ecoshop.
In the making of Aesthetic Wall Frame 😃🥰
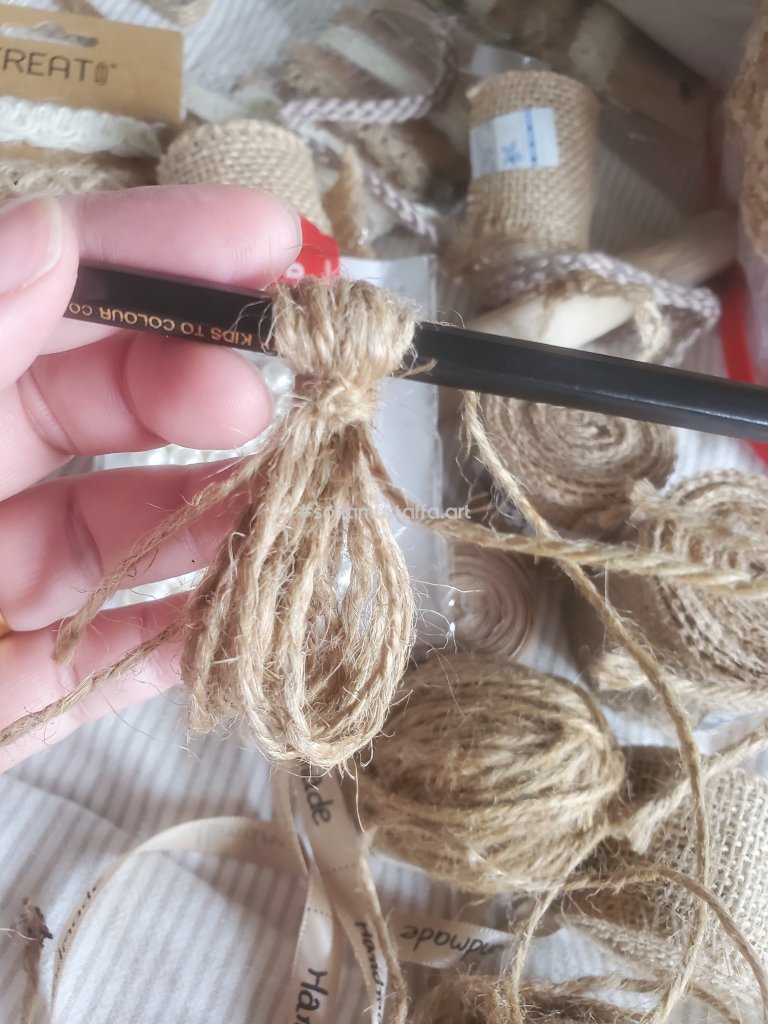
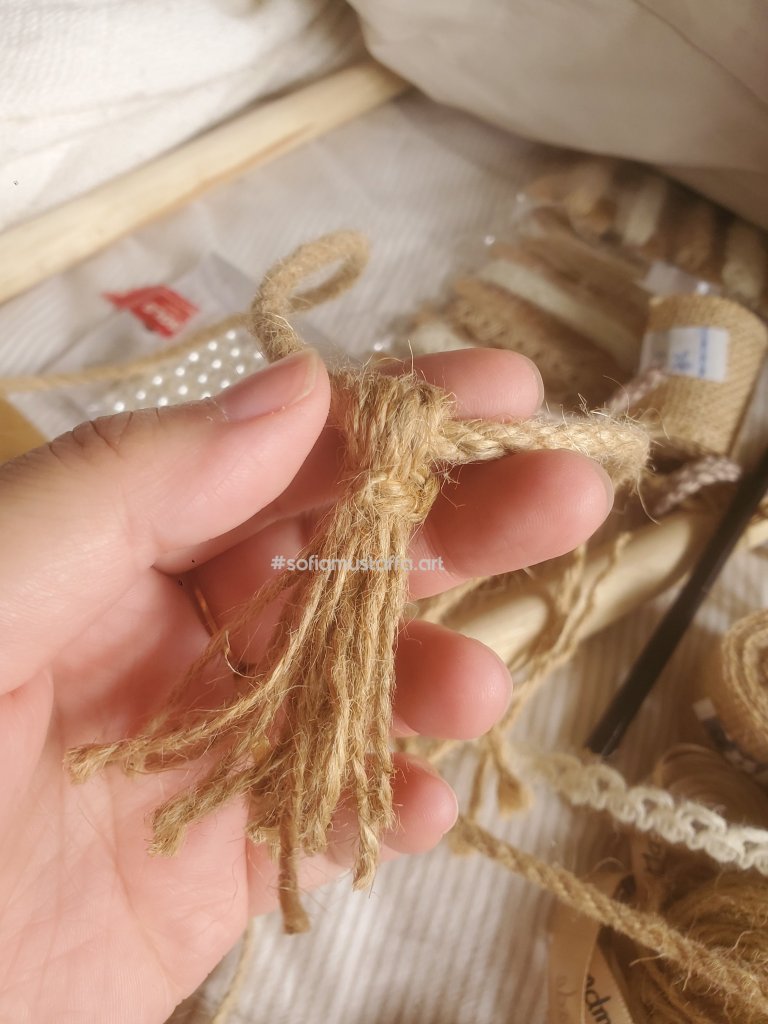
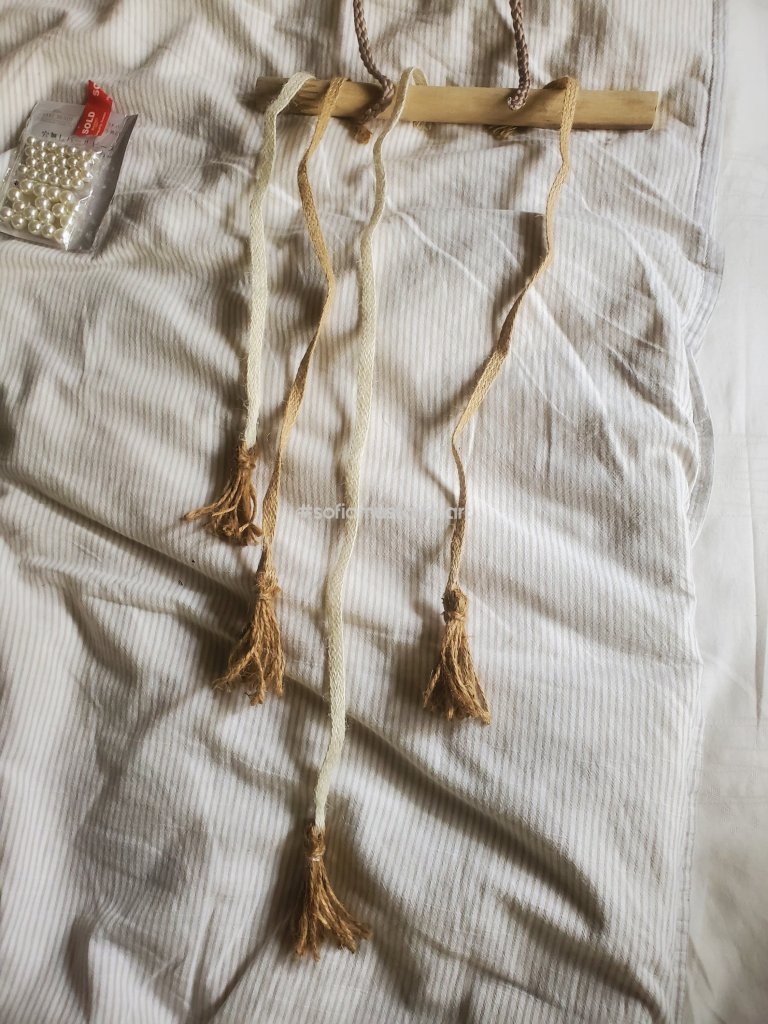
1. First, we need to do the tassle. It’s super easy. Just wrap your finger multiple times, I did here using 3middle fingers with 10 loops. 2. After done, put a pencil like this, and tie the tassle. Make sure it won’t open. I did glue the tassle, so it will keep in the place. 3. Then, I’m testing out using which ribbon/jute for the frame. Nah, it’s not nice using same color and pattern for the rope.4. So, I’m ended up using the ribbon, with different colors (brown and cream) 😃😃😃5. I glued all the ribbon onto the wood, and measure it accordingly so all gonna look symmetry for both side. 6. Tada!!! this is the final product. I’m gonna print out some quotes and glued it here. In my house, I have most quotes rather than photos. hahahaha. I cant wait to go and do some touch up on the interior.
So, that’s all my mini diy project for now. I can’t wait to do the make over for the house and rearrange everything. I’m budgeting everything to be rm3k, including water heater, ac, TV, curtain etc.
Hye Everyone 😇 Happy Friyay, guys! Hope you are all in great vibes. 🥰
Today, Im gonna share how I combined both my hobbies into something new makeover. Hahahaha!!! Yes!! I’M DECLUTTERING WHILE MAKING DO IT YOURSELF PROJECT DECORATION!! 😆
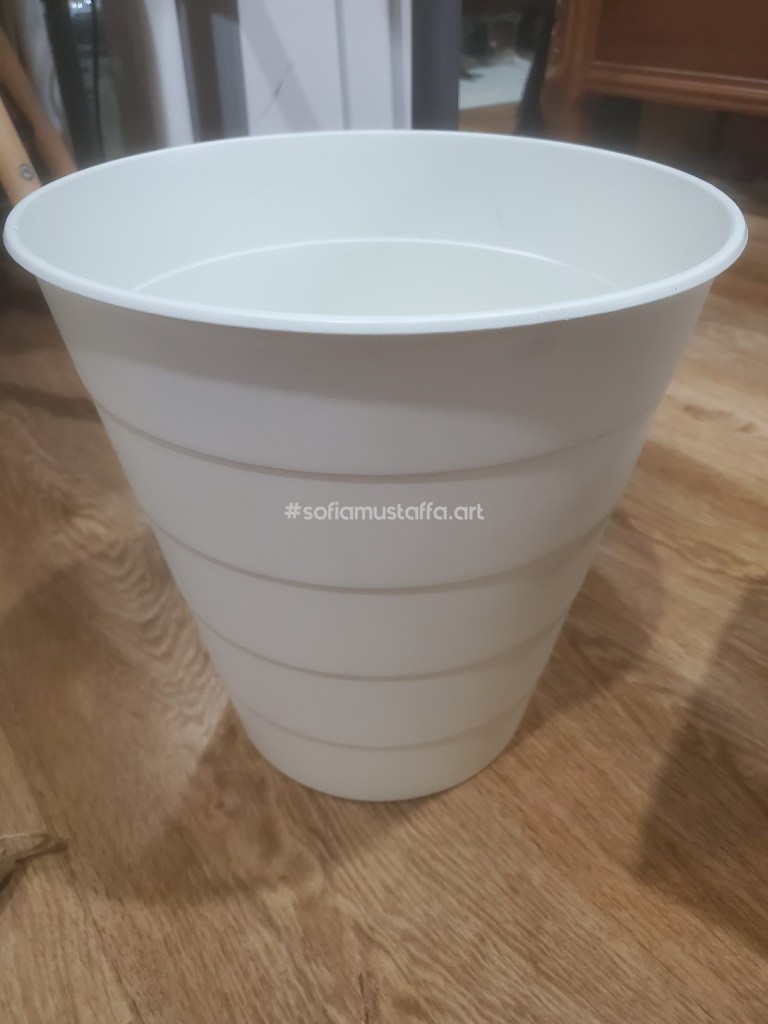
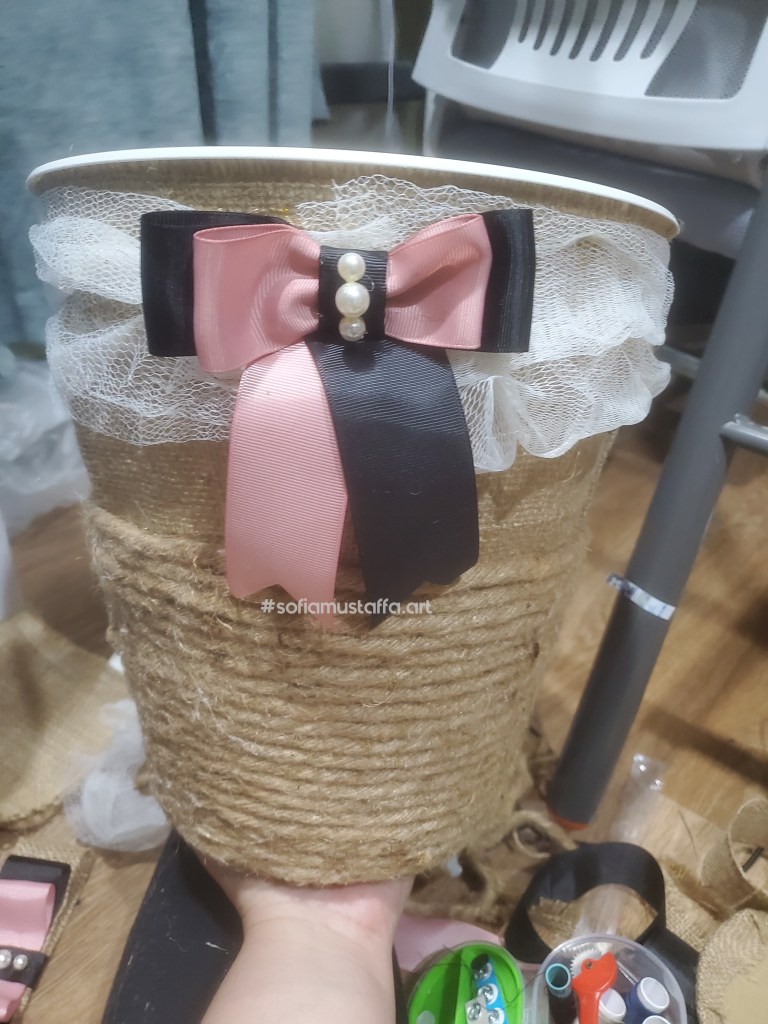
Okay, first thing first, I need to get rid/declutter my previous business items like ribbon, sponge, burlap etc right. So, I was thinking. My dustbin is so dull, and it always flew away whenever there are heavy thrash inside because the dustbin is too light in weight.
So, I decided to make some DIY Project, to decorate my dustbin. Yay!!! 🥰
My Dustbin before the decoration 😕
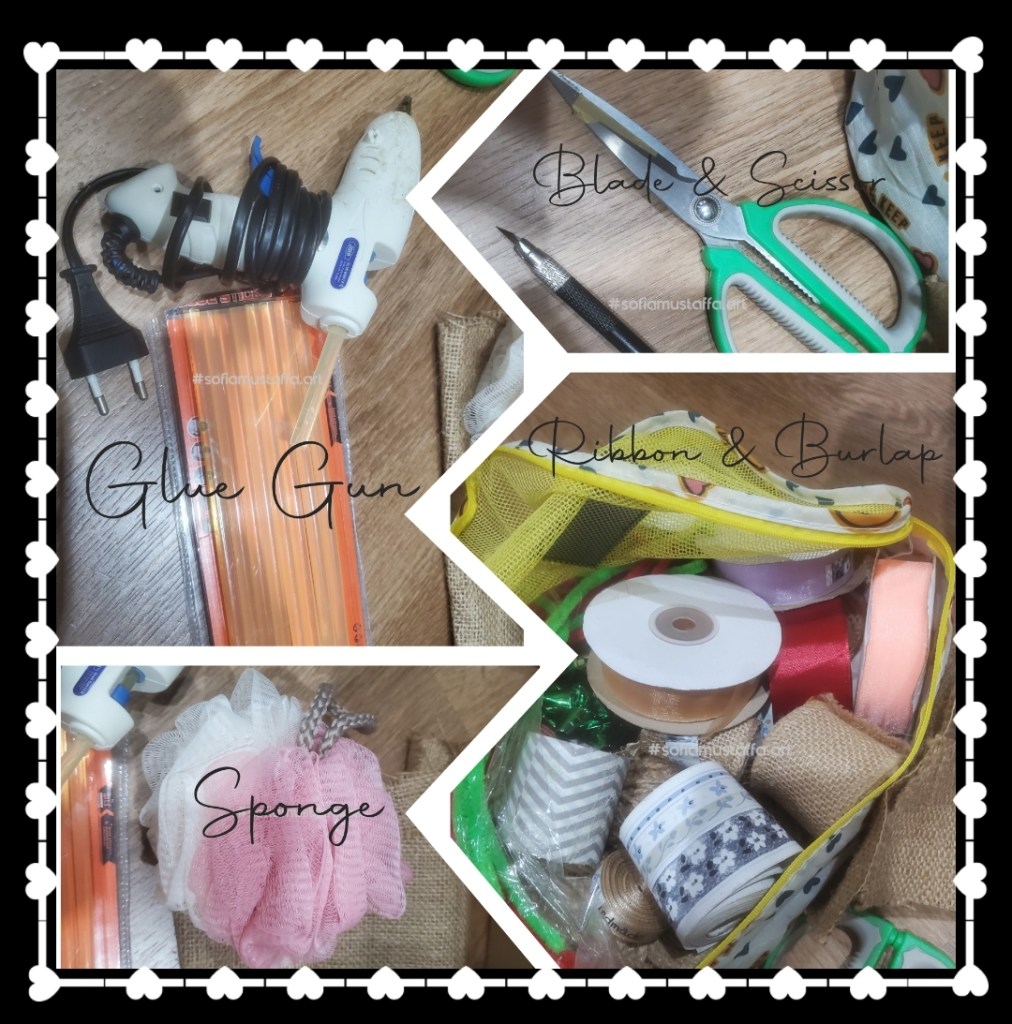
All You Need to Have….
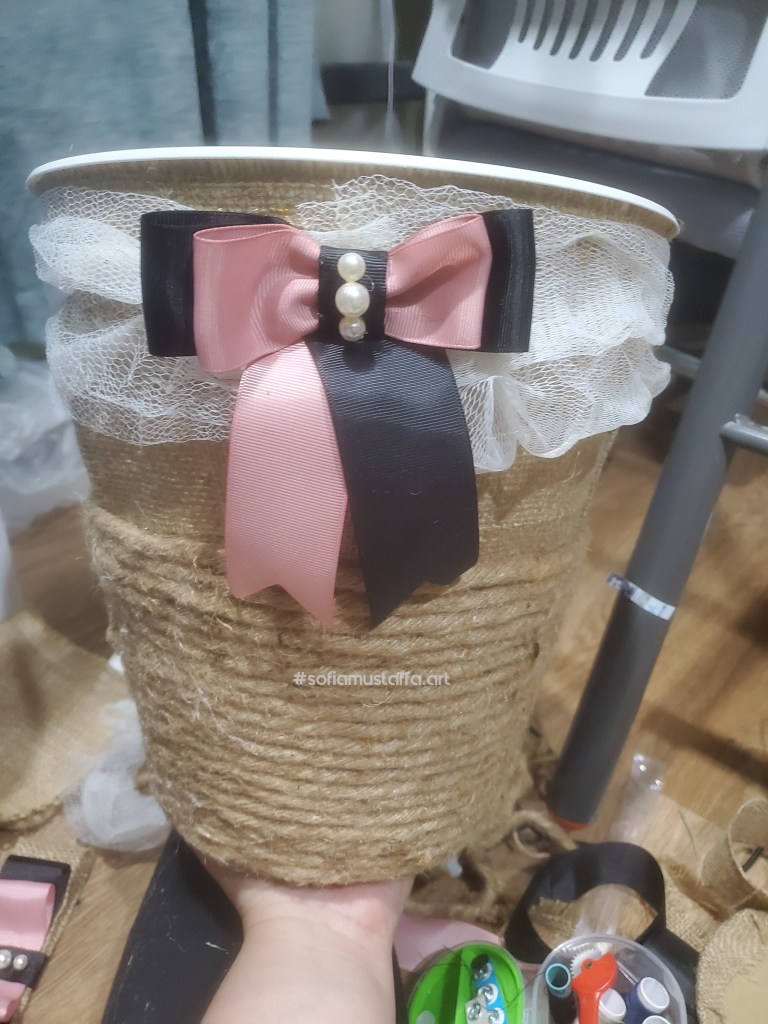
These are the items needed, plus Jute rope and emptybox. Missing in the photo 😌Tadaaa!!! After the decoration 😇
Let’s Do It! 🥰❤🥰
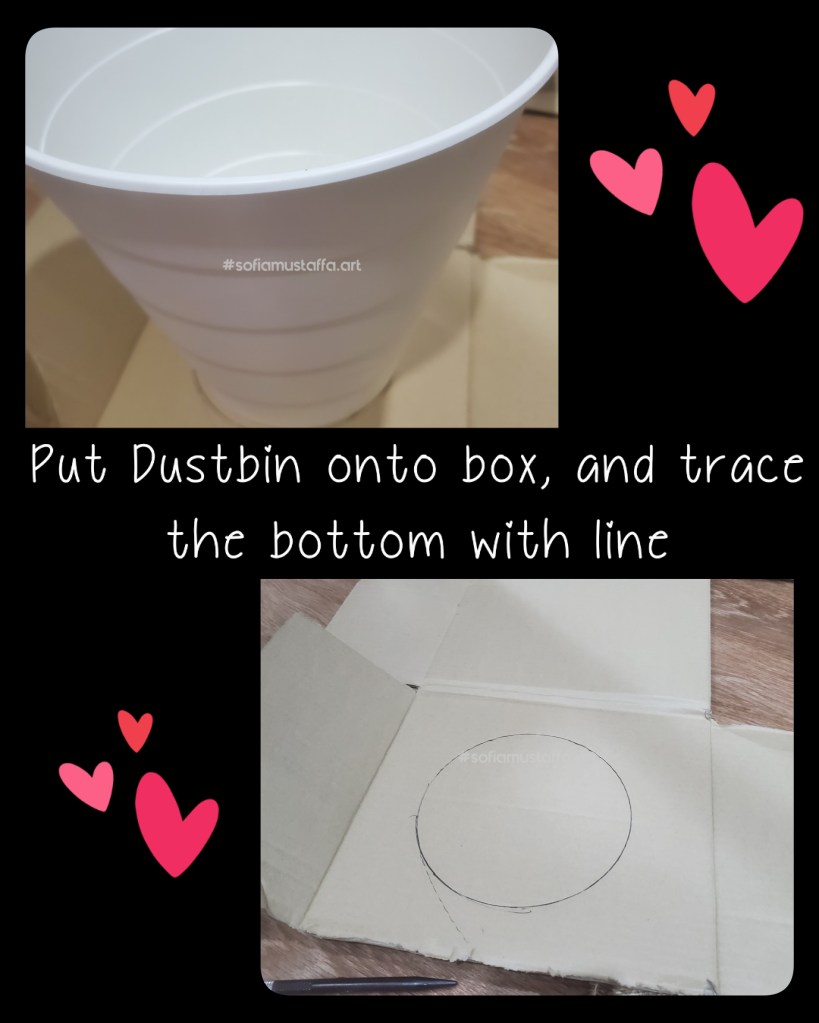
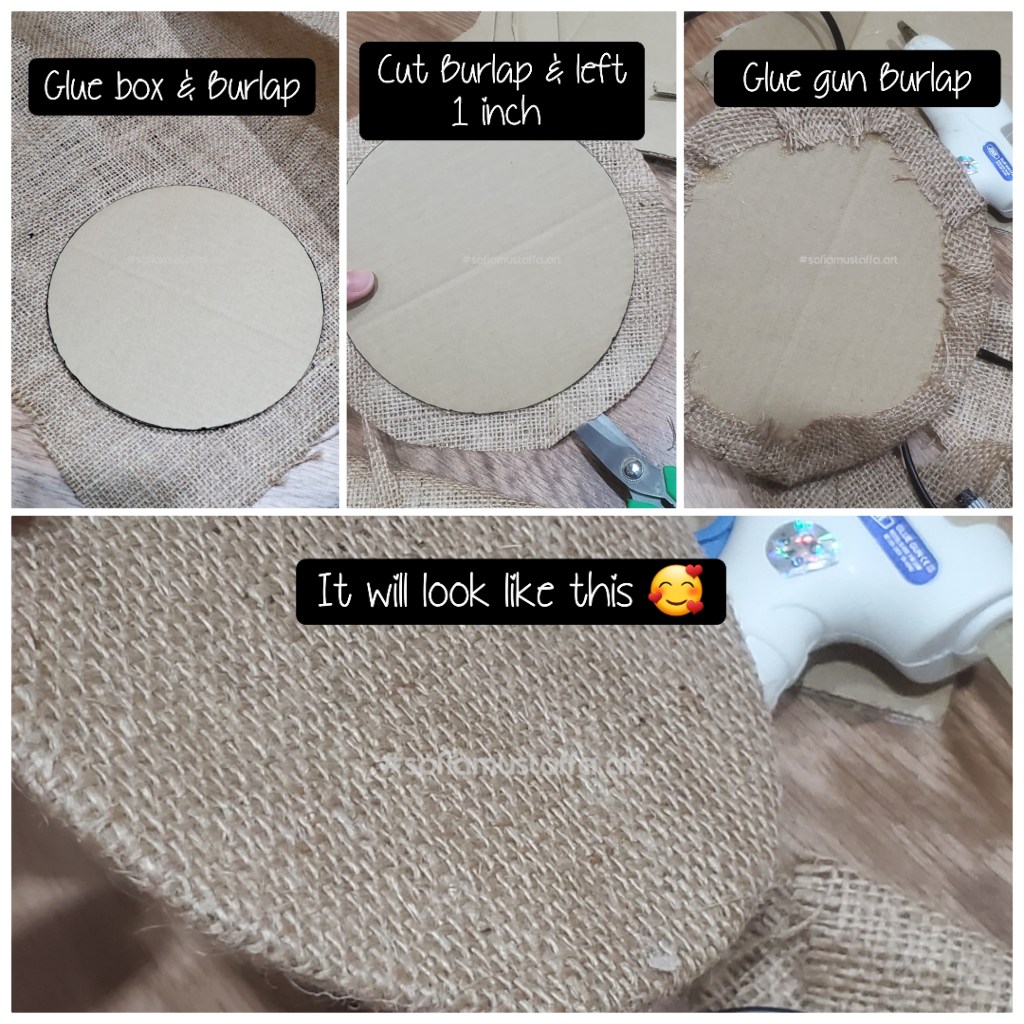
1. First of all, trace the bottom Dustbin onto the empty box like below picture 👇
2. Then, cut the lines. Glue the circle box with Burlap, and keep the Burlap 1 inch around the circle box to glue later.
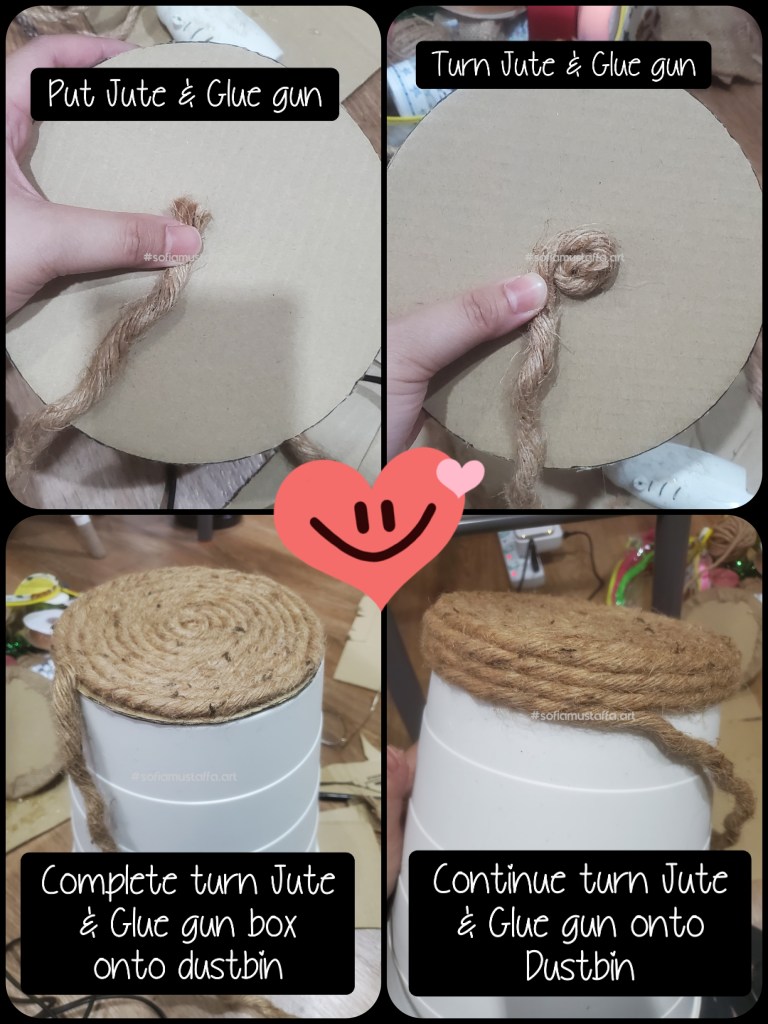
3. Put the Jute rope onto the circle box and glued with glue gun. Then turn circle the jute rope and repeating the process until finished.
4. Glue the circle box onto the bottom of the Dustbin. Then, continue turn circle the jute until finished.
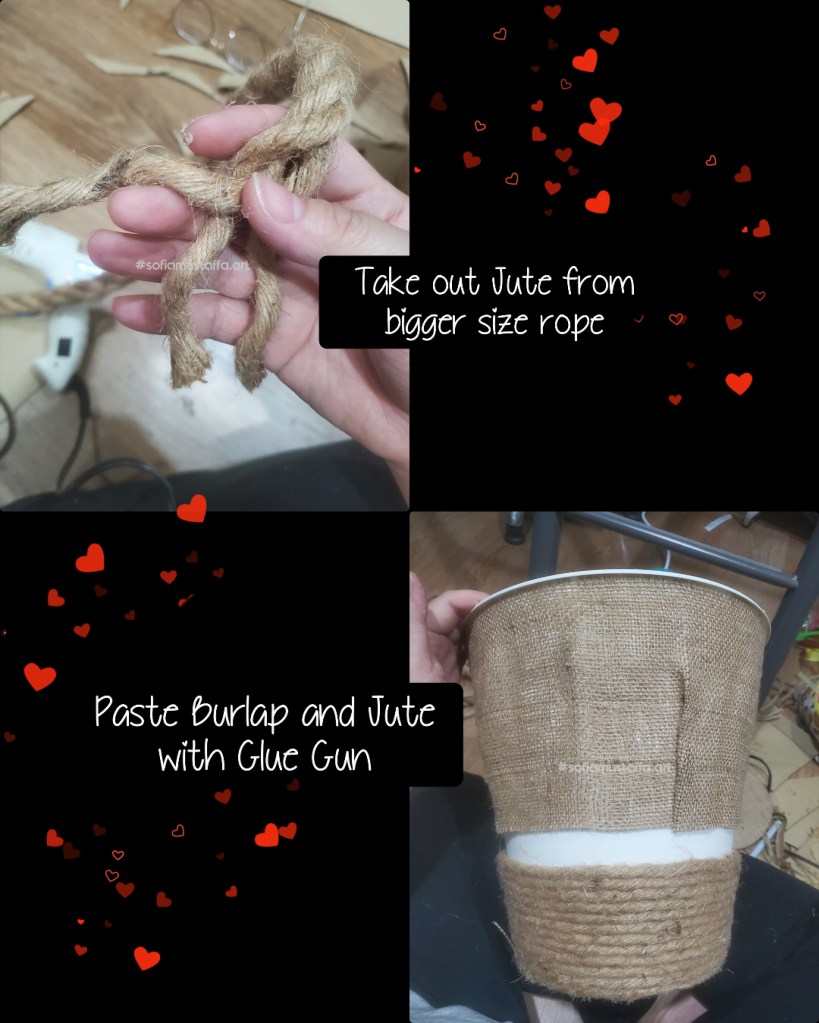
5. When the jute finished, I continue by taking out jute from bigger size. Hahaha..just using whatever I have 😉
6. Then, I glued the Burlap and Jute with Glue Gun. Kinda much I needed for the Glue Gun.
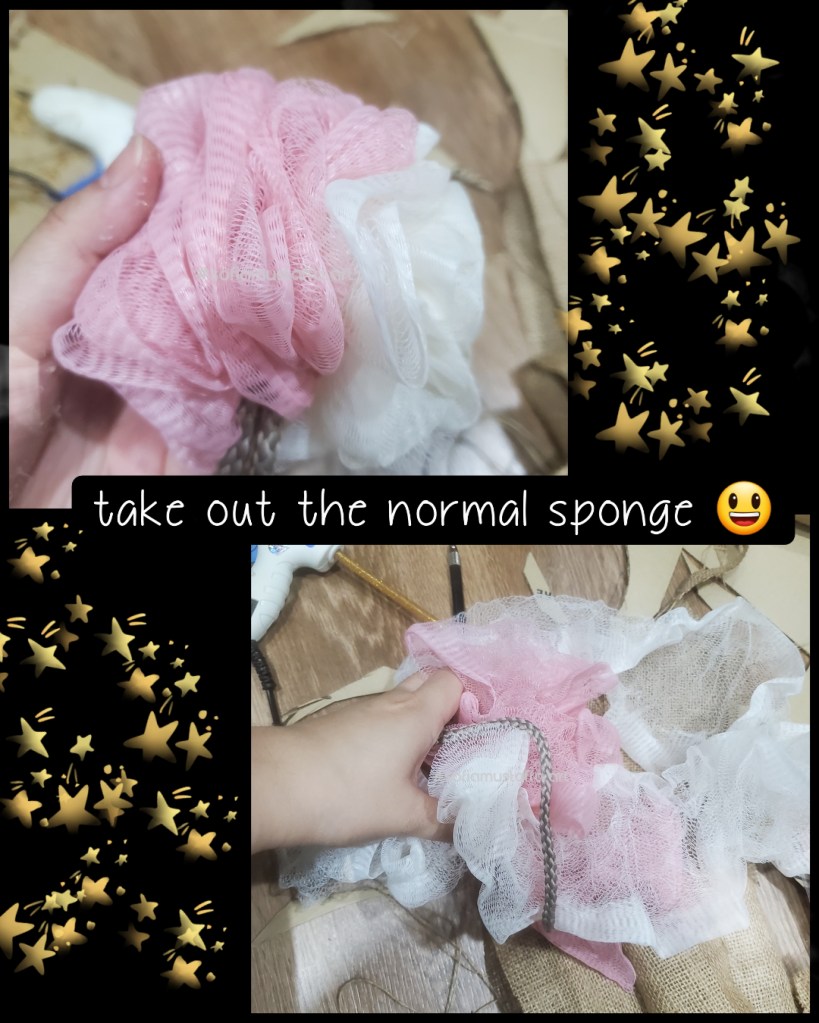
7. Then, I take out and open my new sponge for the ruffle. Haha 😃
8. For ribbon, I just simply cut n paste with Glue Gun. You can fold nicely, but I like easiest way and look neat 😃😜. Check this out 👇
9. After cut, paste, cut, paste and cut paste, the final product will be…..TaaaaDaaa 👇!! 🥰
Good afternoon everyone!! Its Thursday, guys!! 1 day to goo…before we meet weekend again!! Weehooo!!! 🥰
Well, I just want to share with you what are my hobbies as a minimalist, to feel content and keep clutters away in a better way. ❤
So, here we go…😉
1. Making A DIY project.
As I being a minimalist, my characters are slowly change. I spend most of my time sitting home, and maintaining my things at home. One of my fav things to do is, to redesign, and reuse existing things I have. I have Burlap, Ribbons, Wrapping papers, Sponges etc at home, from my previous business plan. Why am I buying these stuff? Well, I thought when pandemic happened, I will loose my job. However, it turn out that I got more job offers. Alhamdulillah 🥰, so I have never starts my business. So, here all are the stuff,s that I need to get rid by making a D.I.Y stuff ❤🥰❤
Before decorating my dustbin 😕After decorating my dustbin 🥰
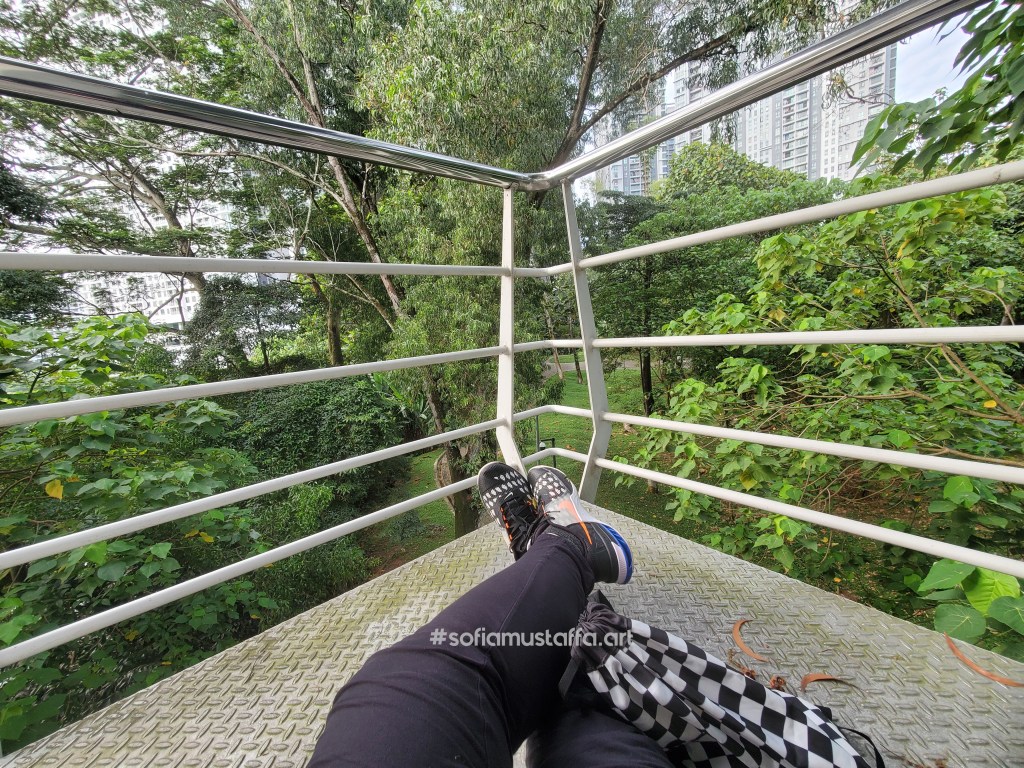
2. Strolling the park.
Another what I like to do is strolling the park. I love nature so much, especially forest. It calms me when I have anxiety or problems. To go forest alone, is very risky. So, I choose to stroll the park whichever has little/mini forest nearby 🥰
I climbed up 3rd floor of the watch tower. Its so relaxing. Next time, Im gonna bring hot tea/black coffee with me 😃
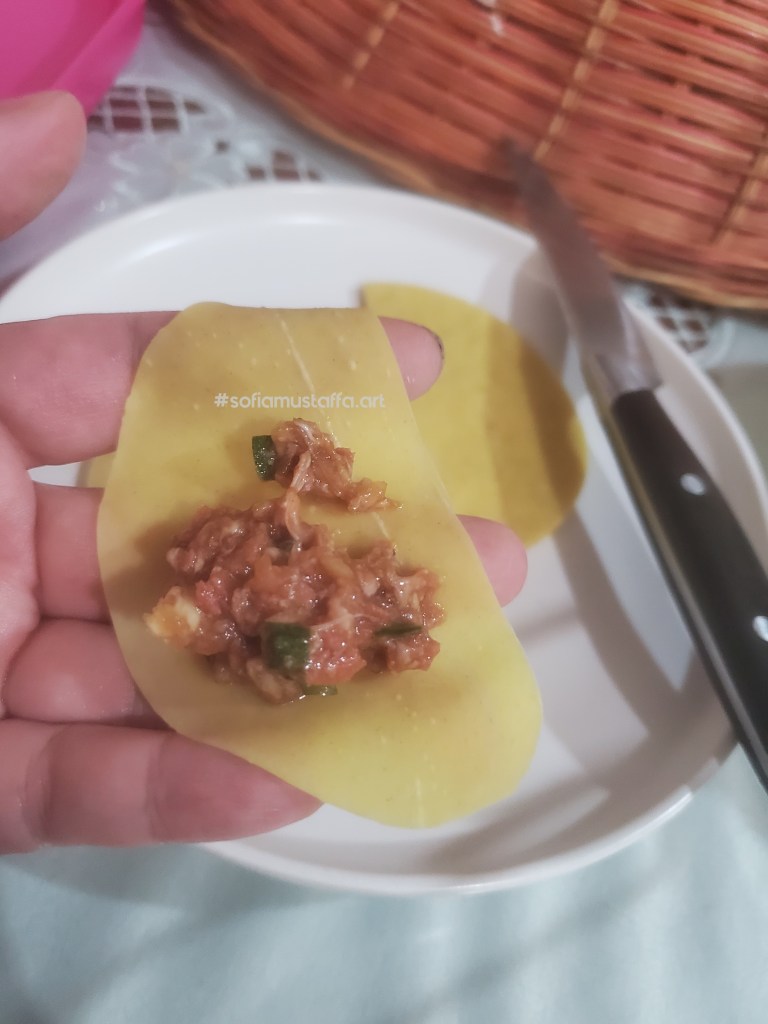
3. Explore new recipe in kitchen.
I love exploring new recipes on internet. First trial, I will try the original recipes, then for 2nd and 3rd trial I will modify the recipes, and jot it down all the modification I made. 🥰 i love creating my very own recipes according to my own taste bud. ❤
I cut the dumpling’s skin into half, coz its too big. I cut into small bite sizes 😃🥰
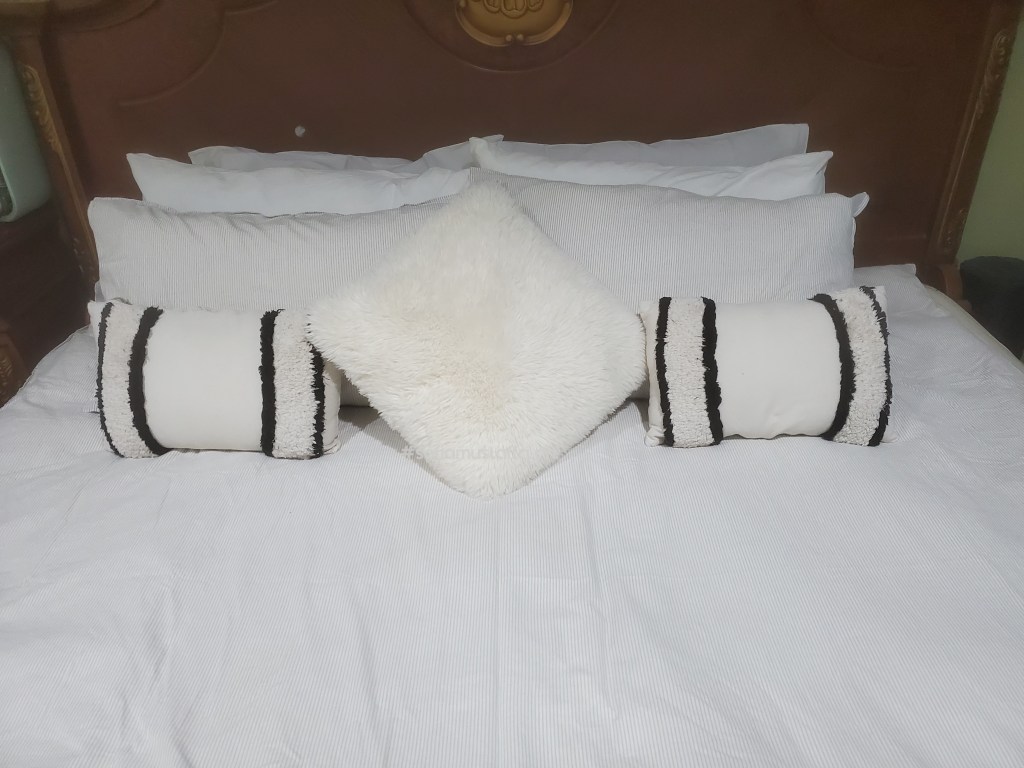
4. Decluttering own room/space.
Well, this is like a ‘ritual routine’ for me 😅. Most of time, I will take a plastic bag and walk around the room, stand by if I can throw anything into it 😂. Clearing out my wardrobe, my workspace, my bathroom etc..and Im really enjoying it. I enjoy clearing my room, clean and tidy my space area 🥰.
Make up my bed every morning is my mandatory ‘ritual routine’ 😂
5. Sell off unwanted items.
Yes!!! This is sooo cool. Previously, I just throw every of my unwanted items. But now, thanks to my Mr Love, he suggested to sell it off. Since I started, I think in end october or early november, I made around RM250 of my unwanted items and plus ++ I cleared my space. Weeee!!!!~~ Its fabulous 🥰🥰🥰
Someone gonna pick these from my room. I have 3 aquarium 😂 another one to let it go..🥰
Okay guys, I think thats all for now. Im sharing with you what I usually do to declutter my things, and keep myself content ❤🥰
Hello Everyone! How are you? Hope you are sounds and safe. Covid 19 cases has increased in my country, so stay safe guys!
In this post, Im gonna share with you how I refurbish my organizer..check this out 😉
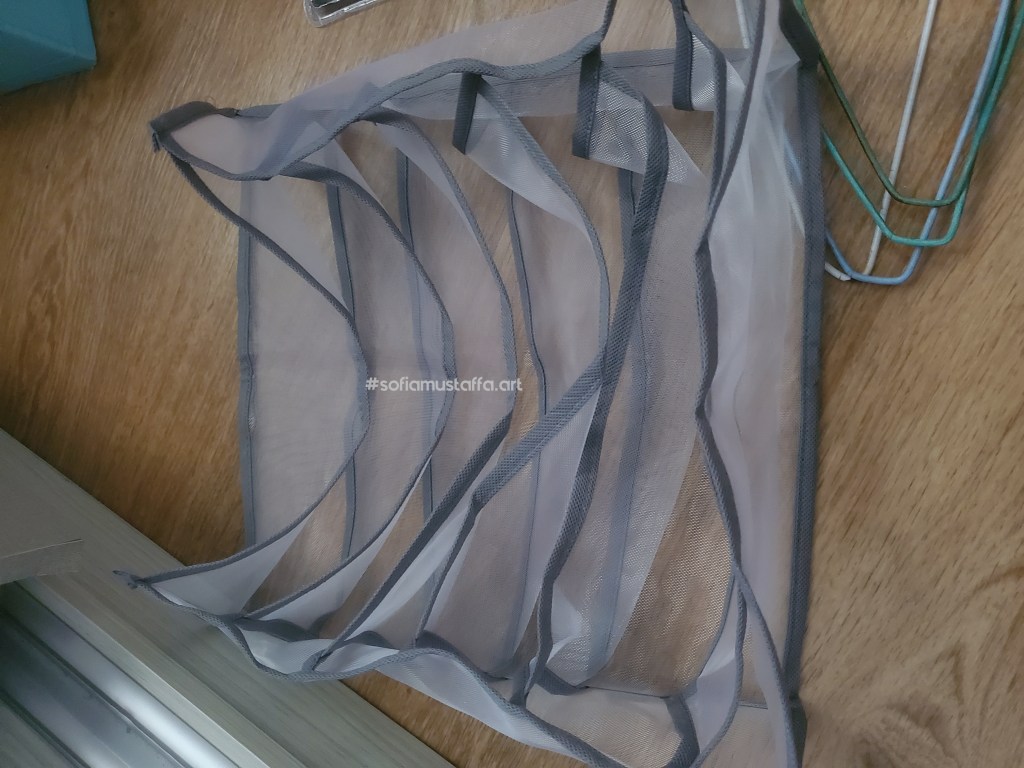
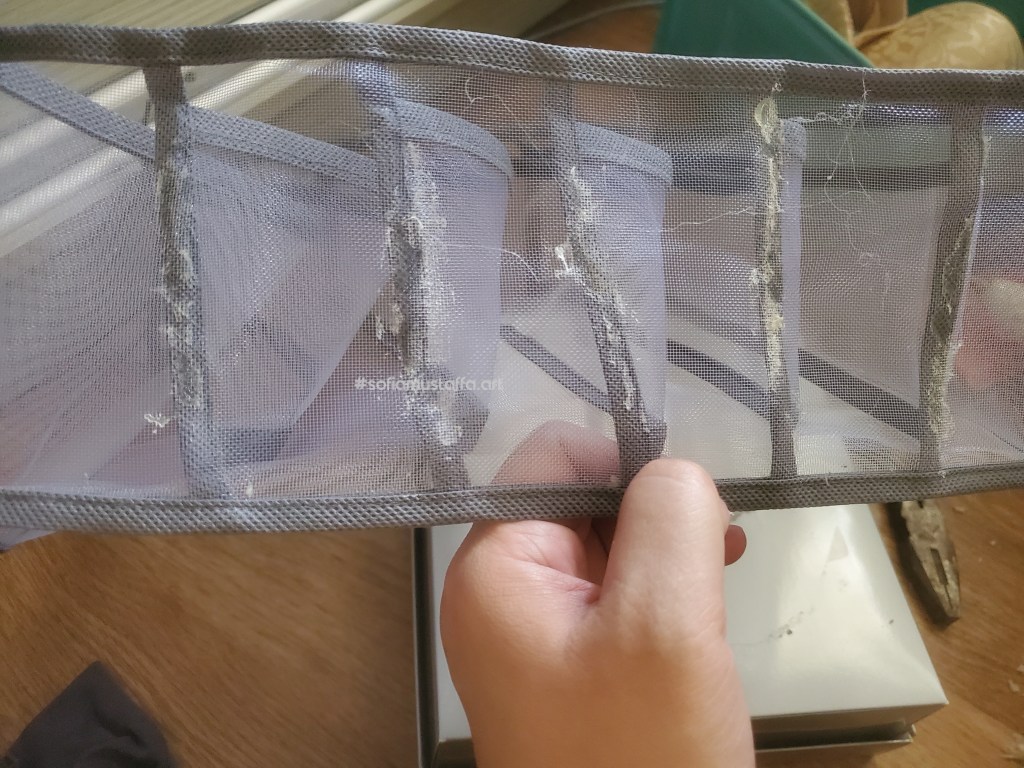
Last time, I had bought undergarment organizer. But, it doesn’t work on it purposes. So, I thought to check out to see what’s the cause and why it doesn’t serve it purpose as organizer.
So, here you go. This undergarment organizer I bought it online, but as you can see, it’s all smashed and not stand still. 😕
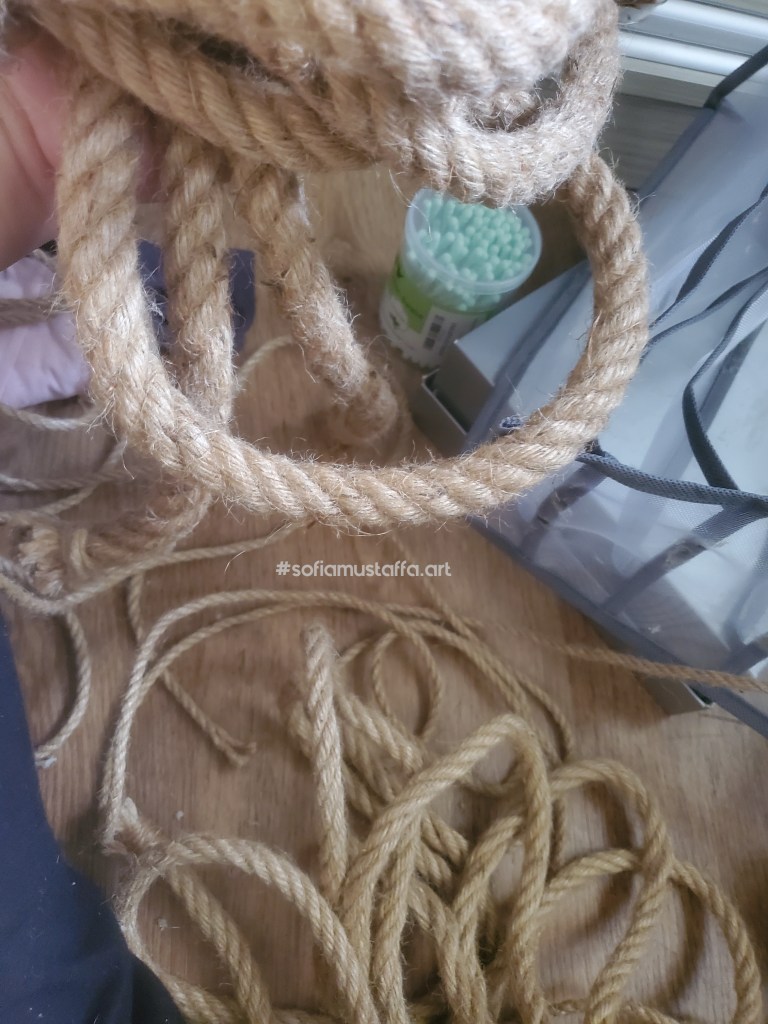
I rethink over and over again and remembered…hey!! I got some extra Burlap, Ribbon and variety sizes of Jute Rope 😃
Multiple sizes of Jute Rope I have. I bought for it DIY purposes, keep it for recycle, redesign, reuse items. Its time to use it now 🥰
Things you will need to have, to refurbish your organizer:
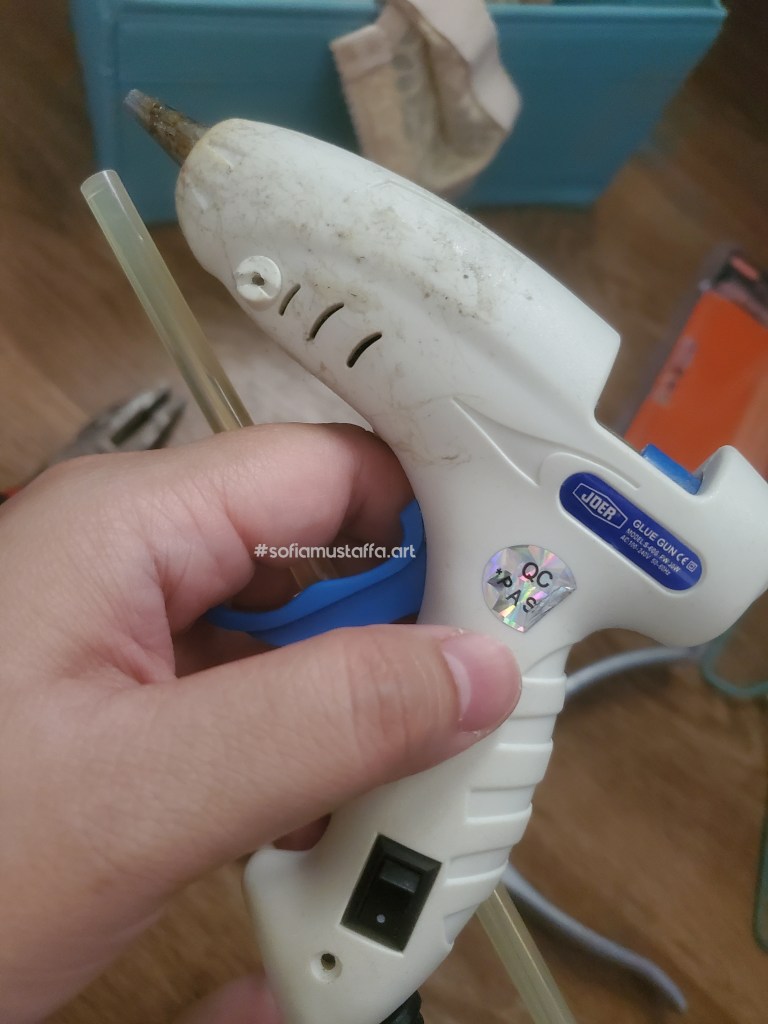
Glue gun with the refills
Jute Rope
Burlap
Ribbon
Scissor
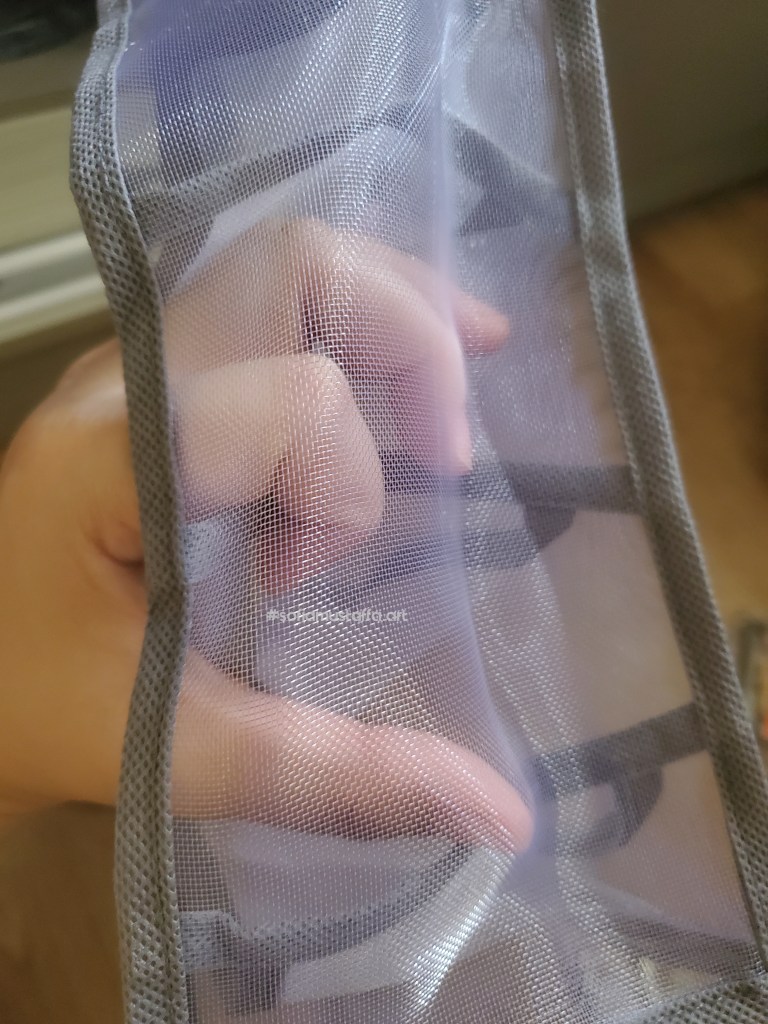
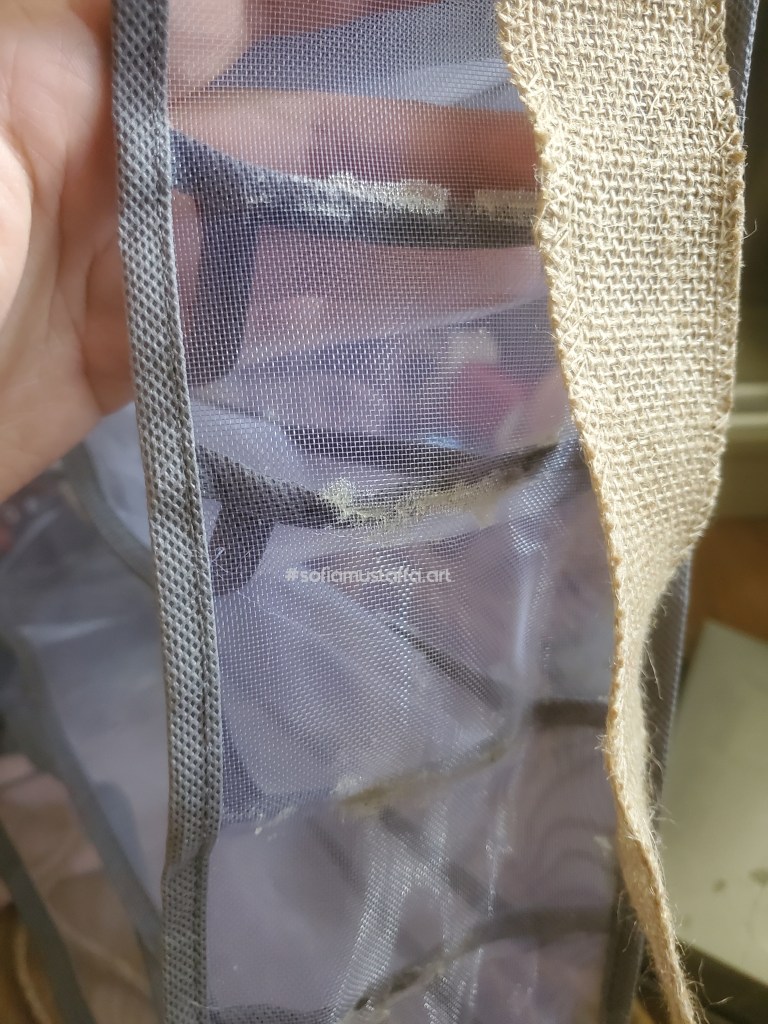
So, I do take a closer look on it. The reason is, the base is not attaching makes it not a strong enough to stand still. So, I’m modifying it according to my own taste. Ha ha ha 😃
Firstly, I started glue the base to strengthen it. Glue gun was my best buddy in everything diy stuff I made 🥰
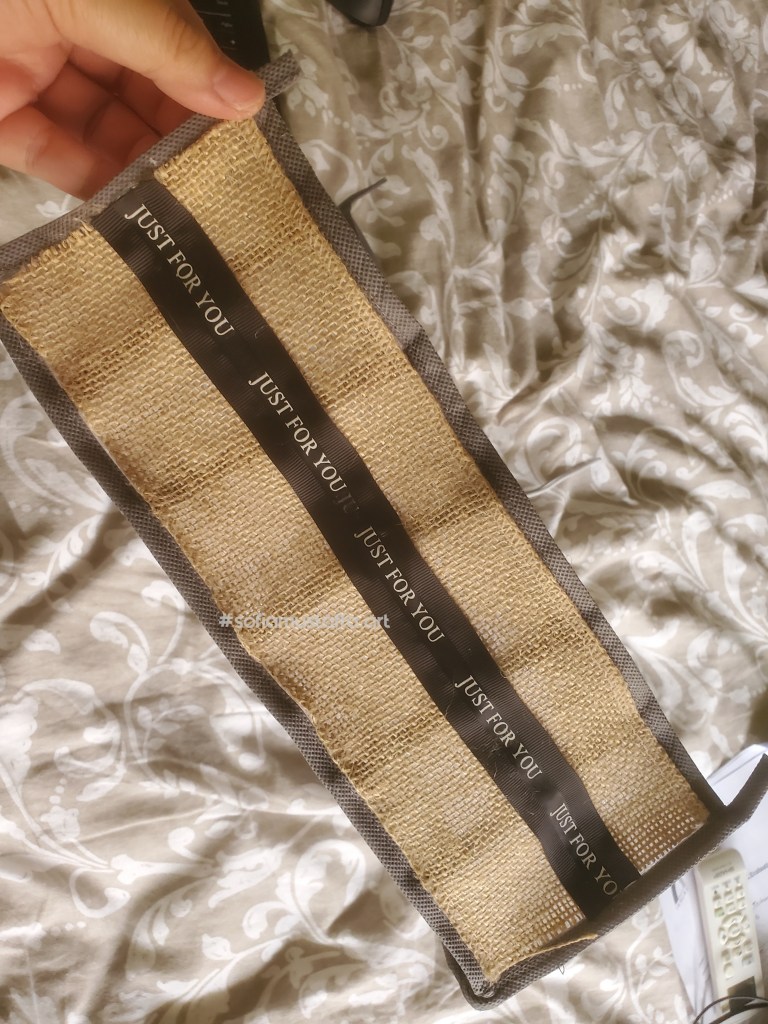
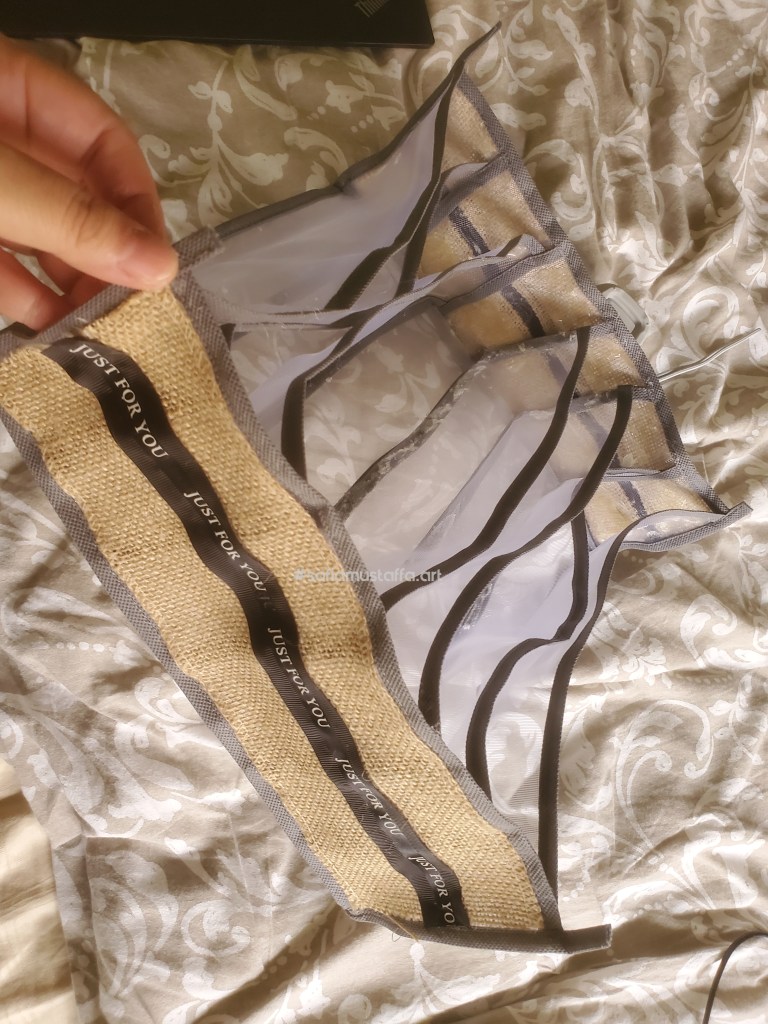
A weak base, is not attaching 😕So, the base needs to be glued with glue gun.Tada!!! This is my best buddy 🥰Arghhh…it looks hideous!! So I need to cover it up, to beautify it 😍🥰I cut the Burlap, according to the size. Then glue it on the net, to cover up the hideous looks 😃When completed the Burlap, I glue on top with Ribbon I have. In this pic, there is A gap between those Burlap. So, I just cover it up with cute Ribbon ❤🥰This will be the final product. Tadaaa!!~
That’s all for now. I still have another pending project, which is Coins Container 🥰
Hello!!! HellOoooooOoo…hello!! Everybody! How are you? Today, I got a lil time for myself..so I made some diy items.
My room is super duper dusty lately. I’d bought dust mite vacuum, but unfortunately the parcel was lost during shipping. I bought it again, and hoping it won’t lost again.
Because of my room sooo dusty, so I was thinking to cover up all my baskets. You really can’t see with your eyes the dust on fabric, but its there 🥲
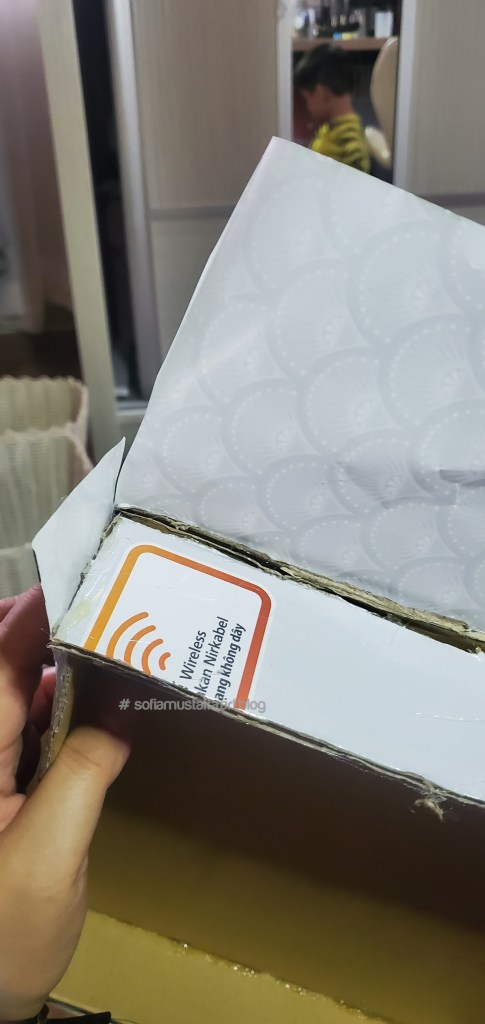
So I do some research on how to diy it by using recycle things I have now – boxes.
Things you need to make this lid are:
1. Scissor or cutter
2. Glue gun
3. Marker pen.
4. Ruler.
5. Big empty box.
6. Wrapper paper.
7. 10mm jute – optional
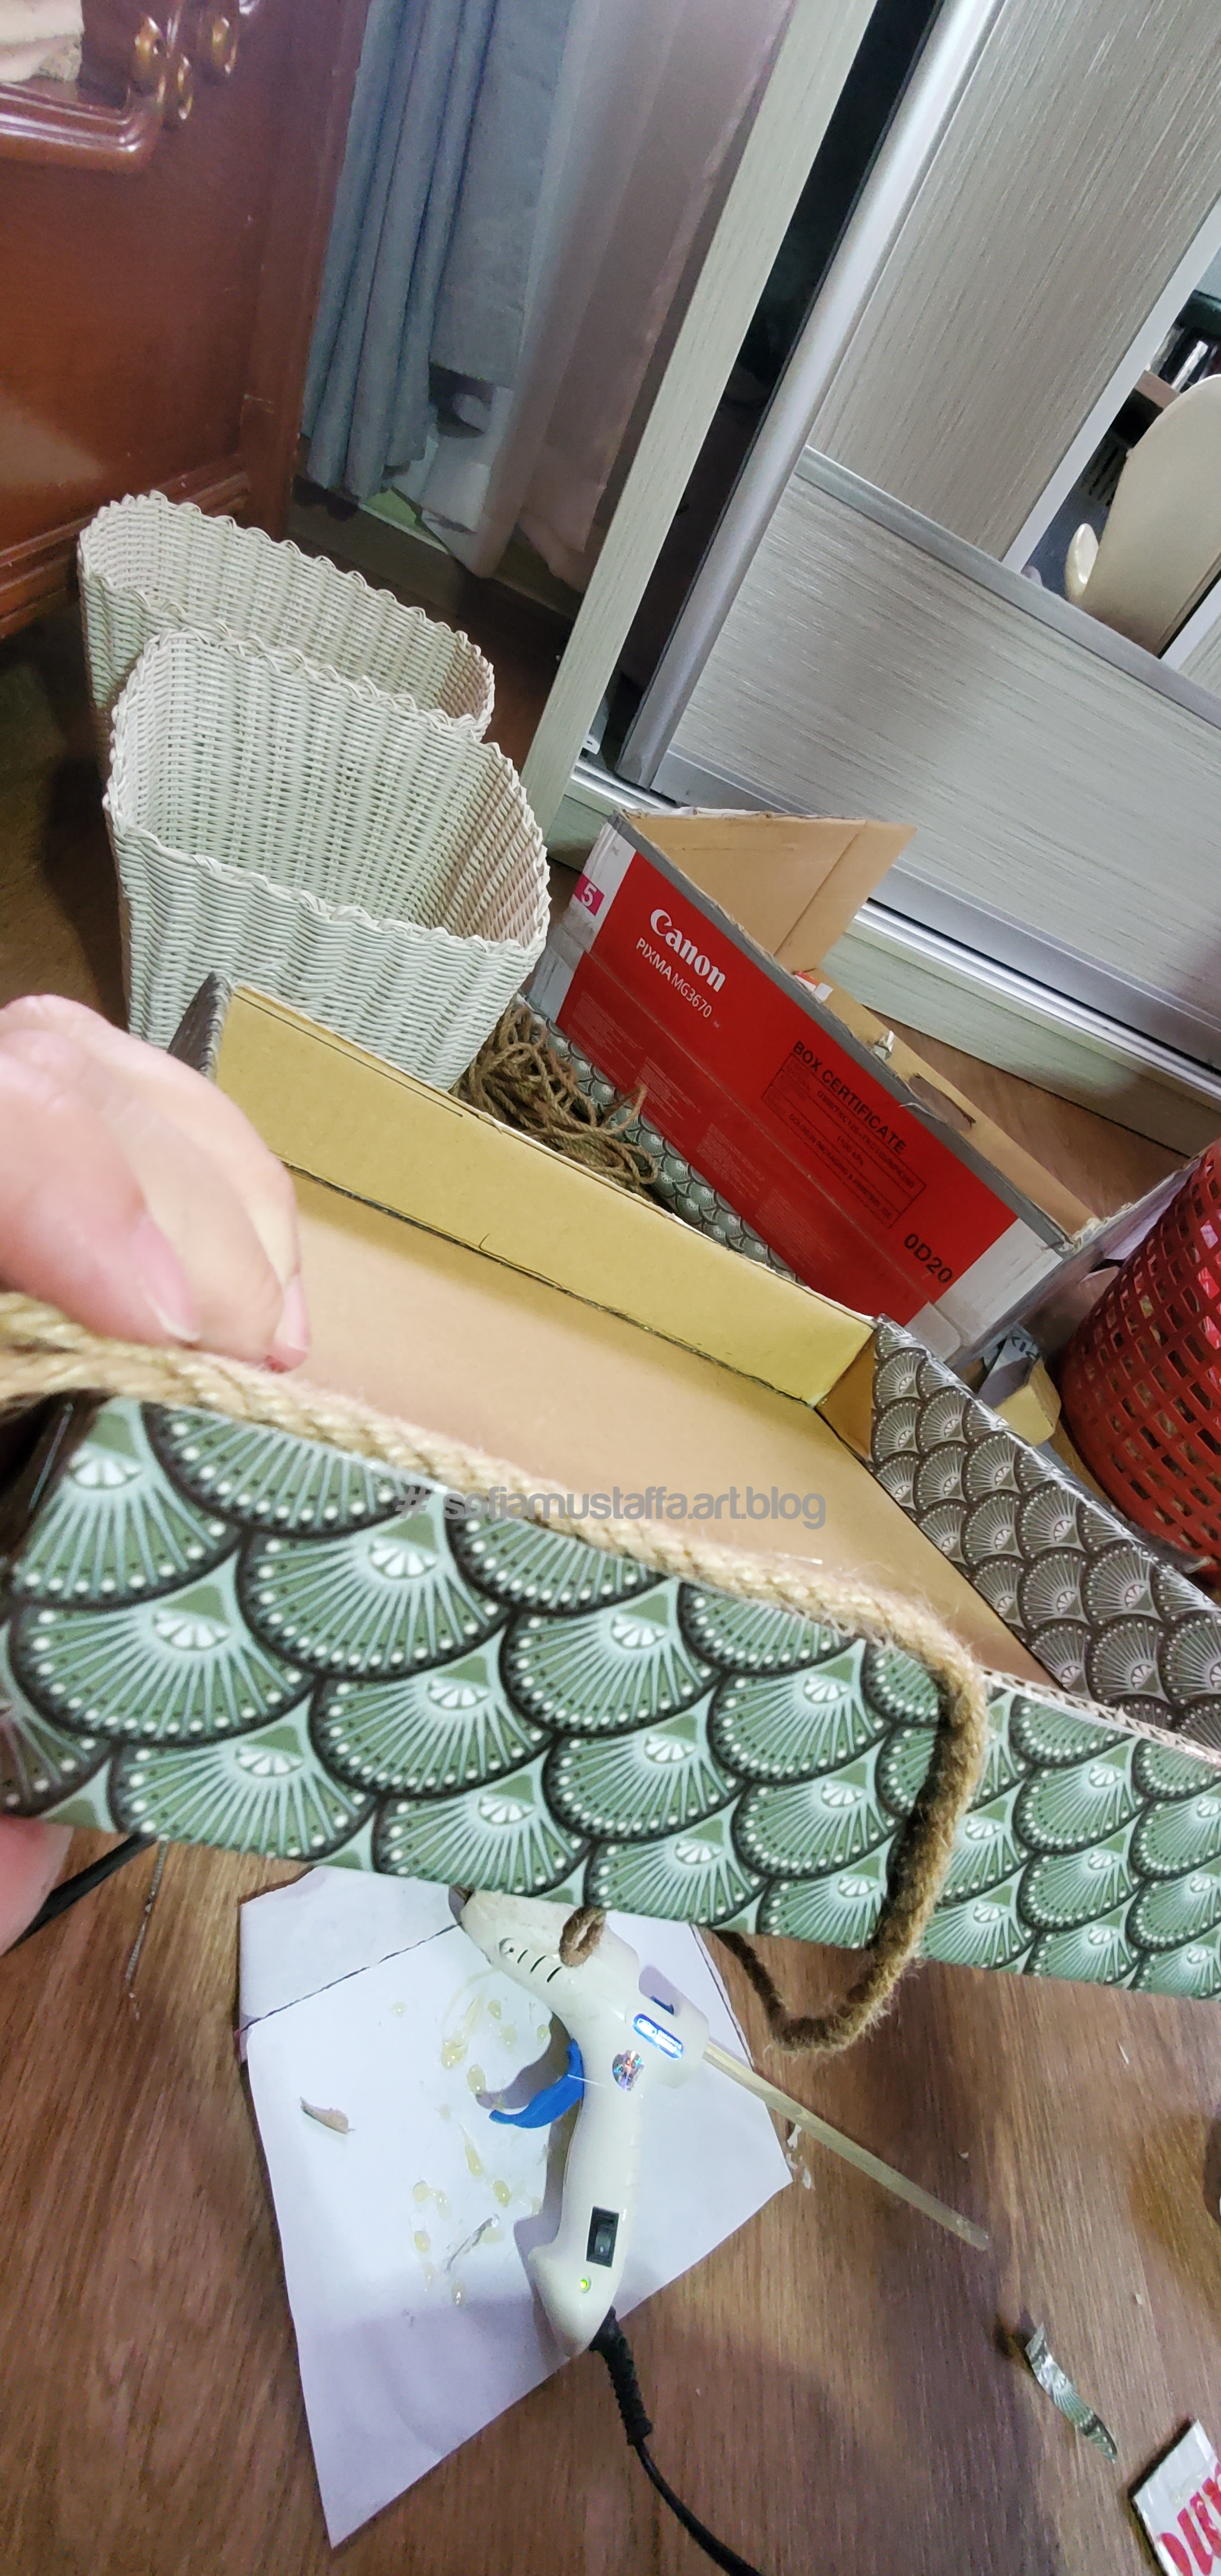
DIY basket’s lid 😃🥰
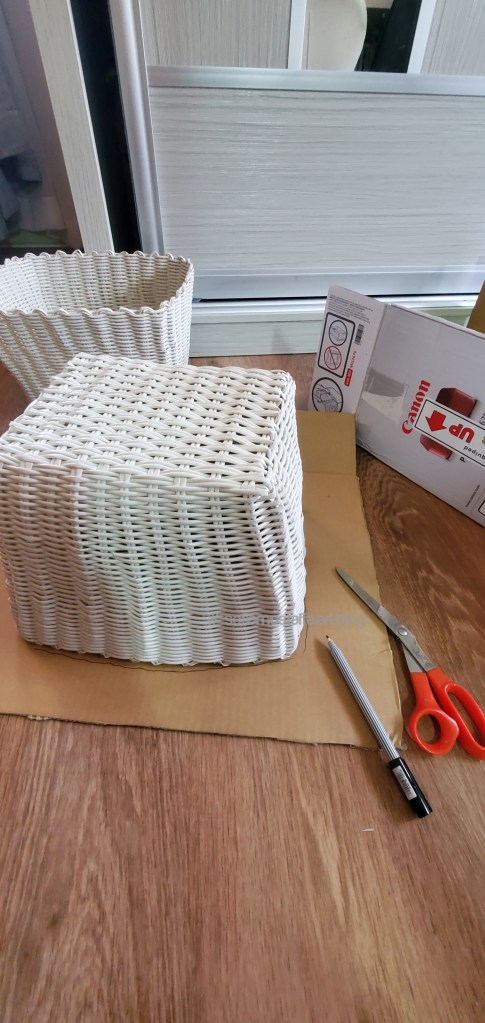
1. Make a measurement of the existing box. Well, u can measure using the ruler, but I prefer easier way. Just put the basket like this on the box, then line it 😂
Cut the box, line it with pen.
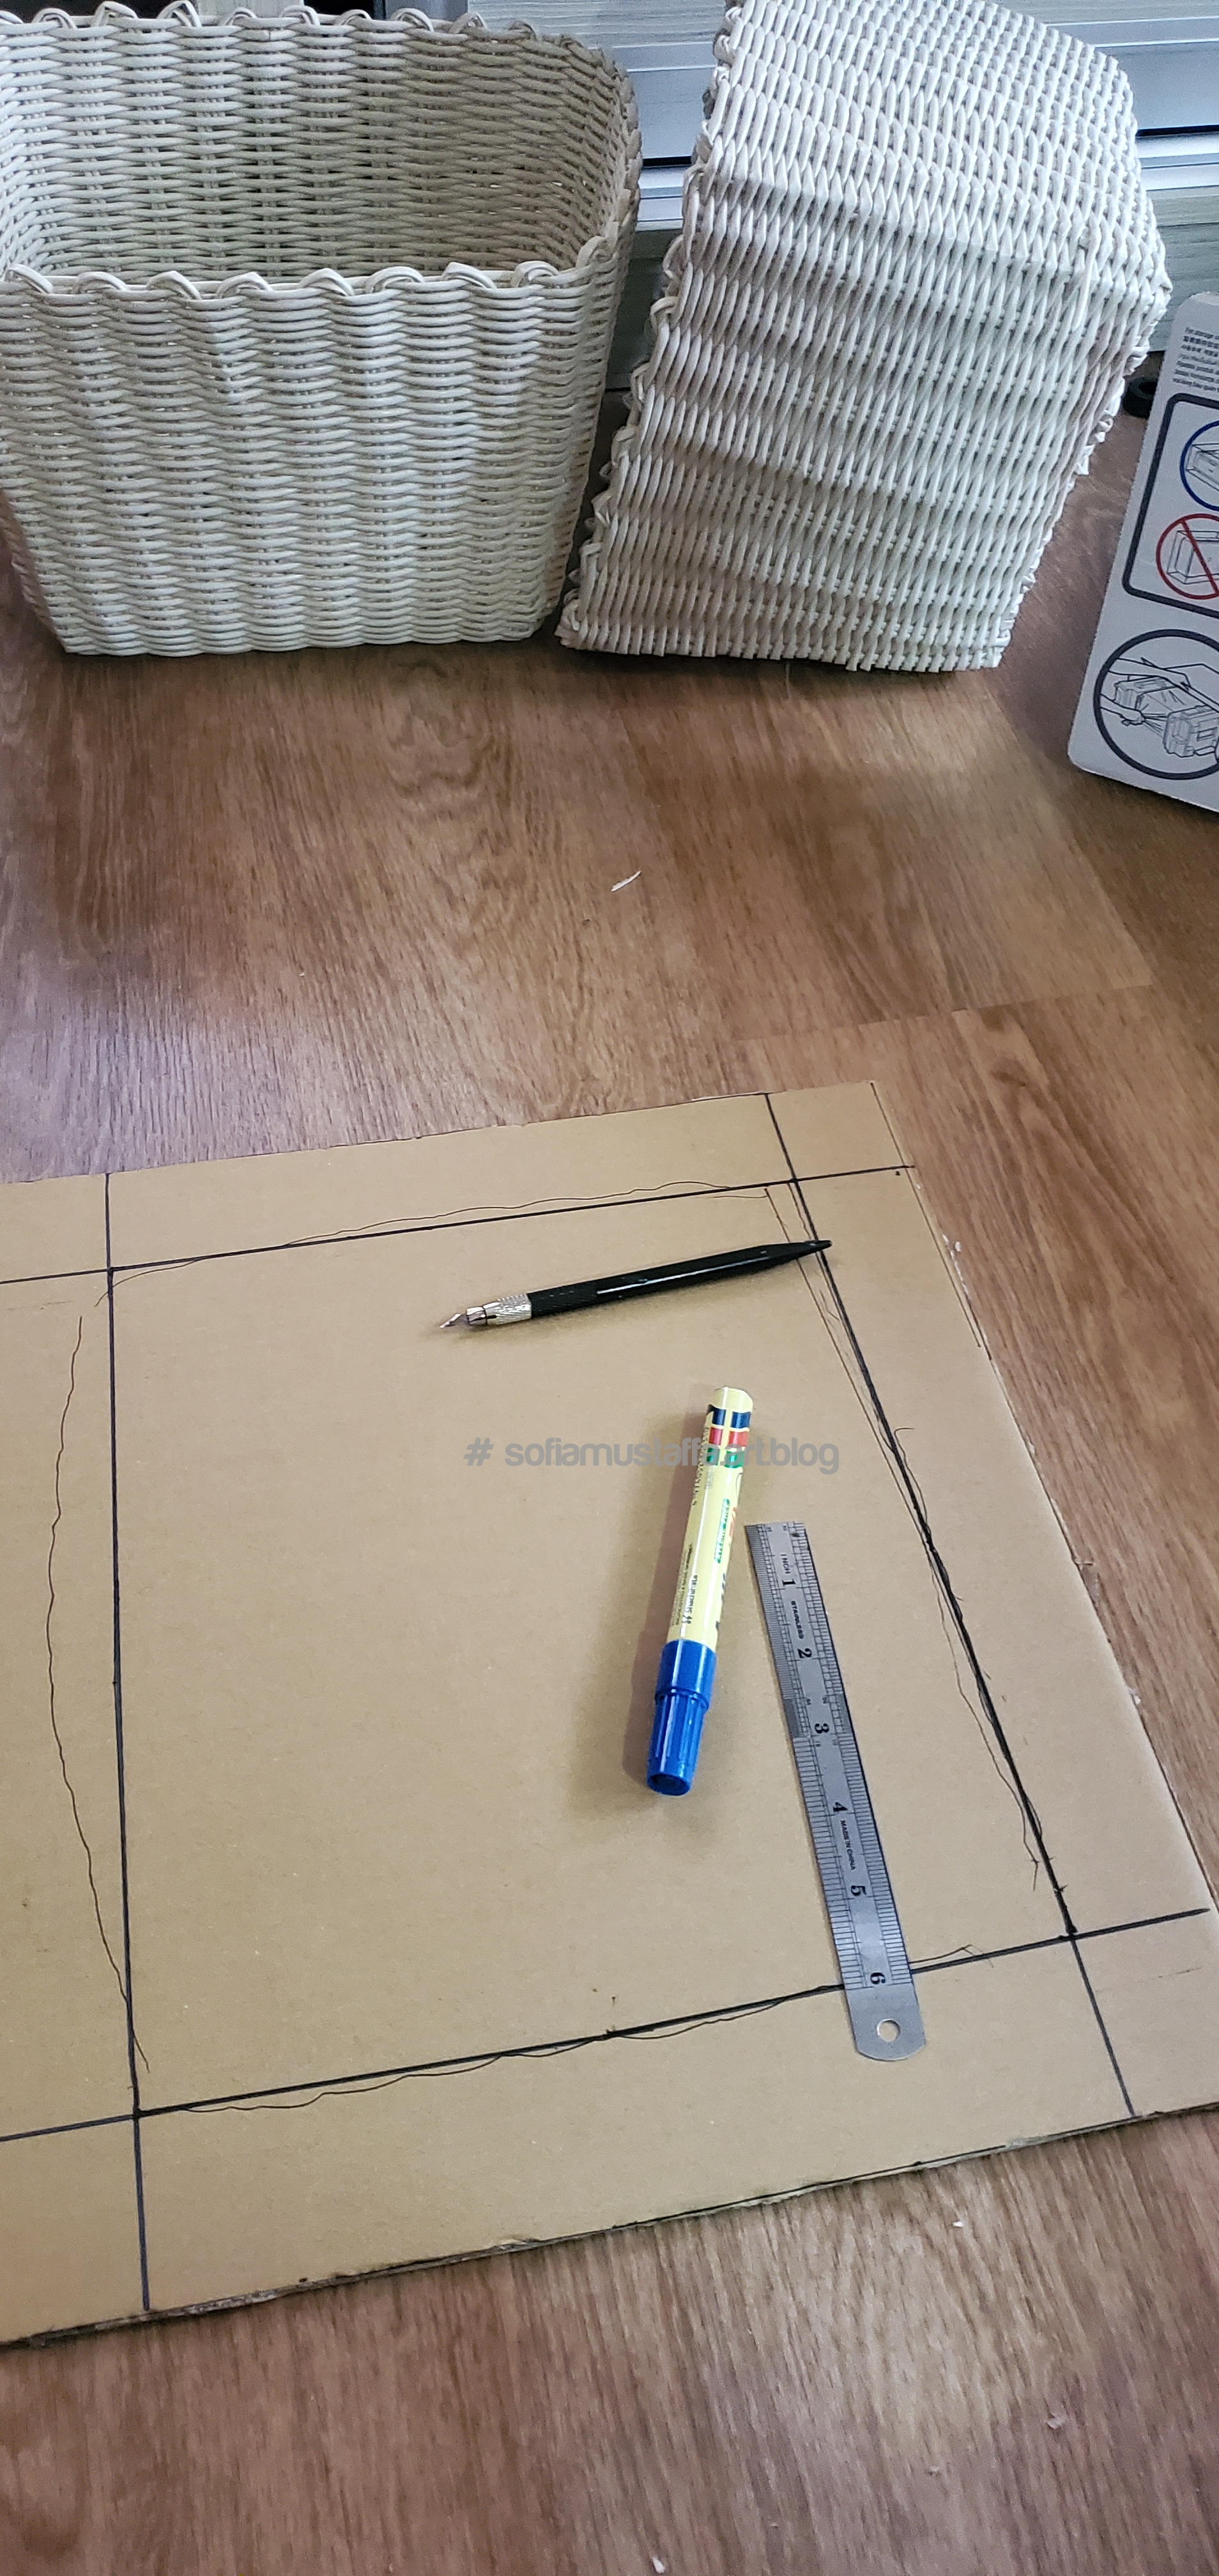
2. Then, u make a straigh line with all points with thicker marker pen.
I make few points on the box, then straight it with ruler and thick marker pen.
3. Cut all the lines!! I cut it with blade first, then cut it with scissor because the box is soo thick 😀
Straight cut
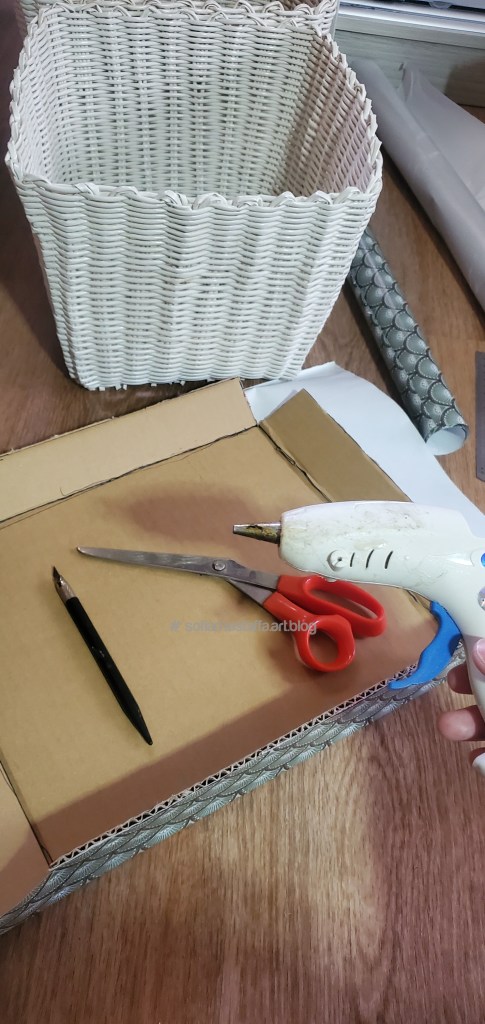
4. After cut all the lines, I glue the lid with glue gun. U need to wait for quite some times before applying the glue, to ensure the glue is smooth, coz we want a smooth surface for the glue. Until, its liquid state, then only u apply it on the box. Or else, it will easily tearoff and not glue properly 🙂
Cut the lines, and glue all the edges, make a rectangle lid.
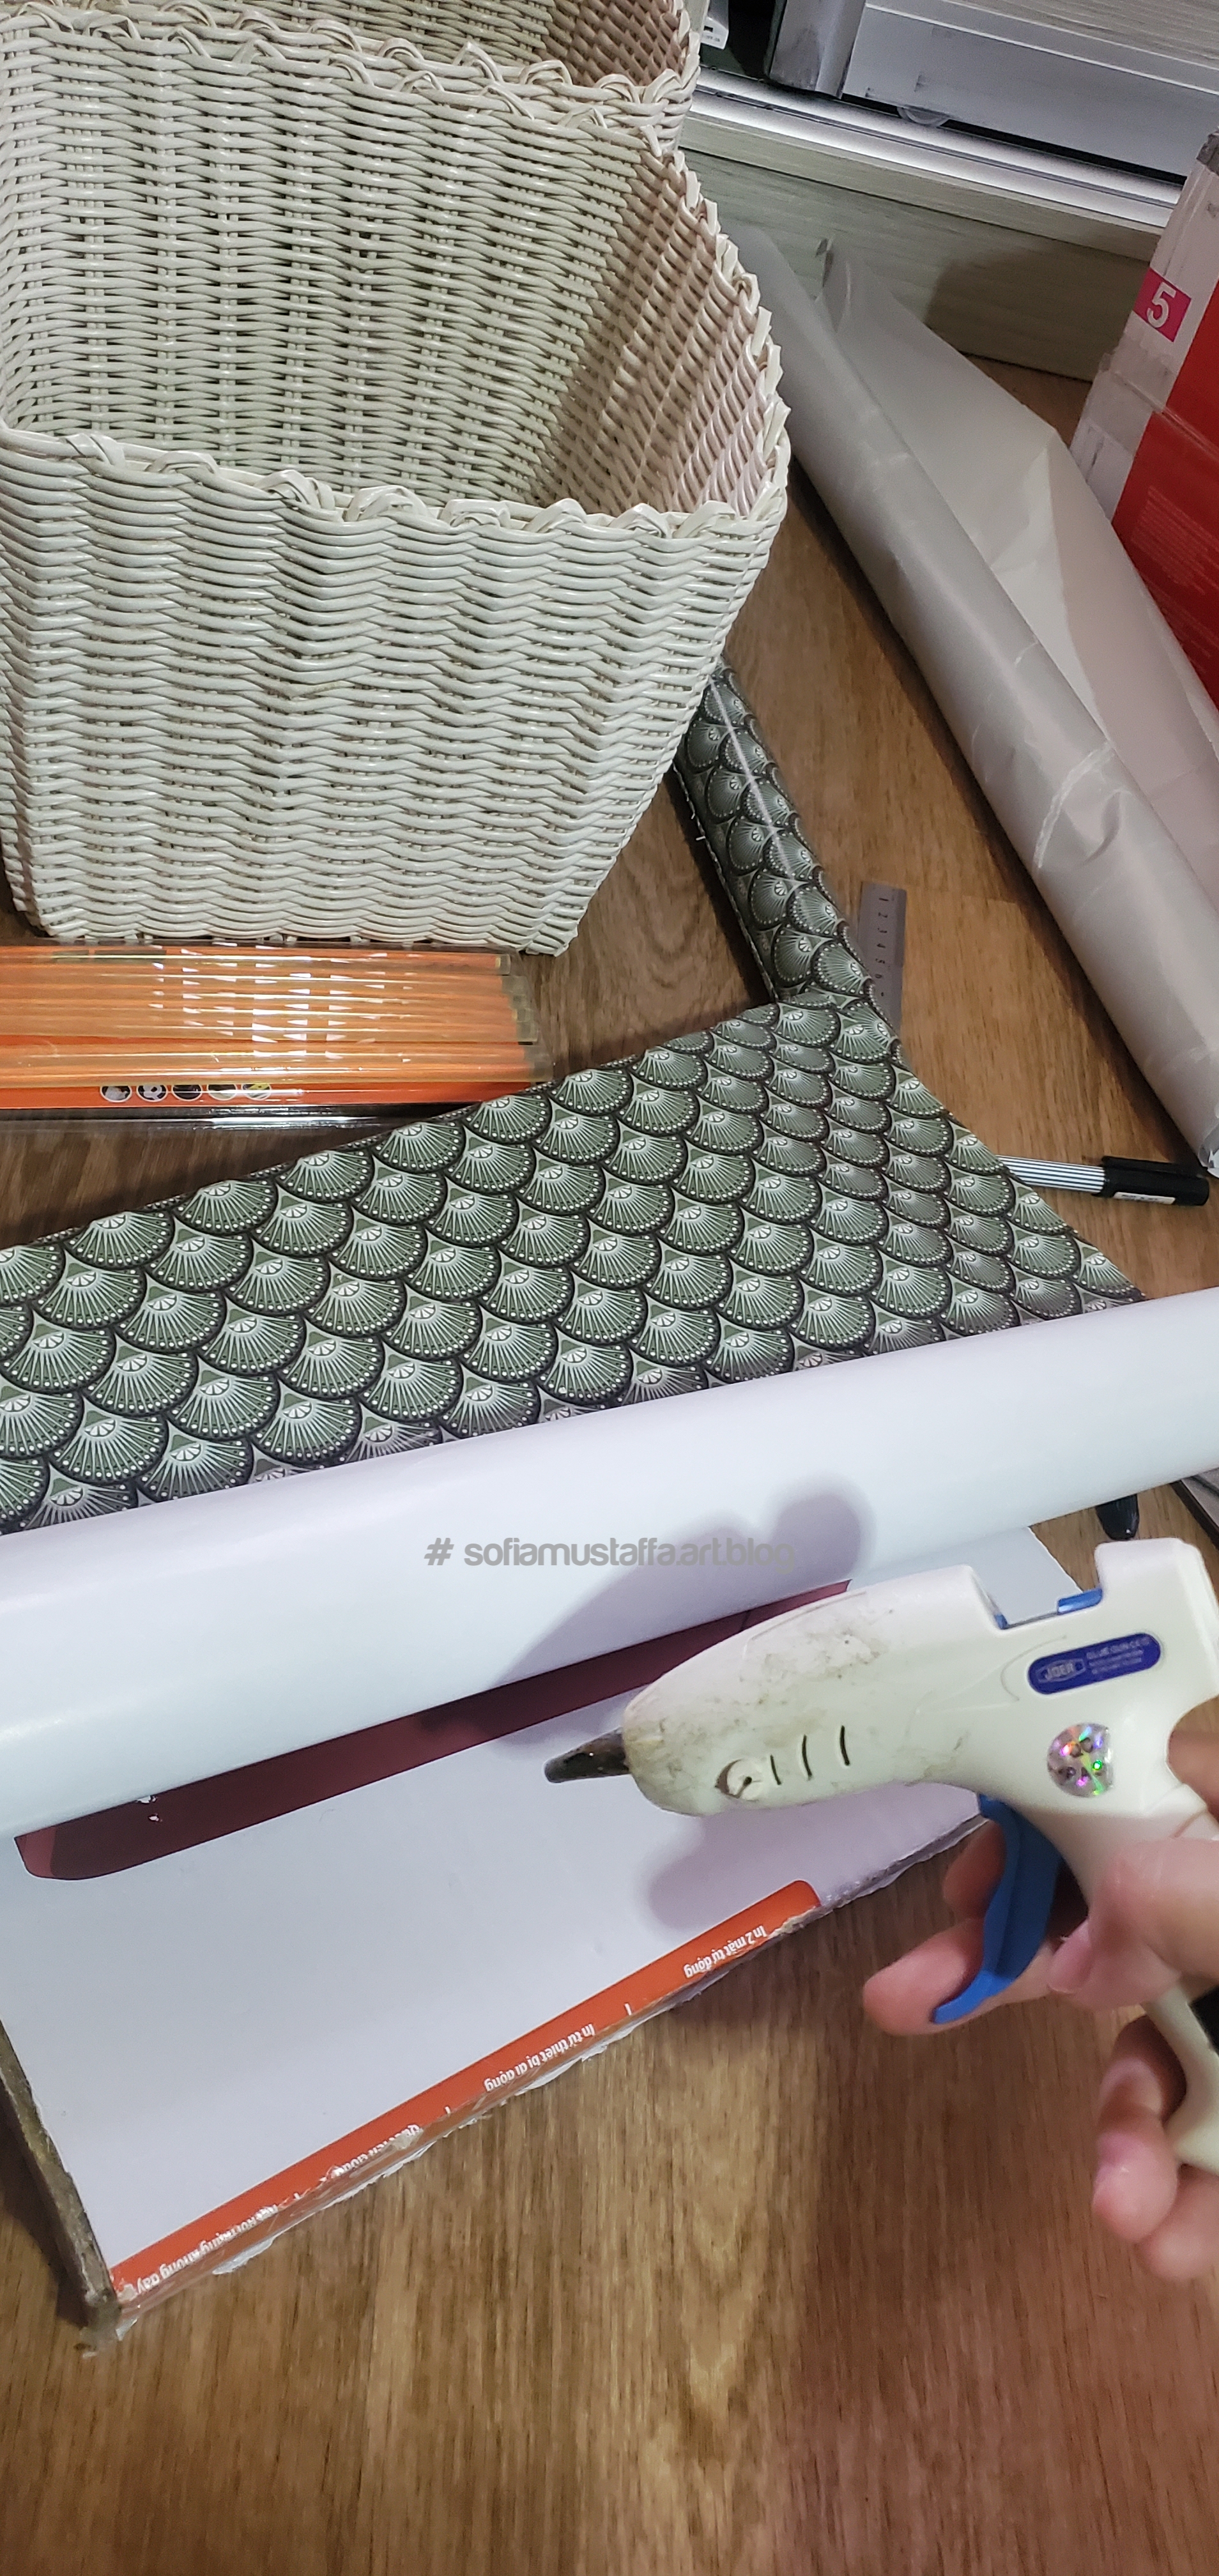
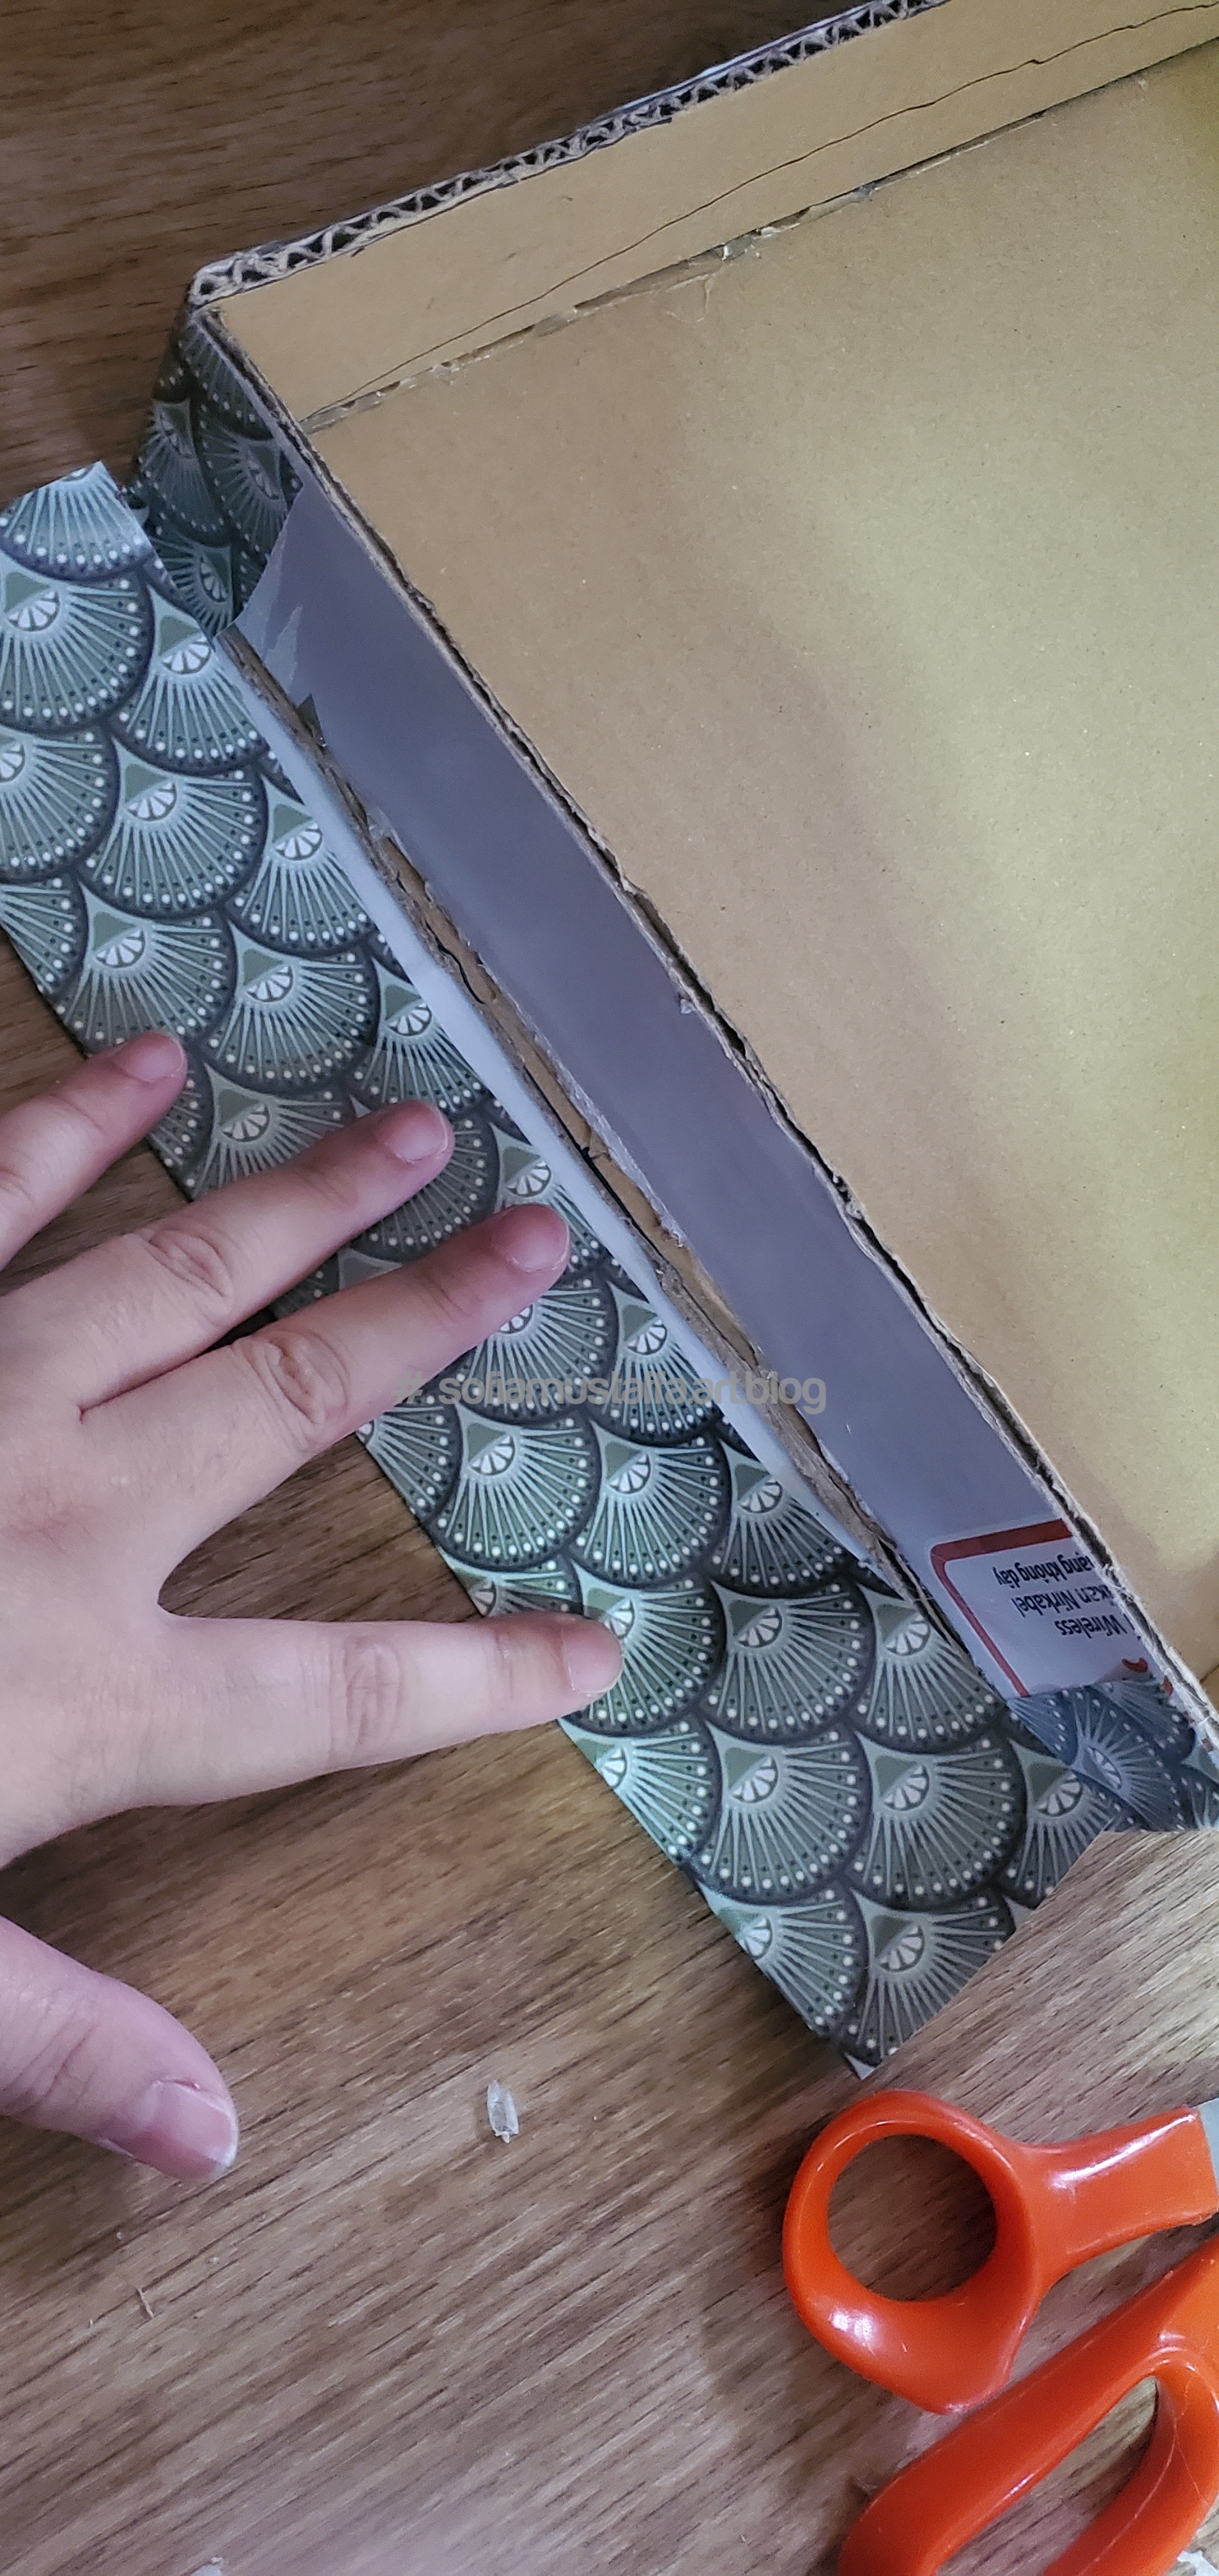
5. Once u can see the lid shape, wrap all way with wrapping paper. I prefer use whatever I have now. U can do ur own creativity to decor your box.
Glue all the wrapping paper using glue gun 😁
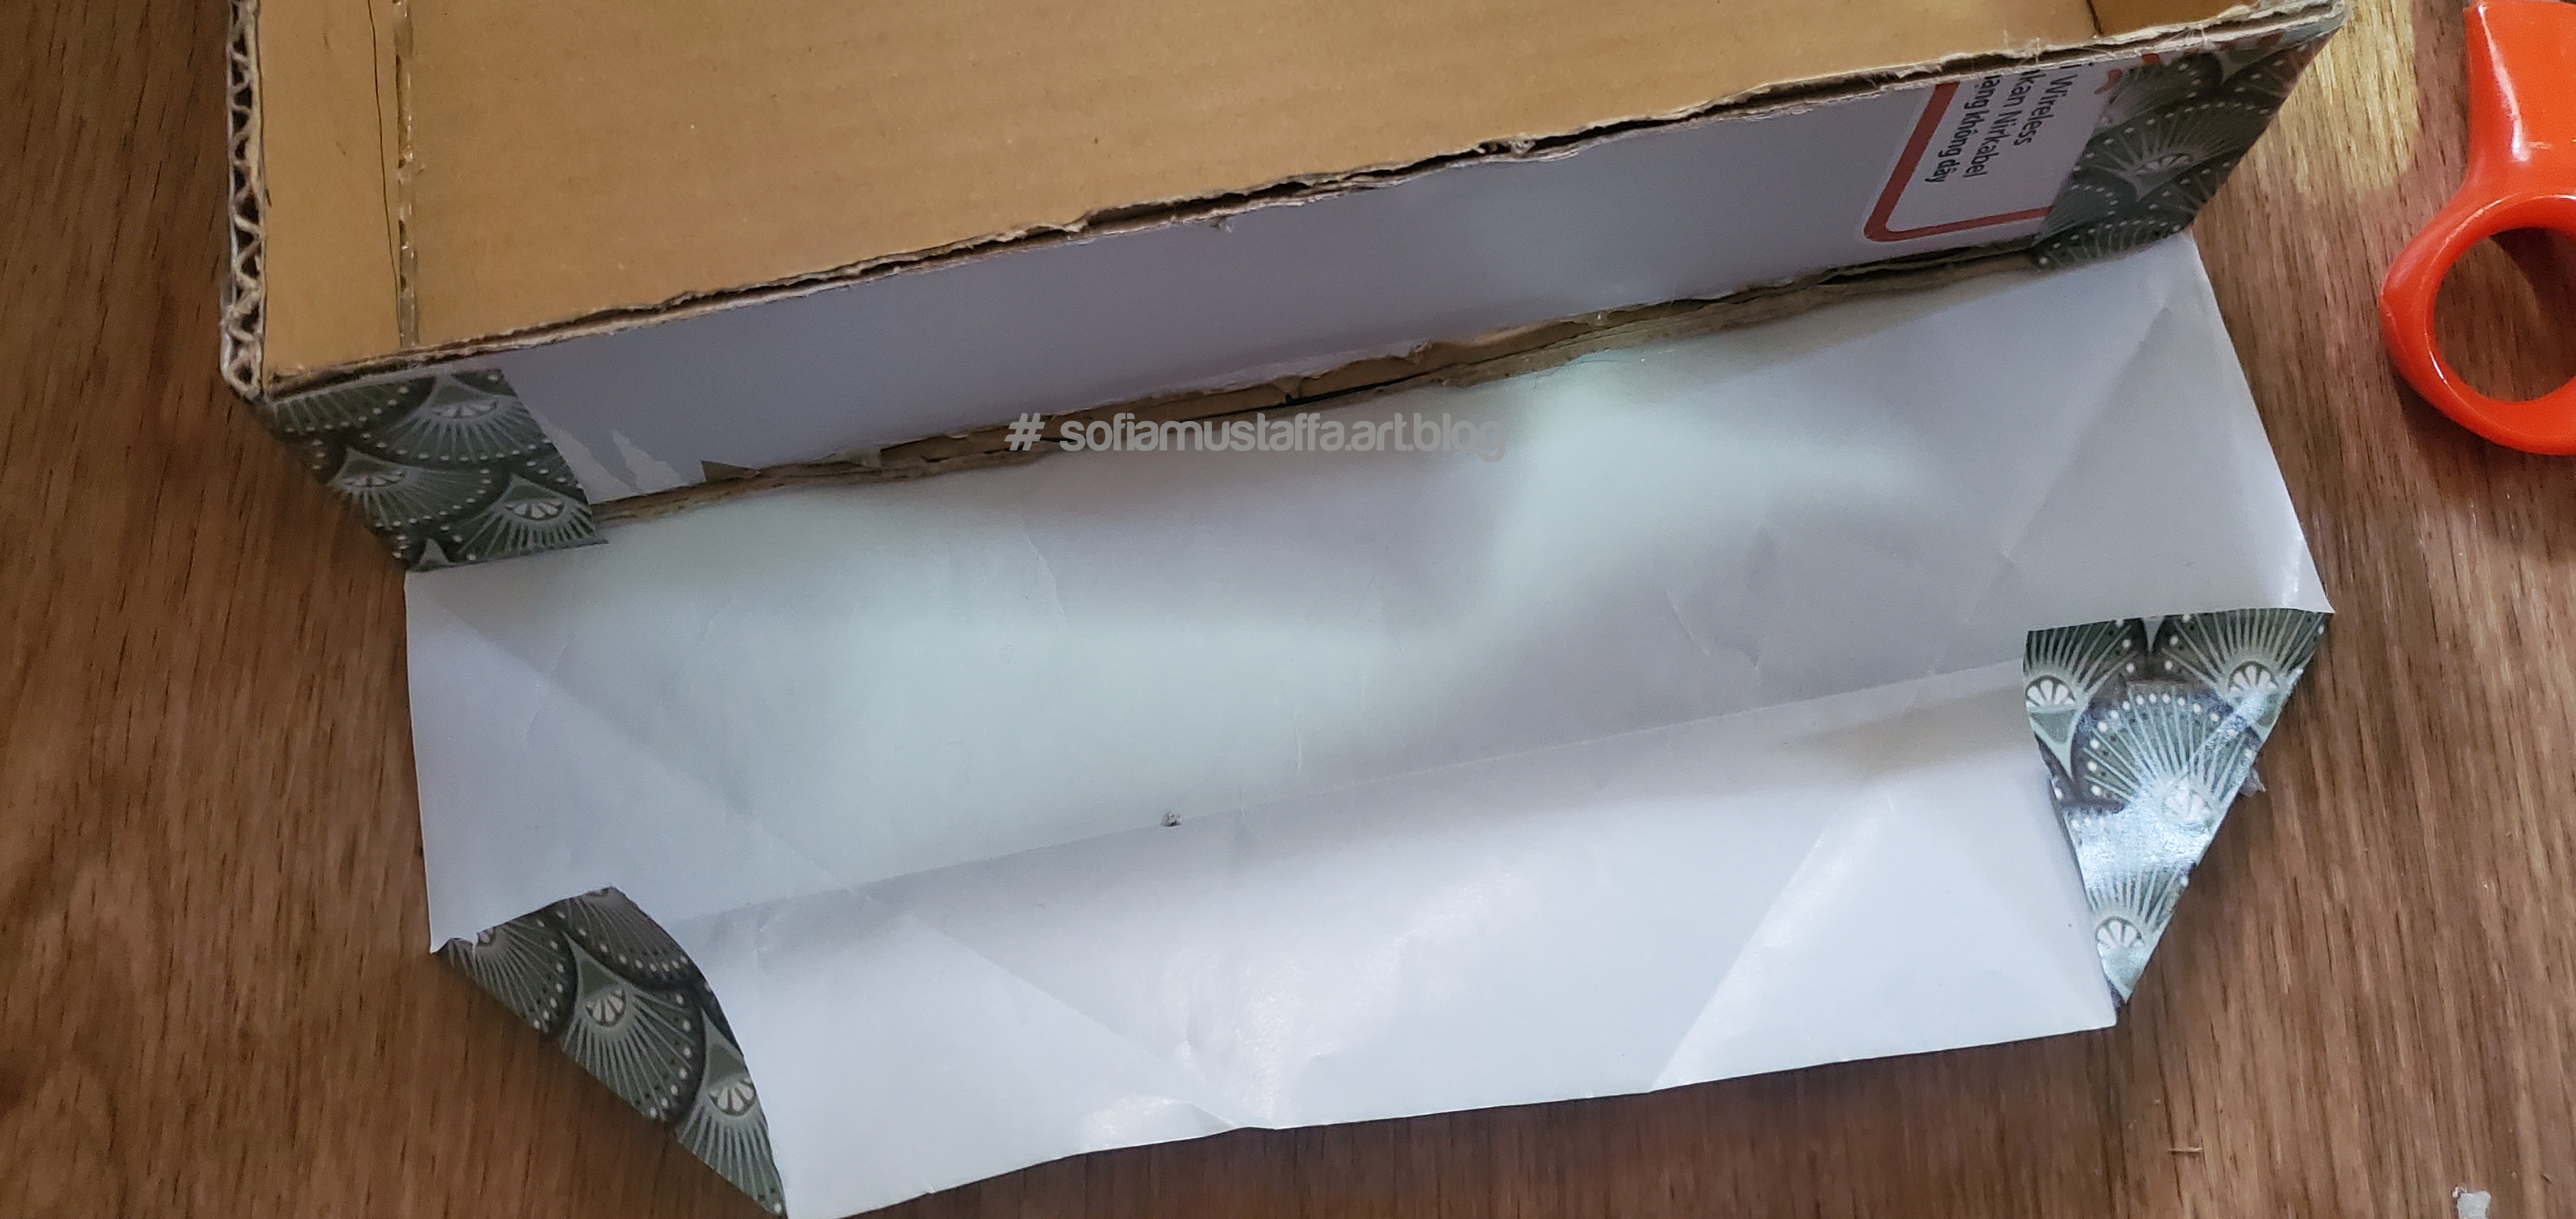
6. I glue it all the way. At the both ends of the box, there are some extra paper. So I fold it and glue nicely.
Cut it then glueMeasure first and make some fold. Then fold it into 2 like this..And…fold like this…i glue the end and glue it all the way…hahaha. Im glue here…glue there..glue here..glue there and glue all the way…haha..gluing while singing the song!! 😂
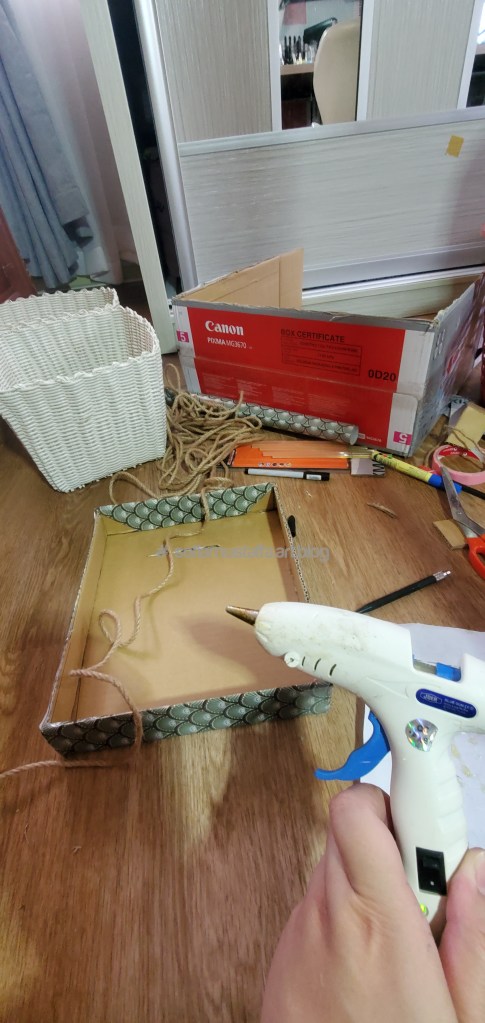
7. Tadaa!!! My box’s lid is DONE!!! Just a finish touch up to make it a smooth finished product, I glued jute rope at the edge of the box.
Glue gun all the wayyy…yeppie!!! 😆😆🥰Tadaaa!! Okay, u need a lot of patience when gluing this. U can’t do it fast, because it will smear or glue wont stick longer. U need to do it, slow and steady..then u will have a smooth nicely glued jute rope 🥰
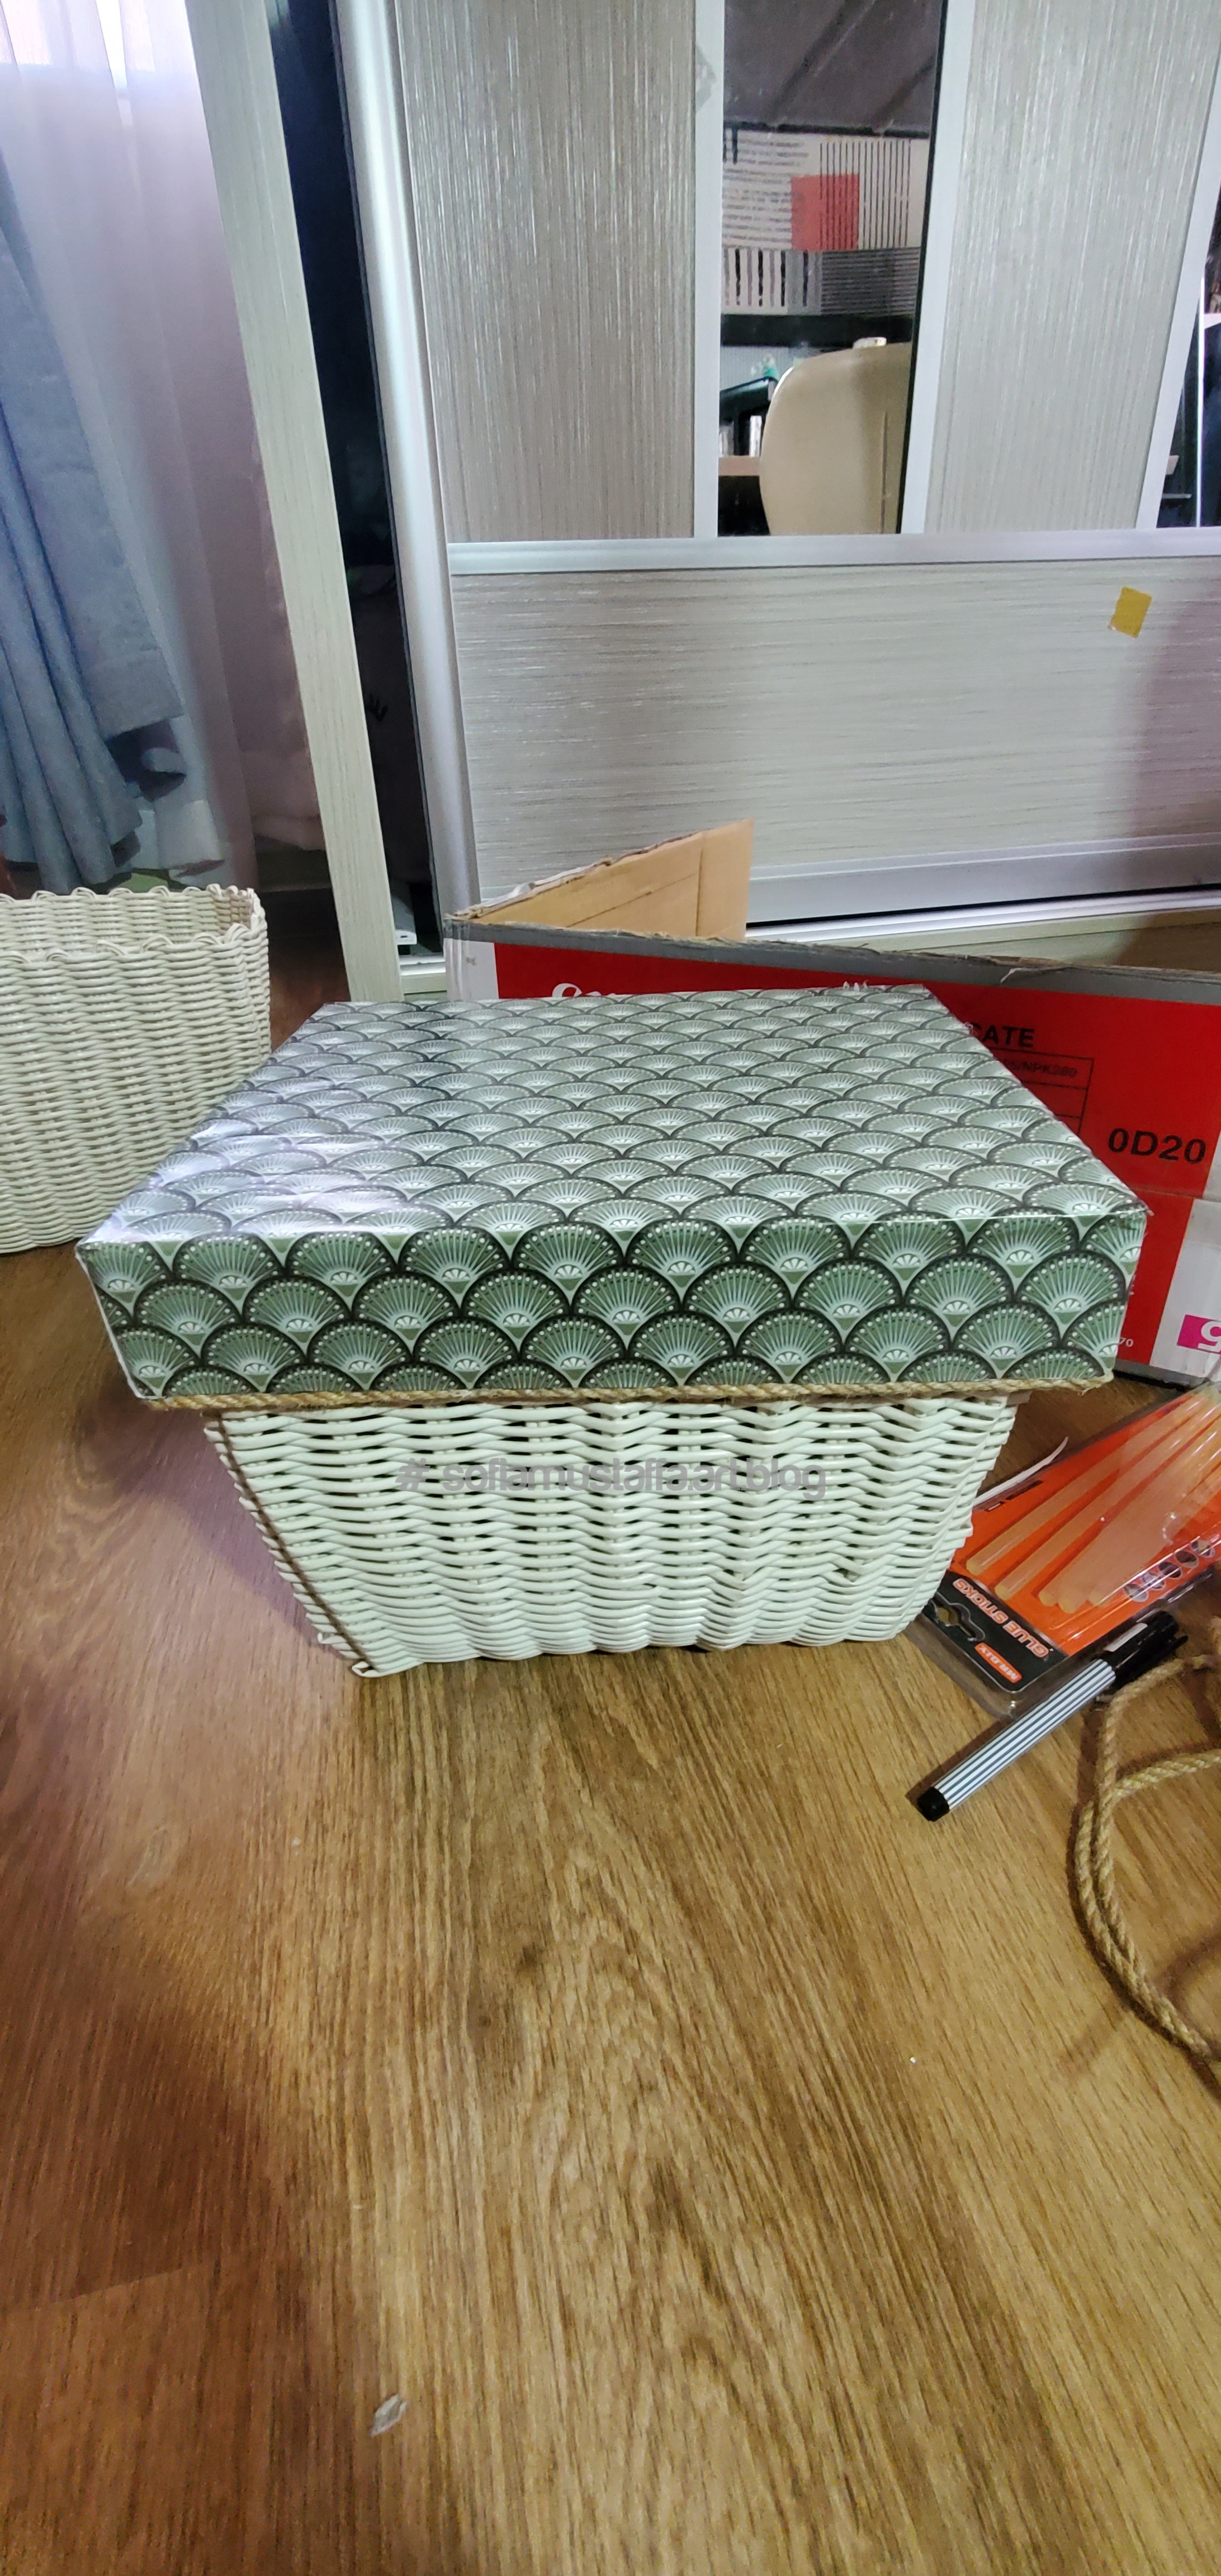
8. ALL DONE!!! 😍 My basket is a flexi material. I can bend it to fit the lid 😂😂 Doesn’t fit? Just make it fit right there by force 😆
Jeng jeng!!! The finished product is here. Now dust can’t easily go into my things in that basket..hahahaha. Problem solved 😆
Hello everybody!!! Good Friday morning, everyone 😘
Sorry, was busy with some deployments job. Just want to share with you a simple, easy and unique present wrap that I made for my niece. Haha, yes….you heard it right!! I love something which is easy, beautiful, unique and also cheap. 😂
So here u go, what you really need is…
1. Scissor
2. Glue
3. 2 plain color of paper
4. Cute ribbon or chocolate cover *optional
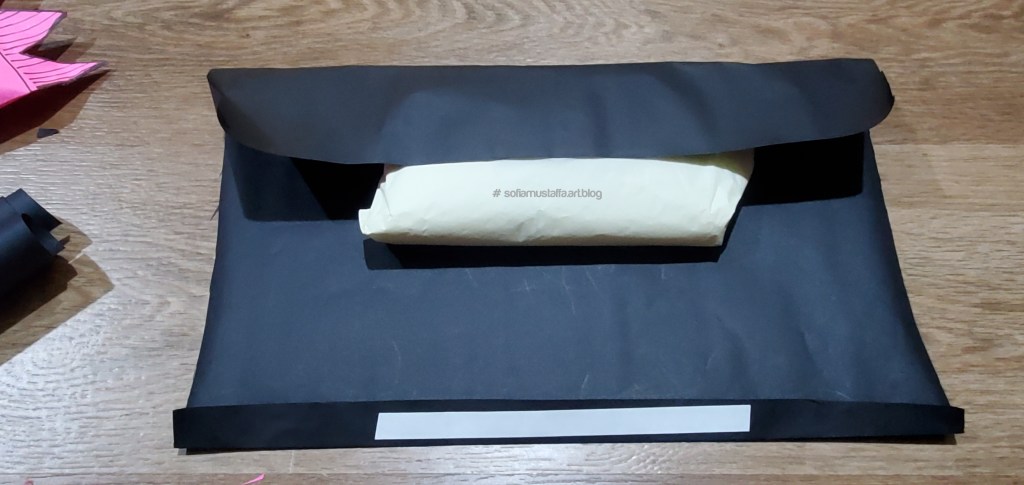
How to wrap a present – Cheap, Easy and Unique way (chocolate design)
1. Wrap the whole present like this, and put doible sided tape at the end of the paper. Make sure you fold it before put on the double sided tape.
Fold and put on double sided tape
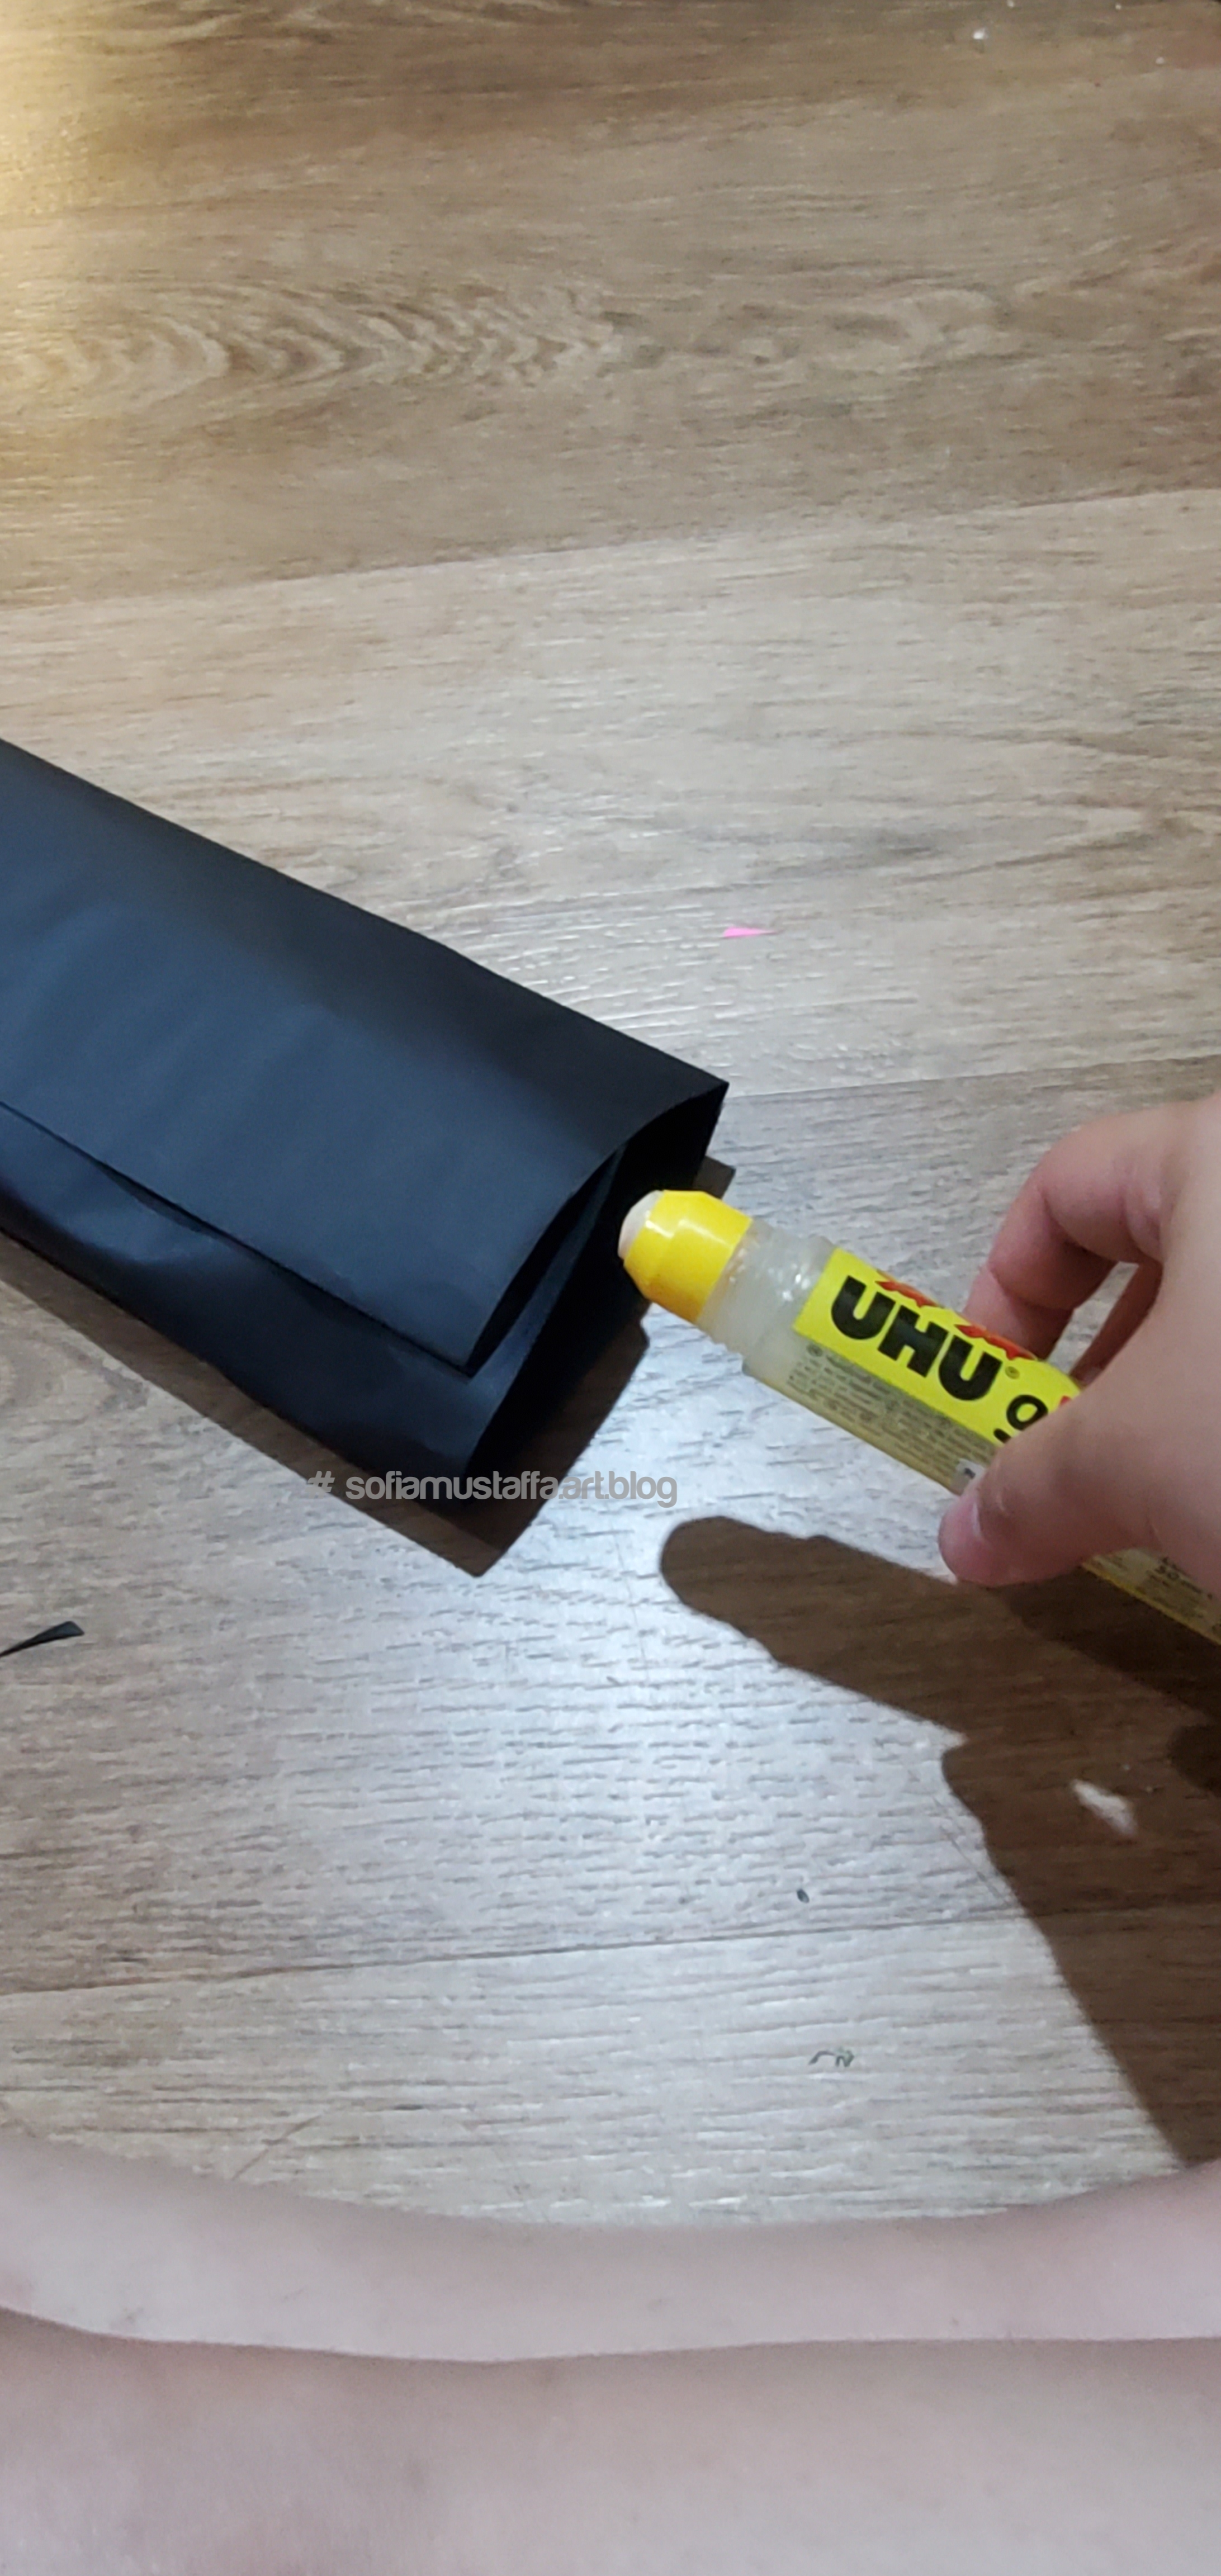
2. Then, at both end of the present, just put in the glue inside, and keep it together like this..
Put in glue inside both endsTadaaa 🥰
3. Cut the edge of both side, with zig-zag design..
Cut it zig-zag, u can refer below picture
4. Cut off another color of paper square, and simply glue on top of the present like this..
Zig-zag cut at end of present. Cut off another color of paper, and simply glue on top of the present..then you done!! 🥰😘Tadaaa!!! The end product will look something like this. You can put on the cover wrap chocolate paper, or ribbon for decoration ❤
That’s all for now, to be continue if i got any some other time..take care guys!!! 😘
Hey everyone! What’s up? Hope you had a great weekend.
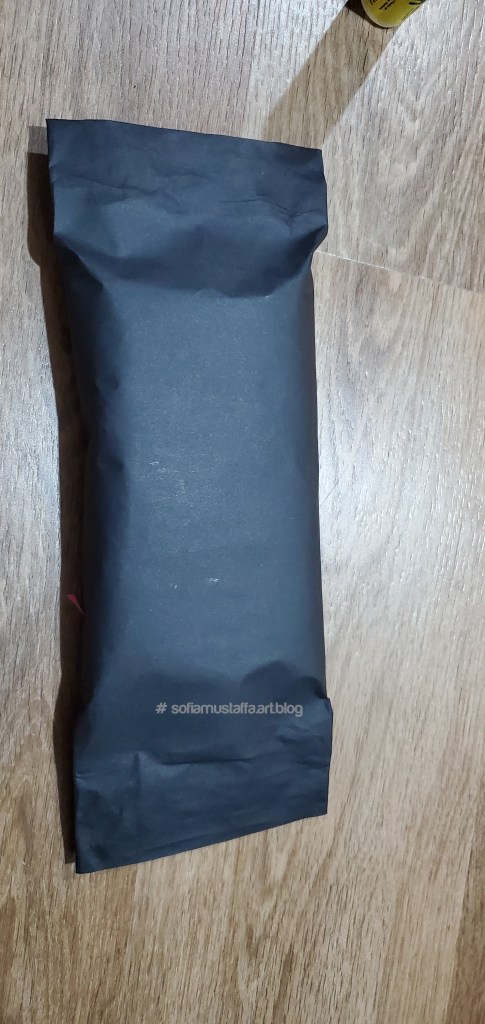
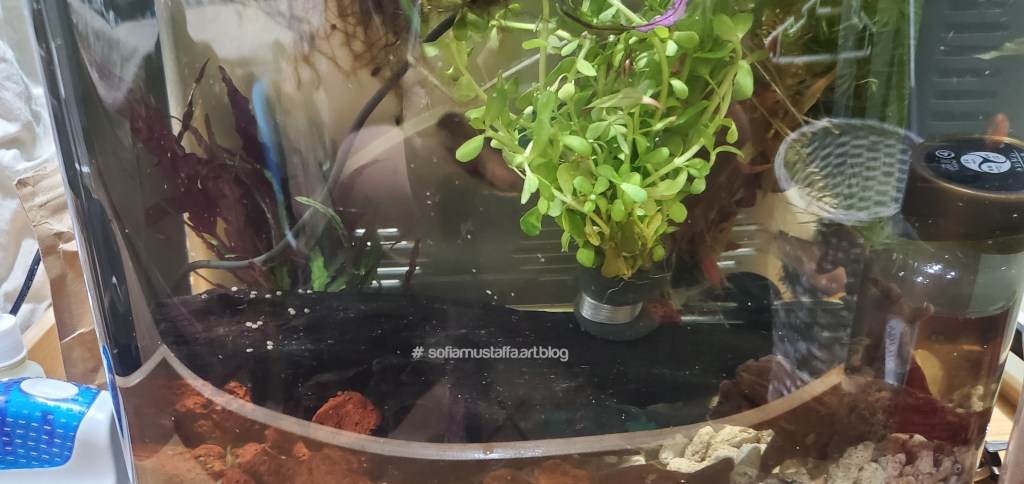
Today, I got a new plant for my mini-Aquarium. Yay!!! I bought 4 plants for my little bettas 🥰
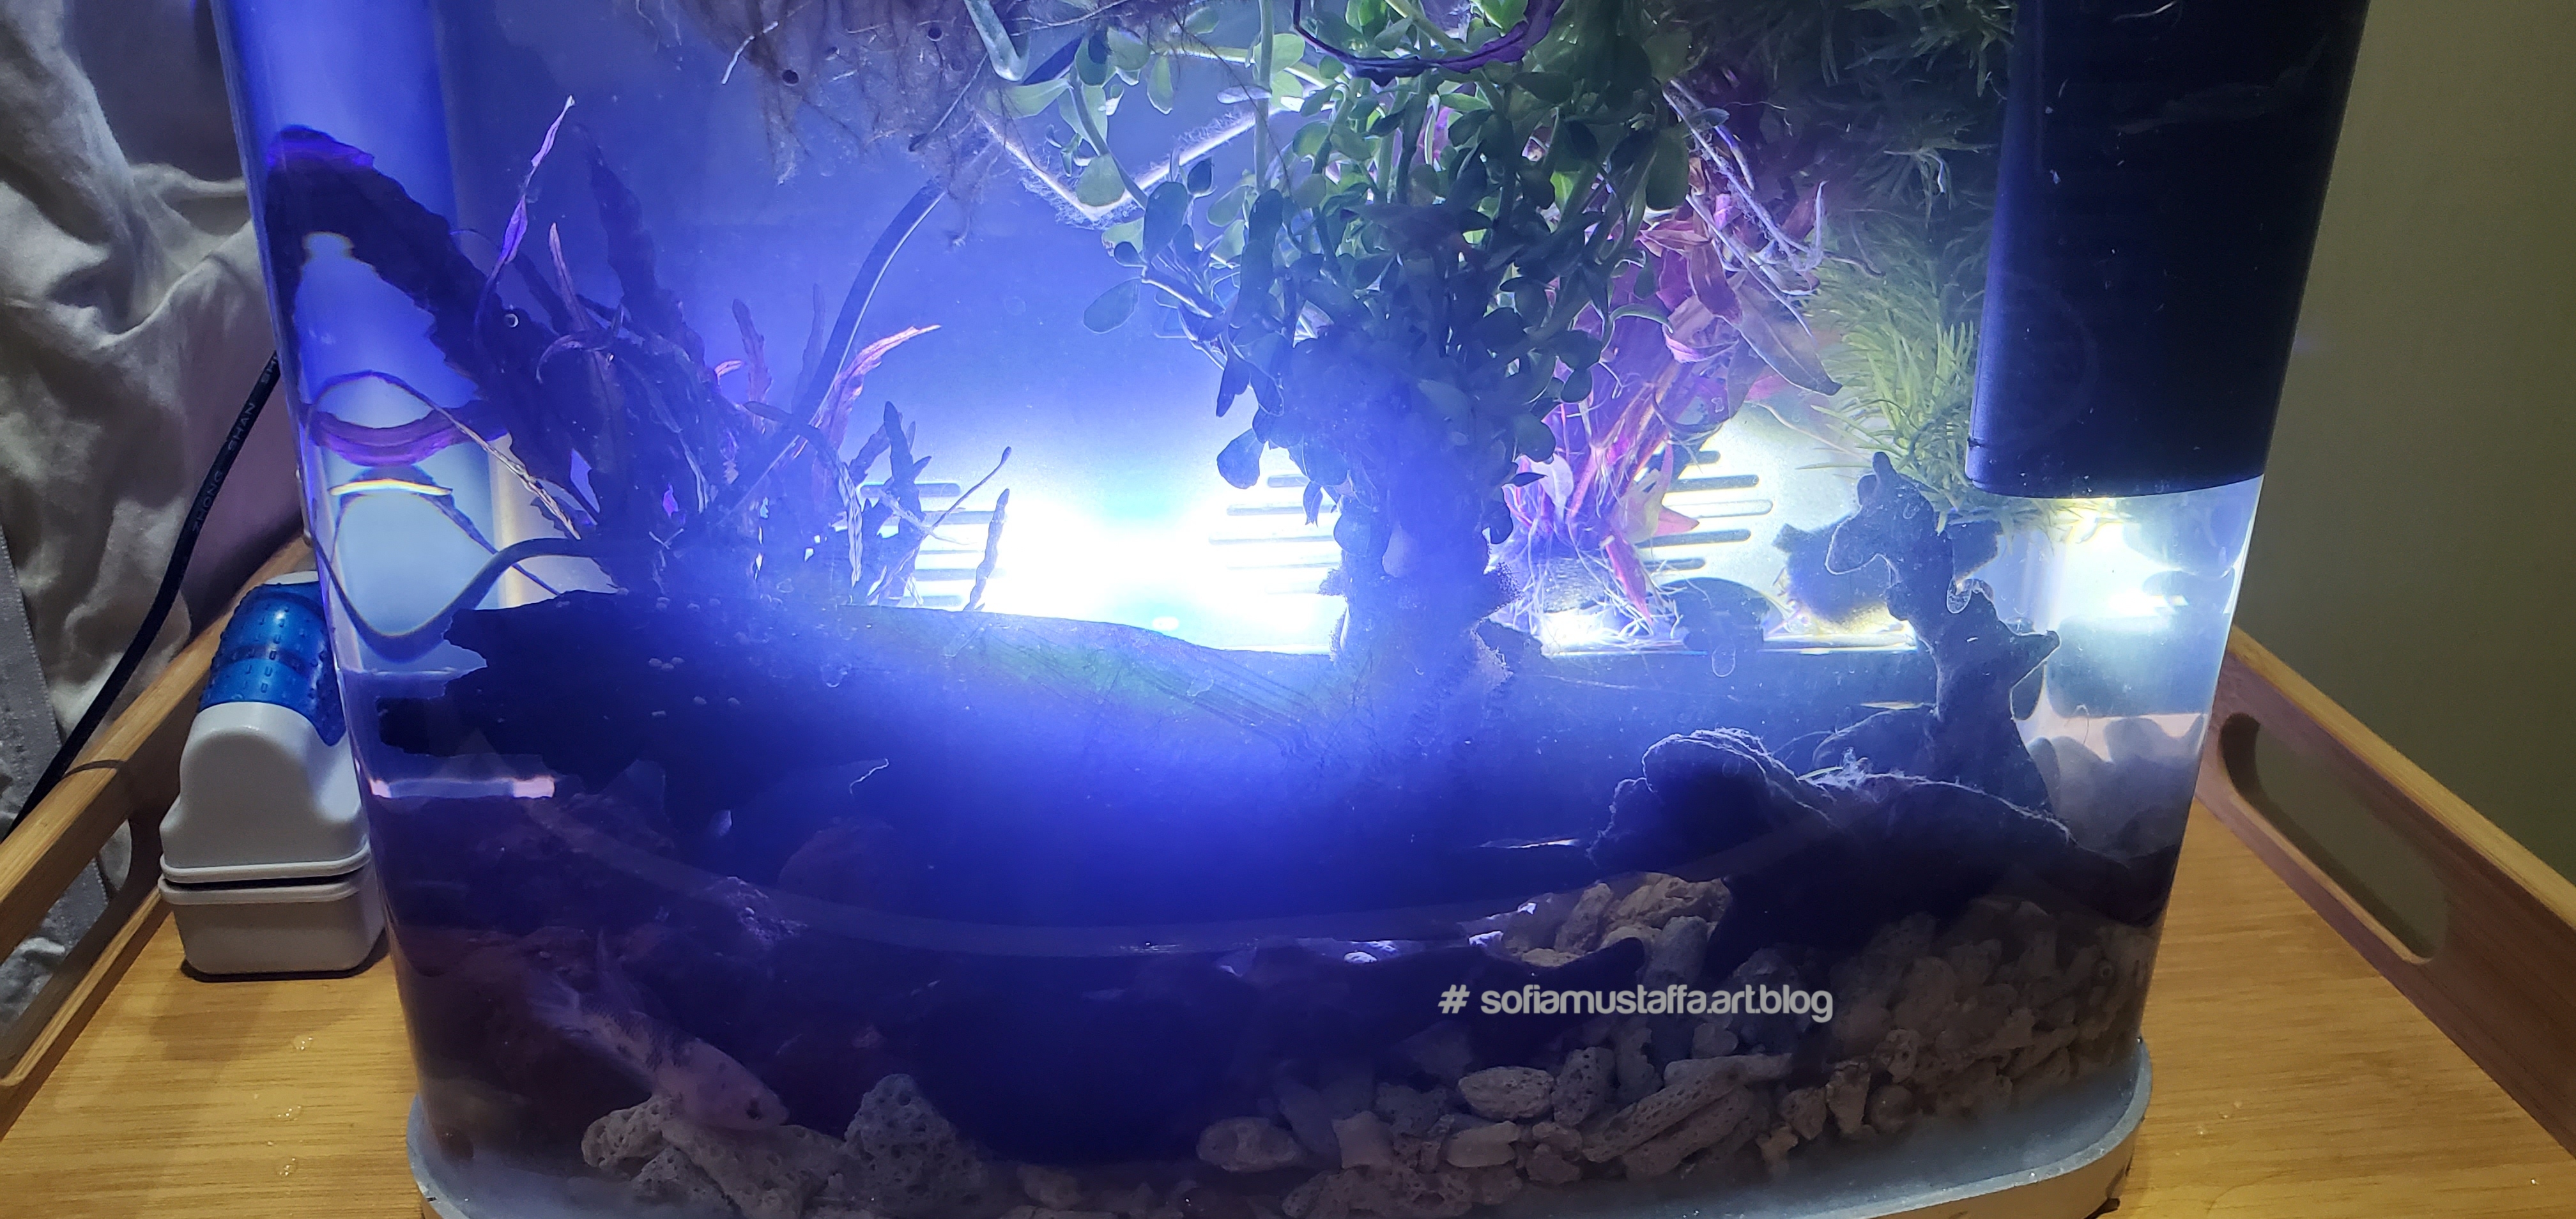
Tada!!! Light off 🥰Tada!!! Light on 😘
So guys, I only kept my girls in the mini-Aquarium. Because the guys didn’t get along with the girls.
I’ve been thinking for quiet sometime, how to make the mini-Aquarium didn’t look so messy with the cutie’s food everywhere. Coz, I’m using the Oxygen pump, and it scattered the food everywhere.
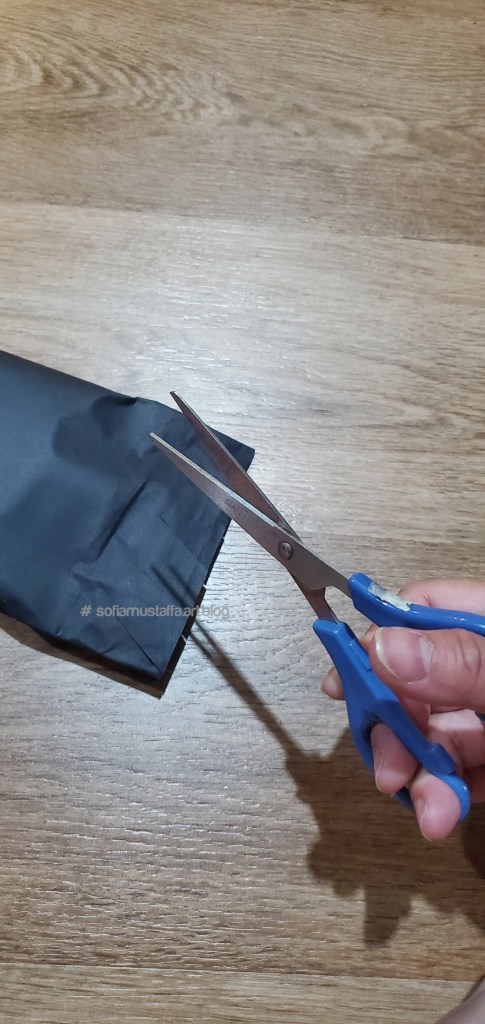
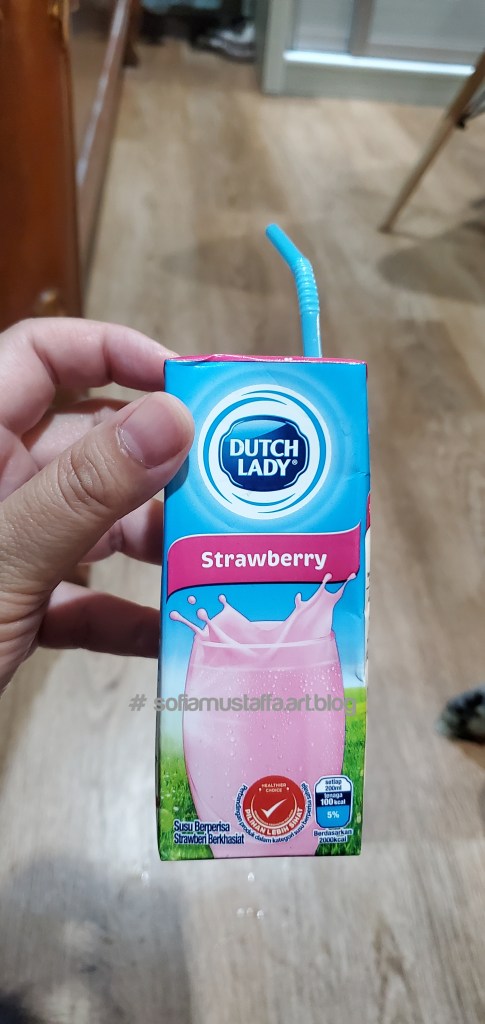
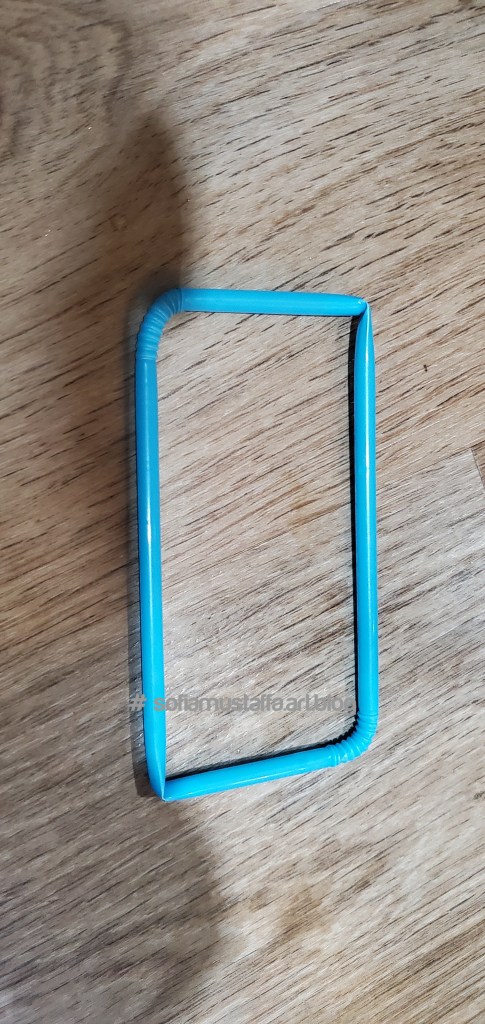
So, I’ve looking at the thrown straw in the dustbin, then I’m thinking…shall I try to use it something similar to the floating pool noddle?
This has been thrown into the dustbin for few days…then suddenly the idea came..😇
Hey!!!!! I can use the straw do make it as floating pool noddle for my bettas!! 😃
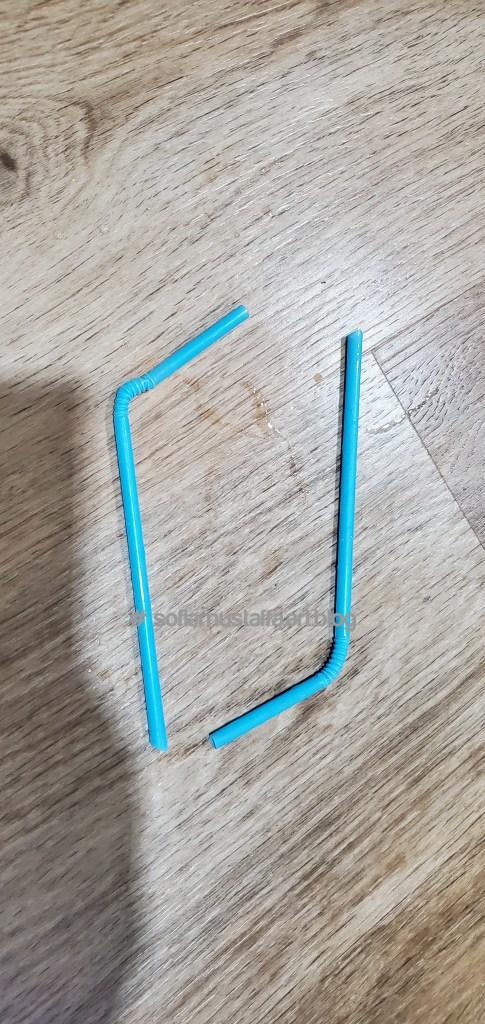
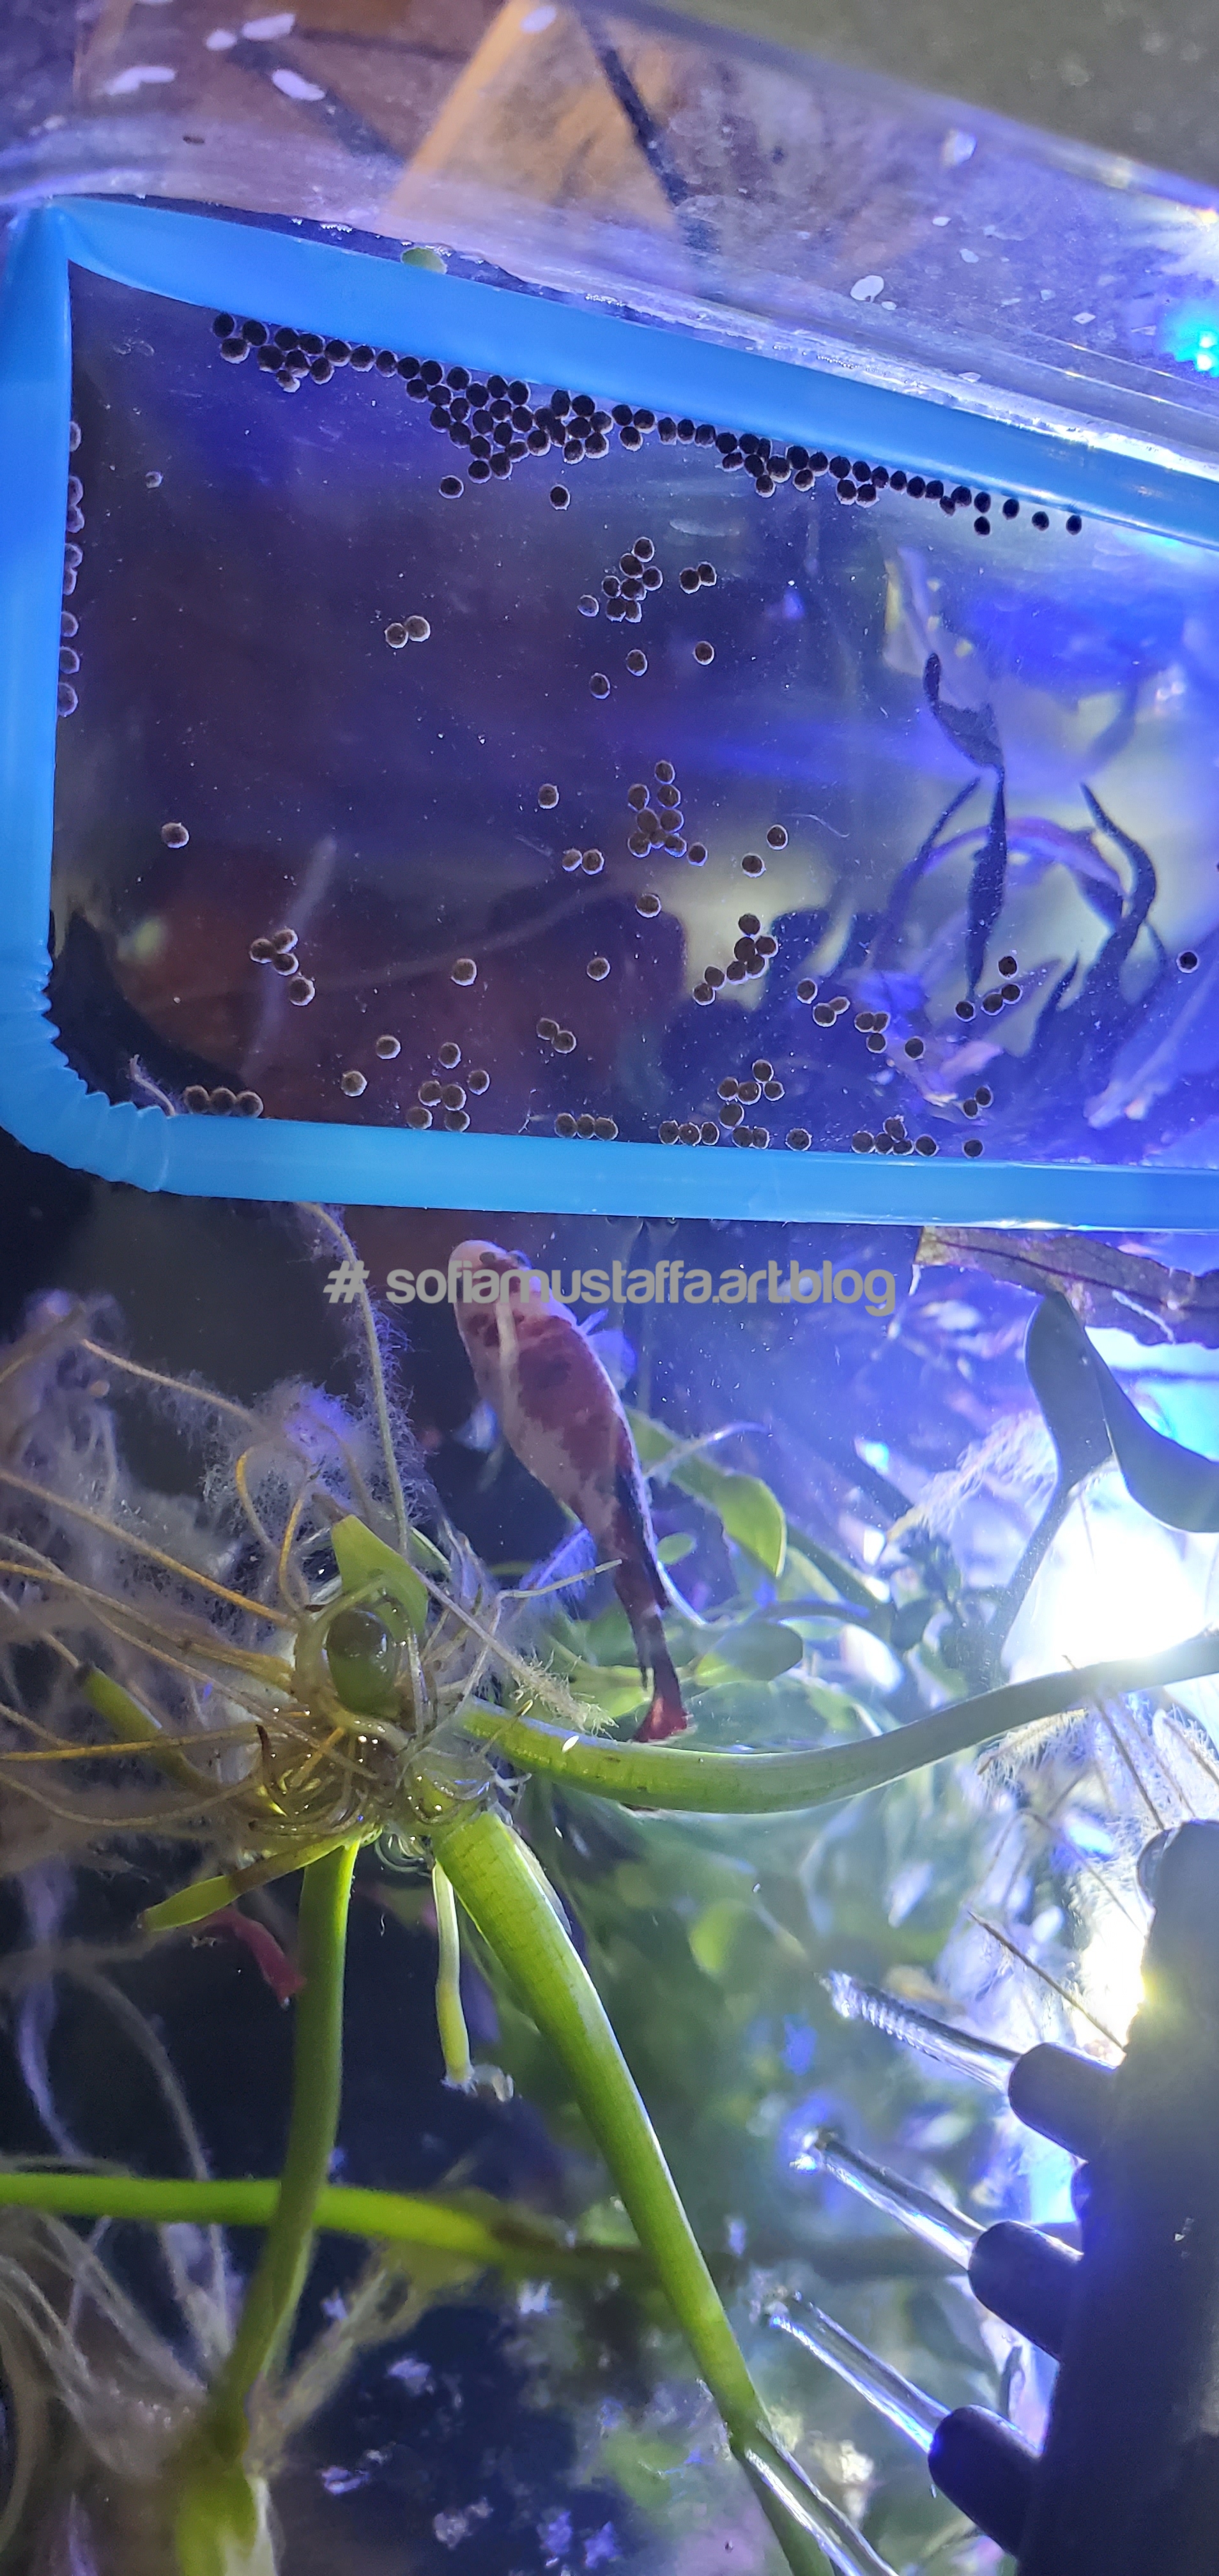
DIY food feeder using straw 😃😁
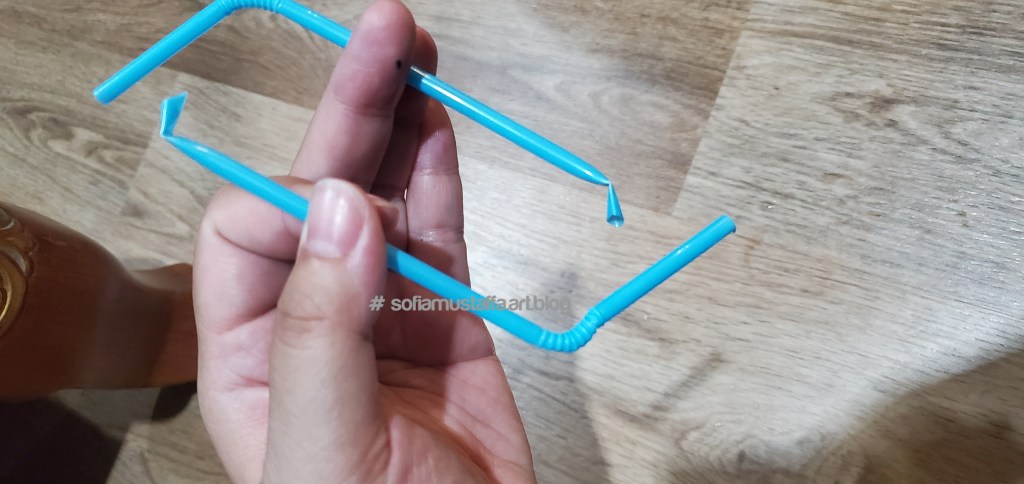
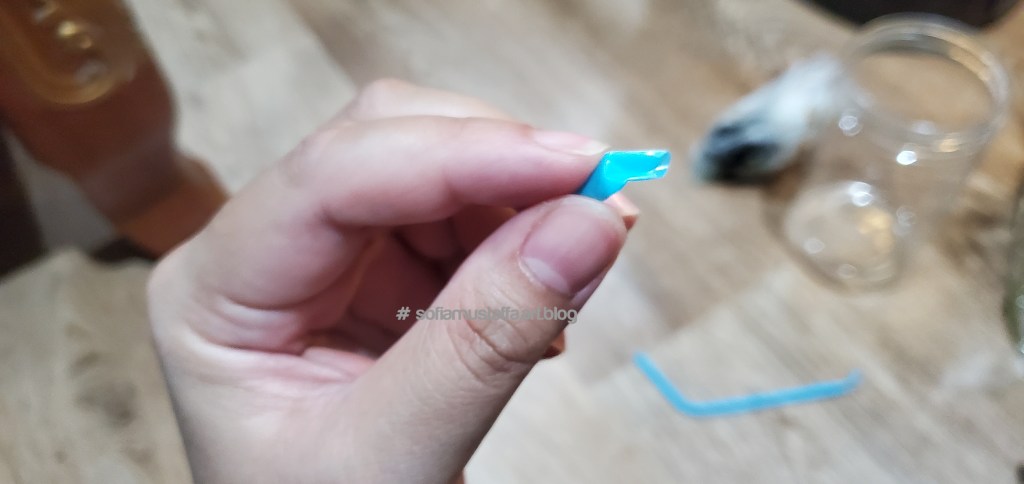
1. You will need 2 straws. I’m using the small one, coz my aquarium is really small 😄2. Then, you pinch the bottom of the straw like this.3. At the pinched bottom, you do bent the end into 2 like this.4. Then, you put the bent bottom end, into the upper one. Something like this..tadaaa!!! 😃5. She’s curious about this floating pool…😅Here you go!!! They all know now..”Hey!! Its food!!” Yummy 🥰