Hey hey heyy, hey everyone!! How are ya? Hope you are all good.
Just wanna share some idea on what I’d done to my 1st home. Just a lil bit touch up before its ready to view for the next tenant.
So basically, what only left is:
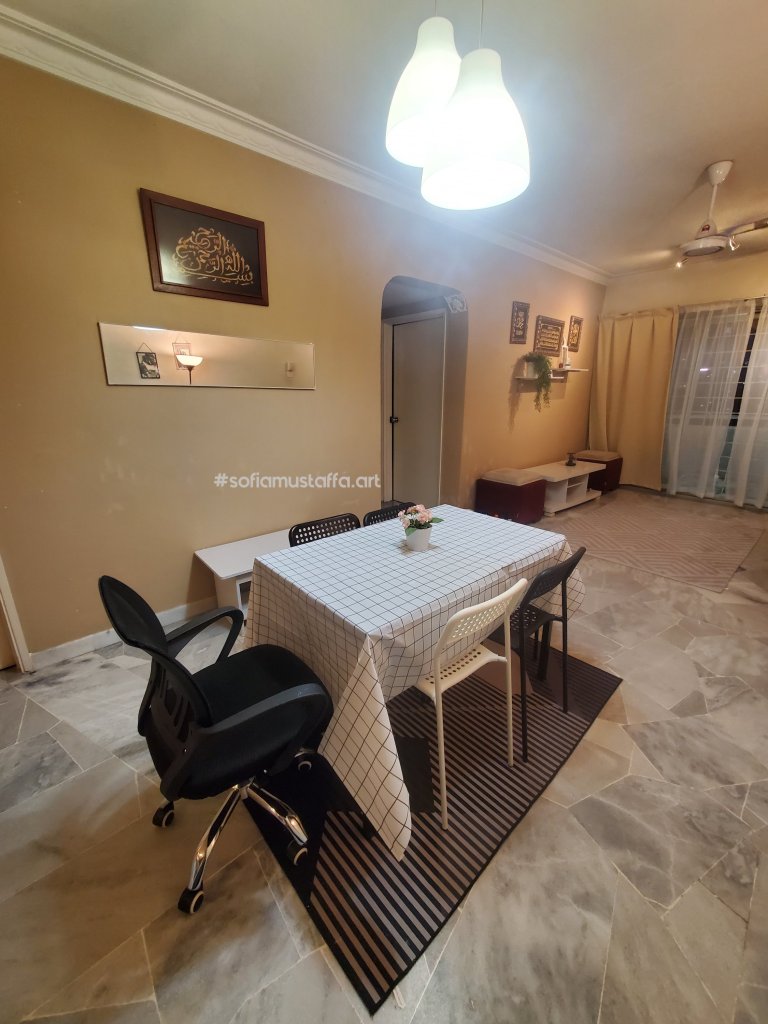
1. To receive another curtain as current curtain is actually shorts after the folding. LOL. So I bought another 2 blackout curtain for my living room.
2. To receive my TV, I bought a smart TV for the house.
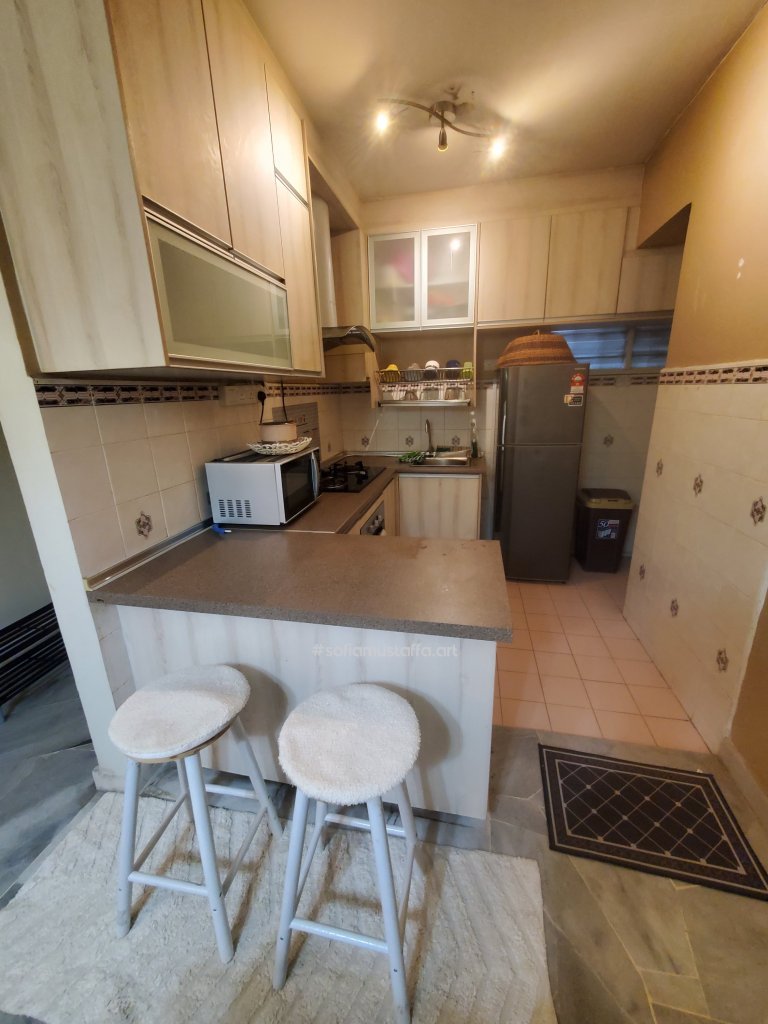
3. To hang the kitchen curtain. I already have it, just that I forgot to bring plier and scissor for cutting and adjusting the wire.
4. To hang bathroom mirror and bathroom rack. I need to bring along the strong double sided tape, I guess I just use double sided tape for the rack. 😃
5. To dismantle and install the water heater. I already bought 2units, just need plumber to install. I already book plumber to do such things 😀
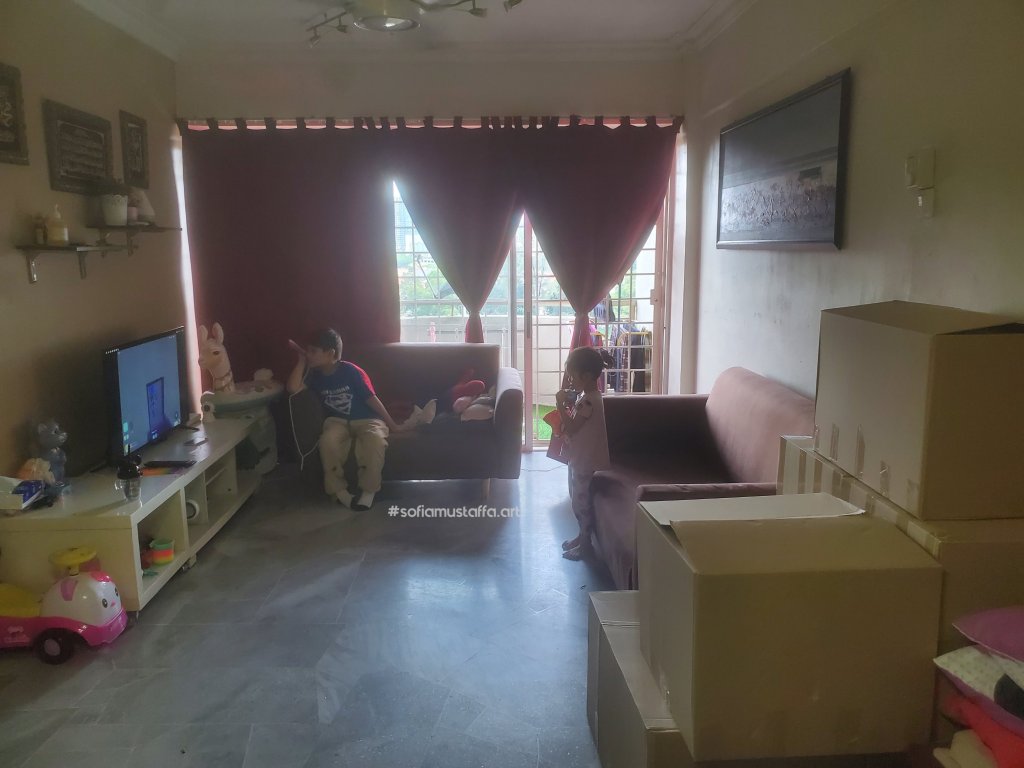
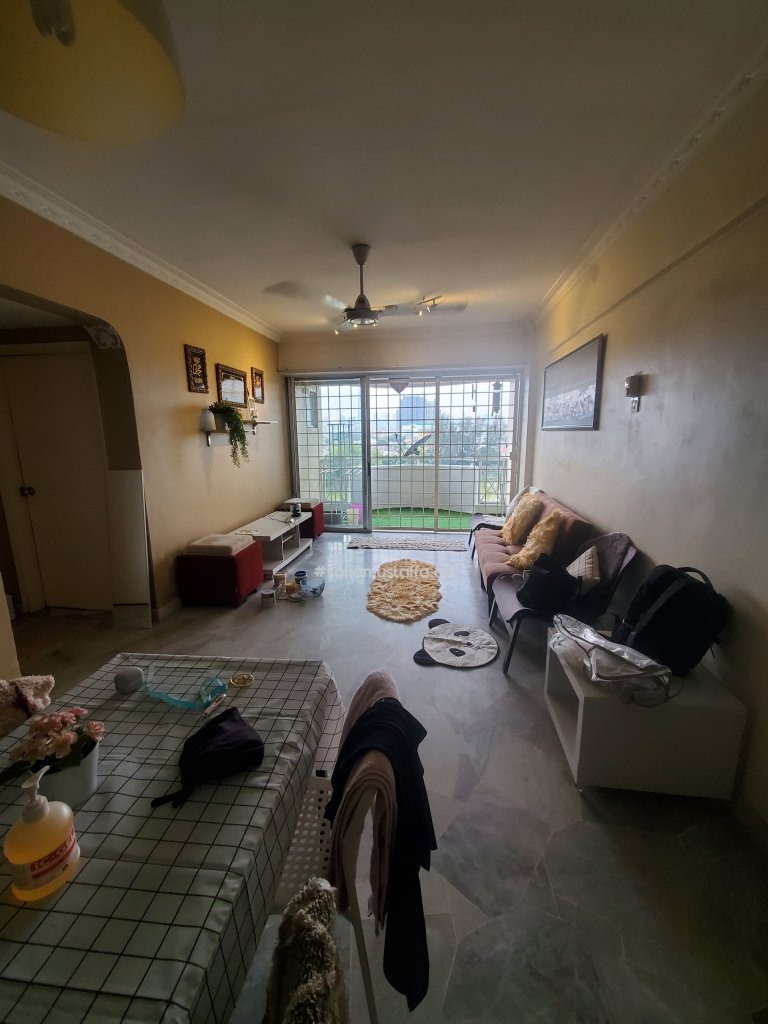
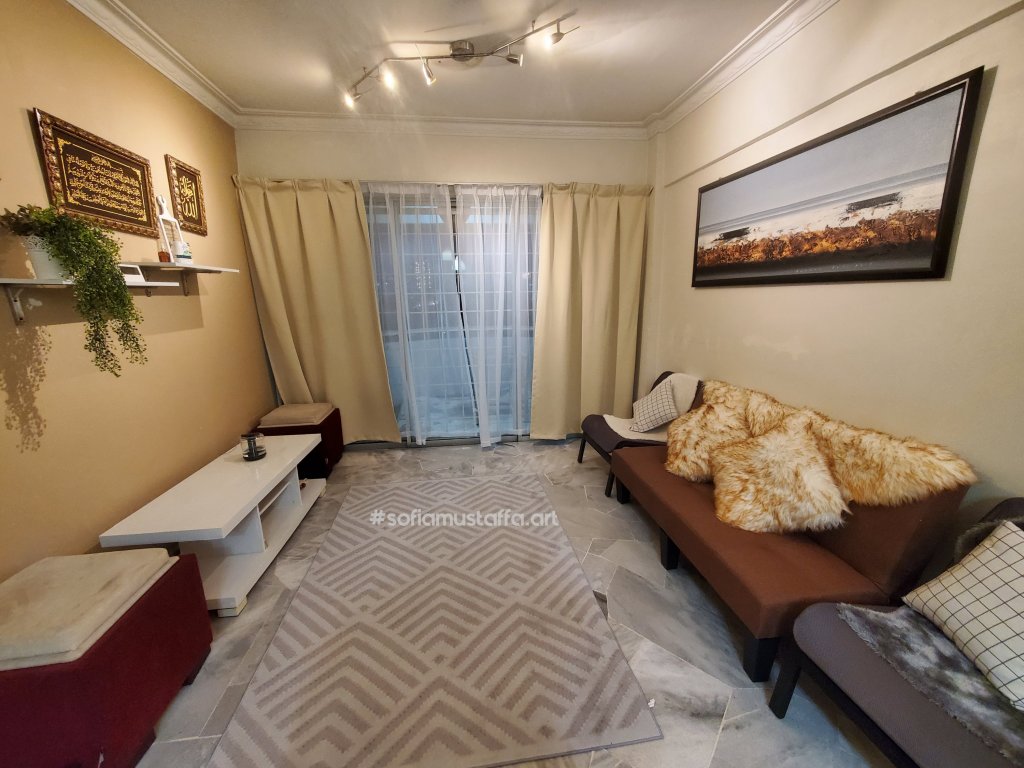
So, check these out the differences before I took over and after I took over the house 😃🥰😃
Check out the kitchen…


Now, let’s see the dining area…🥰

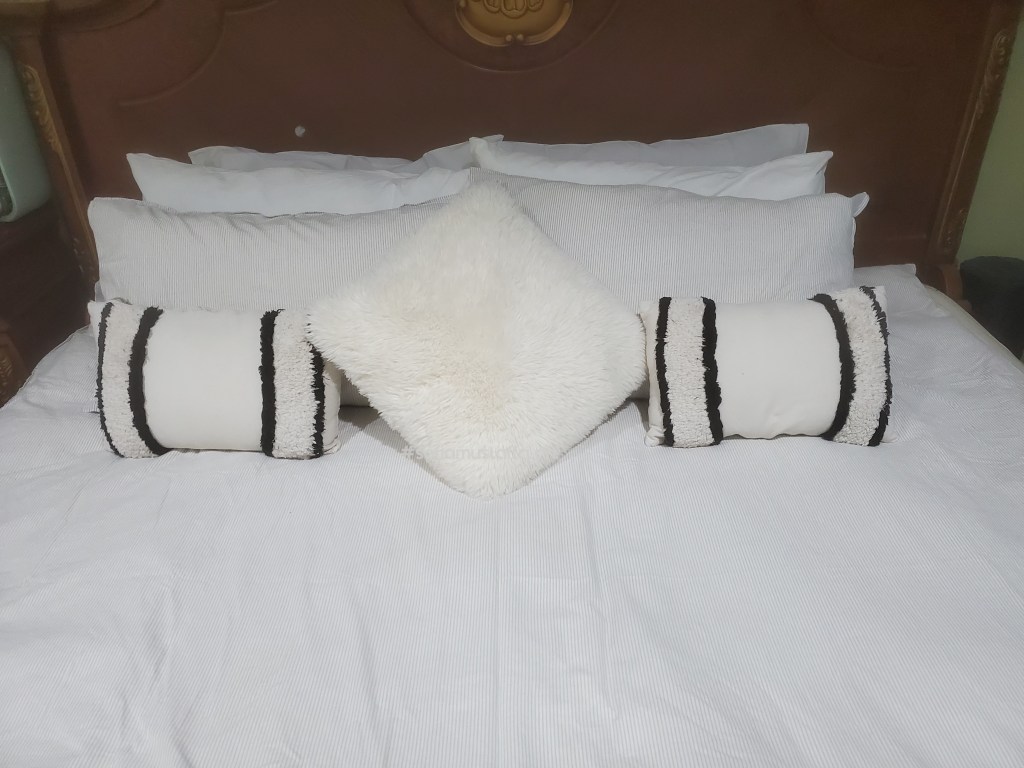
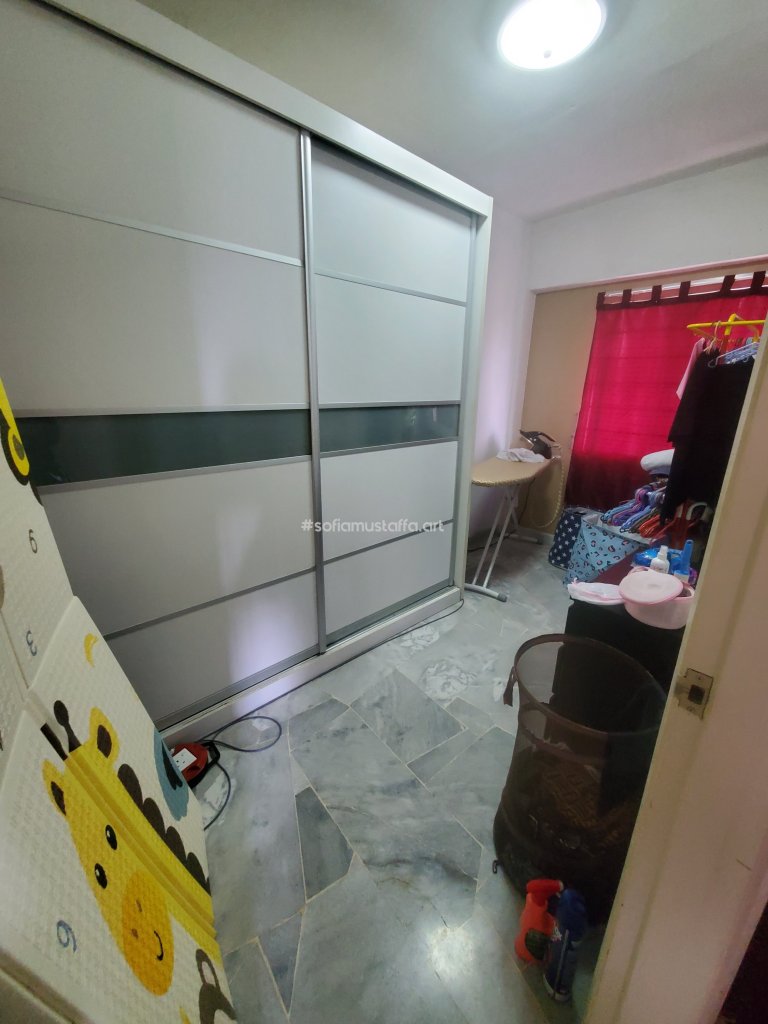
Let’s check out rooms, the house has 3rooms and 2bathrooms.


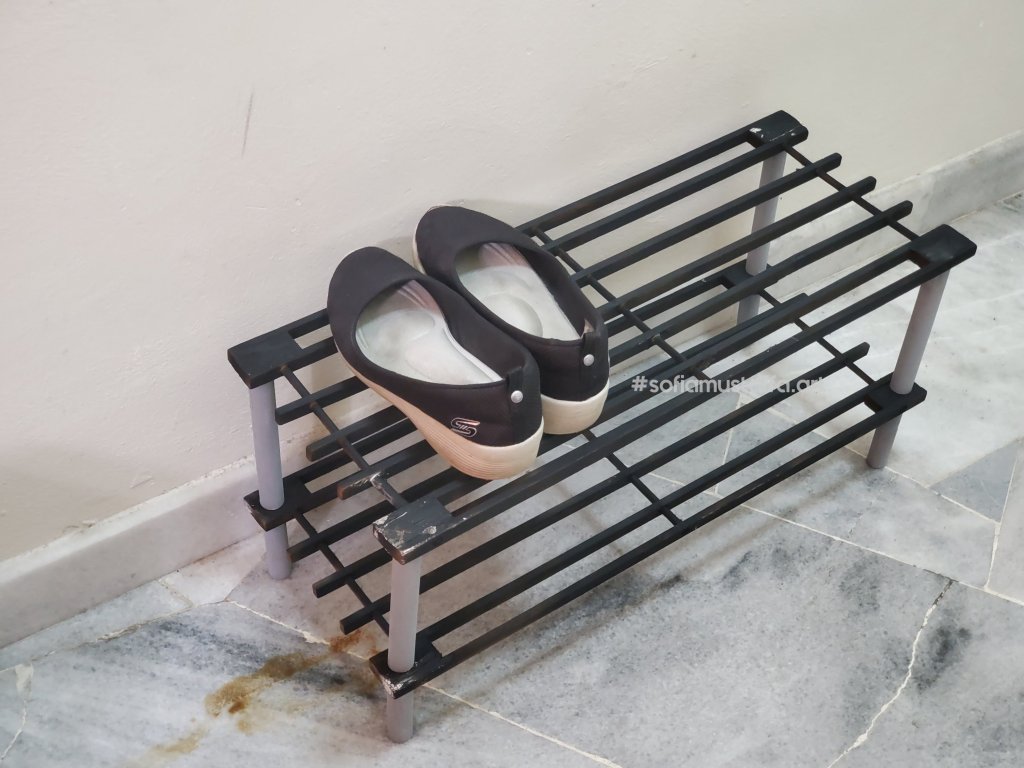
So, most of the thing I did was, a massive clean up, throwing unnecessary stuff and do a lot of painting. I did paint the furniture such as TV cabinet, coffee table, make up table, mirror frame, TV rack, the dryer outside as well 😃
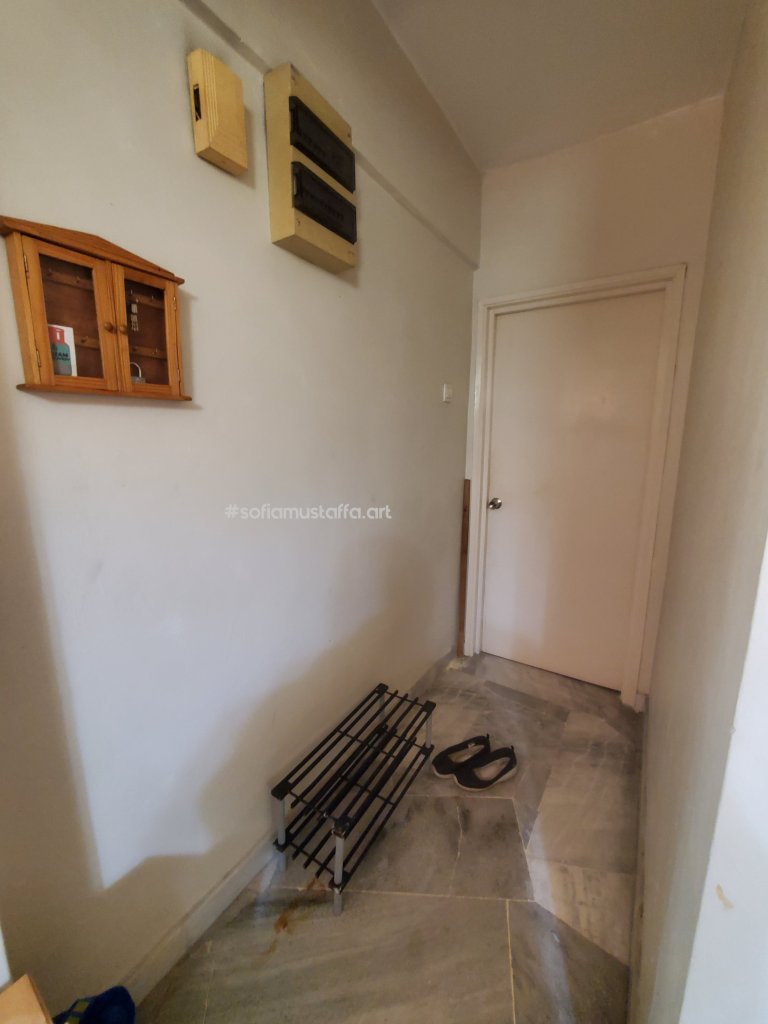
Some other things I snap photo before I went back home last Saturday 😃🥰😃


Okay, I will snap the rest pending things and post in later…
see yaa!! To be continued..
Love, Sofia